Are you familiar with Steampunk? Steampunk is a Sci-Fi fan fiction genre that is “olden day futuristic”.It’s like what people in the Victorian age thought the future would be like. So it’s full of Victorian themes; watch gears and cogs, aviation goggles, top hats, corsets, bronze age, steam power, machinery… but not modern technology. Awesome, right?
Steampunk costumes and cosplay are extravagant and over the top! Steampunk themed jewelry is so intricate and interesting! It’s easy to make yourself!
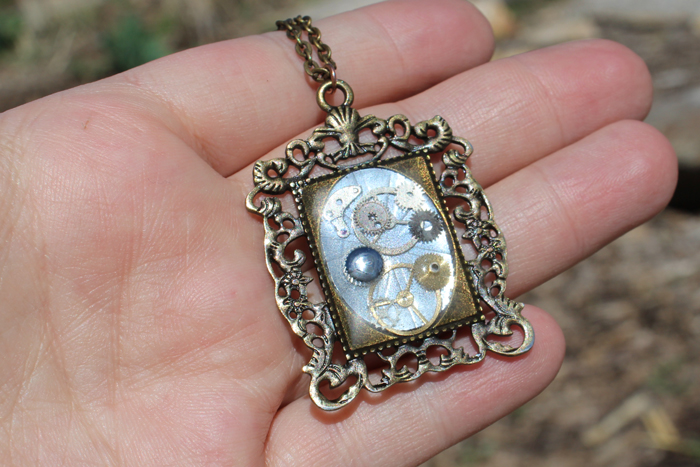
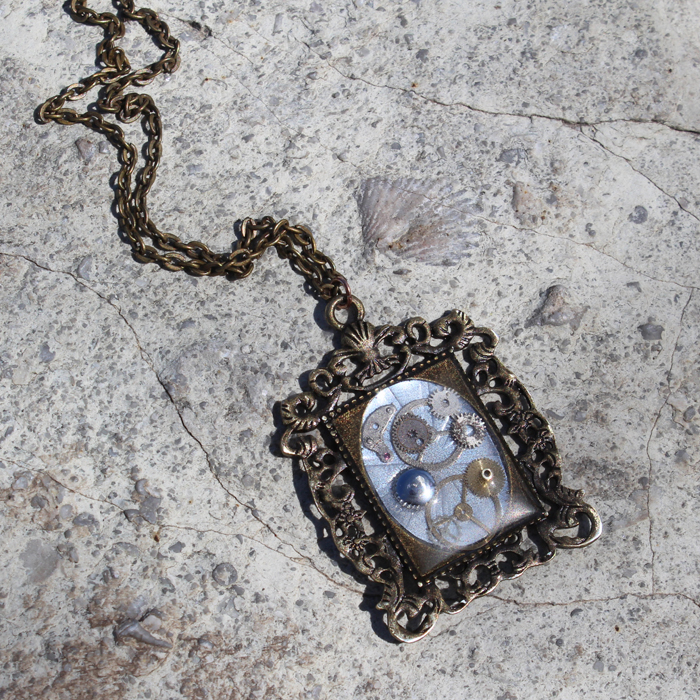
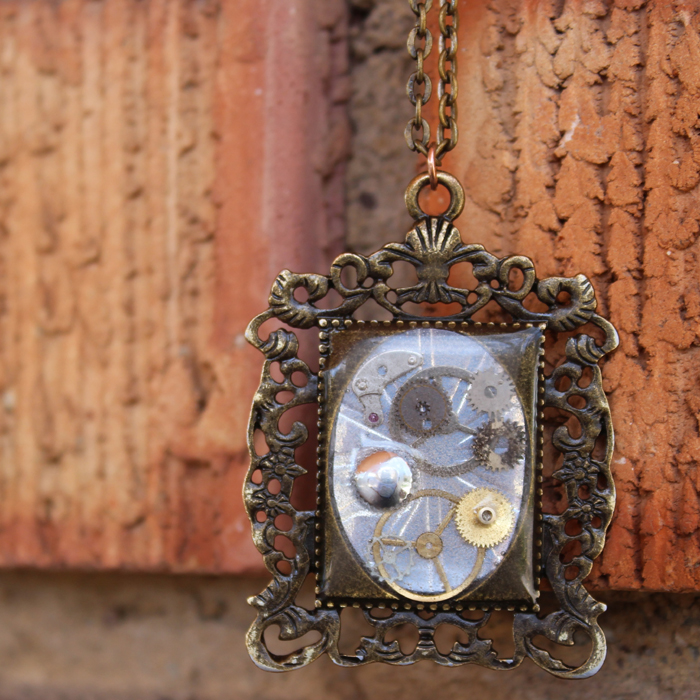
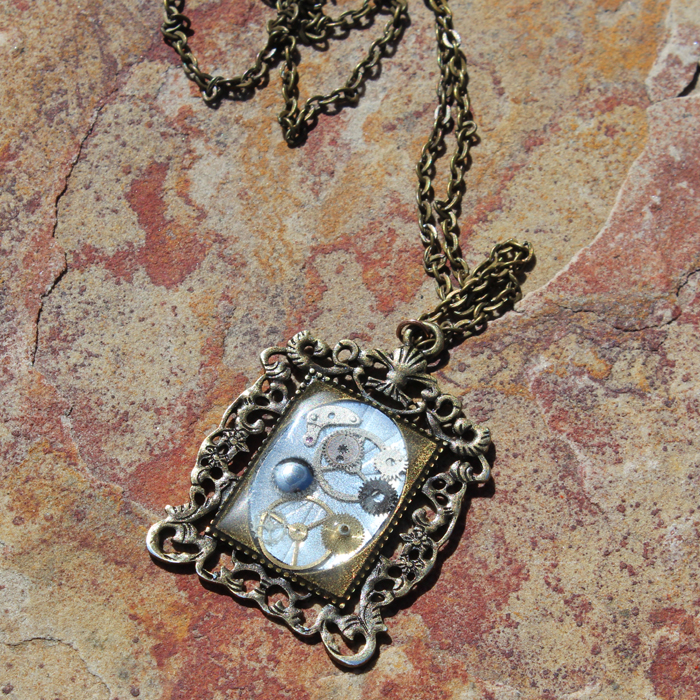
Steampunk Resin Necklace Pendant DIY
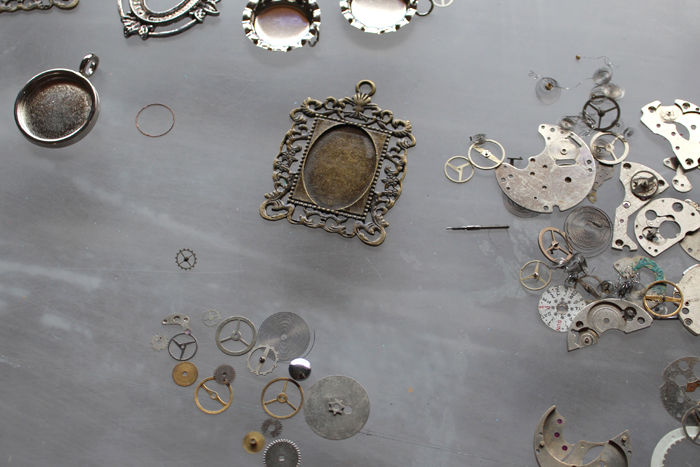
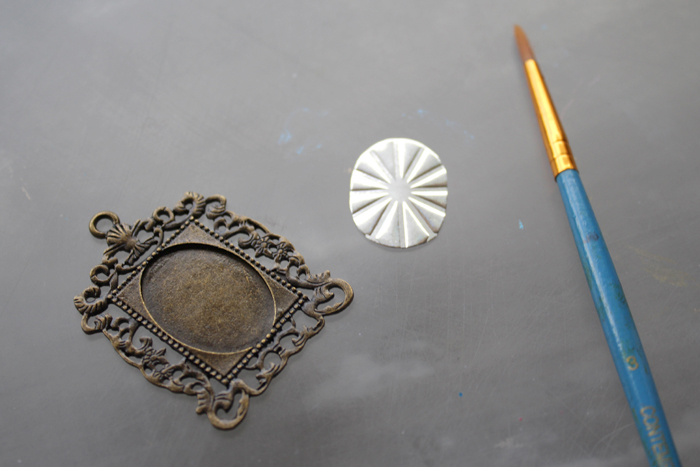
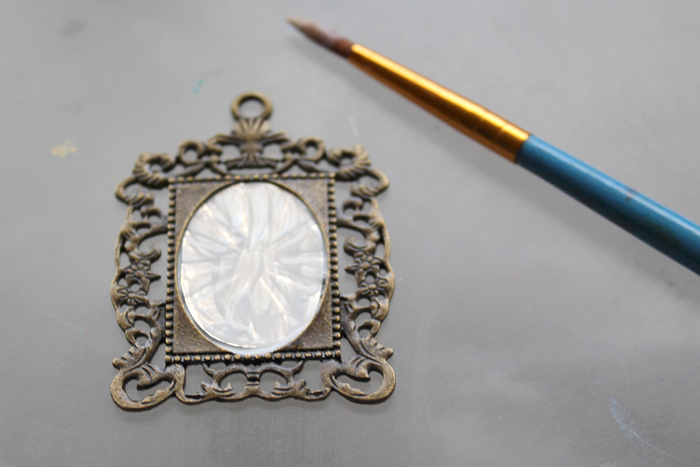
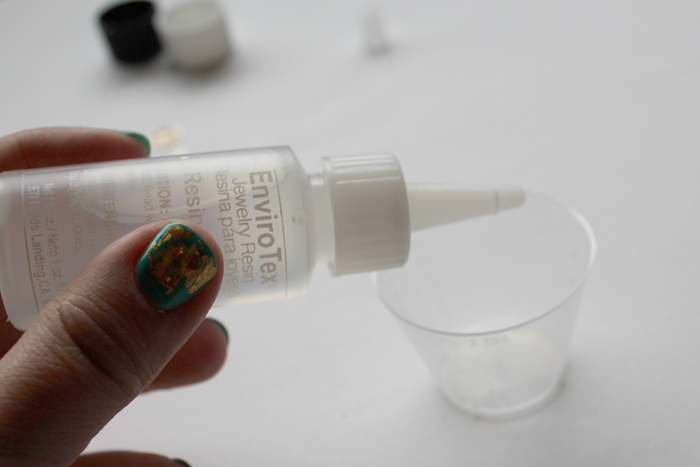
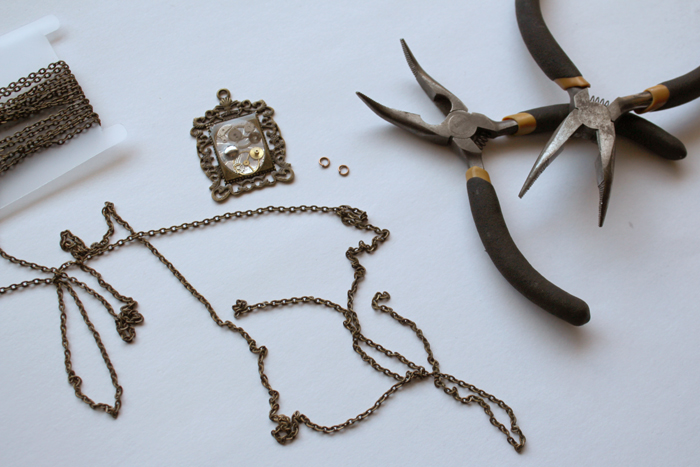
Supplies
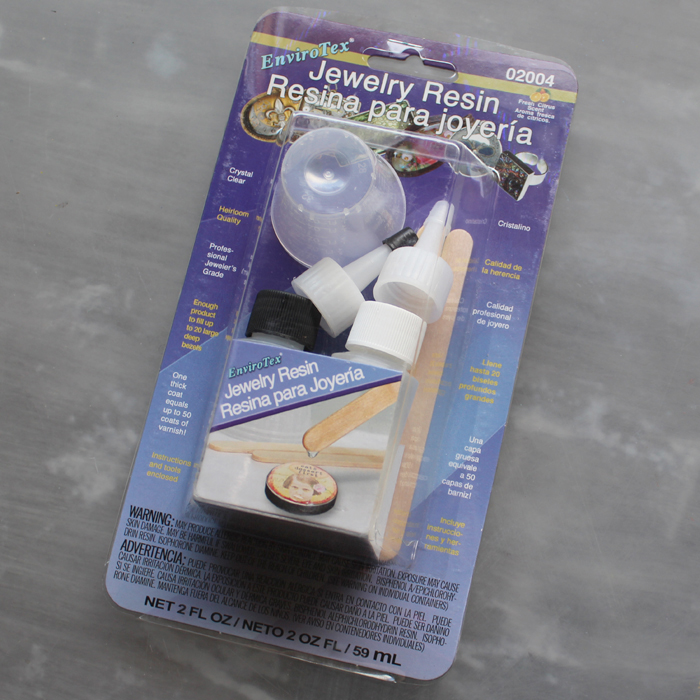

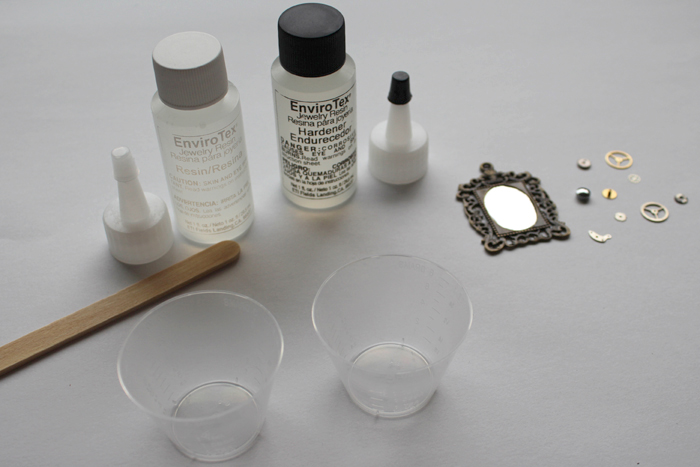
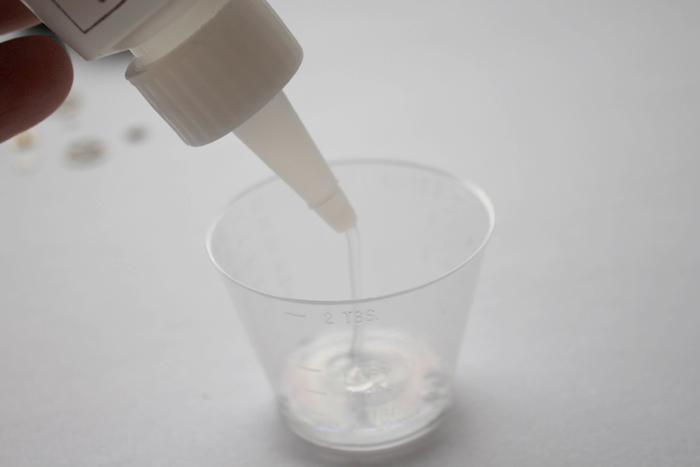
Now it is ready. It has about a 25 minutes usage period before it becomes too hard to use.
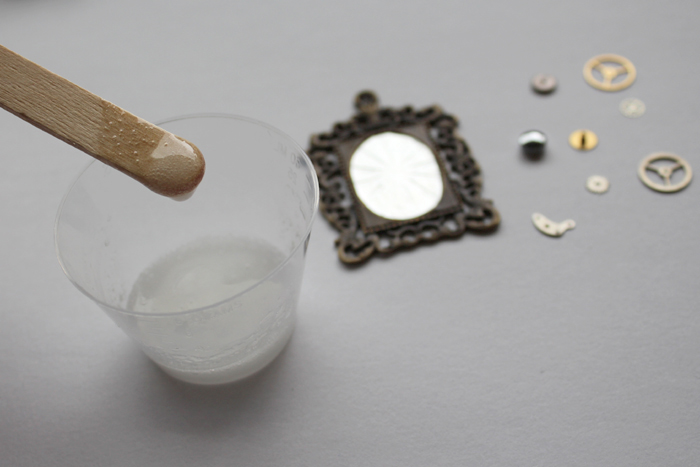
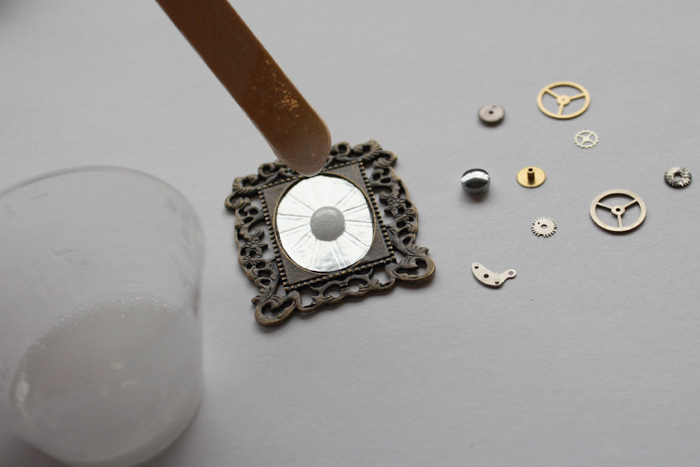
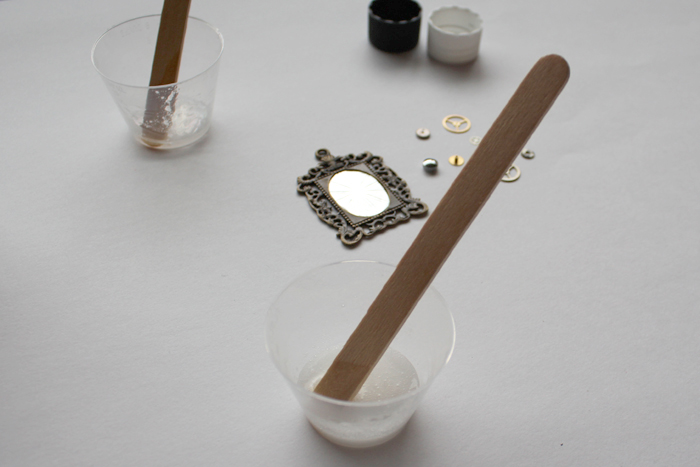
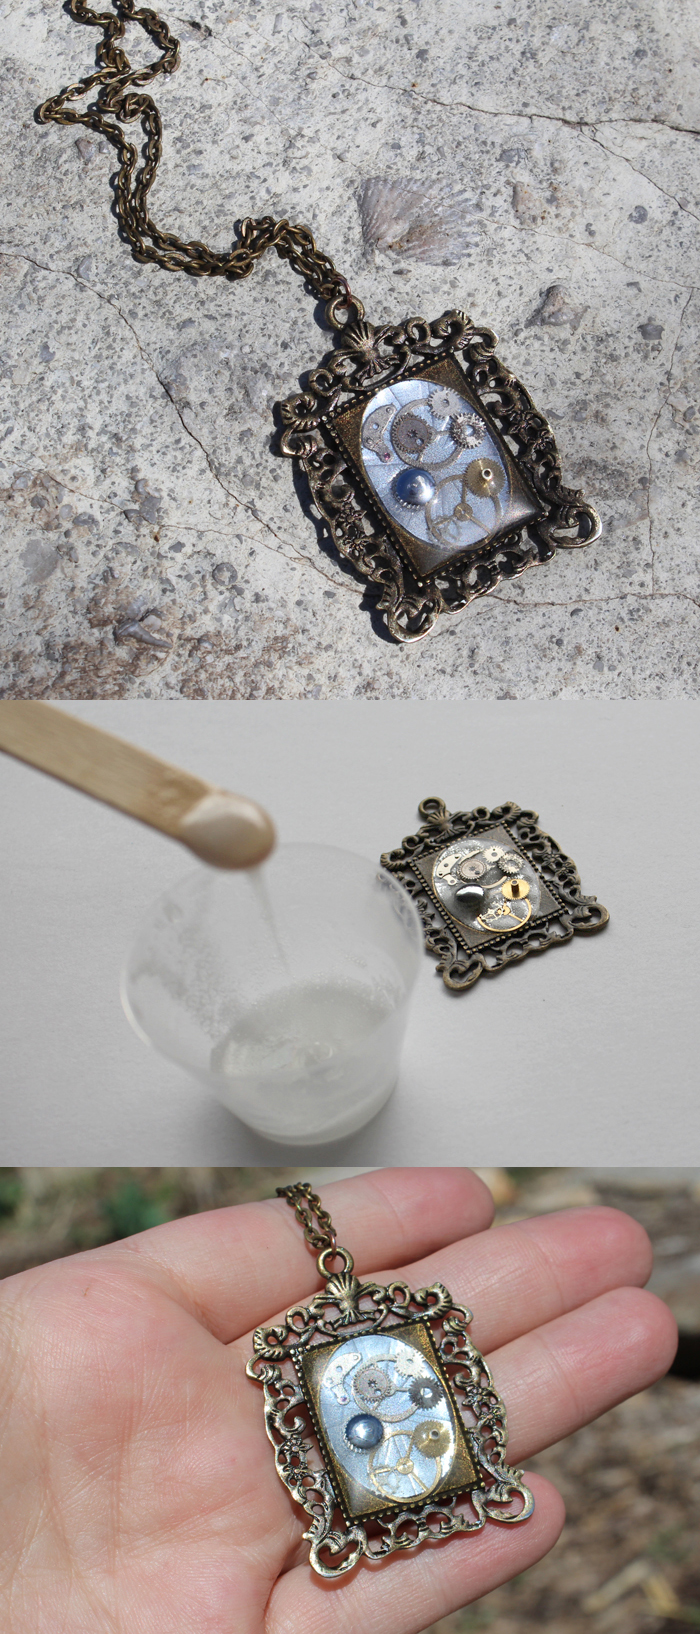
After applying a thin layer, place all the gears, cogs, and watch parts.
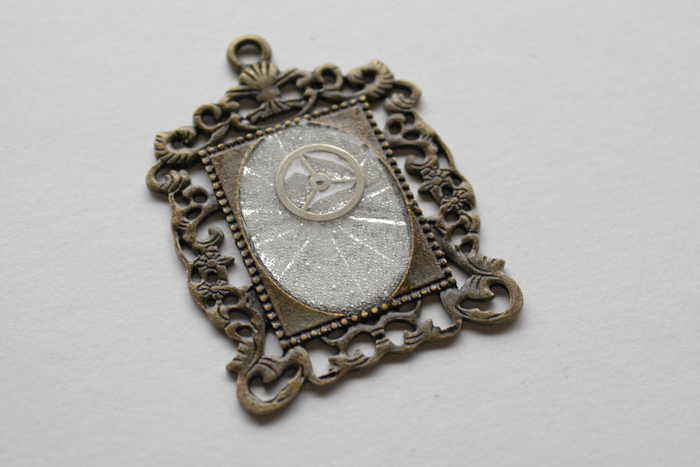
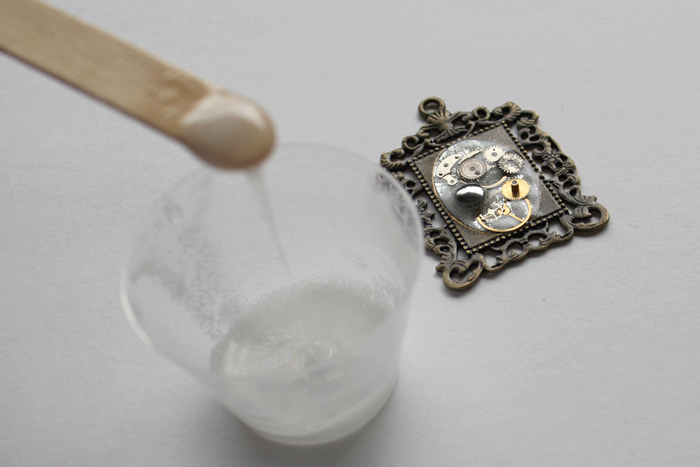

Then let it set up. It is self de-gassing, so the air bubbles should pop by themselves after about 30 minutes.
After 30 minutes if there are still bubbles on the surface you can use a lighter or small butane torch to remove any remaining bubbles.
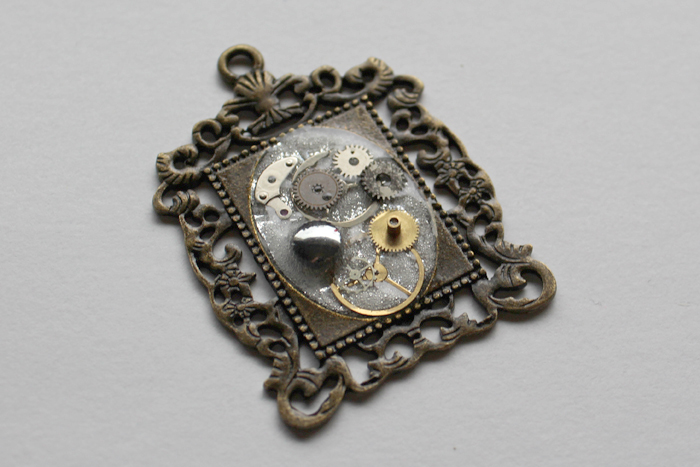
Then let it set up overnight.
Natalie Shaw is a Craft/DIY blogger at Doodlecraftblog.com. She loves sci-fi, fantasy and video game geekery and that comes out in many of her projects. She posts budget conscious DIY’s, crafts, jewelry, kid friendly projects, upcycled treasures and other fun on her blog 5 days a week.


Leave a Reply