Make your home a little more spooky for Halloween with a set of handmade Epoxy Spiderweb Coasters using Amazing Deep Pour Epoxy!
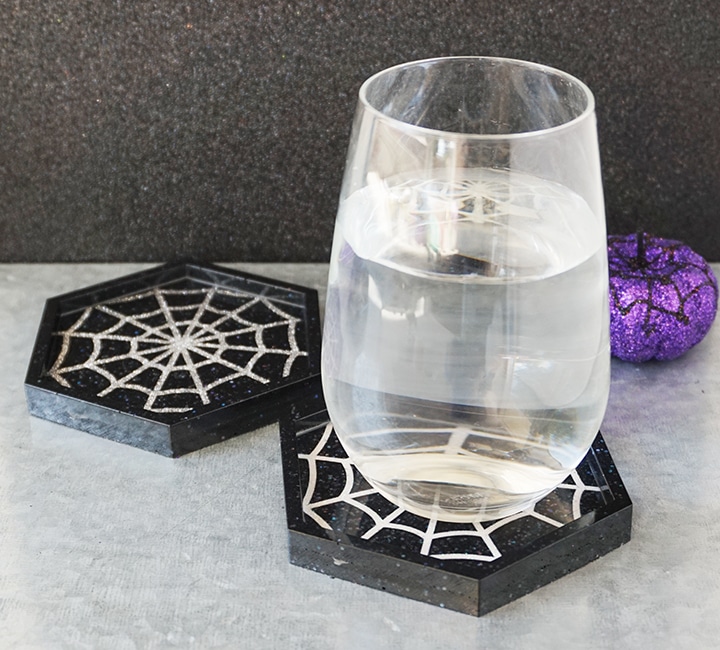
Hello, Resin Crafters! Lindsay from Artsy-Fartsy Mama here with a spooky new resin project for you to try! Halloween season is upon us, and this set of resin Spiderweb Coasters are made using Amazing Deep Pour Epoxy and lots of sparkle. Coasters are such a simple project that resin crafters of any skill level can complete with confidence, and there are so many ways that you can customize a set to fit your style or the season. I hope you love these Halloween Epoxy Spiderweb Coasters as much as I do, and get inspired to make some of your own.
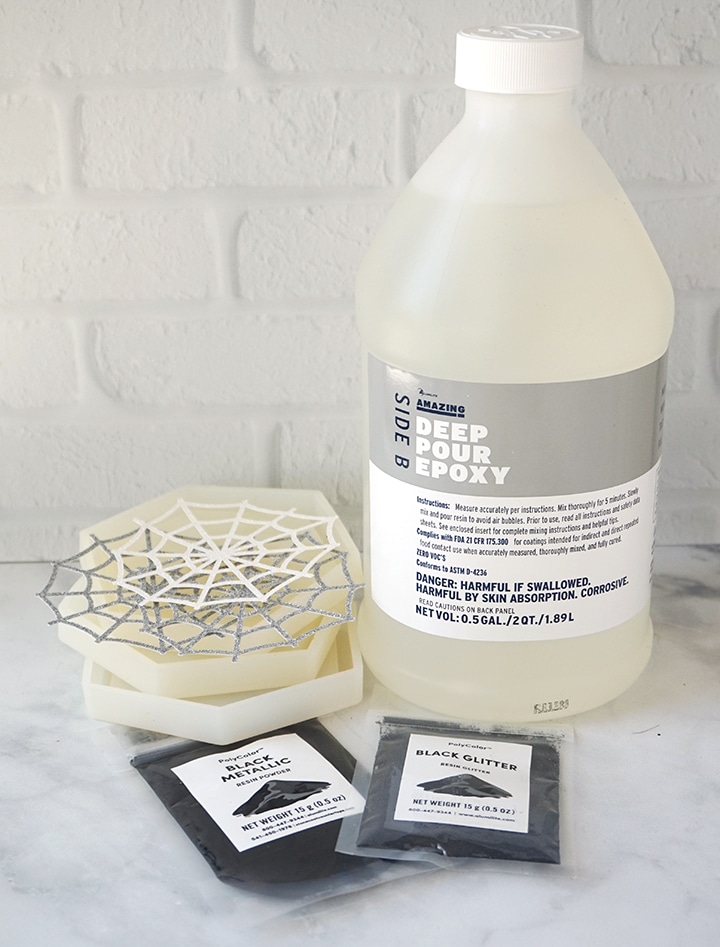
TO MAKE YOUR OWN HALLOWEEN EPOXY SPIDERWEB COASTERS, YOU WILL NEED THESE SUPPLIES:
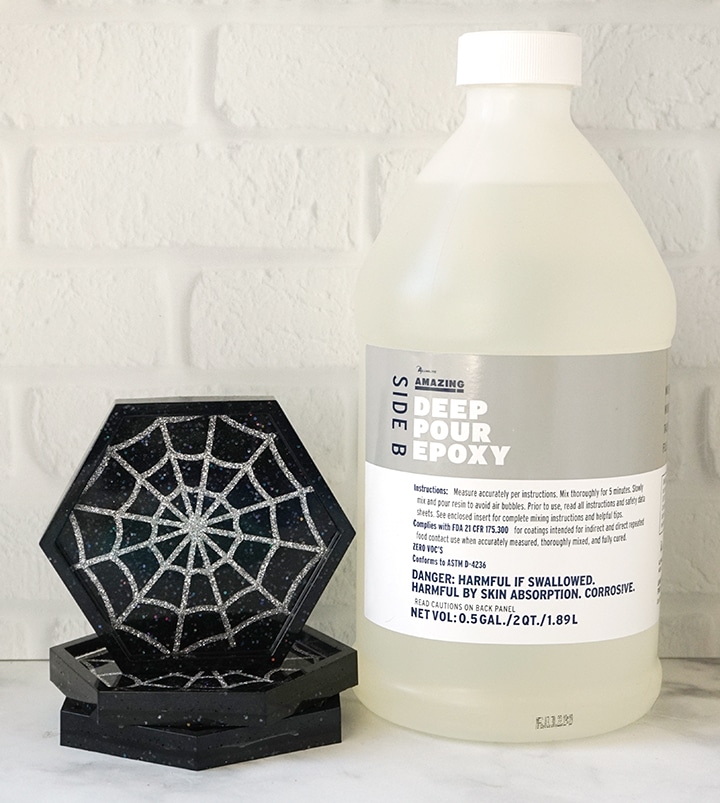
- Alumilite Amazing Deep Pour Epoxy
- Mixing Cups and Stirring Sticks
- Disposable Gloves
- Amazing Sealer or Resin Spray
- Glitter Cardstock (white or silver)
- Hexagon Coaster Molds
- PolyColor Metallic Resin Powder (black)
- PolyColor Glitter (black)



Safety first! Before you start working with epoxy resin, make sure that you’re wearing protective eyewear and gloves, cover your workspace or use a silicone mat in case of spills, and be sure to work in a well-ventilated area.
Amazing Deep Pour Epoxy is the perfect type of resin for these kinds of projects. It is a 2-part, extremely clear, deep-cast epoxy that is ideal for thicker pours (up to 2 inches thick) for a glass-like finish. For an even deeper pour, you can pour in layers up to 2 inches thick.
PREP WORK:
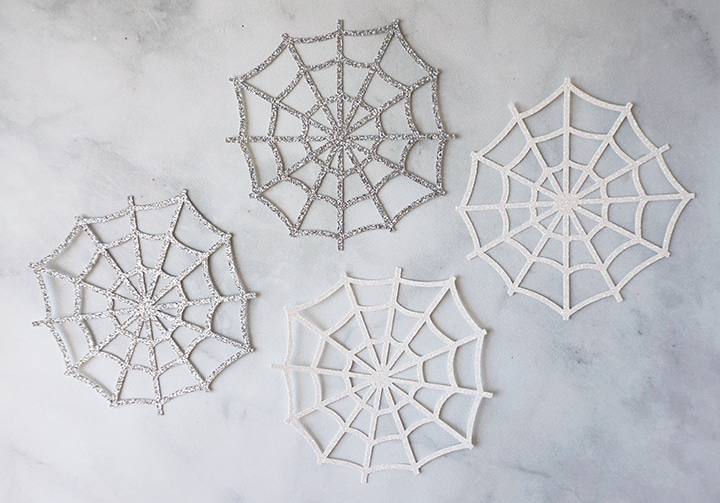
Cut out one 3.75″ spiderweb shape (per coaster) out of white or silver glitter cardstock using a cutting machine or by hand. Apply 3 light coats of Amazing Sealer or Resin Spray to both sides of the spiderweb cutouts and allow to dry fully between coats. This layer of sealant will prevent the epoxy from seeping into the paper and discoloring it and/or distorting it.
STEP 1:
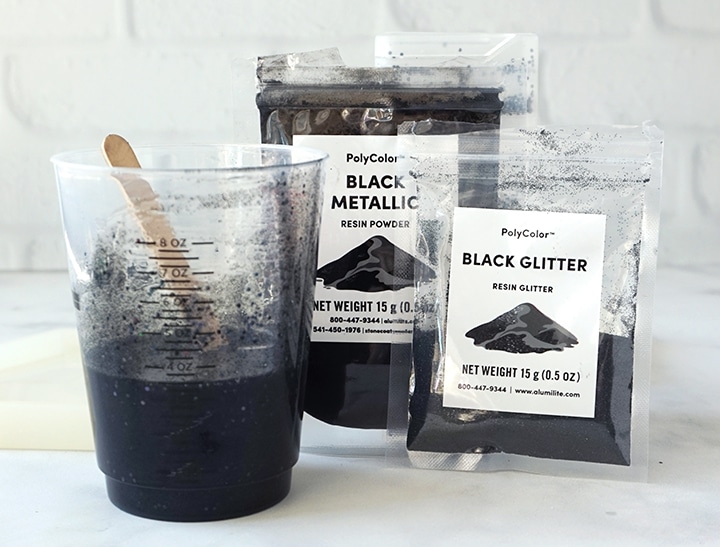
Prepare 1oz (per coaster) of Alumilite Amazing Deep Pour Epoxy according to package directions, and follow all safety guidelines. Pour in 2:1 (2 parts A to 1 part B) into a mixing cup. Stir the resin mixture together SLOWLY with a stir stick for two minutes, and then pour the resin into a clean mixing cup. Stir the resin again for another minute or two with a clean stir stick. If the resin still has streaks running through it, keep mixing until it becomes clear.
Add in a generous amount of black PolyColor Metallic Resin Powder and PolyColor Glitter to the resin mixture and stir well until evenly combined. As a rule of thumb, don’t use more than 5 – 8% of a colorant or additive compared to the total quantity of your project
STEP 2:
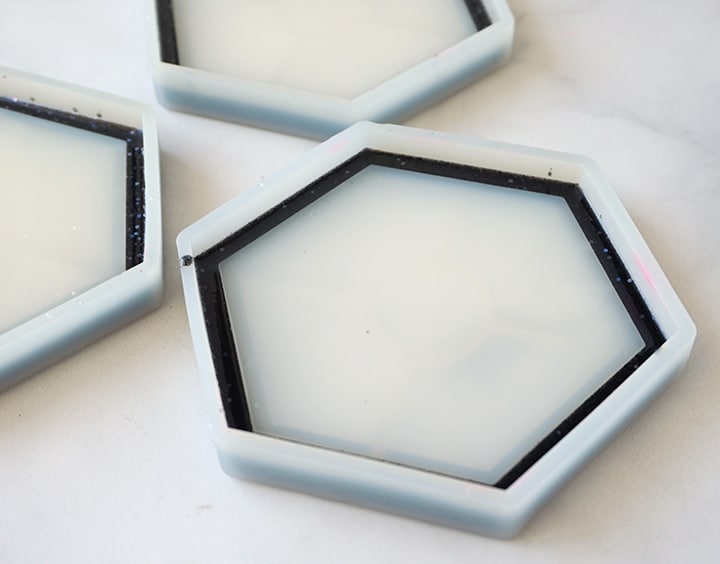
Slowly pour the resin into just the borders of the hexagon coaster molds. Don’t worry about cleaning up any drips at this time. We’ll take care of it later.
After about 10 minutes, use a heat gun, blow through a straw, or lightly spritz the molds with 91% alcohol to remove surface bubbles. Leave the resin to cure in an undisturbed, well ventilated area for at least 4 hours. DO NOT REMOVE THE RESIN FROM THE COASTER MOLDS.
STEP 3:
Carefully remove any cured drips from the center of the coasters. To make clean-up a little easier, gently press packaging tape sticky-side down onto the coaster to remove any small debris left behind. Clean up the coasters the best that you can.
STEP 4:
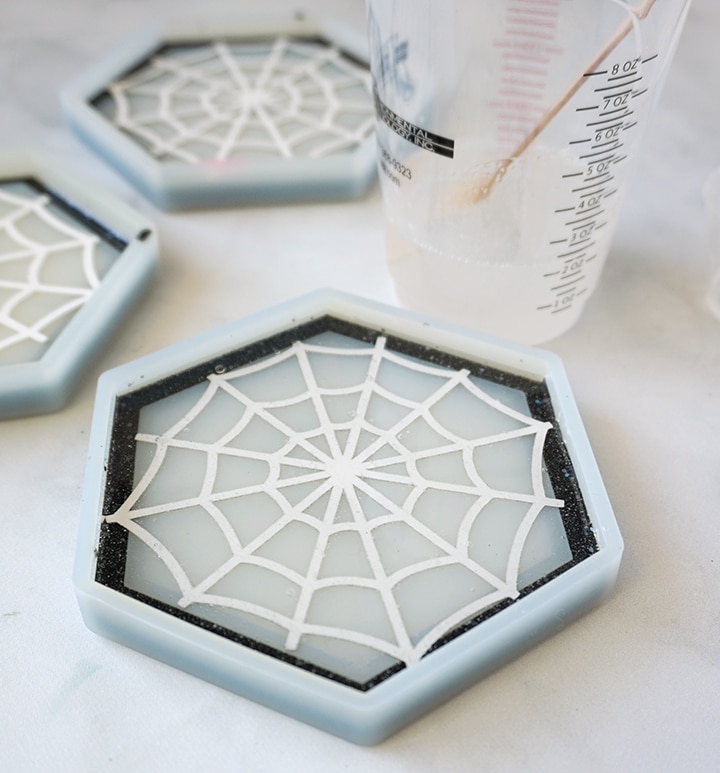
Prepare another 1oz (per coaster) of Alumilite Amazing Deep Pour Epoxy according to package directions. Leave the resin clear this time. Place the spiderweb cutout face-down in the center of the coaster, and pour the epoxy on top. Use a heat gun, by blowing through a straw, or lightly spritz the molds with 91% alcohol to remove surface bubbles. Leave the resin to cure in an undisturbed, well ventilated area for at least 4 hours. DO NOT REMOVE THE RESIN FROM THE COASTER MOLDS!

STEP 5:
Prepare 1oz (per coaster) of Alumilite Amazing Deep Pour Epoxy according to package directions. Just like the first layer of the coasters, add in a generous amount of black PolyColor Metallic Resin Powder and PolyColor Glitter to the resin mixture and stir well until evenly combined.
Pour the resin into the mold and fill it the rest of the way. After about 10 minutes, use a heat gun, blow through a straw, or lightly spritz the molds with 91% alcohol to remove surface bubbles. Leave the resin to cure in an undisturbed, well ventilated area for 24-72 hours.
STEP 6:
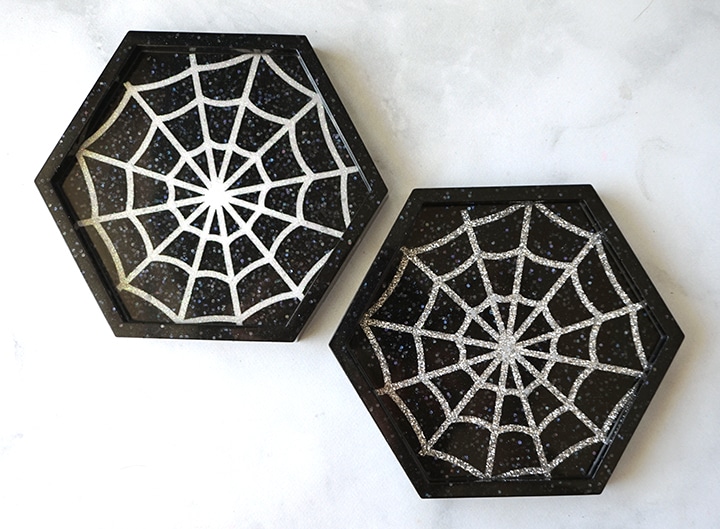
Carefully remove the coasters from the mold and admire the big reveal! Remove any over-poured epoxy with scissors, and sand down the edges if necessary. If you do sand the resin, you can re-seal it with Resin Spray.
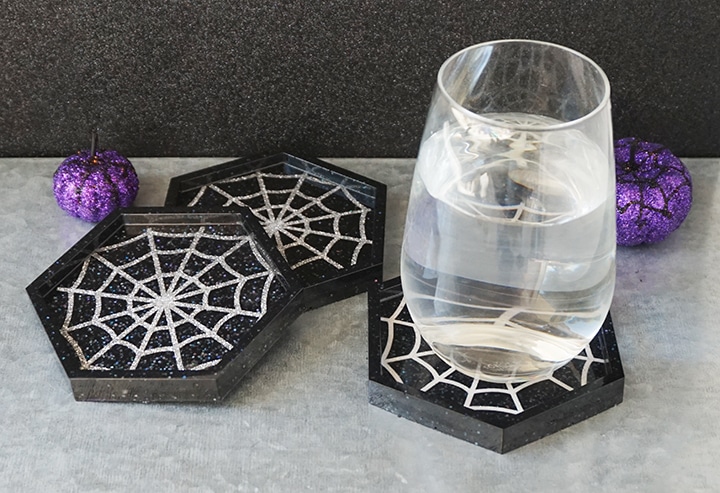
For this set of coasters, I tried both white and silver glitter cardstock to see which would look better. Honestly, I think they both turned out great, but my favorite is the silver. It just seems so much more sparkly!!
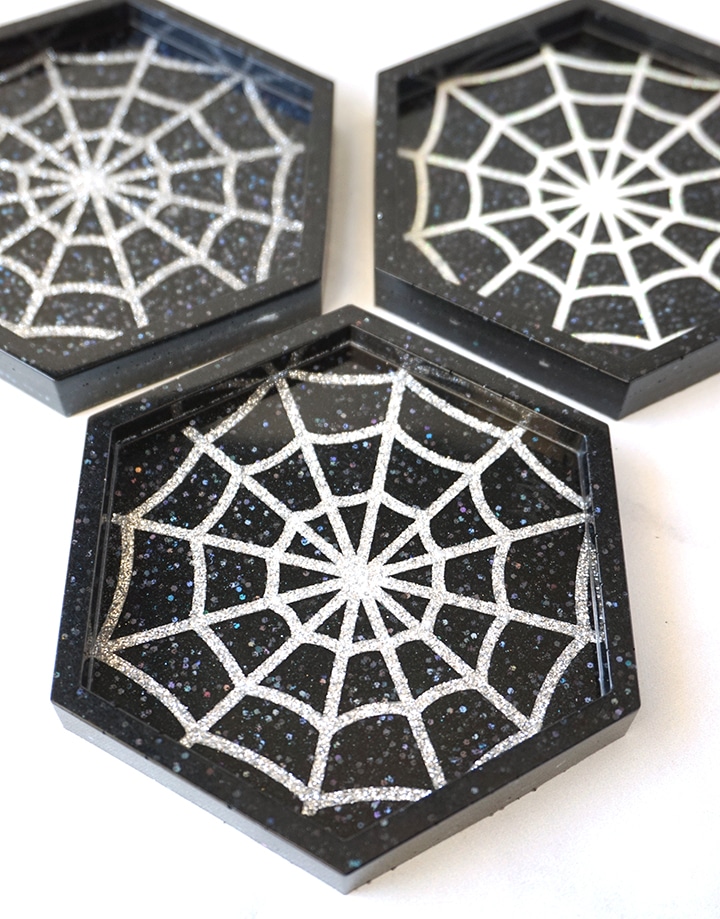
I am absolutely in LOVE with these spooky spiderweb coasters! They are SO sparkly – especially when they hit the light. They are also a simple, yet obvious way to display your love of Halloween and will look fantastic on any coffee table or workspace!
HOW TO CARE FOR RESIN SPIDERWEB COASTERS:
Resin coasters are not only easy to make, but they are easy to take care of as well. Resin is waterproof, durable, and scratch-proof, so they will last a long time if you take care of them. To keep your coasters looking their best, be sure to keep them away from direct sunlight to prevent yellowing. To clean the coasters, use glass cleaner and paper towel, or hand wash with mild detergent.
As always, I would love to hear what you think about this set of Resin Spiderweb Coasters! Be sure to check out these other resin Halloween tutorials for more inspiration, and share your own creative resin projects in the Facebook Group and be sure to tag us @resincraftsblogbyeti when you share on IG!
Like this project? Don’t forget to Pin, Like, and Share!
Lindsay is a crafter, graphic designer, and glitter enthusiast from Utah. She’s passionate about homeschooling her creative daughter, traveling, and spending time in the craft room. Lindsay shares DIY project tutorials, printables, recipes, kids crafts, and more on her blog, ArtsyFartsyMama.com, where she inspires readers to live a creative life.

Leave a Reply