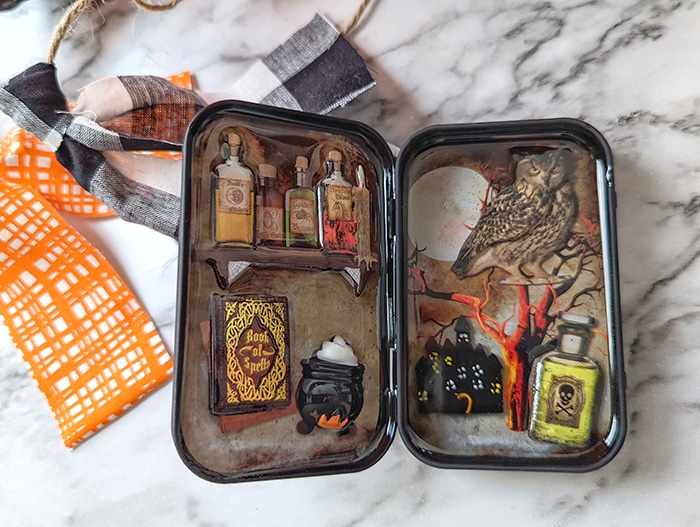
Here’s something fun to add to a spooky shelf in your house – an epoxy Altoid Tin for Halloween!
Supplies to make a Halloween Scene Epoxy Altoid Tin
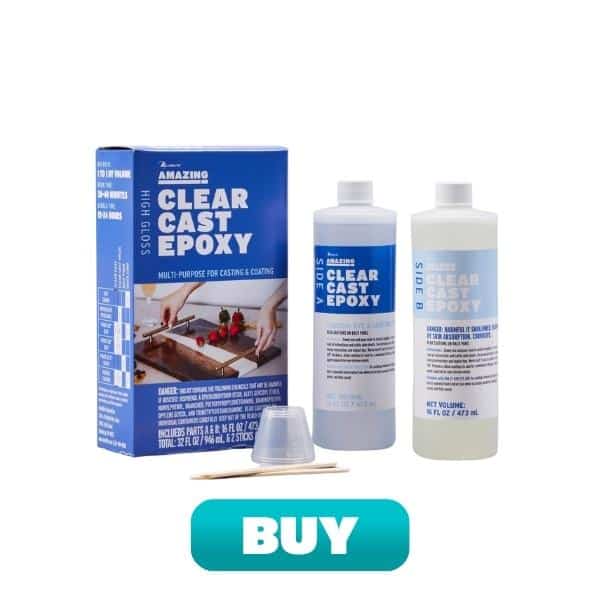
- Amazing Clear Cast Epoxy
- Altoid Tin (clean and dry)
- Spray paint
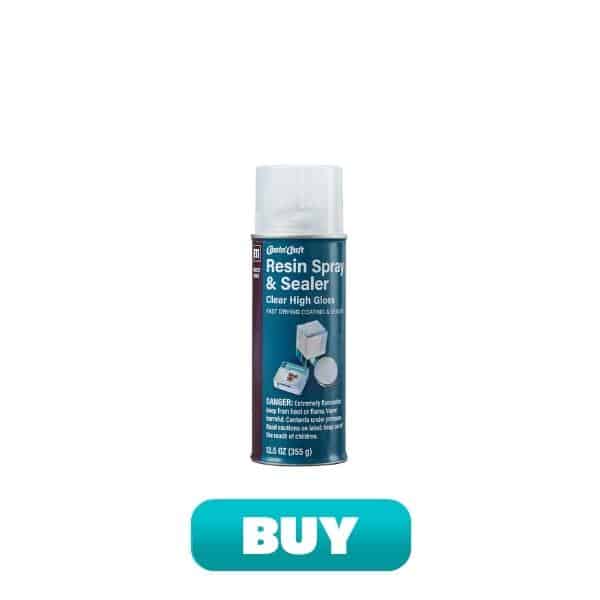
- Envirotex Resin Spray Sealer
- Small Halloween stickers, charms, etc
- Glue gun

Spray paint the Altoid tin following instructions on the paint can. Usually, you should do a few light coats about 10 minutes apart, then let it dry for 24 hours.
For any paper stickers or scrapbook paper that you will be adding to the resin, be sure to seal them with Resin Spray Sealer so they don’t warp or discolor.
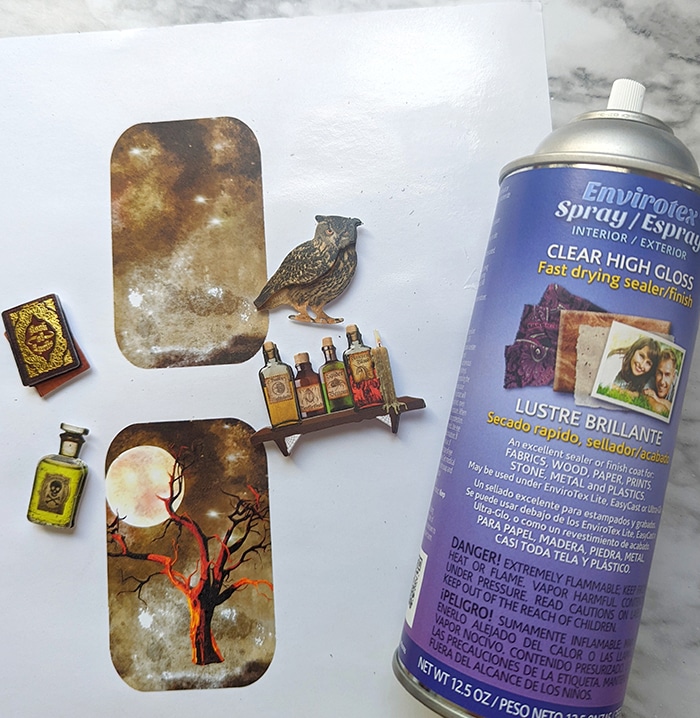
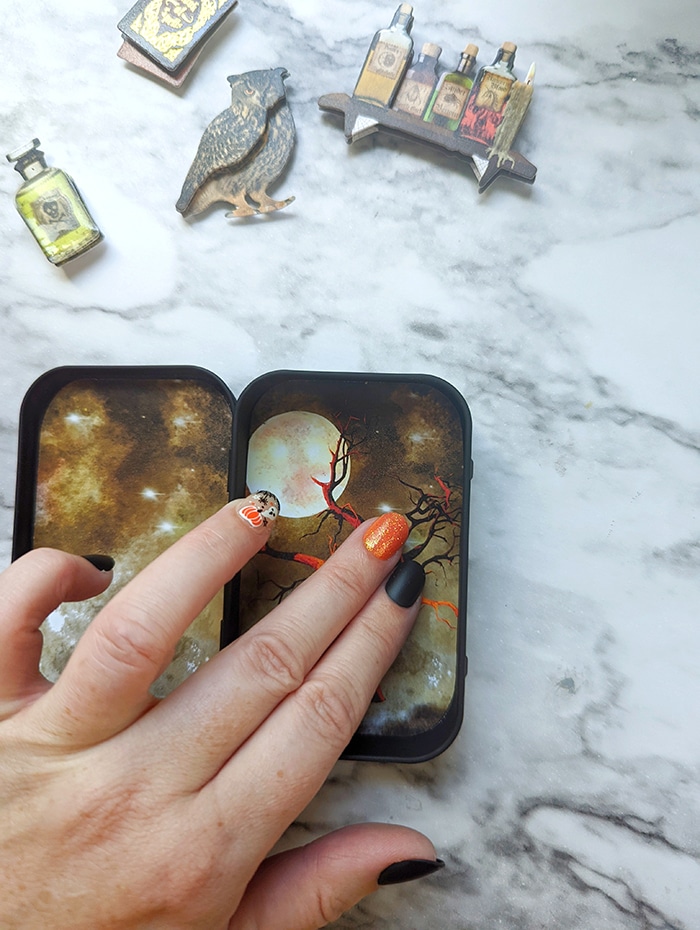
Decorate the inside of the lid and the bottom. I made print then cut stickers with my Cricut. You could also hand-cut scrapbook paper or 3D scrapbook stickers. Dimensions for the lid are 5.7 cm by 9.25 cm and for the bottom 5.85 cm x 9.3 cm. I used these metric units because they were a little easier to get precise numbers than by using inches.
You’ll also want to round the corners.
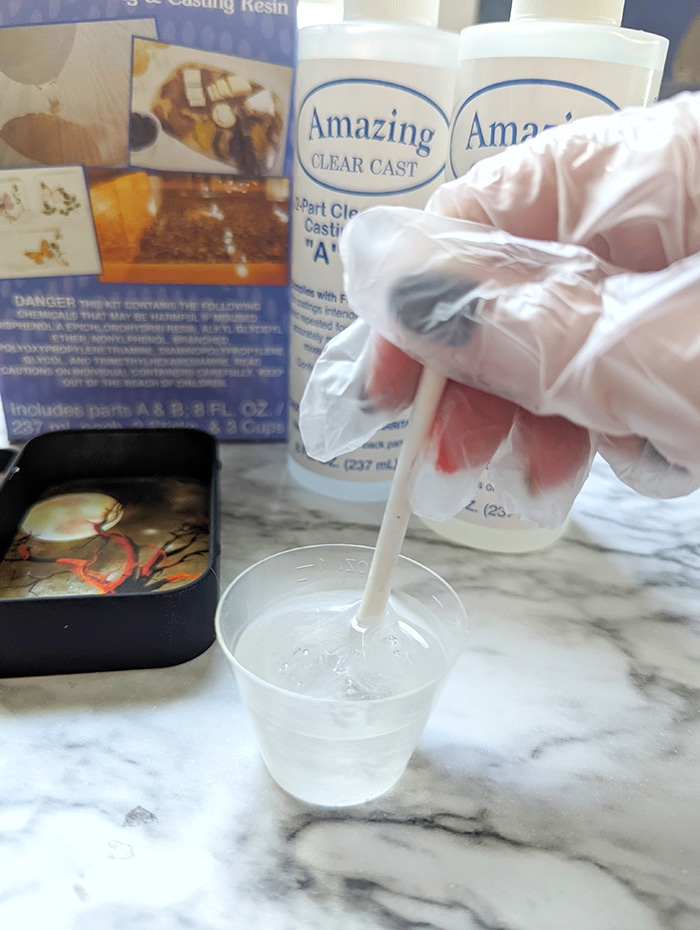
Safety first! Before you start working with epoxy resin, make sure that you’re wearing protective eyewear and gloves, cover your workspace or use a silicone mat in case of spills, and be sure to work in a well-ventilated area.
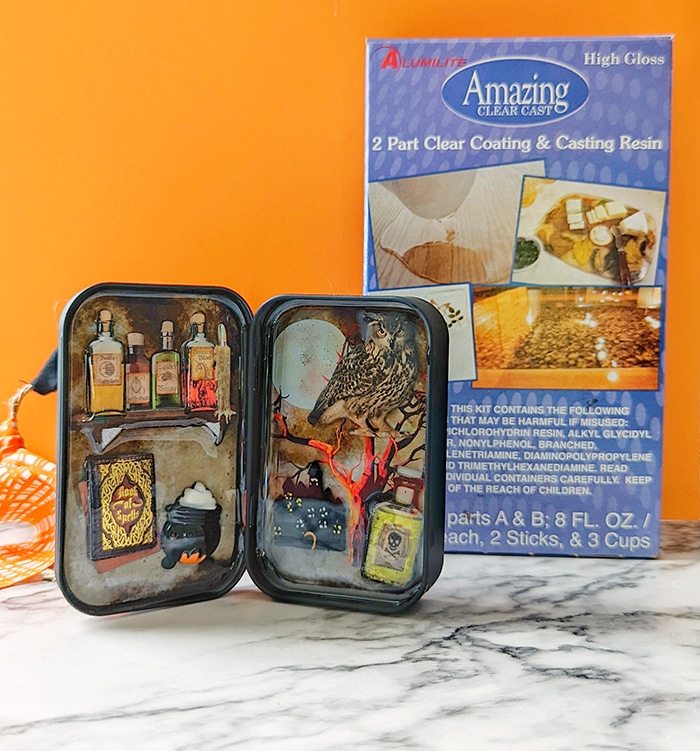
I used Alumilite Amazing Clear Epoxy because it layers well, is really easy to mix and is self-leveling. Mix 10 mL of side A and 10 mL of side B for 1-2 minutes. The mixture should look clear with no swirls.
Prop up the lid so that it’s level, and pour a very thin layer of epoxy so it doesn’t seep out the hinge holes.
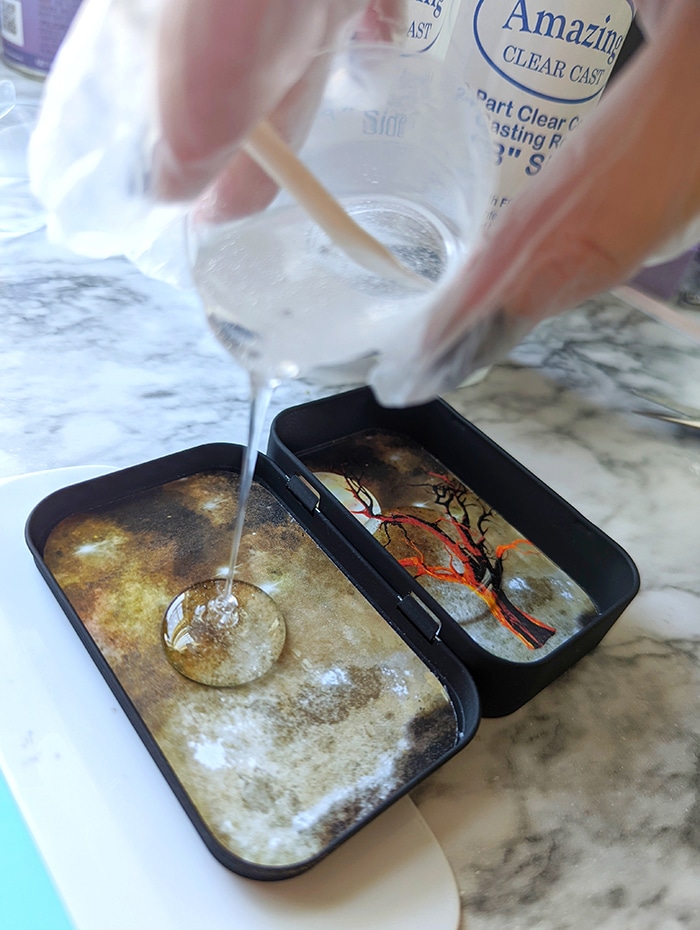
Pour a thin layer in the other side too. Drag it to the edges if needed and after about 10 minutes, pass with a heat gun to remove bubbles.

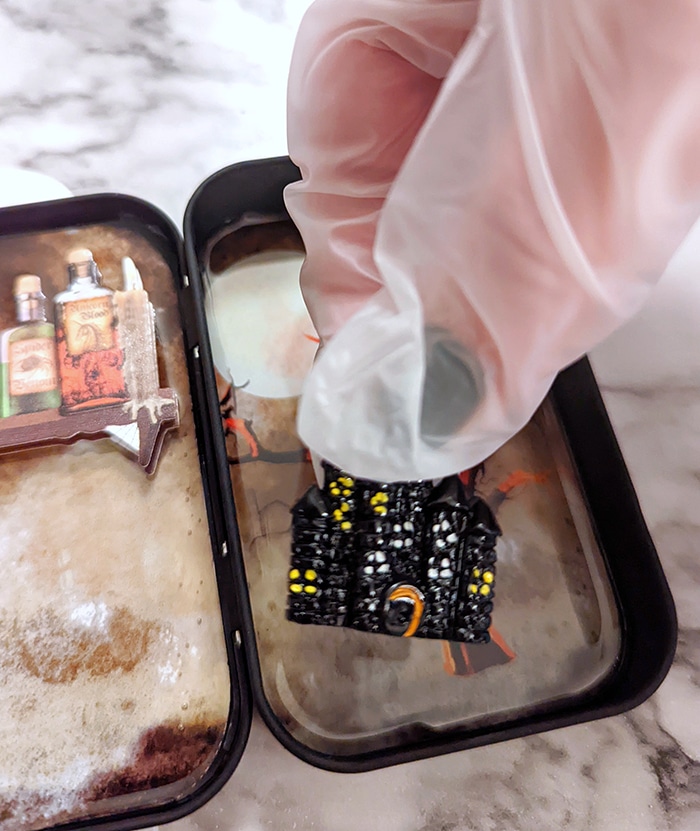
After 3-4 hours, stickers and charms can be carefully added. The top of the resin will still tacky, so you can’t reposition these items, so make sure to place them exactly where you want them.
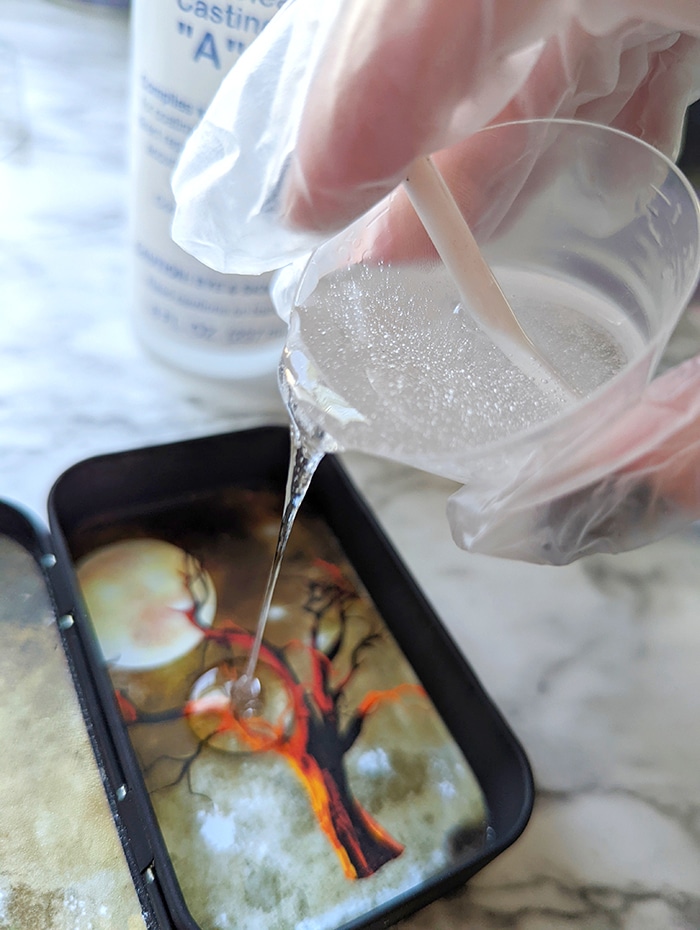
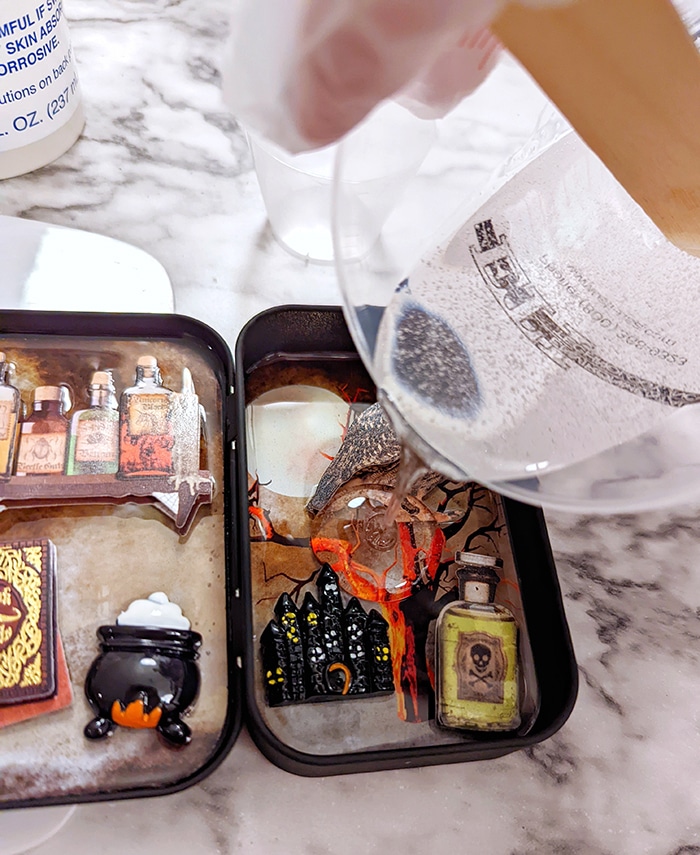
Now mix 10 mL and 10 mL again as before and pour just into the deep part of the tin. Remove bubbles with a heat gun after 15 minutes. Then let cure overnight.
To finish the lid, we have to seal the hinge holes so the resin doesn’t leak all over your table (um, guess what happened the first time I tried making this!)
The finished tin will stand on its end, in the open position, so prop up the base part of the tin, which is now cured, so the lid can lay flat still.
Fill the holes with a bit of hot glue. Then mix 7 mL each of sides A and B and mix as before. Pour into the lid, remove bubbles with a heat gun and let cure. Depending on the thickness of the embedded items, the resin may not be able to cover them completely, and that’s ok.
Then add it to a small Halloween vignette, or make several to put across the whole mantel.
If you make one, I’d love to see what you put in it!
**As a side note, if you want to be able to open and close this Altoid tin, instead of being permanently open, you could put resin just in the deep part and not in the lid. Then the hinge wouldn’t be affected.
Stephanie is a crafty wife and mom living in the Pacific Northwest. She shares her creative ideas -along with a bit of “making it up as she goes” – on her blog, Crafting in the Rain.


Leave a Reply