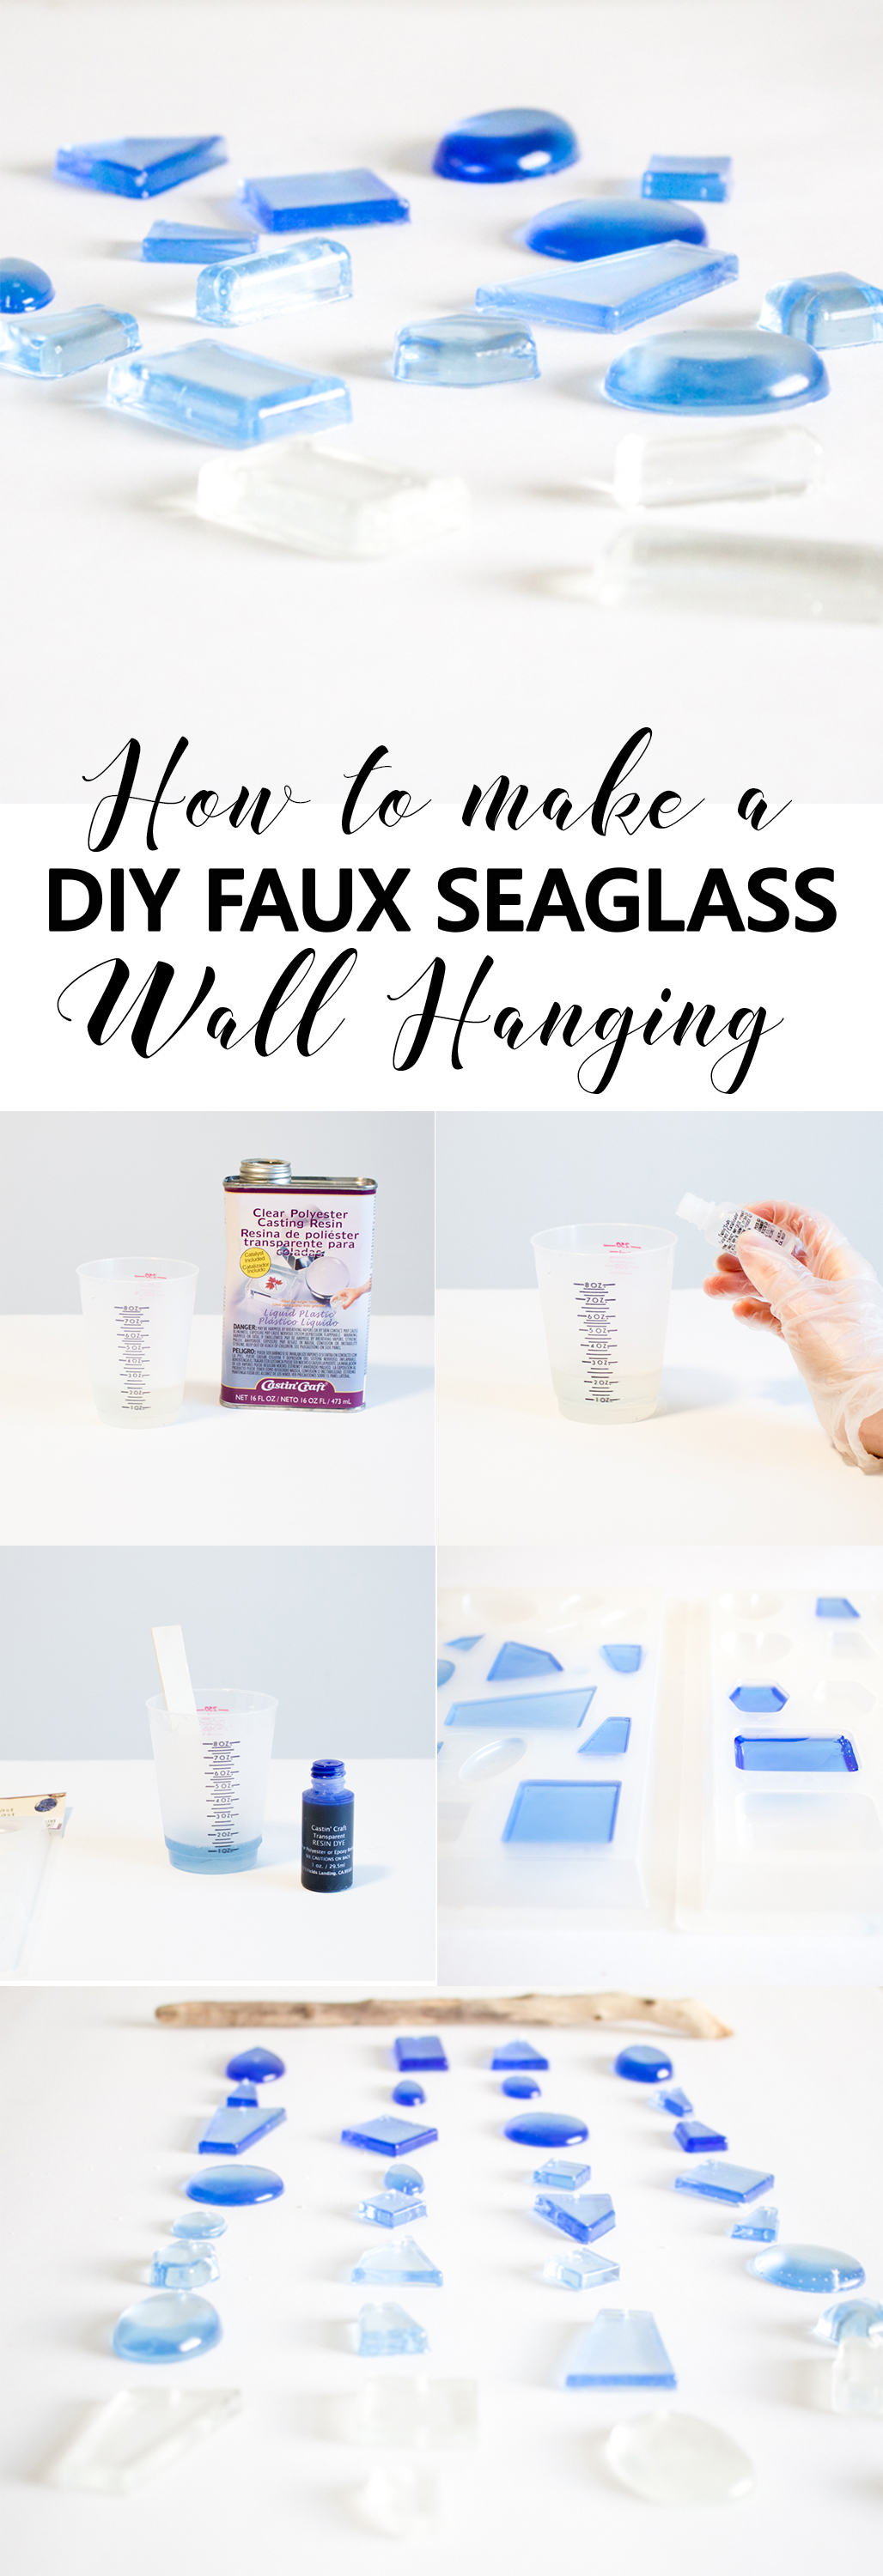
Hi friends! Sonja here from Sustain My Craft Habit. Have you ever tried drilling a hole in seaglass or any glass? If so, you know how difficult it can be. This DIY faux seaglass project is the perfect alternative and looks really beautiful as a wall hanging.
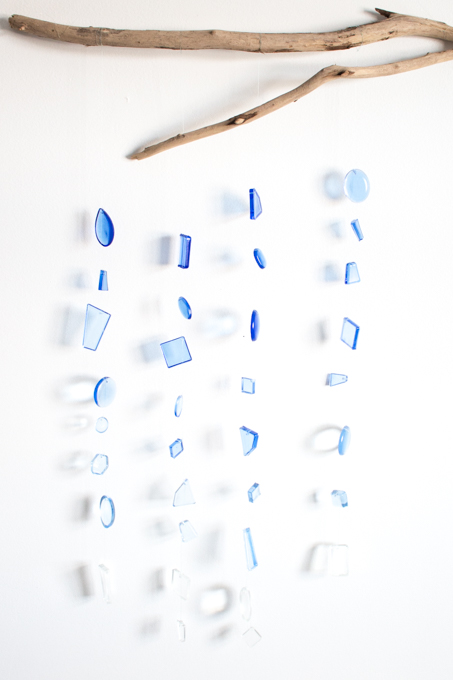
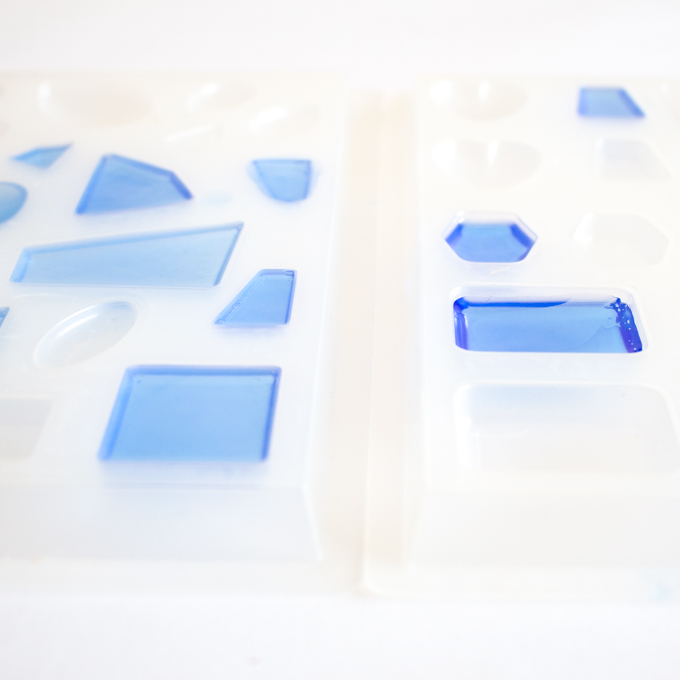
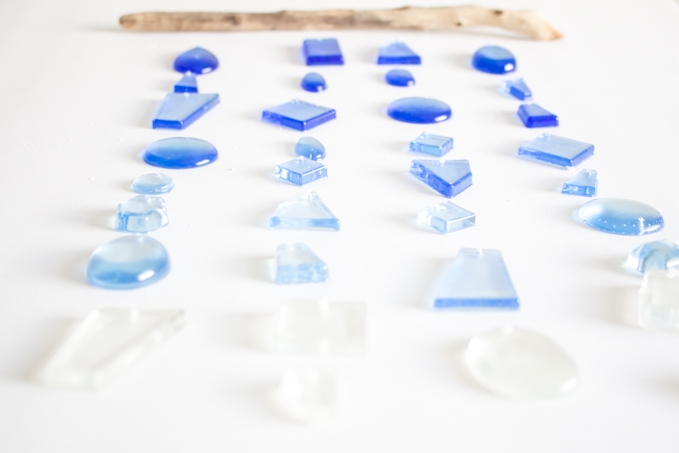
I decided to make all the pieces in different shades of blue creating an ombre effect when all the pieces are strung together. But you can just as easily create any color you like just by changing the dye color. Each individual piece was poured and set in an EasyCast resin jewelry mold. These jewelry molds are so versatile as you can see with some of the other DIYs we made using them, such as this lovely lavender flower pendant and this festive glitter pendant.
This finished piece would look lovely hung inside a window sill, don’t you think? I can just picture the sunlight streaming through the hanging “seaglass”.
![]()
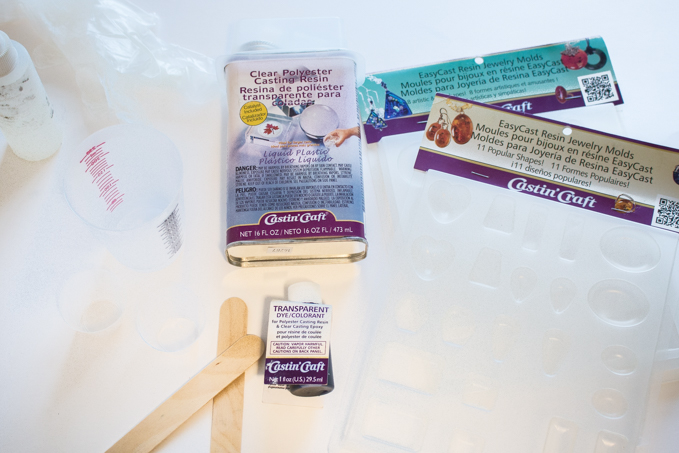
Materials needed to make DIY Faux Seaglass:
- Castin’Craft Clear Polyester Casting Resin
- Transparent Dye in any color (we used a blue color)
- Castin’Craft Mold Release & Conditioner
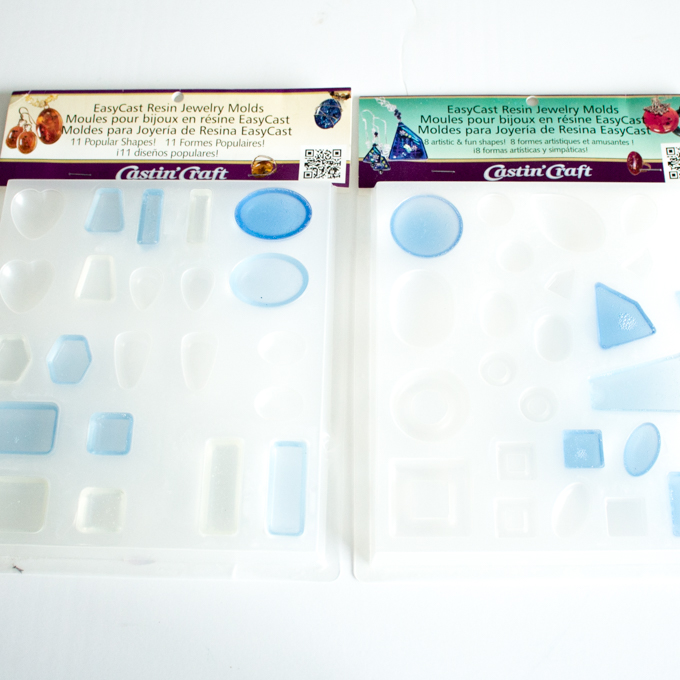
- EasyCast Resin Jewelry Molds
- Gloves, disposable mixing/measuring cups, wooden craft sticks, paper towels
- Drill or Drill Press with 3/16” diamond drill bit (not shown)
- Clear Monofilament Thread (also known as fishing line) (not shown)
- Wooden Dowel (I used a piece of driftwood for mine) (not shown)
- Scissors (not shown)
How to Make DIY Faux Seaglass:
Work in a well ventilated area and be sure to read all the instructions on the product packaging before beginning your project.
Apply a mold release agent to the jewelry molds and put aside to dry.
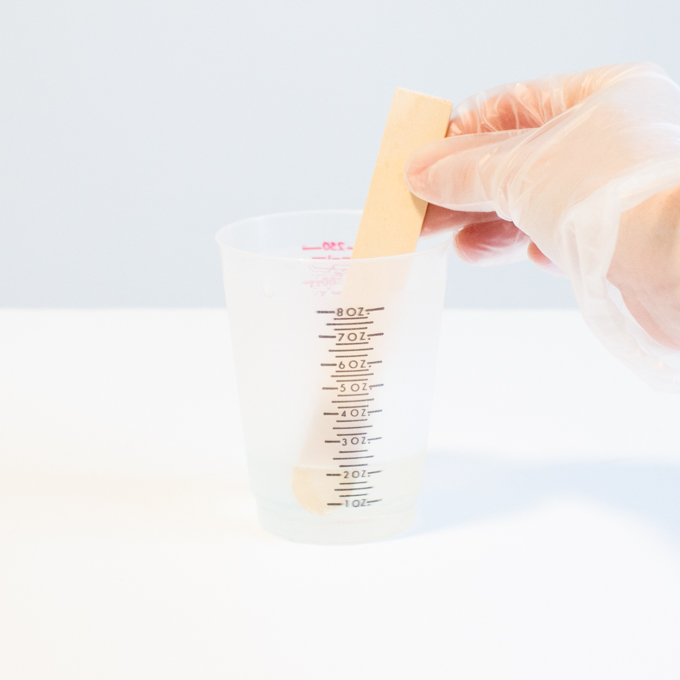
Pour the clear polyester resin into a measuring cup.
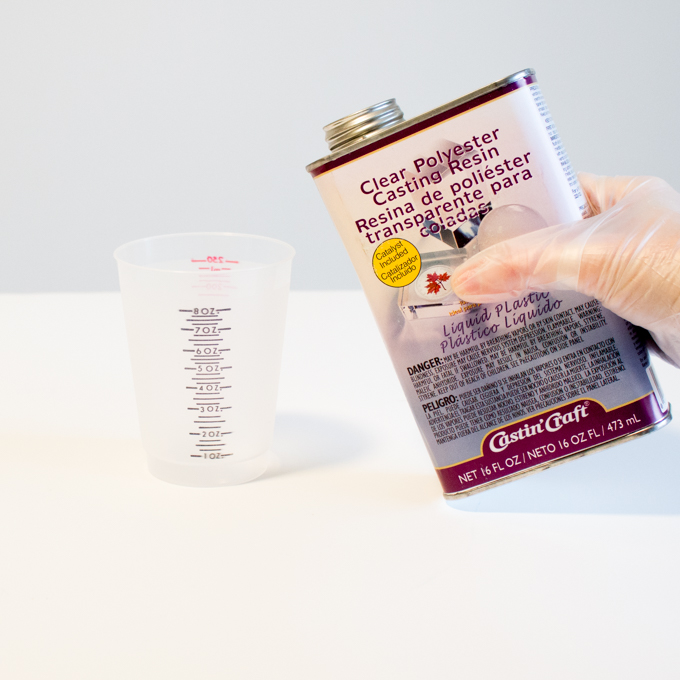
Add the catalyst to the resin. Since I started with 2oz of resin and my molds were 1/4″ thick, I added 8 drops of catalyst per ounce of resin. You’ll need to follow the instructions on the packaging for your specific project.
Stir continuously for 1 minute, scraping the sides and bottom of the container as you mix.
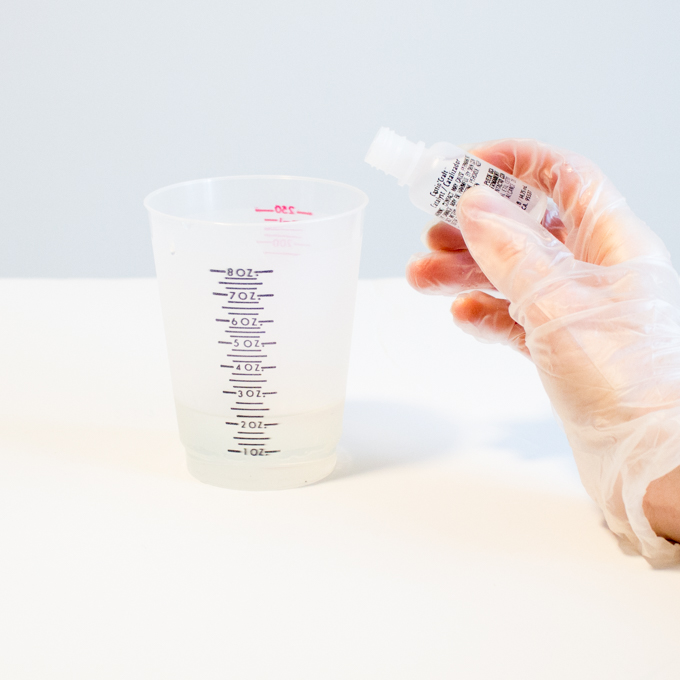
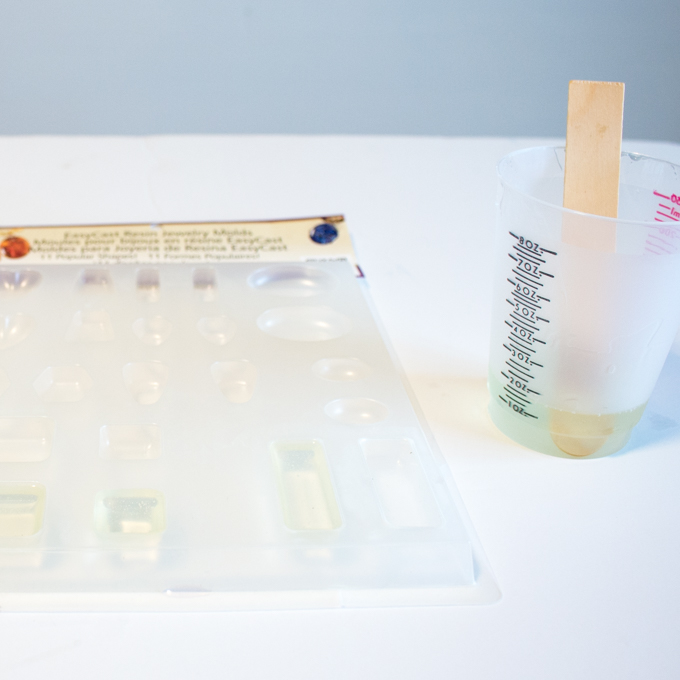
Since I wanted to include some clear “seaglass” to my ombre colored wall hanging, I filled some of the jewelry molds with the clear mixture.
Next, add one drop (a very small amount) of transparent blue dye to the same clear mixture. Stir together until the dye is a uniform color.
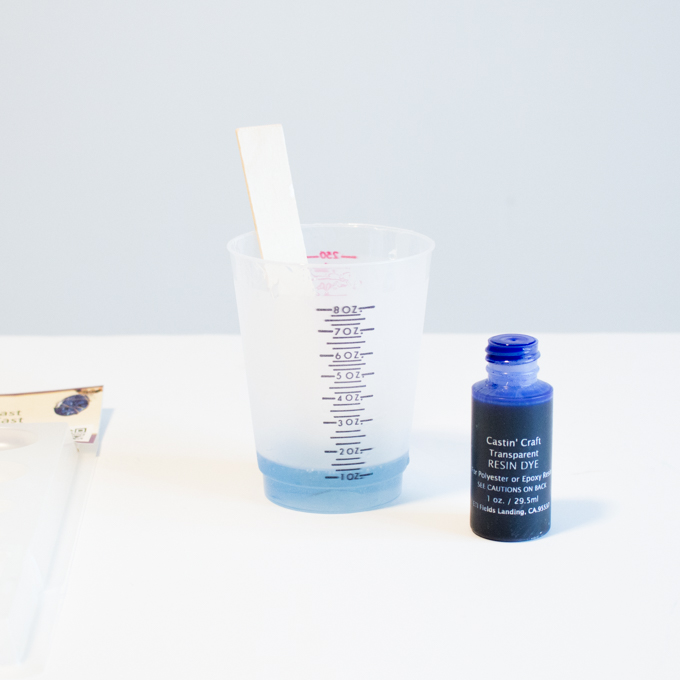
Fill your desired jewelry molds with the light blue mixture.
To have a variety of different shades of blue, add more transparent blue dye to the same mixture and fill in your desired jewelry molds.
Repeat this step one more time to have 3 different shades of blue charms. You can continue these steps as many times as you like to achieve the desired look and the amount of faux seaglass needed for your project.
Cover the pieces to keep dust out and let cure overnight.
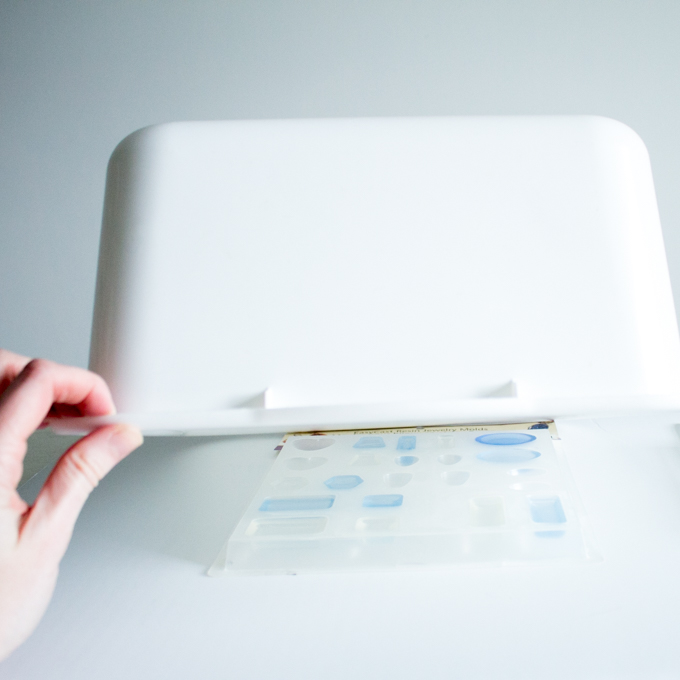
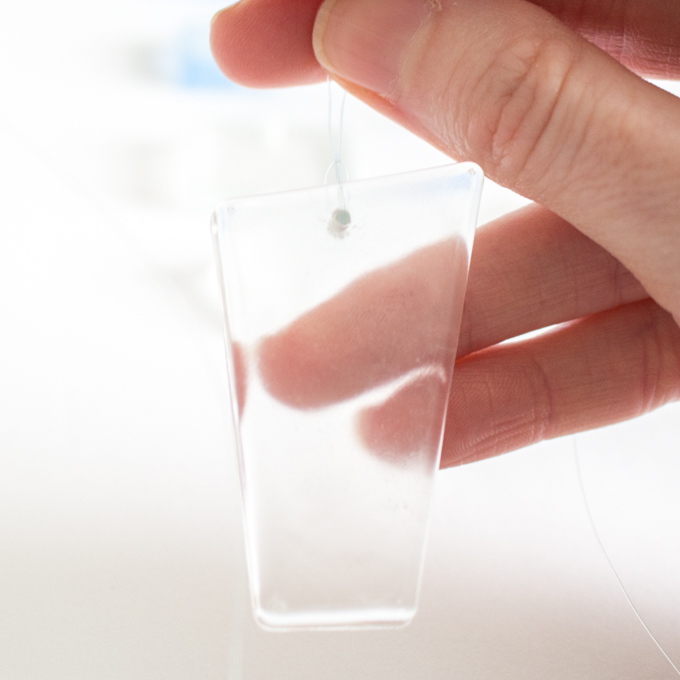
After 24 hours, remove the pieces from the mold. They should easily pop out of the jewelry molds.

Preparing the Faux Seaglass for a Wall Hanging:
Roughly lay out the “seaglass” as you want them to hang on a flat and level surface.
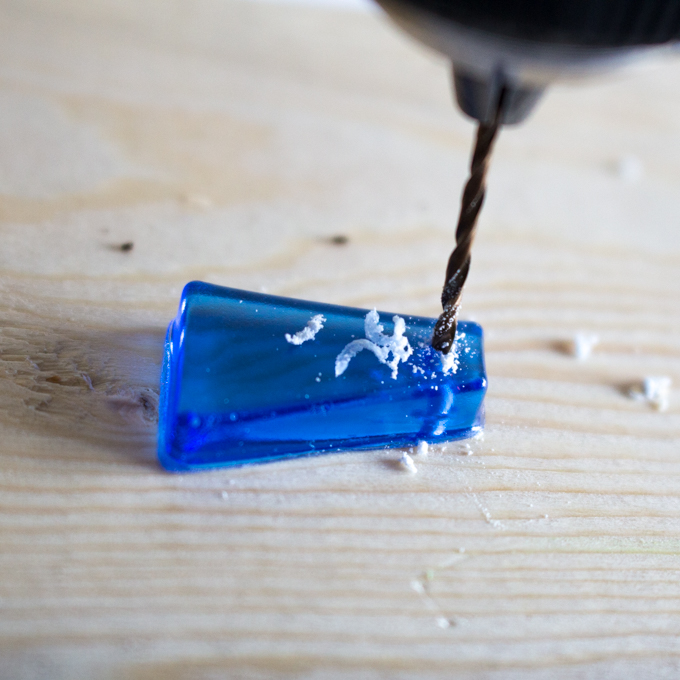
Using a 1/16″ drill bit, drill a small hole at the top of each piece. You can stick a needle through the hole to clear the hole and push out any of the resin shavings.
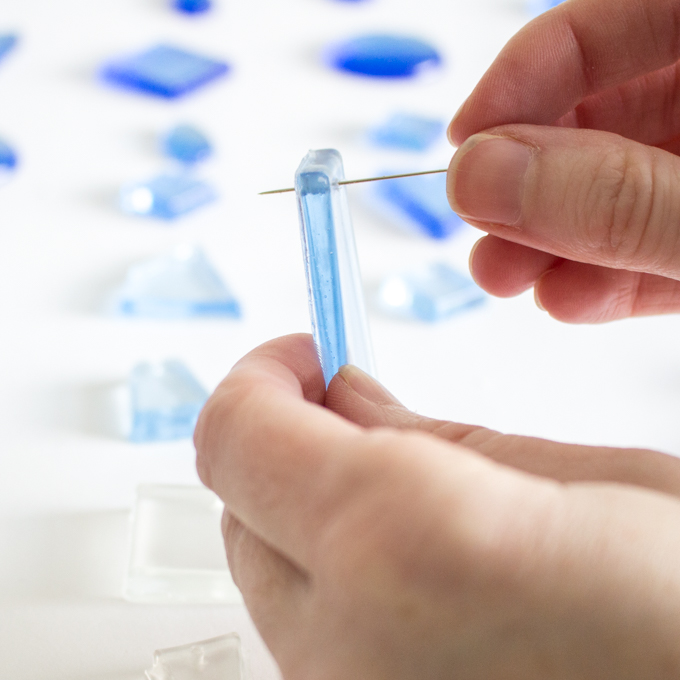
Starting at the bottom, begin to fasten the seaglass together by threading the fishing line through the drilled holes. Space each piece as you like and add a single knot at the top to hold the faux seaglass in place.
Once each piece of faux seaglass is fastened along the fishing line, tie each strand to the wooden dowel (or driftwood in my case). Repeat for all 4 strands evenly spacing the strands apart.
I’m pretty amazed at the amount of possibilities with this clear resin product. For more inspiration, be sure to check out these DIY Gold Leaf Paperweights as well as this DIY Terrarium made using the same Clear Polyester Resin.
Like it? Pin it for Later!
Jane and Sonja are sisters, moms and lifelong craft addicts both living near Toronto, Canada with their families. They share their love of creativity, nature and coastal DIY ideas on their blog Sustain My Craft Habit. They craft and decorate their homes using repurposed and upcycled items and materials found in nature.


Leave a Reply