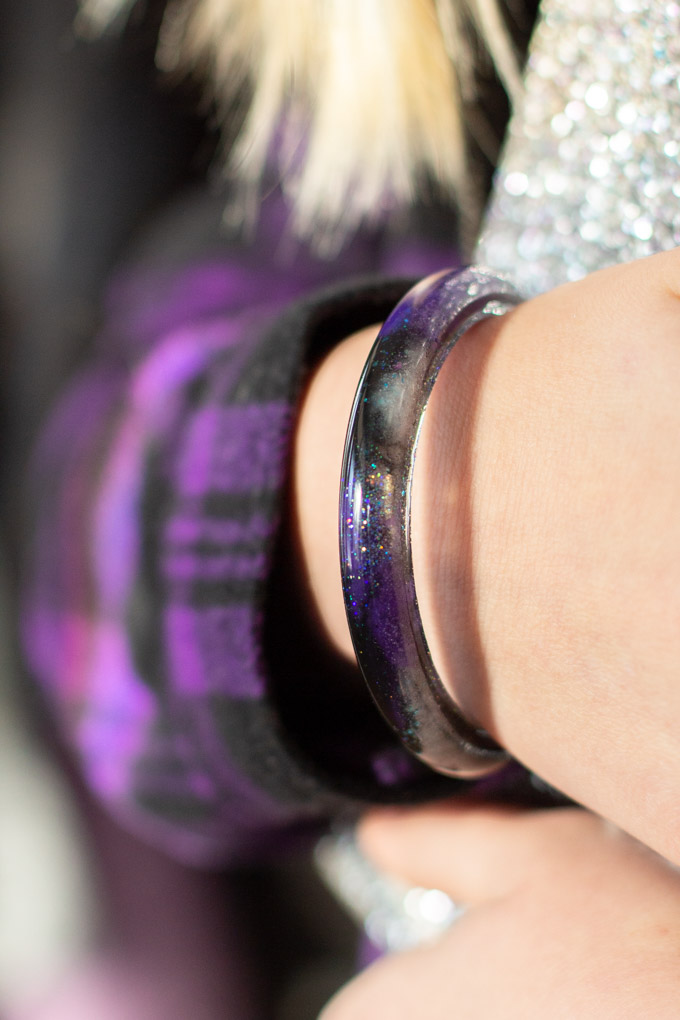
Whether it’s for the love of Star Wars or all things astrological, these beautiful DIY resin galaxy bangle bracelets make a great gift idea for any space loving fan.

I must admit that we do have a few galaxy fans in our home. My husband’s secret moniker just may be “Space Cadet” (don’t tell anyone).
With the release of the new Star Wars movie next week it seems like the perfect time to make some galaxy themed accessories .
When I think of the cosmos all that comes to mind is sparkle, black, blue and purple swirled all together. And that’s exactly what I tried to replicate with this simple resin jewelry project.
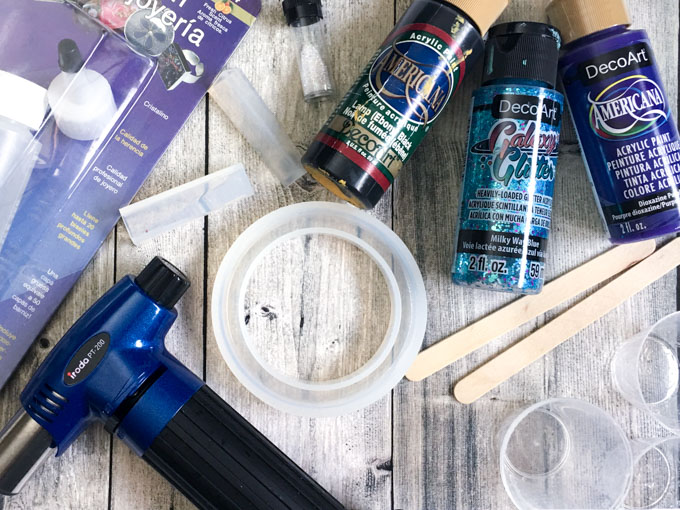
Materials needed to make Galaxy Inspired Resin Bangle Bracelets
- EnvirotexLite Jewelry Resin
- Acrylic paints in black, purple and DecoArt Milky Way Blue Galaxy Glitter
- Fine silver resin glitter
- Silicone bracelet mold
- Measuring Cups and Stir Sticks
- Gloves and paper towels
- Kitchen torch or straw
How to make Galaxy Resin Bracelets
Be sure to read all the instructions on the package before starting. Work in a well-ventilated area. Always wear gloves and protect your working surface.
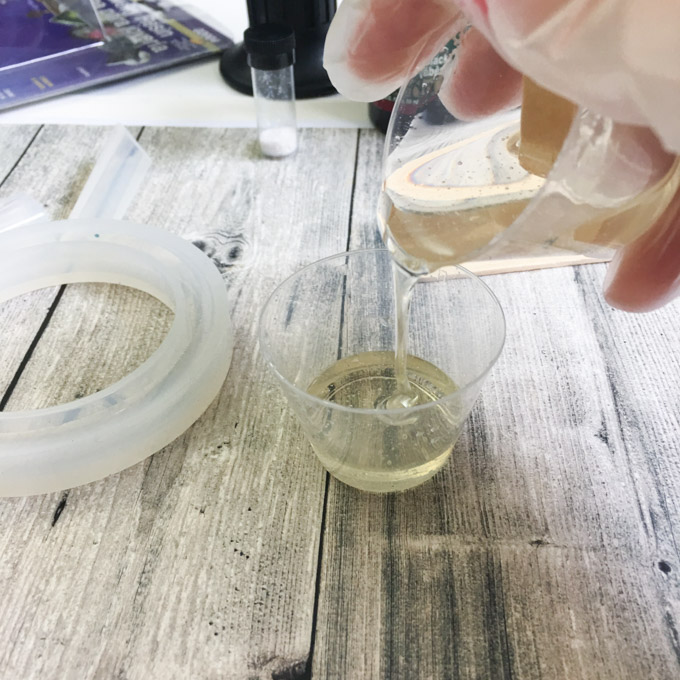
Begin by mixing together equal parts of Resin and Hardener in a small measuring cup. Stir completely for two minutes.
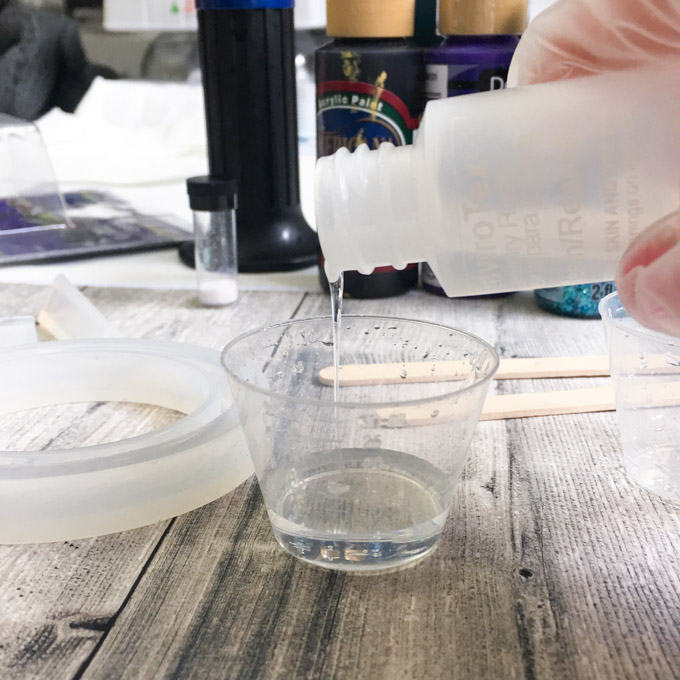

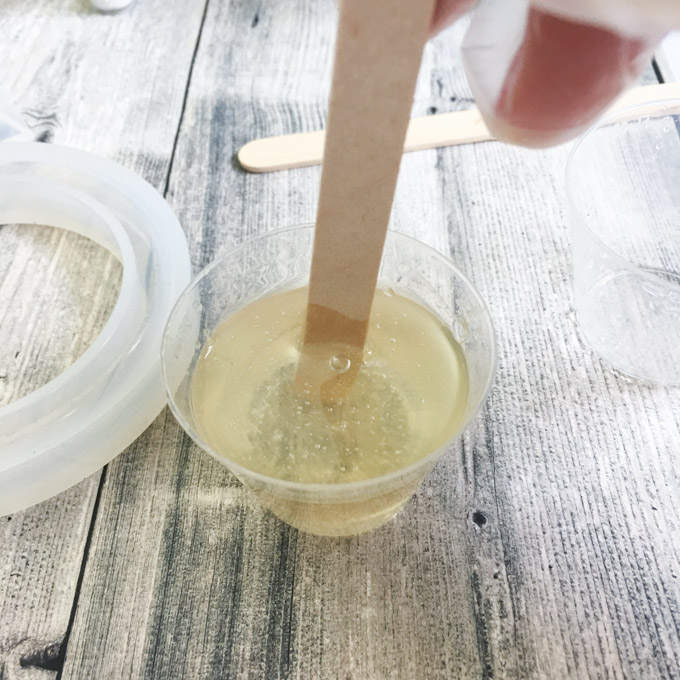
Transfer the mixture into a second measuring cup and continue stirring for an additional minute.
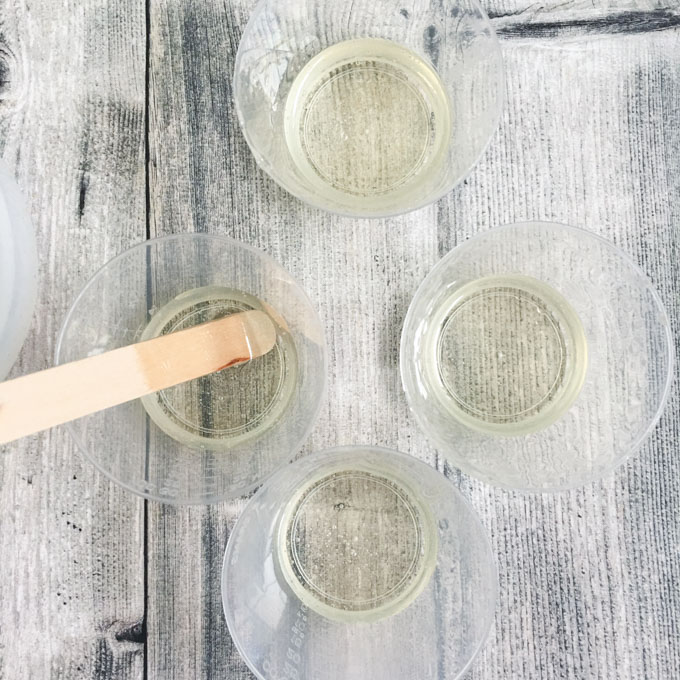
Divide the mixed resin into four separate cups.
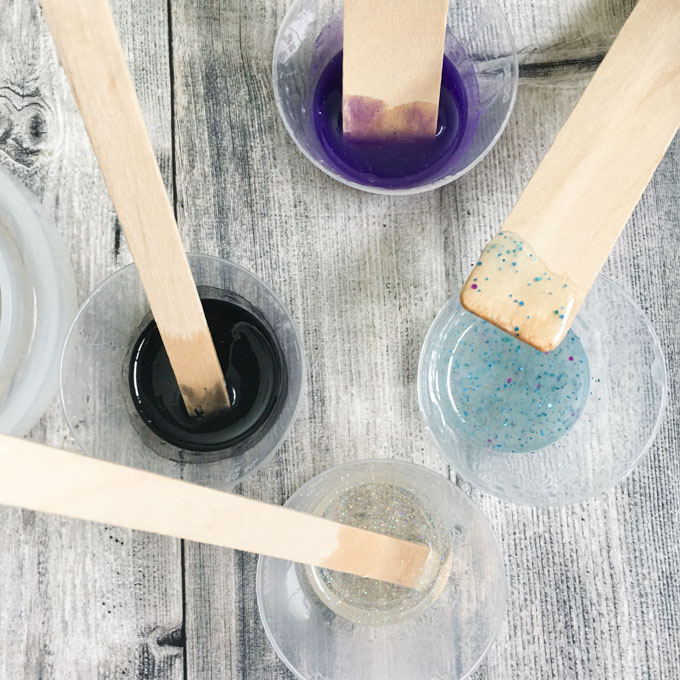
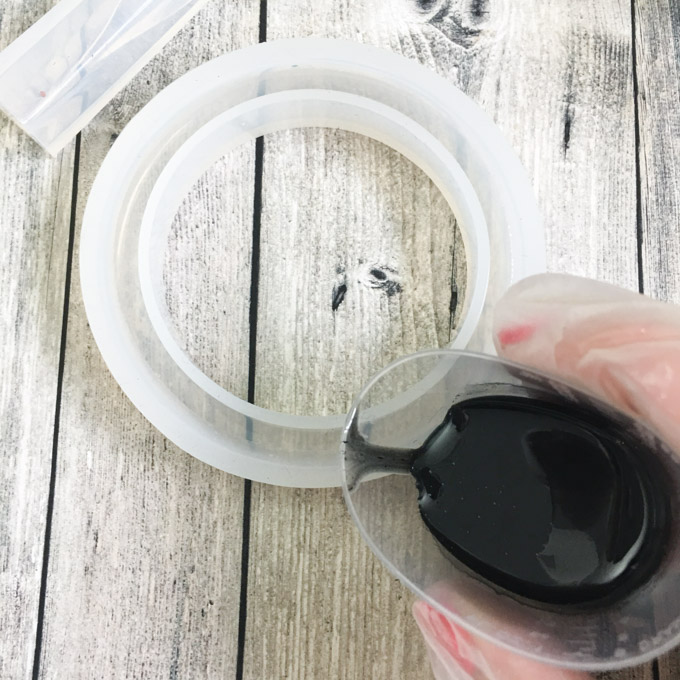
Into each cup drop a few drops of black, purple, blue glitter or silver glitter paint. Stir each completely with separate stir sticks.
Start with one of the colors such as black and add a little bit to different areas of the bracelet mold. Make sure to leave some areas without any black resin.
Take a second resin color such as the clear glitter resin and fill in some of the other areas of the bracelet mold. Continue randomly pouring bits of the different colors of resin to get a layered and swirly effect.
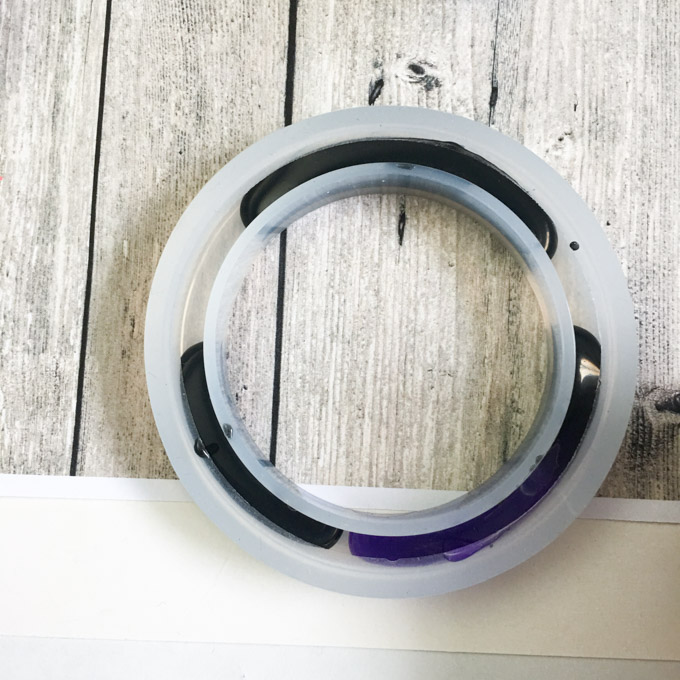
Continue until the mold is filled.
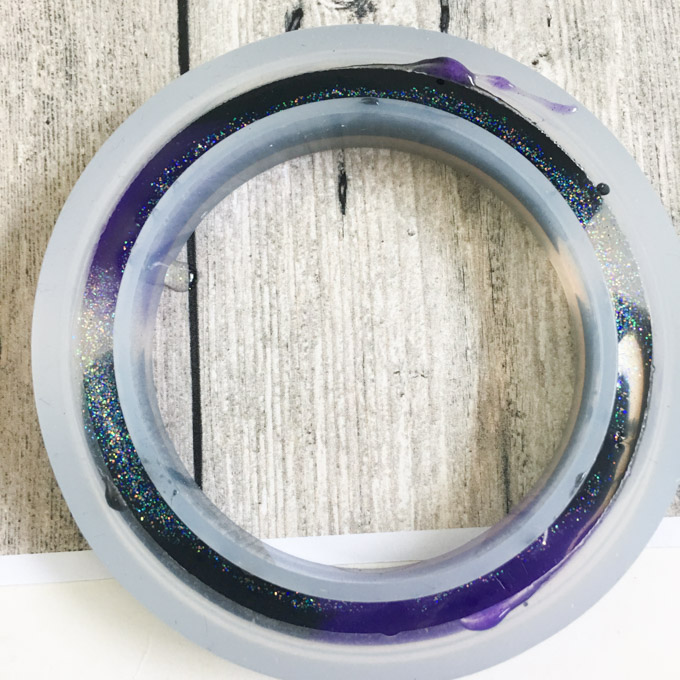
Consider sprinkling a bit of clear glitter in a couple areas of the mold.
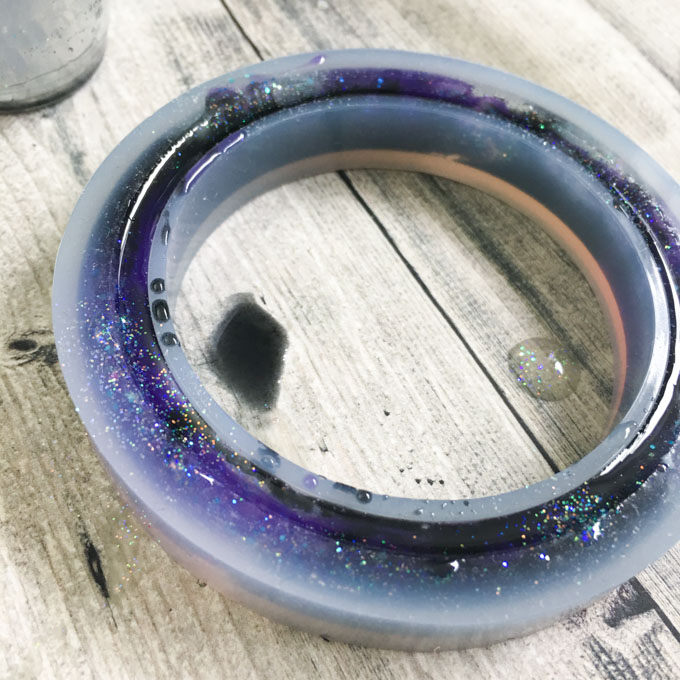
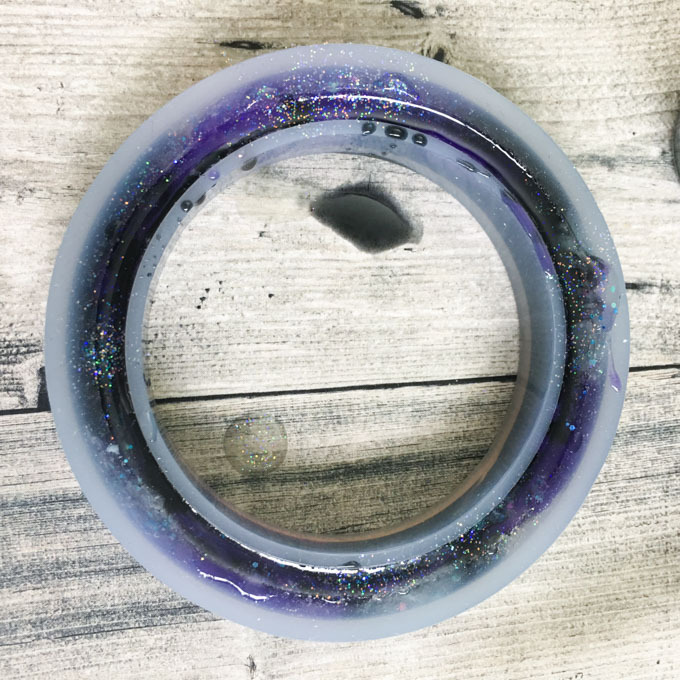
After about 15 to 20 minutes blow off any air bubbles that have risen to the top of the mold. Use either a small kitchen torch or your breath through a straw for this.
Make sure that the bracelet is on a level surface and cover to prevent any dust from settling in. Let the resin cure overnight.
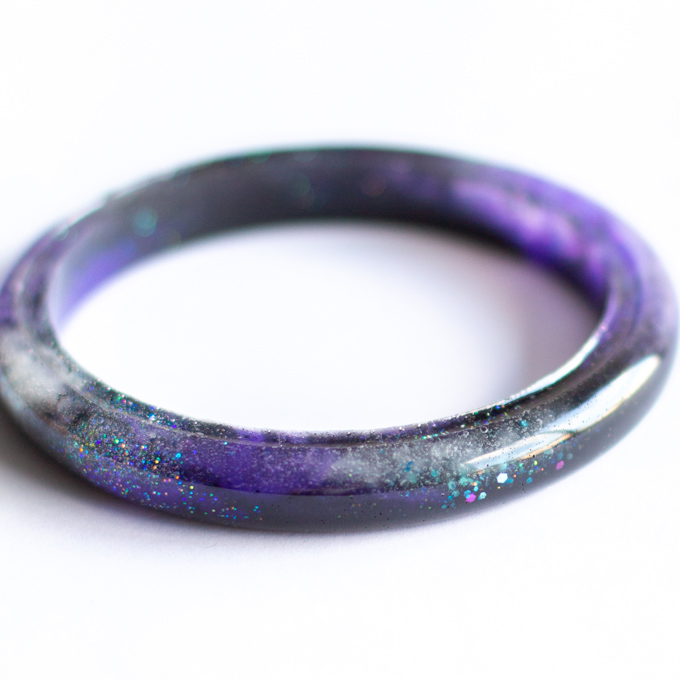
Remove the bracelet from the mold and enjoy.
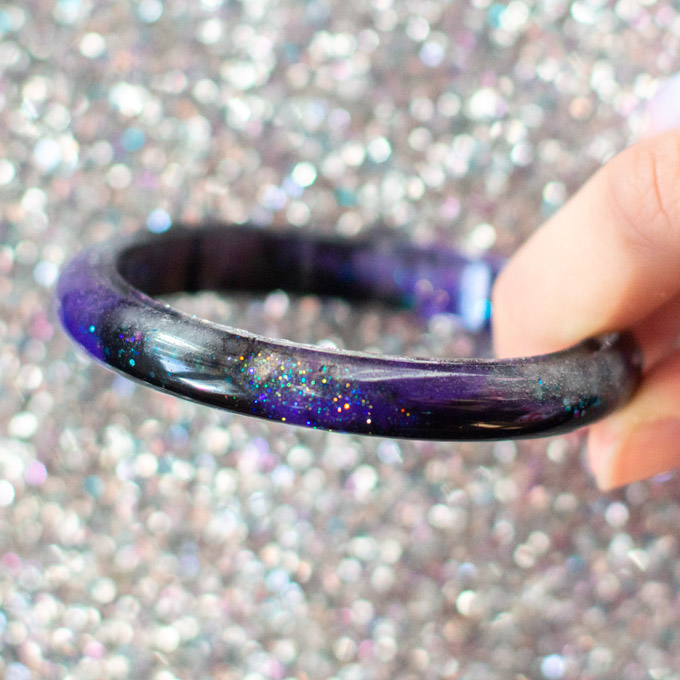
I think the bracelet turned out absolutely beautifully. The different layers of dark and clear resin along with the glitter make it really fascinating to look at. You can completely daydream while staring at this little piece of outer space.

Jane and Sonja are sisters, moms and lifelong craft addicts both living near Toronto, Canada with their families. They share their love of creativity, nature and coastal DIY ideas on their blog Sustain My Craft Habit. They craft and decorate their homes using repurposed and upcycled items and materials found in nature.


I have done exactly this BUT
1. My blue bangle I overfilled and when cured I had to cut off the pieces so is very rough
2. With my orange bangle the open end had a concave which I filled that afterwards but it is still sharp.
How do I fix this problem? The open side is always sharp in one way or the other ??
Pse help
Hi Karen!
Yes, this is definitely a bit of a struggle. Mine also came out with a sharp side because it was a bit concave. I filled it in and although there’s a bit of an edge, it’s OK for my personal use. If you really need it to be smooth, you’ll likely have to wet sand the ridges and then possibly recoat the sanded area with a bit more resin.
I hope this helps,
Jane