
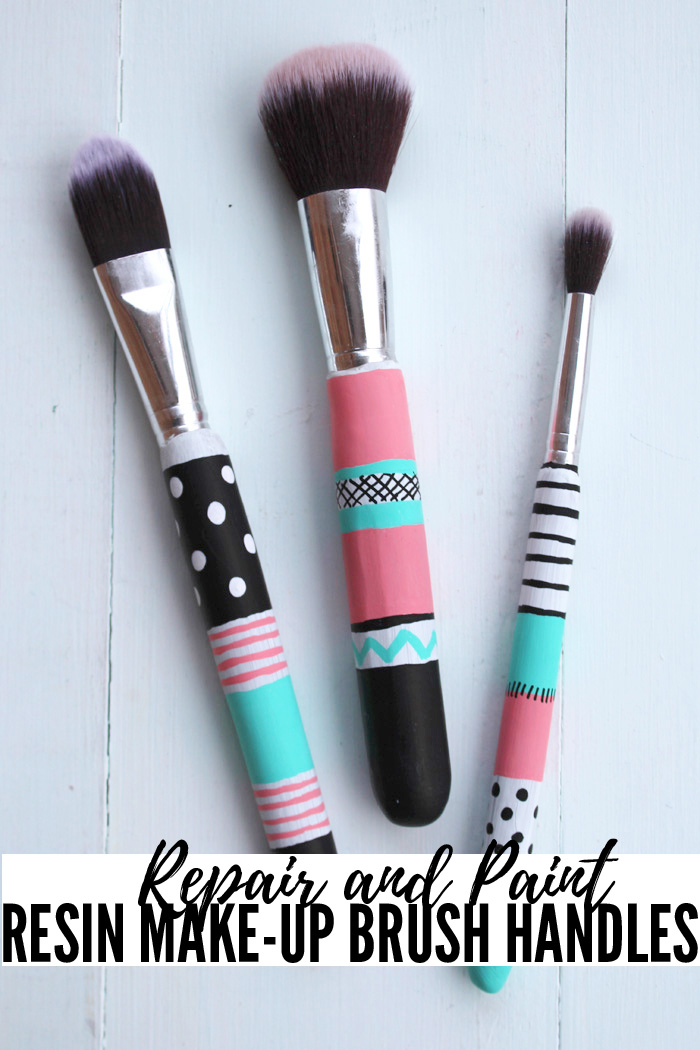
Make-up Brush Handles with Epoxy Clay
Hi Resin Crafters, it’s Natalie from Doodlecraft showing how to update those old make-up brushes using resin. Repairing old, mismatched or worn brushes is easy and gives them new life. Cover make-up brushes in Epoxy Clay and paint them fun colors and patterns. Adding a personal touch to new make-up brushes makes a great handmade gift too.
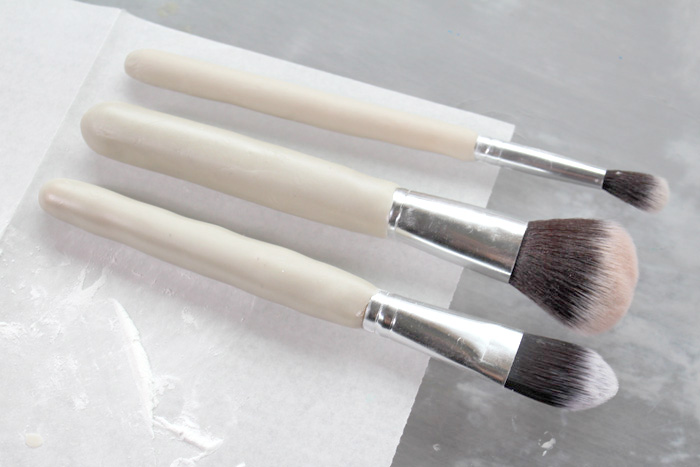
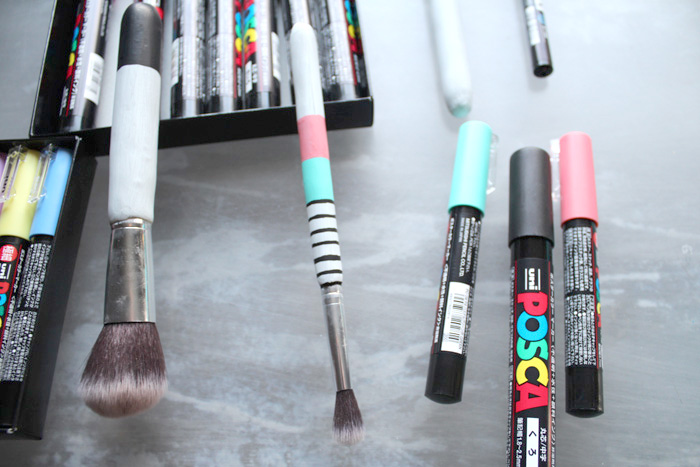
I love a great make-up brush, but mine look like they’ve been closed or smashed in the drawer a couple times. Chips in the wood and scratches on the finish. It’s time to revitalize them and make them last years longer.
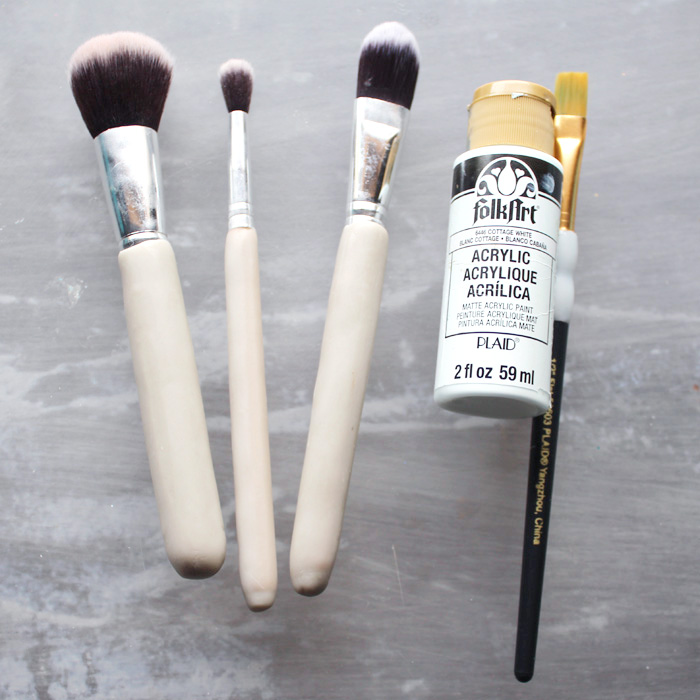
Supplies Needed:
- Epoxy Modeling Clay
- Make-up Brushes in need of a face lift
- Cornstarch
- Posca Paint Pens
- White Acrylic Craft Paint
- Resin Spray Sealer
Step 1: Mix Epoxy Clay
Begin by mixing one part of each of the EasySculpt tubs together. Add cornstarch to keep the epoxy from being so sticky.
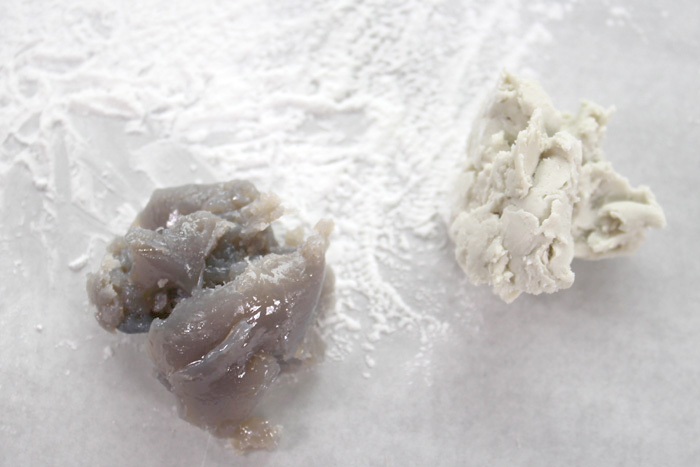
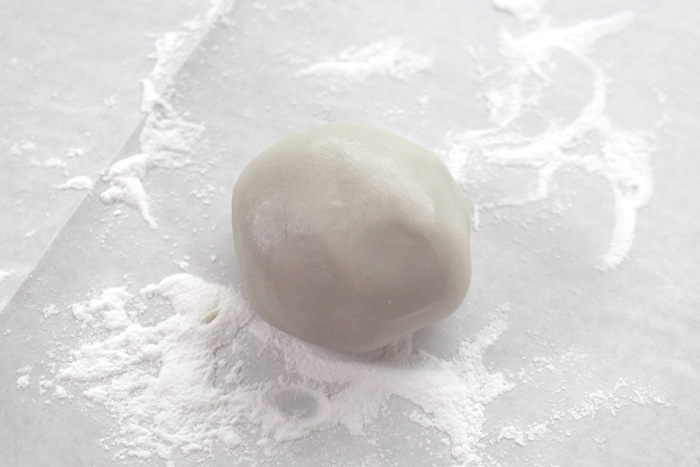
Mix until it is smooth and no longer marbled.
Step 2: Cover Handles
Then wrap the mixed clay around the handles of the make-up brushes. Squeeze and press the clay onto the handles.

Roll the handles in cornstarch to smooth them out and let them sit to cure. Epoxy Clay dries with a smooth, porcelain-like finish…and super strong too. These brush handles will last for a long time now.
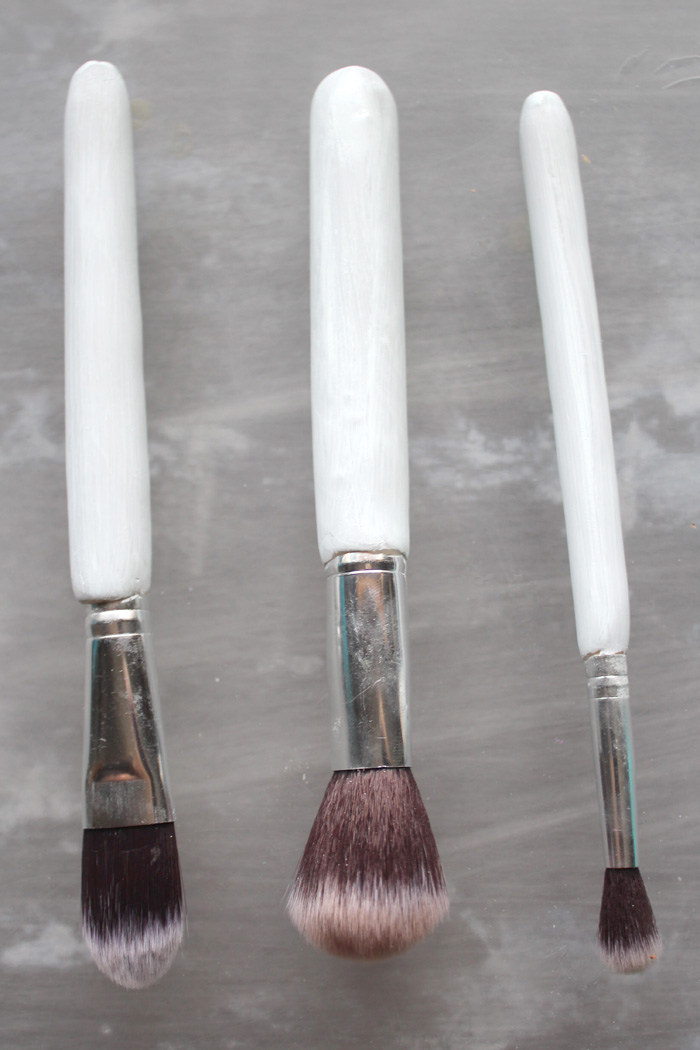
Step 3: Paint
After the brush handles have cured overnight, paint the outside of the epoxy clay with some white paint.
Let the white acrylic craft paint dry completely.
Step 4: Decorate!
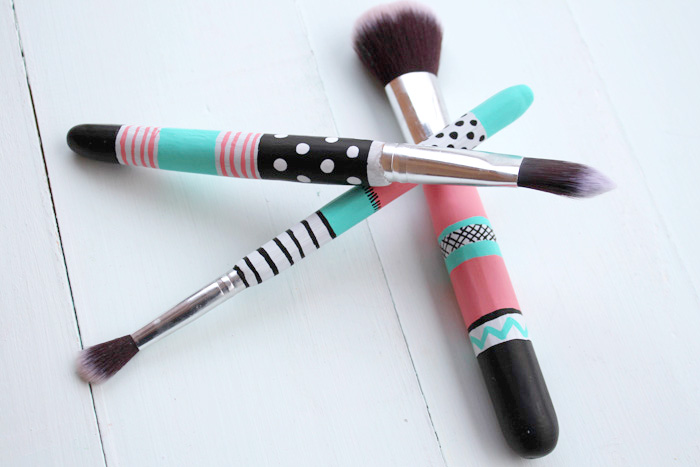
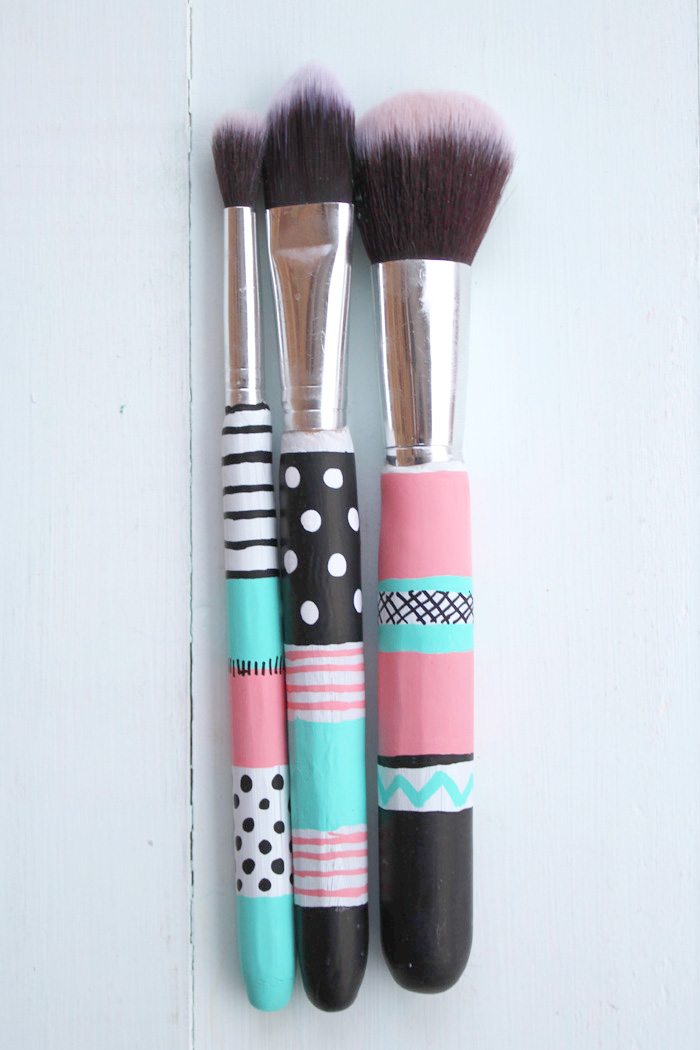
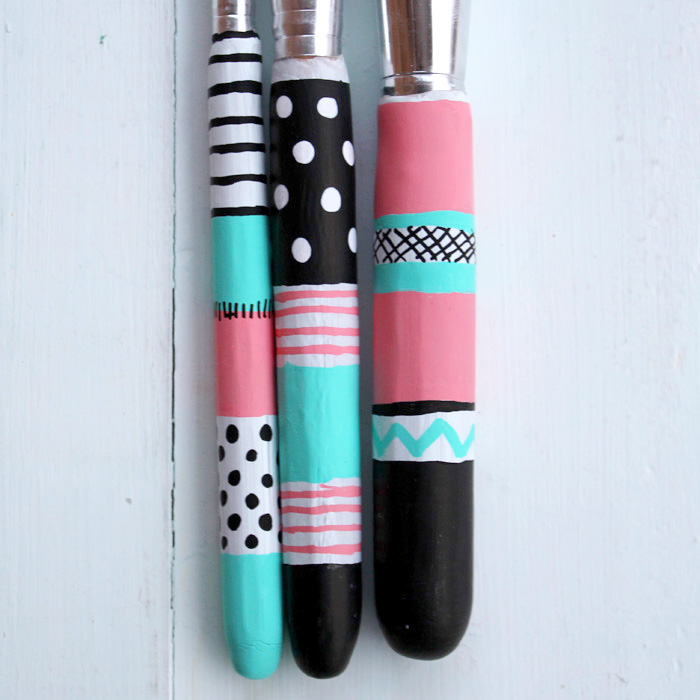
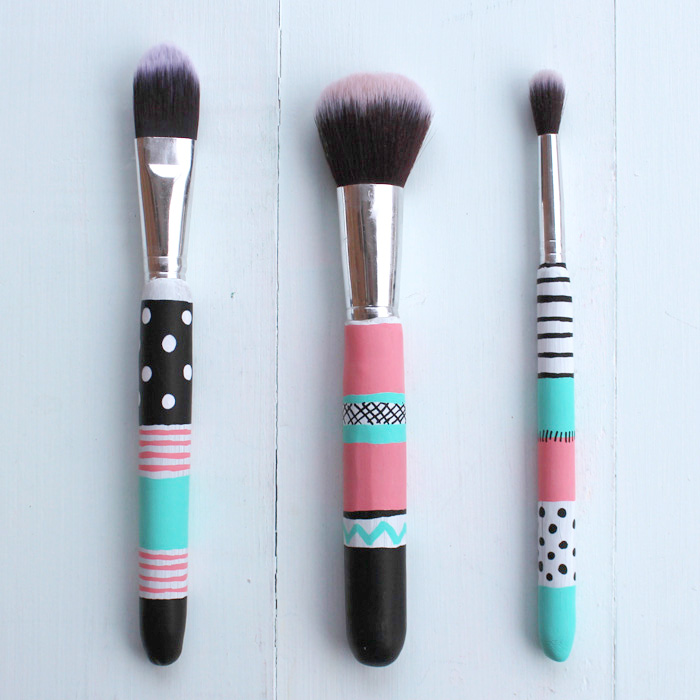
Finally, use the Posca Paint pens to decorate the brush handles.
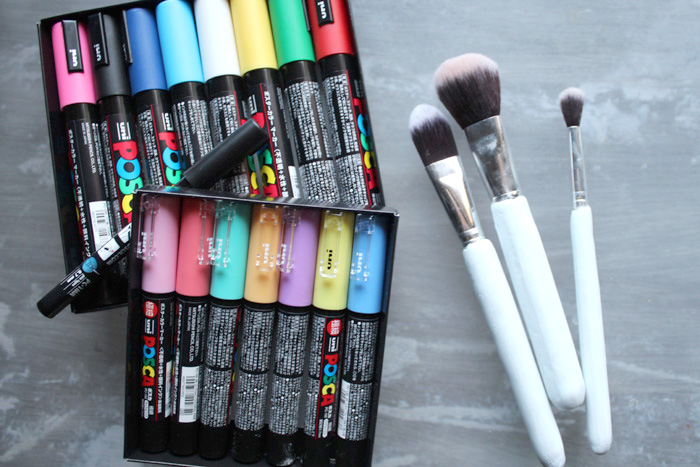
Add stripes, color-blocked sections, polka dots and different patterns.

Let each section dry for a few minutes. While drying, paint another brush section.
Pick your favorite colors to make the brushes extra special! Make a custom set of brushes for an especially amazing handmade gift!
Step 5: Finish
Finish off the brushes by covering the bristles with paper and wrapping the metal part in painters tape. Then place on a piece of cardboard and spray them with Resin Spray Sealer for the perfect shiny, durable finish. The finish will make them shine and easy to clean often, as make-up brushes are.
That’s it!
Like, Pin and Share!
Natalie Shaw is a Craft/DIY blogger at Doodlecraftblog.com. She loves sci-fi, fantasy and video game geekery and that comes out in many of her projects. She posts budget conscious DIY’s, crafts, jewelry, kid friendly projects, upcycled treasures and other fun on her blog 5 days a week.


Leave a Reply