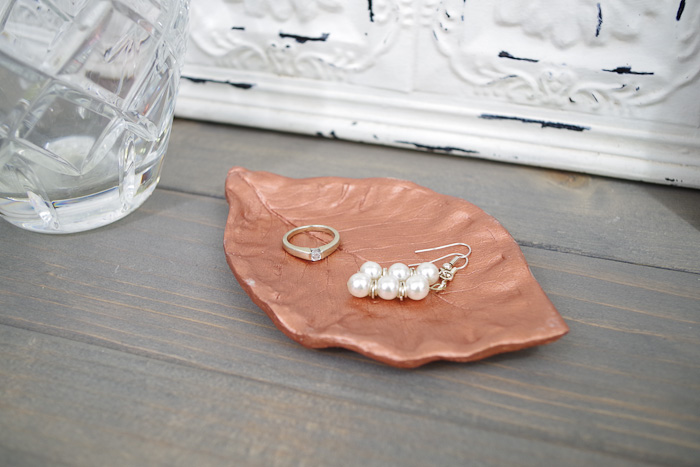
One of my favorite home decor items is a small dish that looks great on it’s own, but that is functional and can hold small items temporarily to keep my home feeling less cluttered. Today I want to show you how to make an amazing leaf imprint clay dish using EasySculpt!
Leaf Imprint Clay Dish
Supplies:
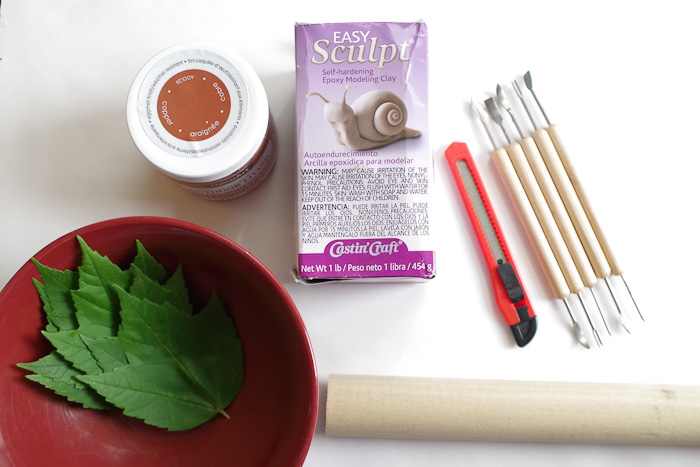
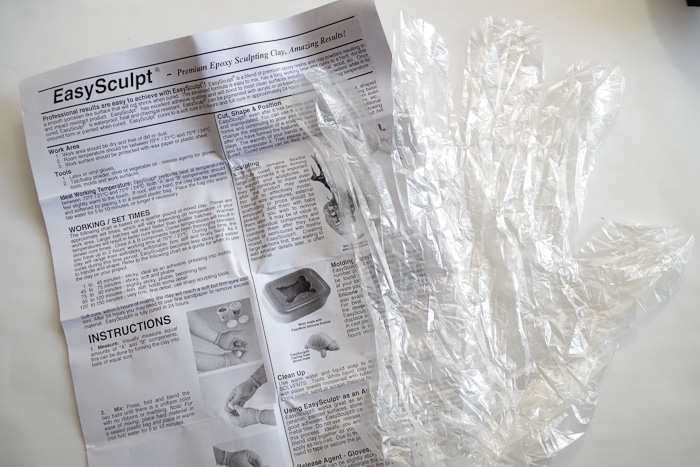
- EasySculpt Epoxy Modeling Clay and included Instructions
- Disposable gloves (a large pair comes in the package, pictured above)
- Wax paper
- Clay carving tools
- Smooth rolling tool
- Leaves
- Olive oil
- Large bowl if you want to mold your bowls
- Small beads or something to lift sides slightly
- Paint, if preferred
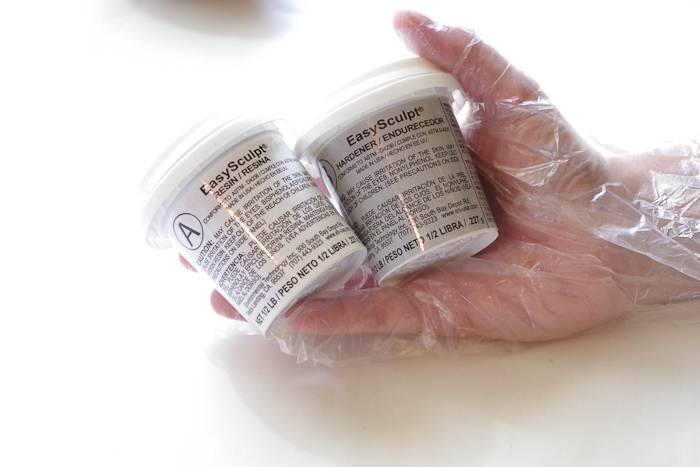
Mixing the EasySculpt:
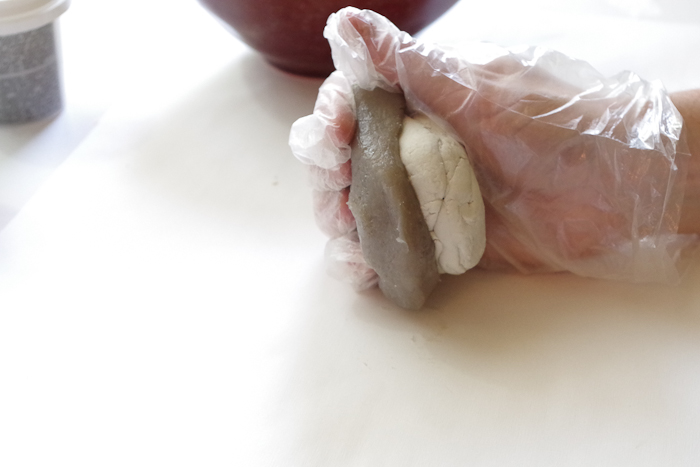
Take equal amounts of Part A and Part B. The easiest way to tell you have equal amounts is to roll them into two small balls of the same size.

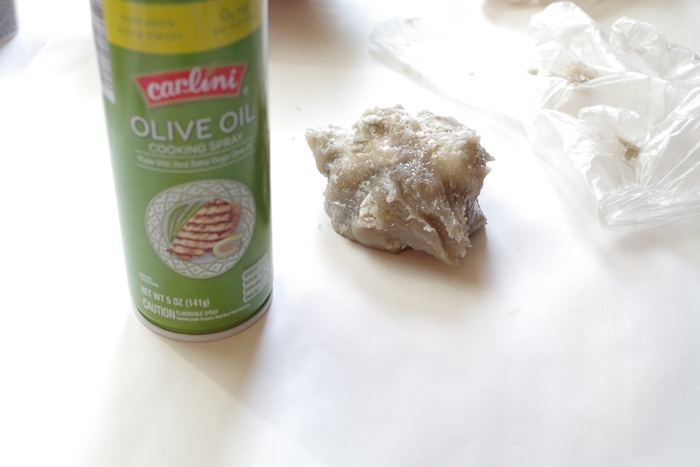
Begin to knead the two parts together. This will be quite sticky, so use a small amount of olive oil on your gloves and surface to help get through the sticky stage. I found it fastest to put the clay into one palm of my hand and use the other palm to smash them together. Repeat that step until they are completely blended and one solid color and texture.
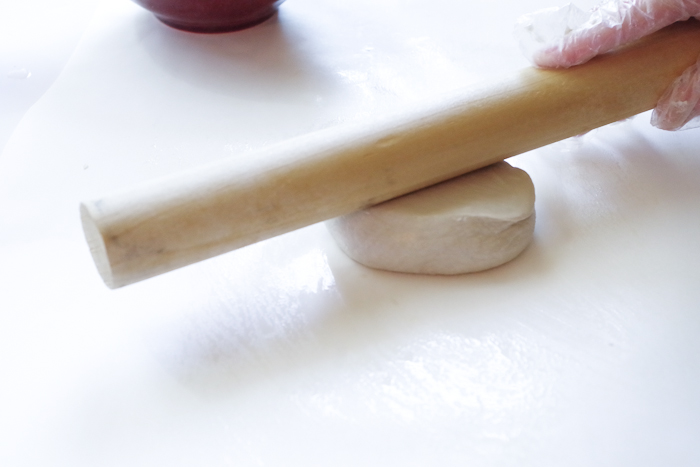
Shaping your Clay Dish:
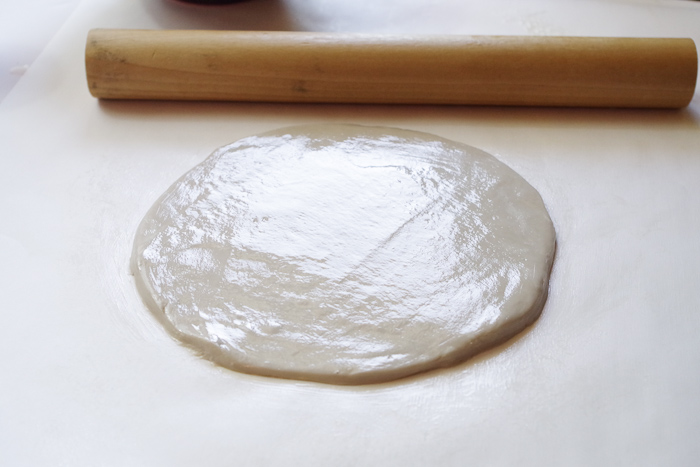
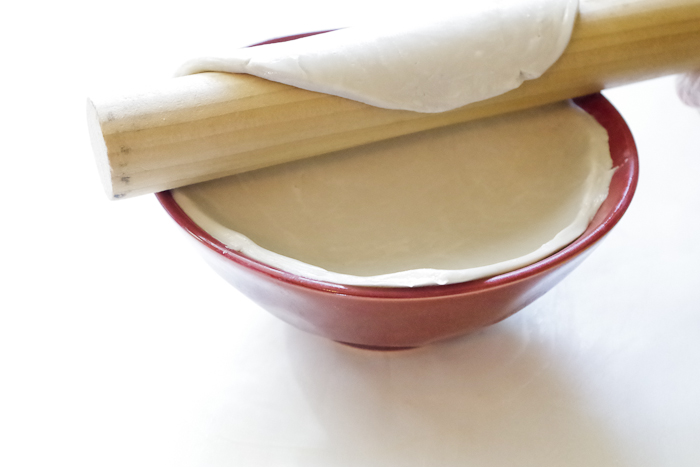
When you are done mixing, place the ball onto your work surface and begin to roll it out to the desired size. For this project, I needed it to be large enough to fit inside my red bowl, as you’ll see.
If you are using a bowl “mold” you will want to coat that in a small amount of olive oil, then place the clay into the bowl mold. This step is not necessary if you are just doing a sculpted bowl and using other ways of lifting the sides (as you’ll see in my other two bowls explained below.)
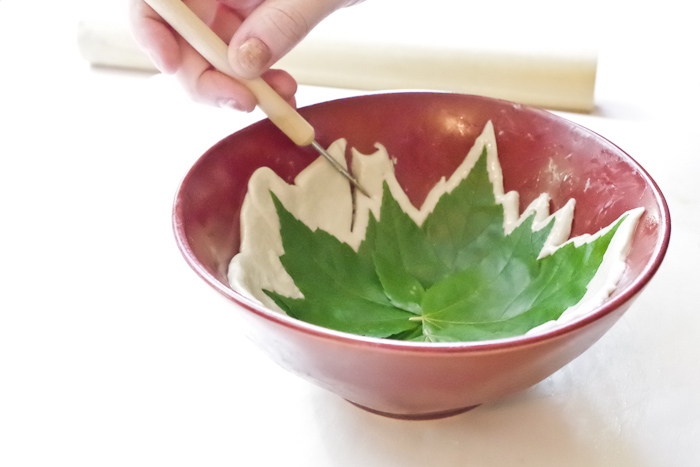
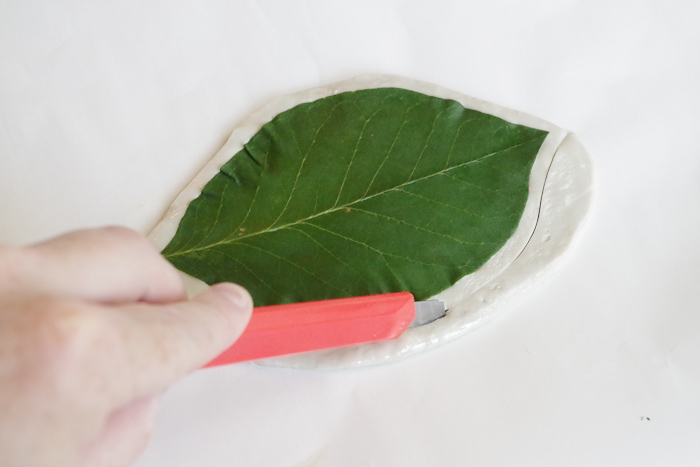
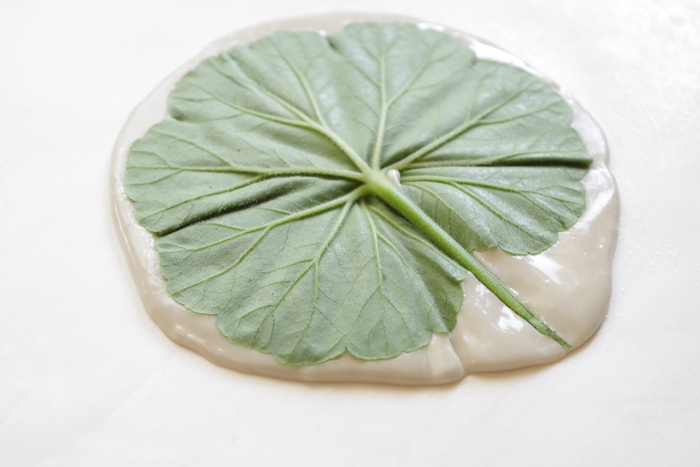
Alright, now that the clay is in the bowl, get your leaves and press them into the clay in the pattern that you want. Cut the excess clay in the shape you want. You could leave the edges flat and just go straight around the top of your bowl, or you could do what I did and cut around the shape of the leaves. It’s all personal preference, which is what makes DIY projects so much fun!
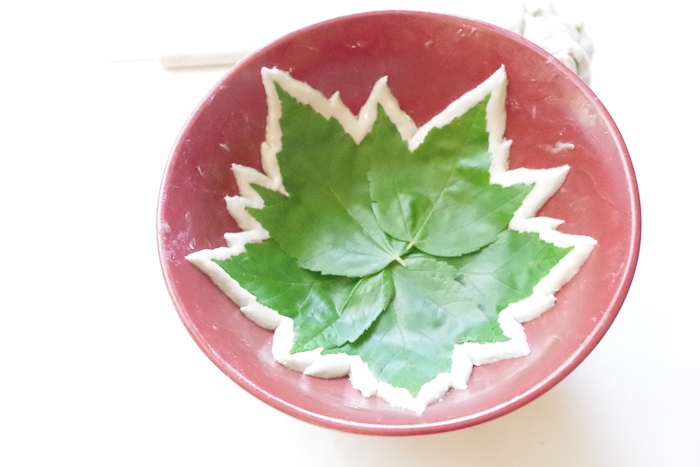
Alright, let that set for awhile until the clay has stiffened up a bit and the imprints will stay sharp, then remove the leaves.
Other options for shaping:
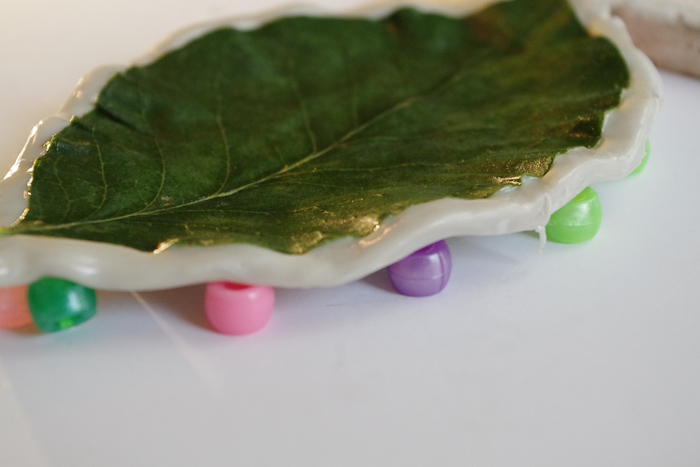
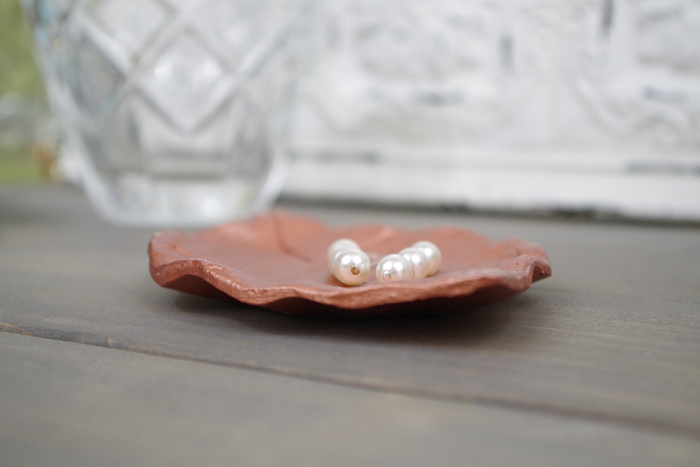
If you are looking for a flatter bowl, more like a dish, then here’s a method that could work for you: Roll out your clay onto wax paper. Press your leaf into the clay. Cut around the leaf (through the wax paper) and make the final shape that you want.
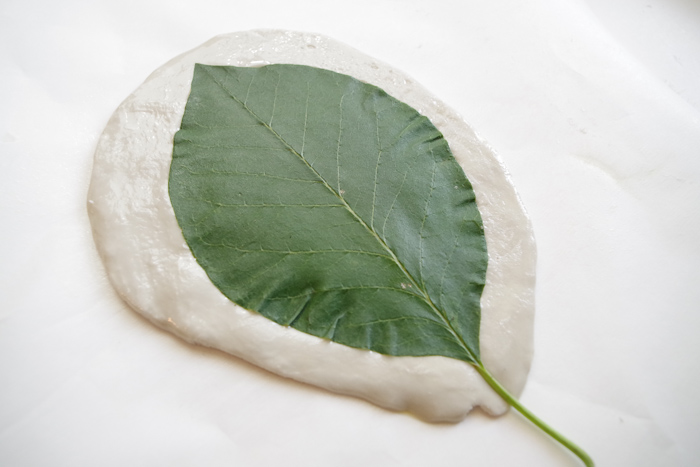
Next, you’ll put beads or any small object underneath all of the sides of the clay. Remember, there should be a liner of wax paper beneath it so it won’t stick to the beads. The beads give the edges a little bit of wave which I thought was great for the leaf design of the dish. When the clay has stiffened up (about 45 minutes later) go ahead and remove the leaf, leaving just an imprint.

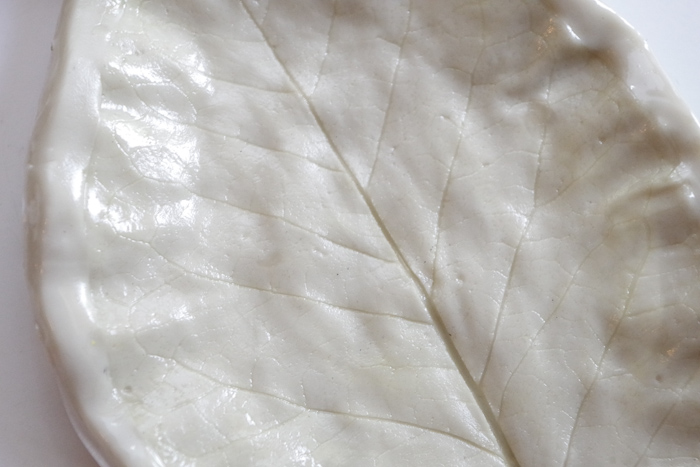
As you can see, there is a bunch of detail. It really is a cool process.
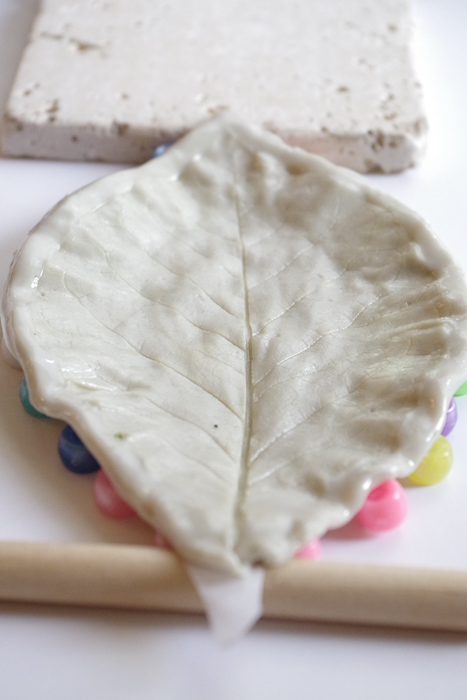
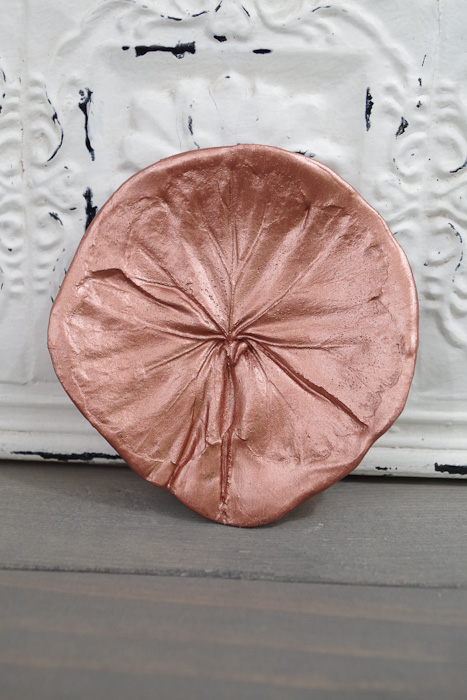
Let your dish cure for 24 hours. Here’s another design that I tried. I loved the shape of this leaf as it was a bit different than the others.
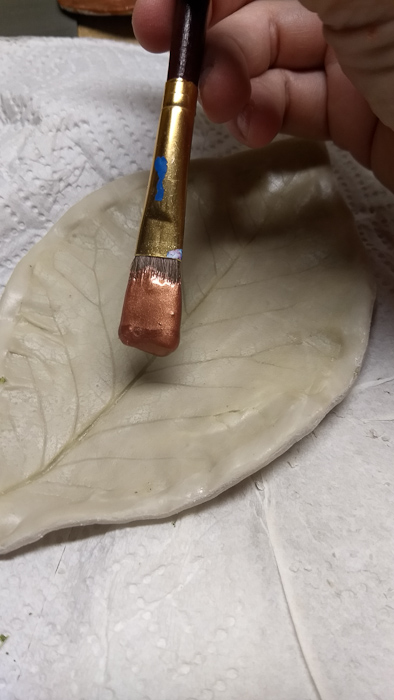
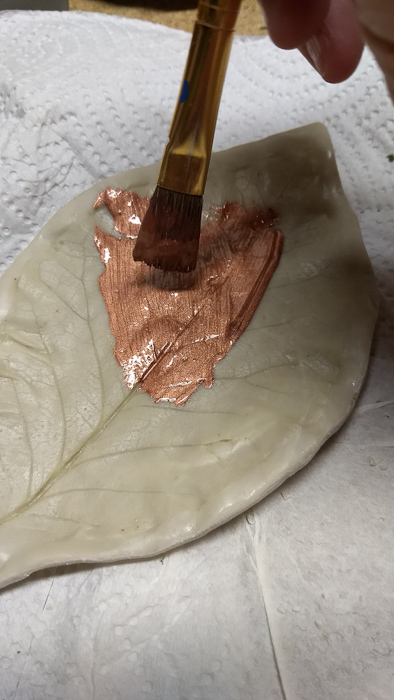
Painting Your Clay Dish:
Okay, now that all the bowls have cured for 24 hours, finish them as you wish. You can leave them the natural gray of the clay if you want. I opted to paint mine copper because I am loving copper right now. The metallic finish of it really brings out the details of the leaf imprint.
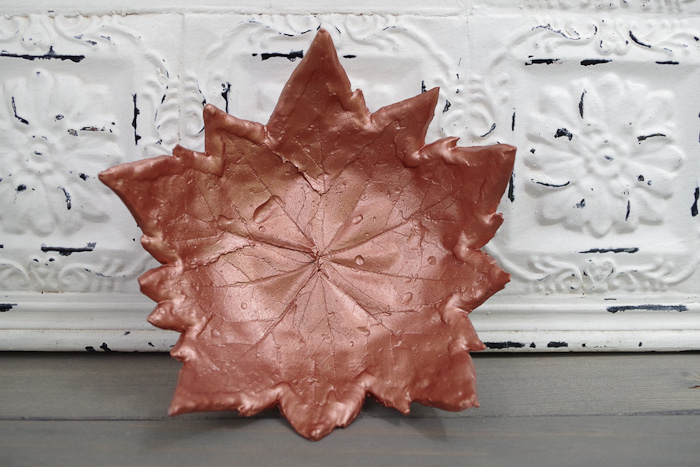
Project Complete!
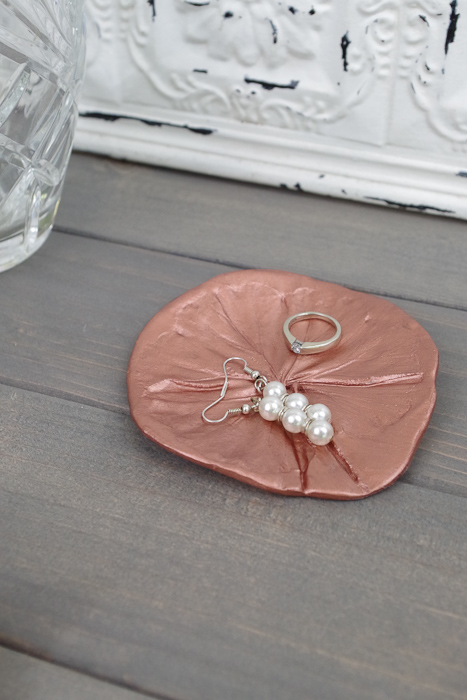
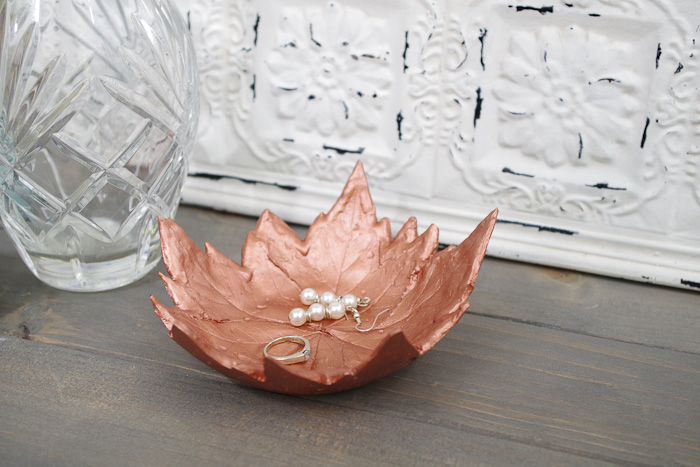
Once the paint dries, you’re done! You have an amazingly awesome leaf imprint clay dish and can use it anywhere in your home where you just need a catch-all for small items.
As you can see, with the multi-leaf bowl design there were some air bubbles underneath the leaves. I hadn’t realized that when creating it, so if stuff like that bothers you then be sure to be more careful when placing your leaves. Personally, I think it just gives it a more rustic look and I’m okay with it.

I’ve already placed mine in various spots throughout the house to catch all the little trinkets, coins and jewelry.
Get out there and try the EasySculpt Epoxy Modeling Clay! It’s easy to use and you don’t have to fire it up in a kiln like you would with a normal clay. I’ve got so many more ideas for this clay. What would you do with it? As always, feel free to comment or ask questions! Thanks for checking out my leaf imprint clay dish project!
~Sheri
Sheri is a Maker and DIY blogger at Hazel + Gold Designs. She is usually in the middle of multiple projects at once and finds great satisfaction and joy in creating something new. She is constantly learning new skills, putting them to the test, and sharing her experience and knowledge with others. Her favorite hobbies are crafting, painting, crocheting and basic woodworking. Her goal is to inspire others to step out of their comfort zone, learn a new skill and have the confidence to make their life a little more beautiful!


I love these dishes !!! Can you use fake leaves for these or do they have to be real ?
Yes, fake leaves work too, as long as they have texture they will leave a great impression.