Learn how to create a beautiful DIY rainbow resin bowl with Promise Table Top Epoxy!
Hey Resin Crafters! Amber Oliver here with another great resin craft. There are so many molds out there to use for your resin crafts. There are also a ton of creative ways to use resin that DON’T use a mold! What about using a mold in a way you didn’t expect?
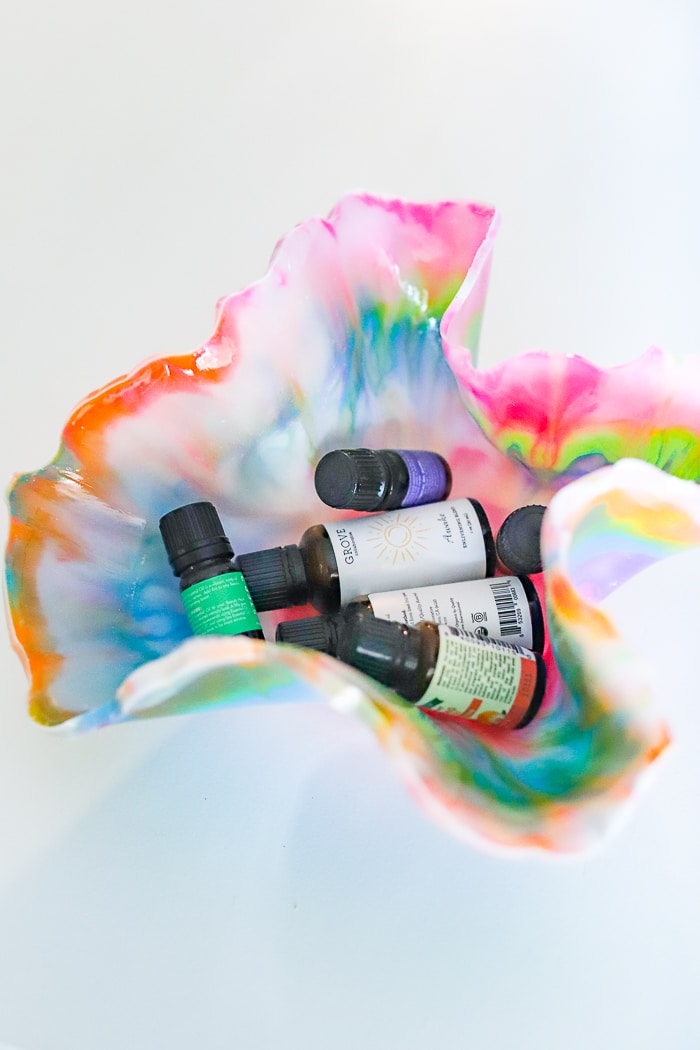
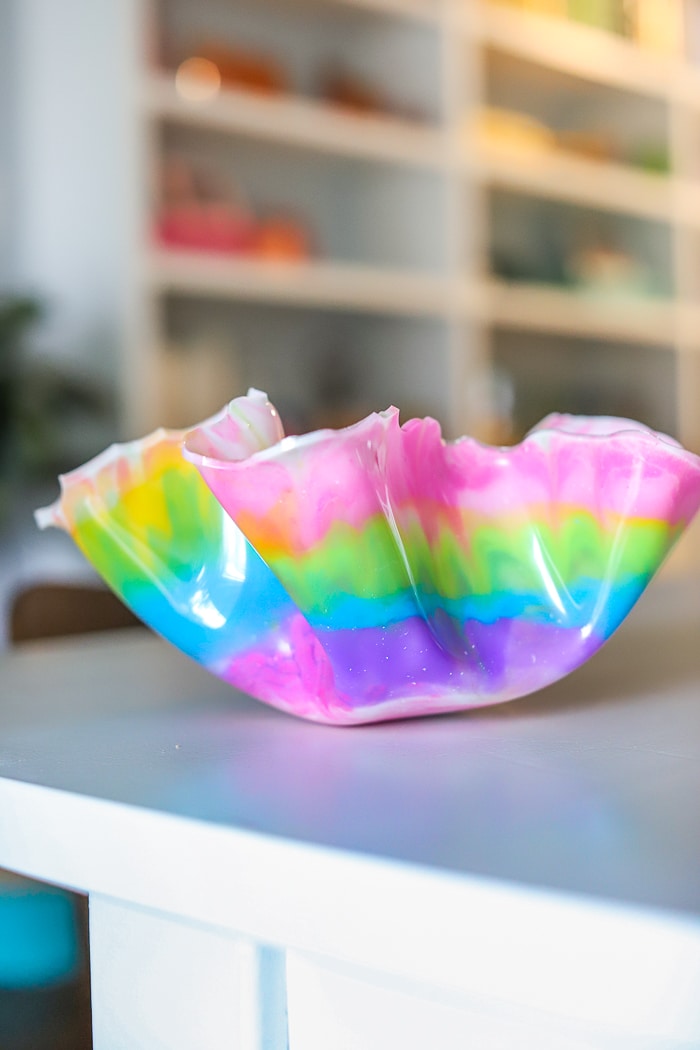
For this project, I used a large, flat, rounded mold to create a DIY resin bowl! I’ve noticed resin goes through different stages as it sets and there’s a nice sweet spot where the resin is no longer sticky but it is still bendy. This a a great time to try shaping your resin however you’d like!
SUPPLIES NEEDED FOR DIY RESIN BOWL WITH TABLE TOP EPOXY
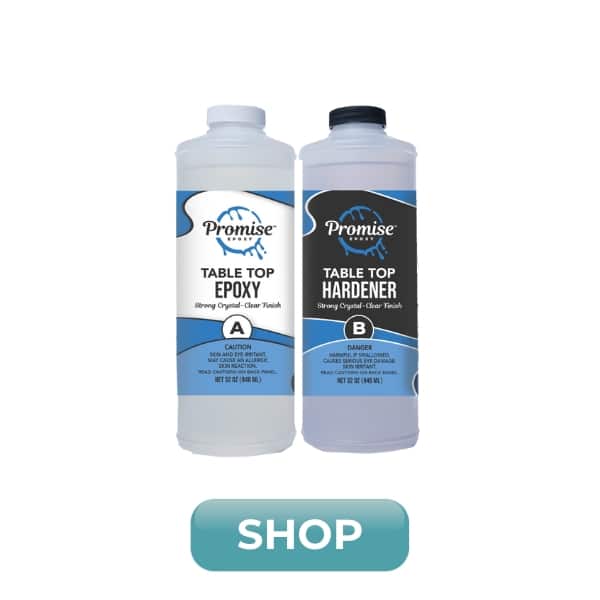
- 16oz of Promise Table Top Epoxy
- Flat, round mold
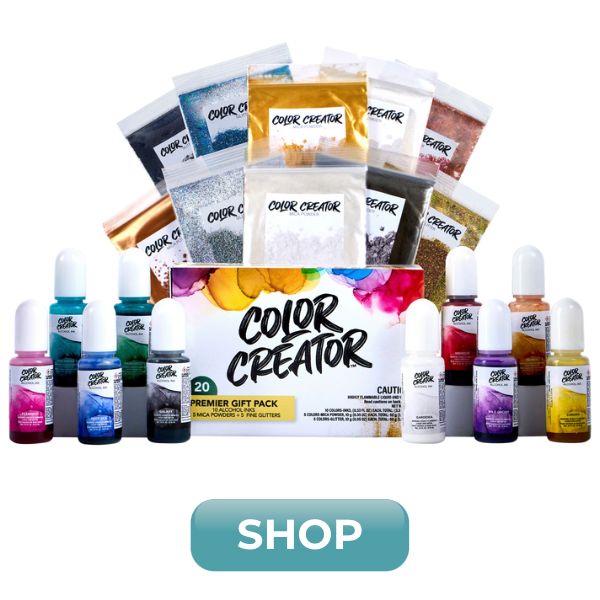
- Mica Powders
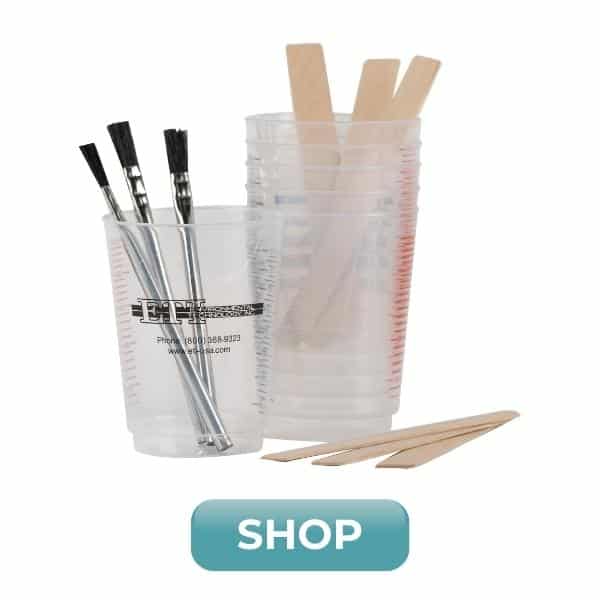
- Mixing Cups
- Stir Sticks
- Gloves
Safety first! Before you start working with epoxy resin, make sure that you’re wearing protective eyewear and gloves, cover your workspace or use a silicone mat in case of spills, and be sure to work in a well-ventilated area.
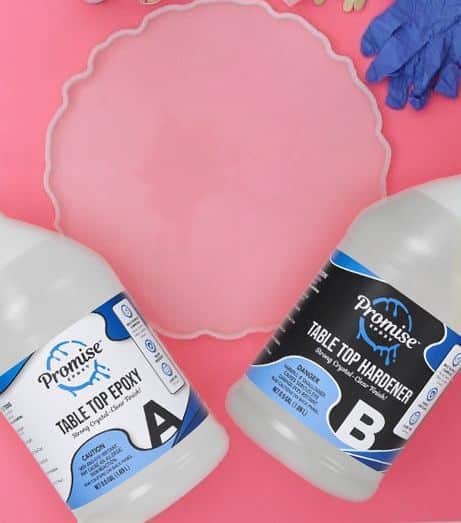
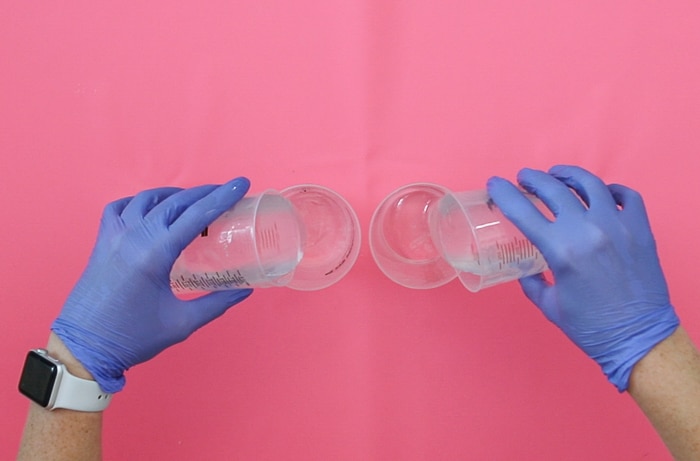
Step 1: First, prepare the Table Top Epoxy. This is a multi-step process so don’t start mixing until you are ready to do the whole process from beginning to end! Start by mixing EQUAL parts of the Hardener and the Resin. (To get 16 oz I had to use two cups at once!)
Stir for two minutes (be sure to scrape the bottoms and sides) then pour from the first cup into a second and mix with a new stir stick for another minute (or until there are no swirls visible).
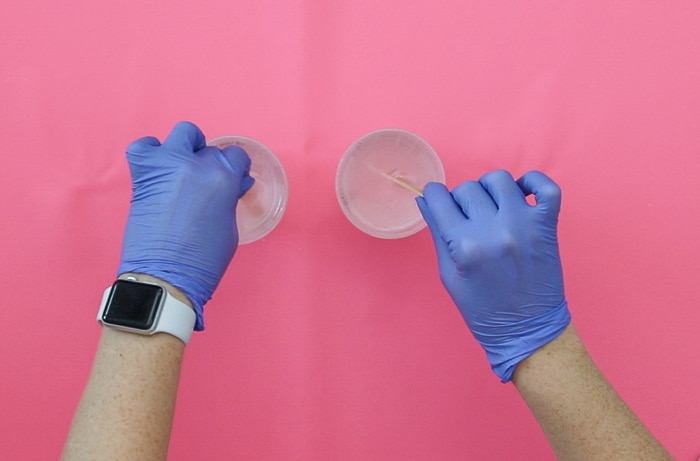
Step 2: Once the resin is ready, pour into smaller cups to add desired colors.
Step 3: Add the colorants of your choice and stir gently. I used different colors to create a rainbow!

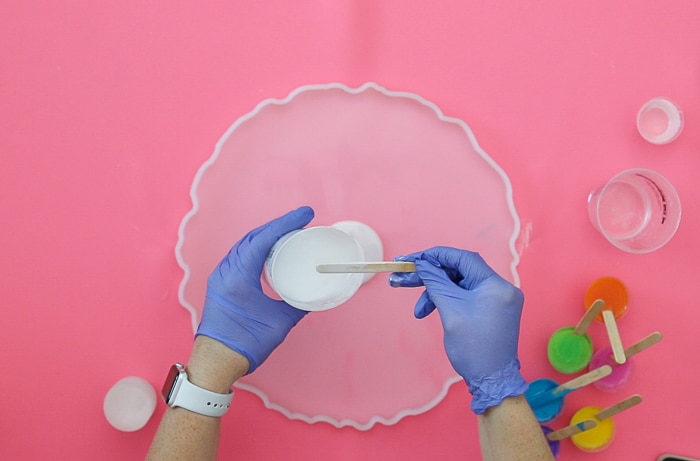
Step 4: Next, pour your different colors into the mold and mix. There are lots of ways to do this, but use a popsicle stick or stir stick to swirl and mix your colors. Do this to create different patterns!
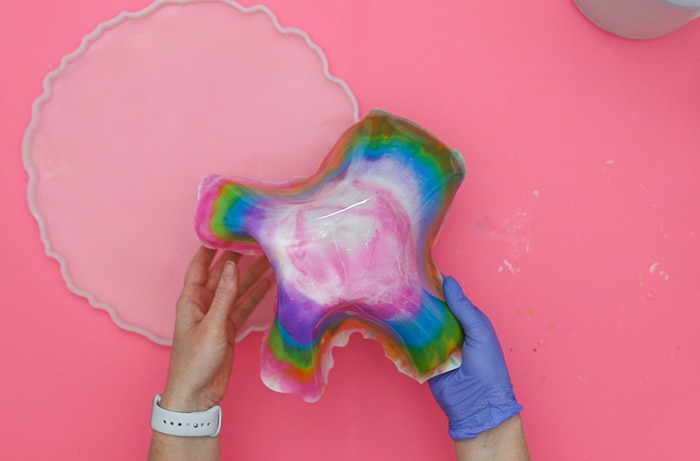
Step 5: Allow the resin to sit in the mold for a few hours. Be sure to continually check on it. You want the resin to no longer be sticky, but not hardened. You also want it set enough so the resin doesn’t run or move when you left up the mold.
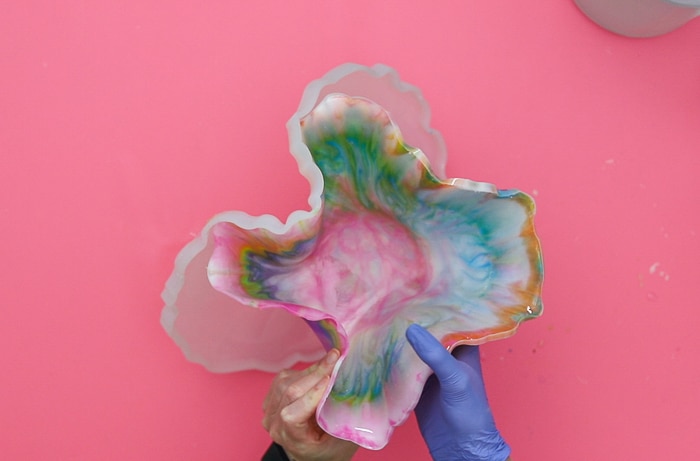
Step 6: Use a bowl, candle, or something else rounded to drape your mold over. I also used silicone cups to help hold the new shape.
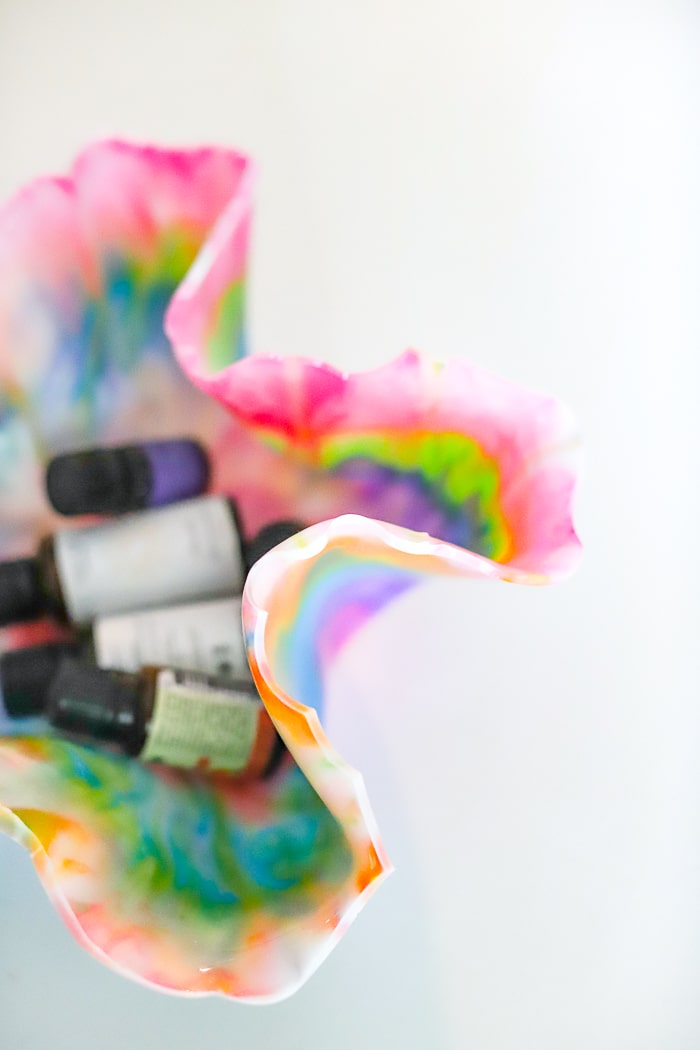
Step 7: My bowl was fully cured in about 72 hours (I live in a very humid, subtropical climate!) and I was able to then de-mold and enjoy!
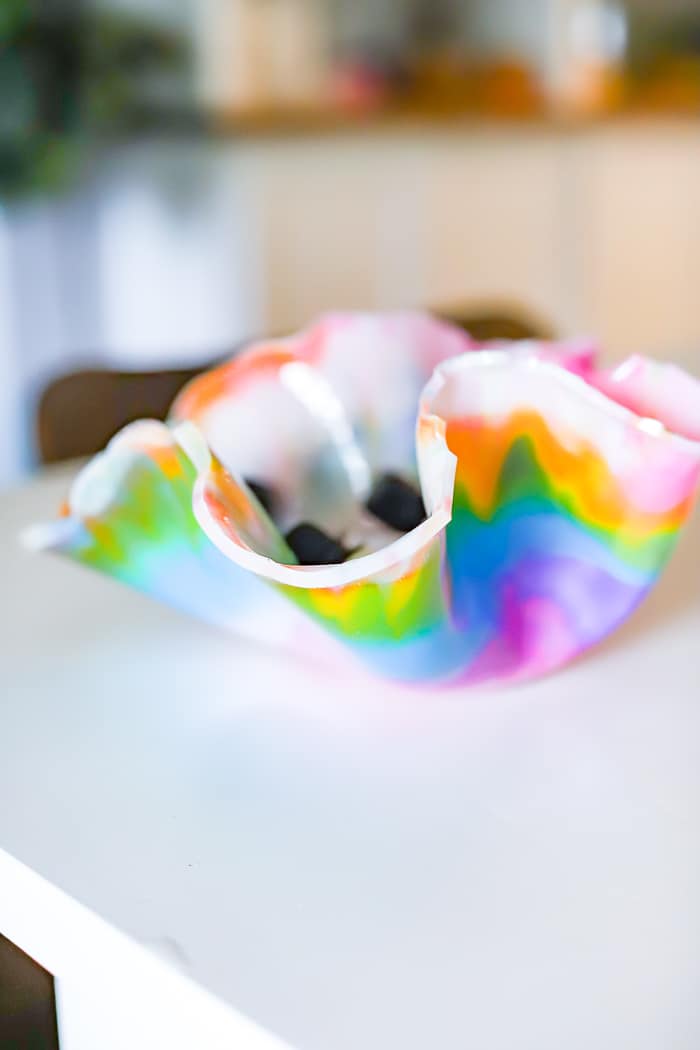
There are so many ways you could customize this project. For future bowls, I’d love to try an ocean look and use REAL sand! You could also try embedding items. Sea glass would look absolutely stunning! At the very least you can try different colors and choose the ones that best fit your home decor style!
While waiting for the resin to set, I went back and used a lighter on the surface to pop the bubbles that came up. Promise Table Top Epoxy is self leveling so it spread easily creating this beautiful rainbow effect.
I used a mold for this, but another idea is to pour onto silicone or even wax paper and do this project completely without a mold! I haven’t done this but if you try it, leave me a comment and let us know how it goes!

DIY Rainbow Resin Bowl
Materials
- 6 oz Promise Table Top Epoxy
- Flat, round mold
- Mica Powders in the colors of your choice
- Mixing cups and stir sticks
- Gloves
Instructions
- Mix EQUAL parts of the Promise Table Top hardener and resin. (To get 16 oz I had to use two cups at once!)
- Stir for two minutes (be sure to scrape the bottoms and sides) then pour from the first cup into a second and mix with a new stir stick for another minute (or until there are no swirls visible).
- Once the resin is ready, pour into smaller cups to add desired colors.
- Add the colorants of your choice and stir gently. I used different colors to create a rainbow!
- Next, pour your different colors into the mold and mix. There are lots of ways to do this, but use a popsicle stick or stir stick to swirl and mix your colors. Do this to create different patterns!
- Allow the resin to sit in the mold for a few hours. Be sure to continually check on it. You want the resin to no longer be sticky, but not hardened. You also want it set enough so the resin doesn’t run or move when you left up the mold.
- Use a bowl, candle, or something else rounded to drape your mold over. I also used silicone cups to help hold the new shape.
- My bowl was fully cured in about 72 hours (I live in a very humid, subtropical climate!) and I was able to then de-mold and enjoy!
Amber Oliver is a DIY and lifestyle blogger who shares easy DIY tutorials, colorful crafts, and more on her blog, Amber Oliver. She’s a native Oklahoman living “in the loop” in Houston, TX with her husband and dog. She’s an avid reader, world traveler, loves Tex Mex food, and creating everything from woodworking projects to websites. She focuses on budget friendly projects for the home and empowering women to try new things.


Leave a Reply