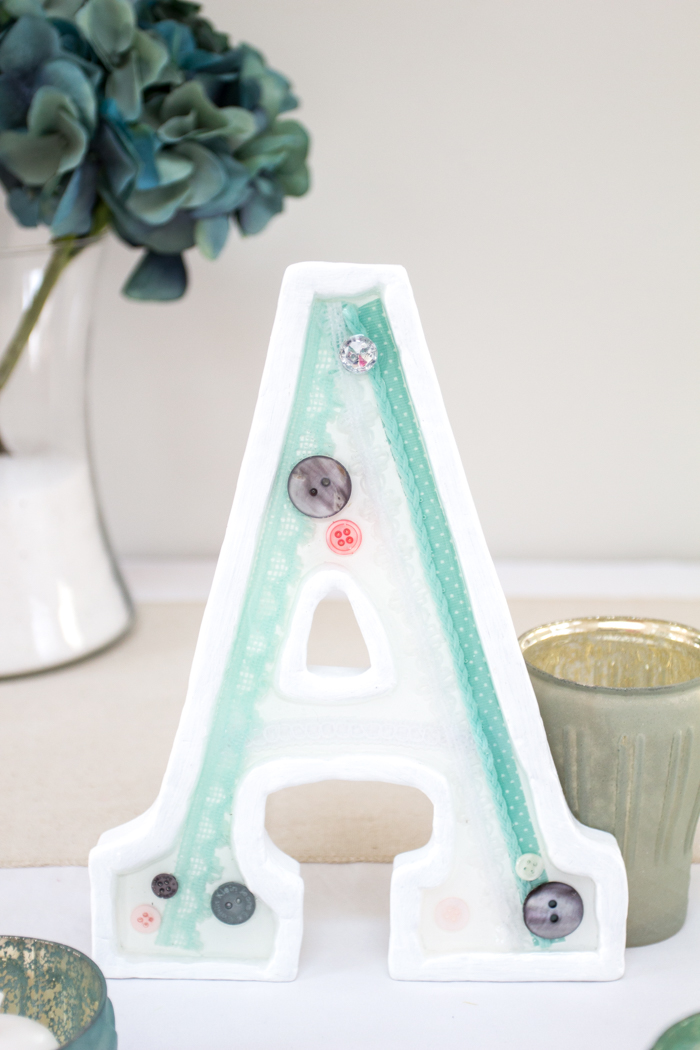
Block letters are so versatile and trendy in home decor. You can find MDF and wood letters in craft stores that are great to use for DIY monogram decor. They’re ideal alongside photos on a gallery wall, as DIY shower or wedding decor, to decorate a nursery or to personalize a baby shower gift. We recently made a large LAKE sign for our family cottage using block letters and driftwood!
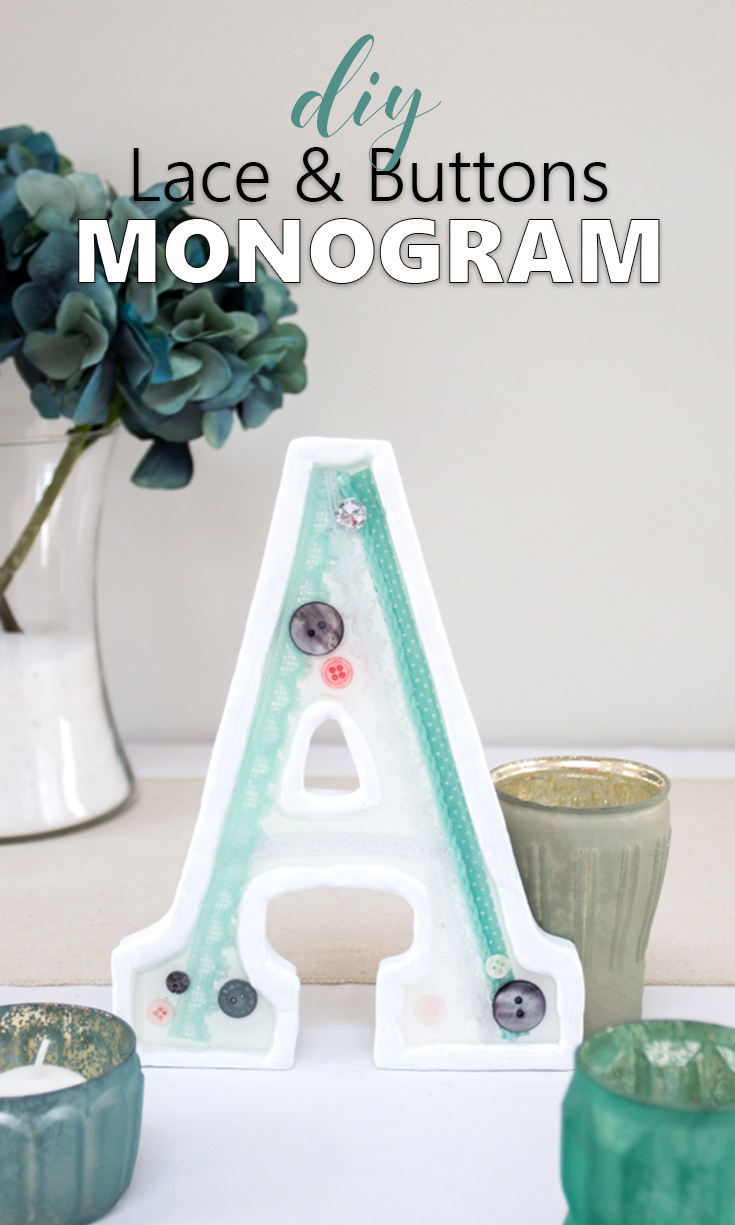
There are a number of different ways to embellish these letters including painting or using decoupage. We decided to give an interesting three-dimensional and textured look to one using lace, ribbons, buttons and EnviroTex Lite resin. It would be lovely for a rustic or shabby chic wedding or to give a romantic touch to your modern farmhouse decor.
While you can find monogram letters with a rim (search for recessed wood letters or marquis letters) we didn’t find one that suited our needs so decided to make our own. If you already have a rimmed letter, you can skip the first section below.
Materials Needed for this DIY Monogram Decor idea
- Wood or MDF block letter ~9” high
- Easy Sculpt Self-hardening Epoxy Modeling Clay
- A release agent such as vegetable oil, olive oil or Castin’ Craft Mold Release and Conditioner
- Gloves, wooden craft sticks, toothpicks paper towels
- White acrylic craft paint and paintbrush
- Assorted lace trimmings and buttons
- Ultra-Seal Quick Decoupage (or other multipurpose sealer)
- Scissors
- EnviroTex Lite
- Plastic measuring cups
- Lighter or small kitchen cooking torch
Be sure to fully read all instructions in the product packaging before starting. Work in a well-ventilated area using appropriate protective materials (e.g. gloves, glasses). Protect your work space with wax paper.
To create a rim for your DIY monogram decor
- Scoop out equal parts of the 2 Easy Sculpt Clay components using two wooden sticks (avoid cross-mixing the materials in the containers).
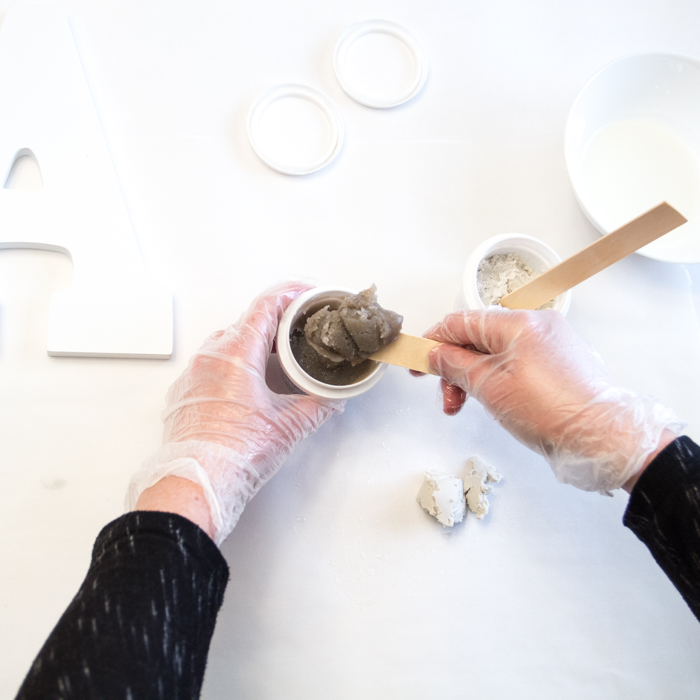
- Spread some of the release agent on your gloves to keep the keep the clay from sticking. Completely blend the two components together until a consistent colour is achieved (no ribbons or marbling; about 1-2 minutes).
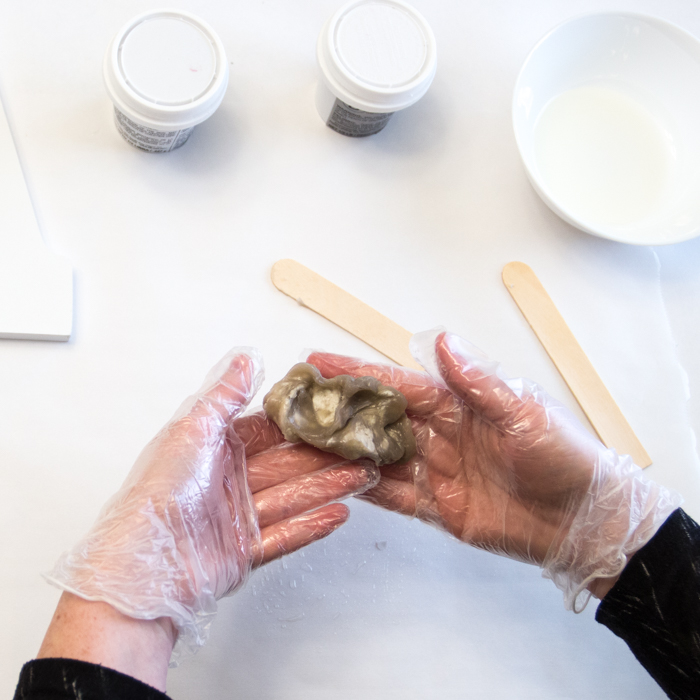
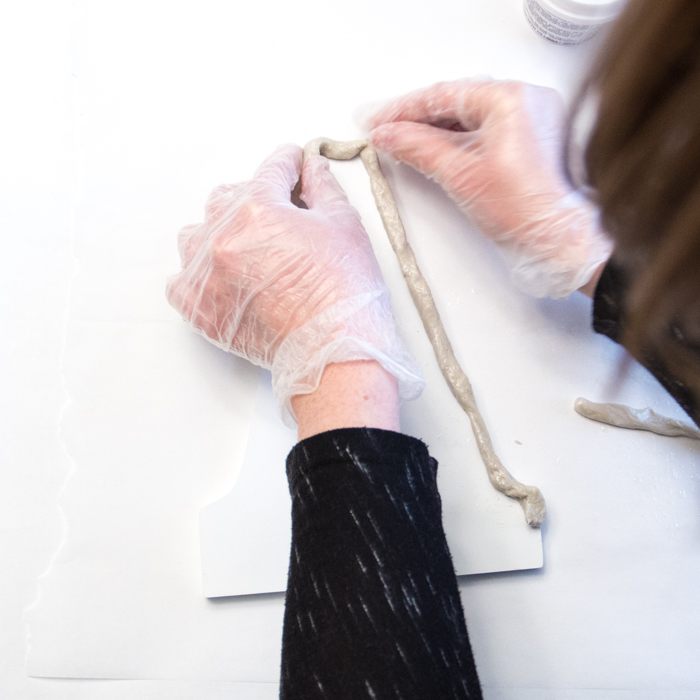
- Separate the clay into three small balls and then roll each between your hands to create long cylinders.
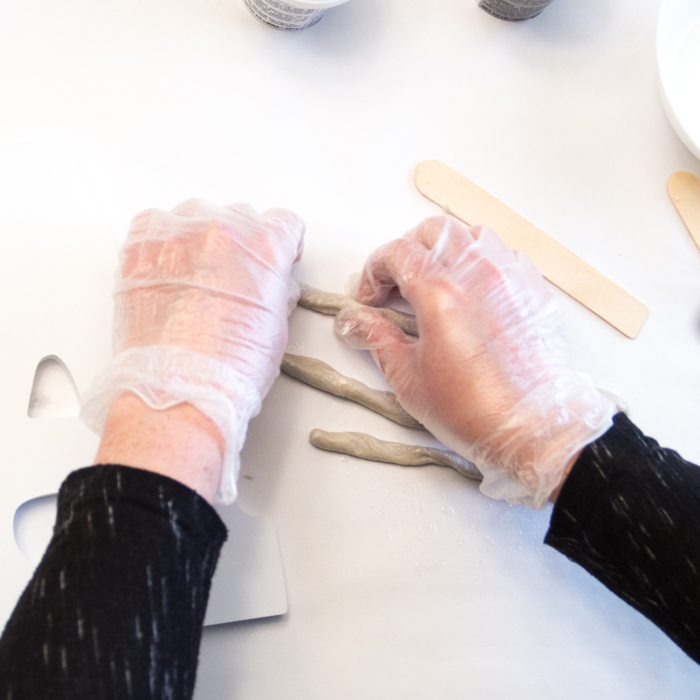
- Use the cylinders to create a rough “rim” on the top surface of the letter, about ⅛” thick.
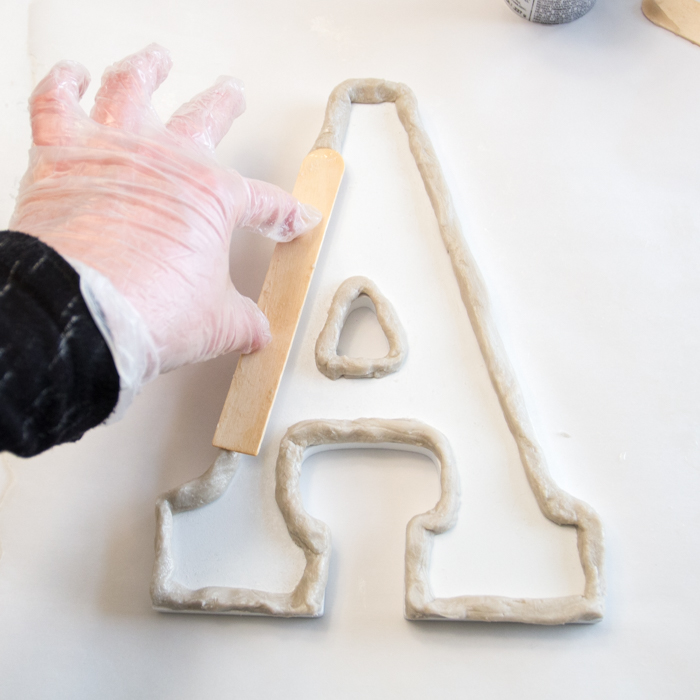
- Let the clay cure for about an hour to stiffen then using flat surfaces such a the wooden craft sticks, press and straighten the clay.
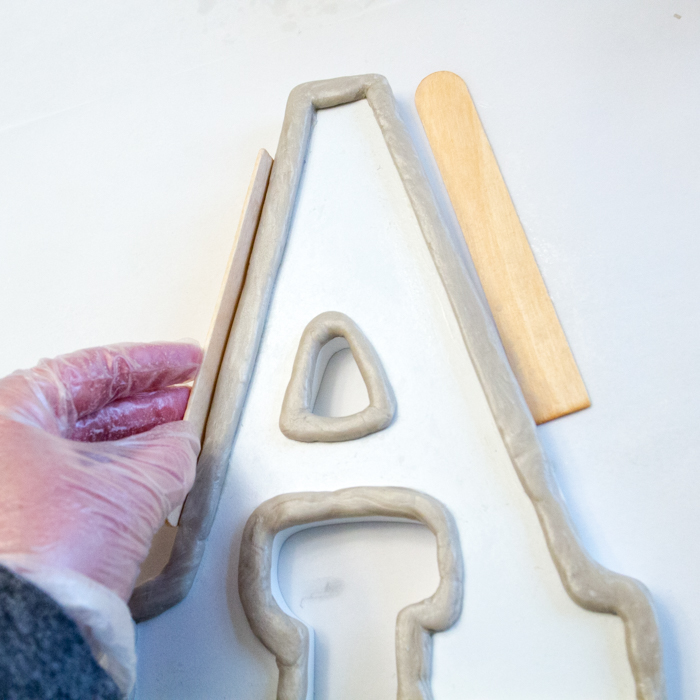
- Repeat again as the clay cures even further and then leave overnight to fully cure. As it cures the clay will adhere to the letter and stay in place.
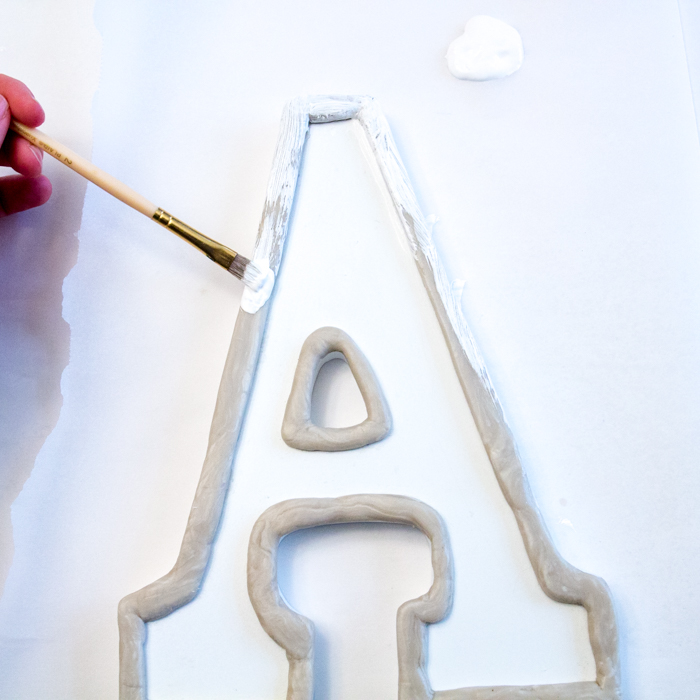
- Paint the fully cured clay and monogram letter with an acrylic craft paint colour of your choice (we used white).
To fill the rimmed monogram with embellishments
- Determine the finished look of your DIY monogram decor by laying out the lace trimmings and buttons inside the recessed letter. Take a picture if needed to remember the arrangement.
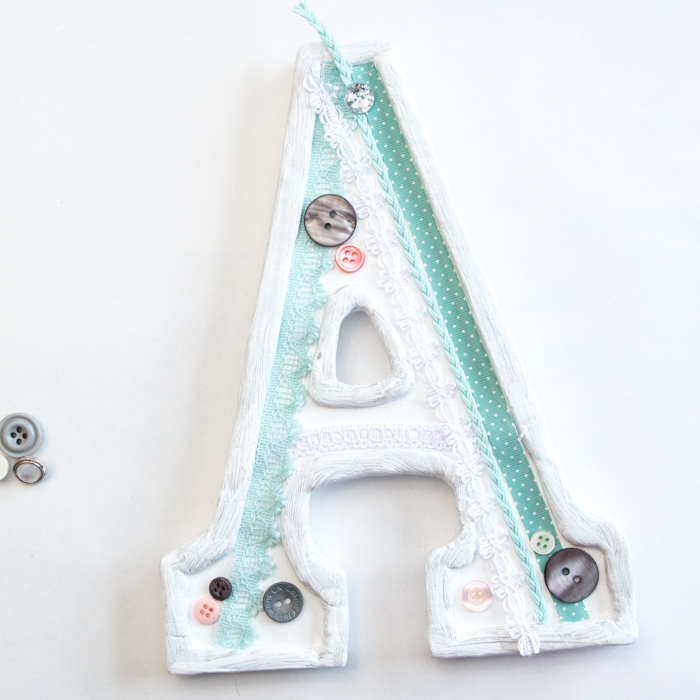
- Using a medium sized paintbrush, apply a coat of multipurpose sealer to the inside of the painted and rimmed monogram to ensure any small cracks are sealed to prevent resin from seeping through. Set aside to dry.
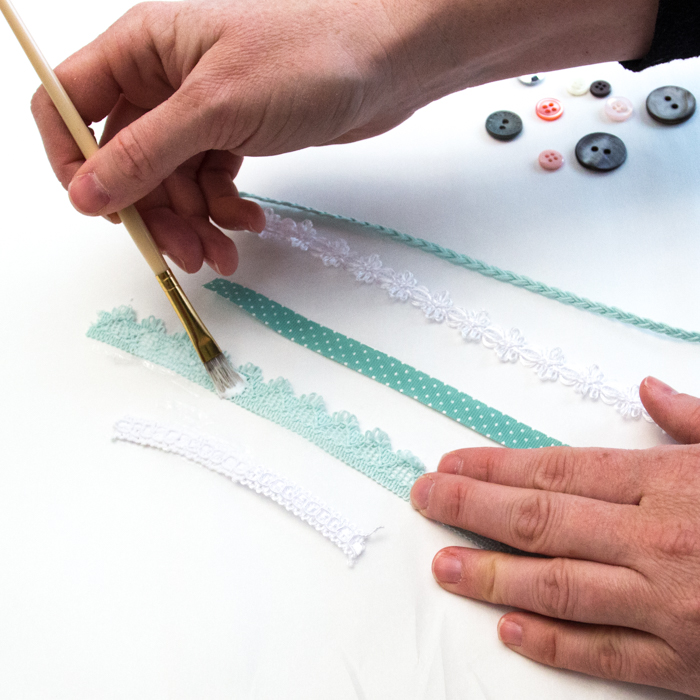
- Using a small paintbrush, apply a coat of multipurpose sealer to the lace trimmings as well as any other found objects that are considered absorbent materials, such as wood, fabric, leather, etc. Set them aside to dry completely.
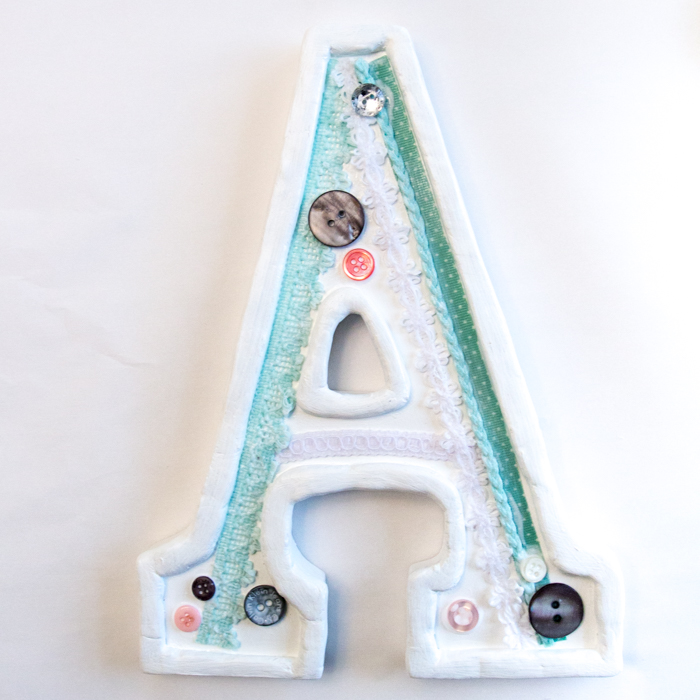
- Secure the lace trim and buttons to the base of the letter using a multipurpose sealer. Continue to apply another coat of the the sealer over top of the embellishments and let dry completely.
- Measure equal parts of EnviroTex Lite Resin and Hardener. Combine into one cup and mix using a stir stick for two full minutes. While mixing, scrape the bottom and the sides of the mixing cup.
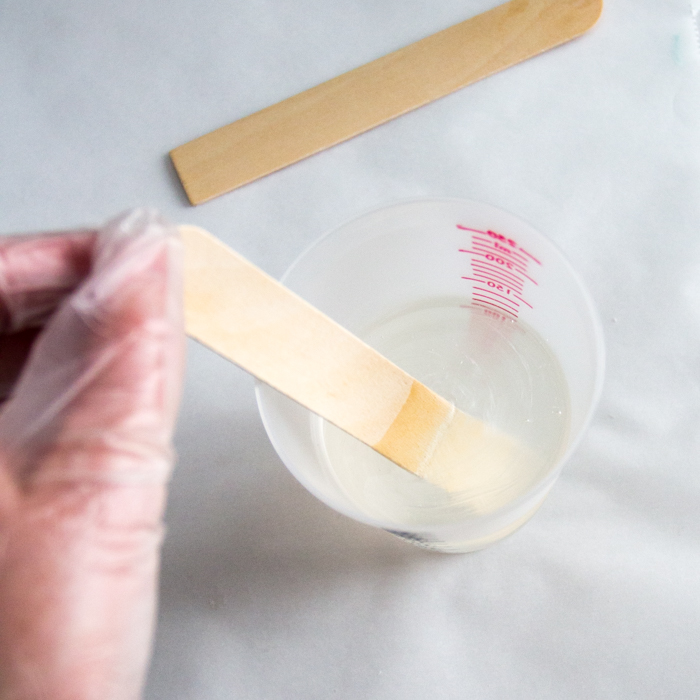
- Pour the contents into the other container and continue to mix using a new stir stick for one minute. Be sure to follow the instructions included in the packaging for the best results.
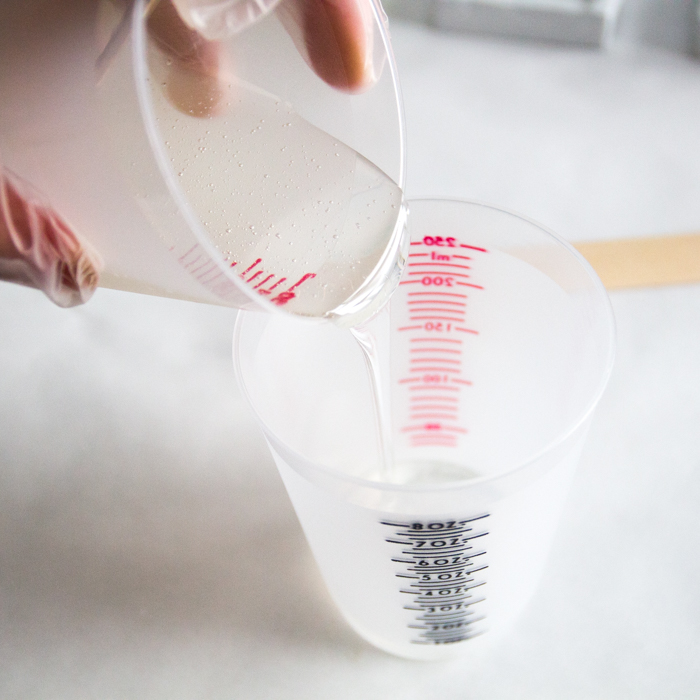
- Carefully pour the resin mixture into the prepared monogram letter. Fill to just below the top of the letter rim and let the resin settle and level on its own.
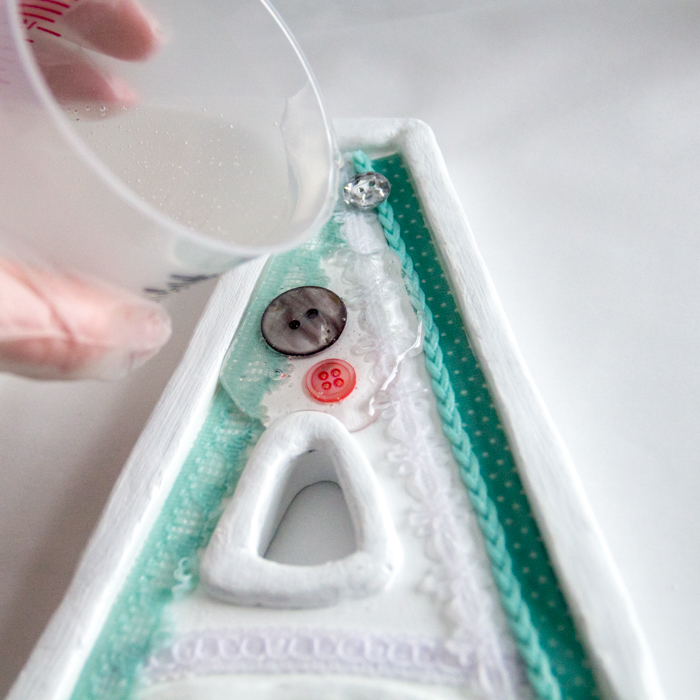
- Remove any bubbles that rise to the surface with a toothpick.
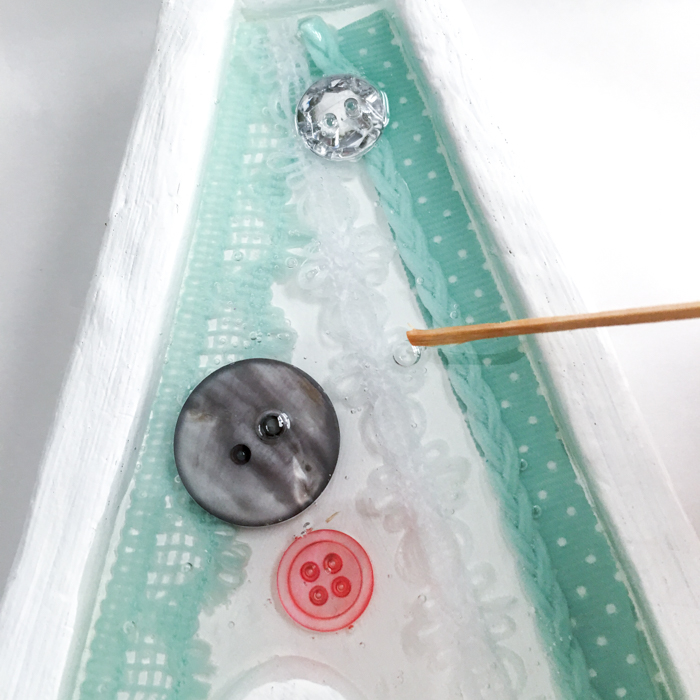
- Gently “torching” the surface with a flame also helps to remove bubbles as they rise to the top. Repeat this process as often as is needed before the resin fully cures.
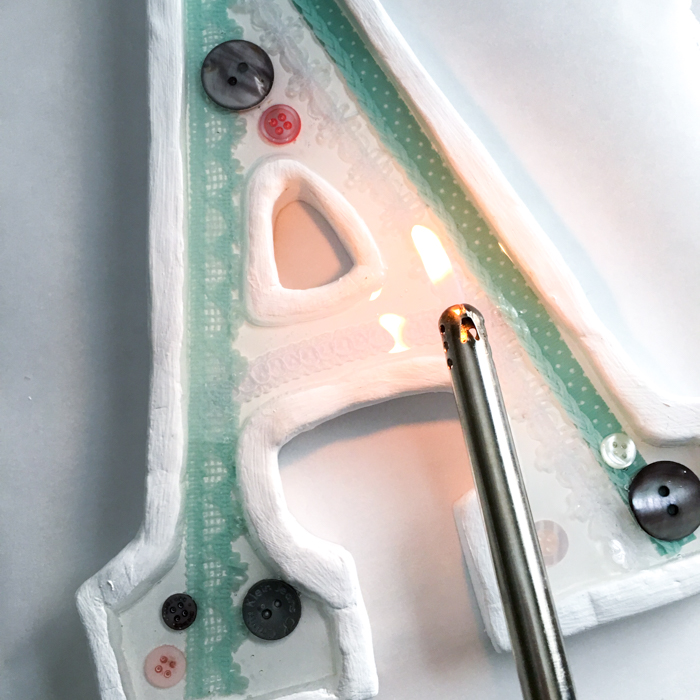
- Leave the resin to cure on a flat surface overnight.
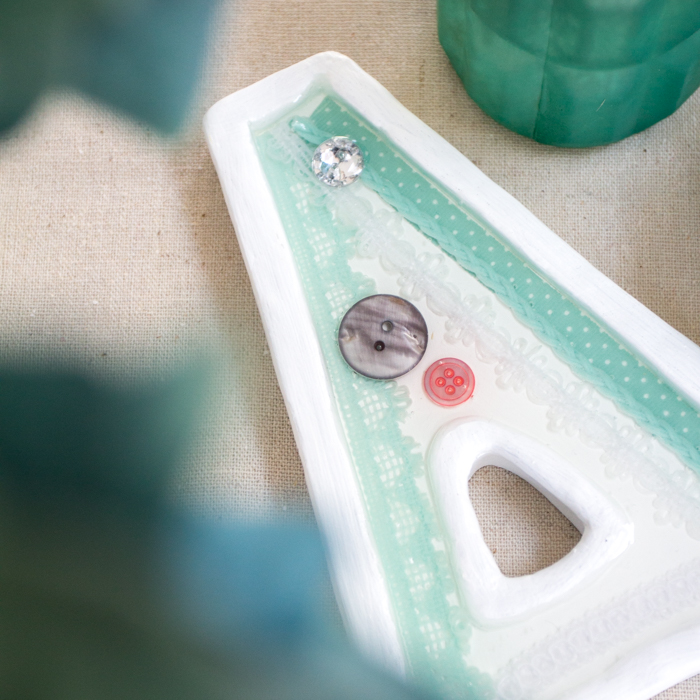
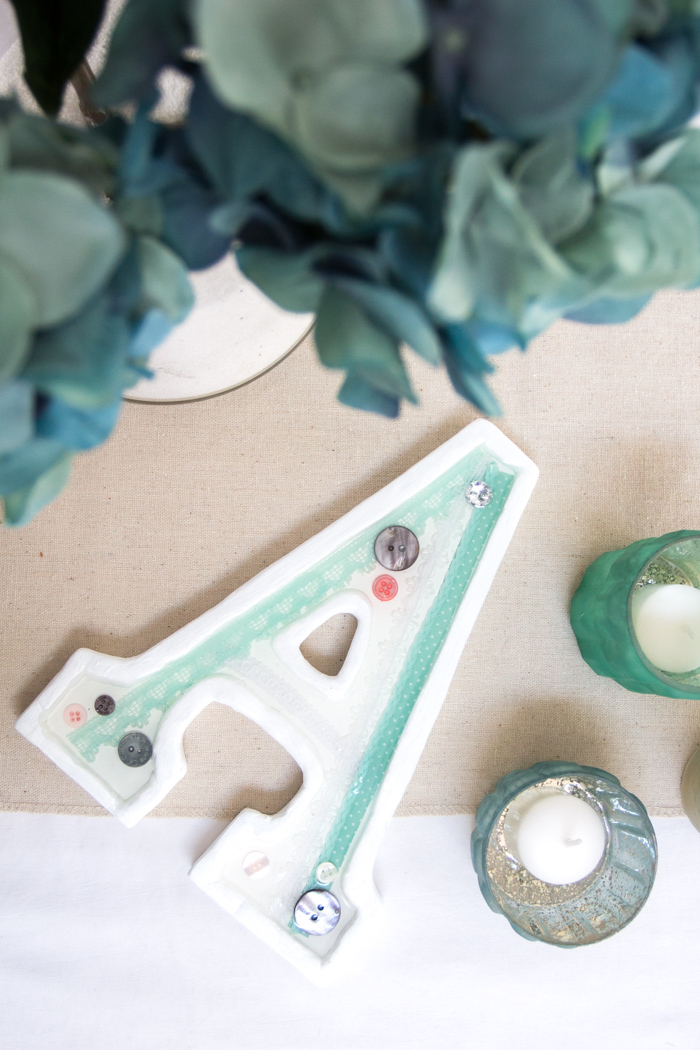
We are so happy with how this DIY monogram decor turned out and see so much potential for using different embellishments such as small seashells for a coastal vibe, dried flowers for a natural touch, or glitter and beads for a fun modern twist. The colours looked especially cute beside our beach-themed centerpiece idea and would lovely paired with this embellished coastal switch plate. The possibilities truly are endless.
Like it? Pin it for later!
Jane and Sonja are sisters, moms and lifelong craft addicts both living near Toronto, Canada with their families. They share their love of creativity, nature and coastal DIY ideas on their blog Sustain My Craft Habit. They craft and decorate their homes using repurposed and upcycled items and materials found in nature.

Luv it! Thanks for the ideas and inspiration, this will be a perfect shower gift for my daughter.
Thank you Susie! A shower gift is a great idea. Congratulations on your upcoming special day!