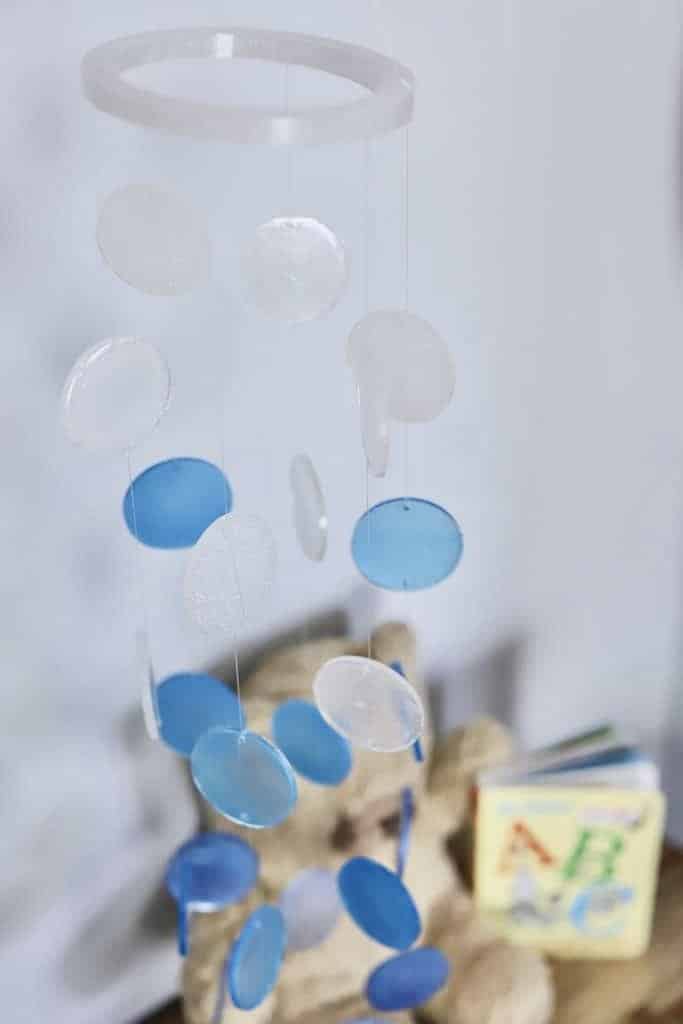
Make your very own resin baby mobile to decorate your nursery! Use Promise Epoxy and colorful Mica Powders from Color Creator to make it 100% customized. Would make a great baby shower gift, too!
Hey Resin Crafters! Amber Oliver here with another great resin craft! We are in full nesting mode over at #OliverHQ as we await the arrival of our first bebé! Since I’m always coming up with new resin projects, I figured I wanted to make something baby related! When I got the Pacific Gift Pack from Color Creator I knew it would be perfect for a colorful Baby Mobile!
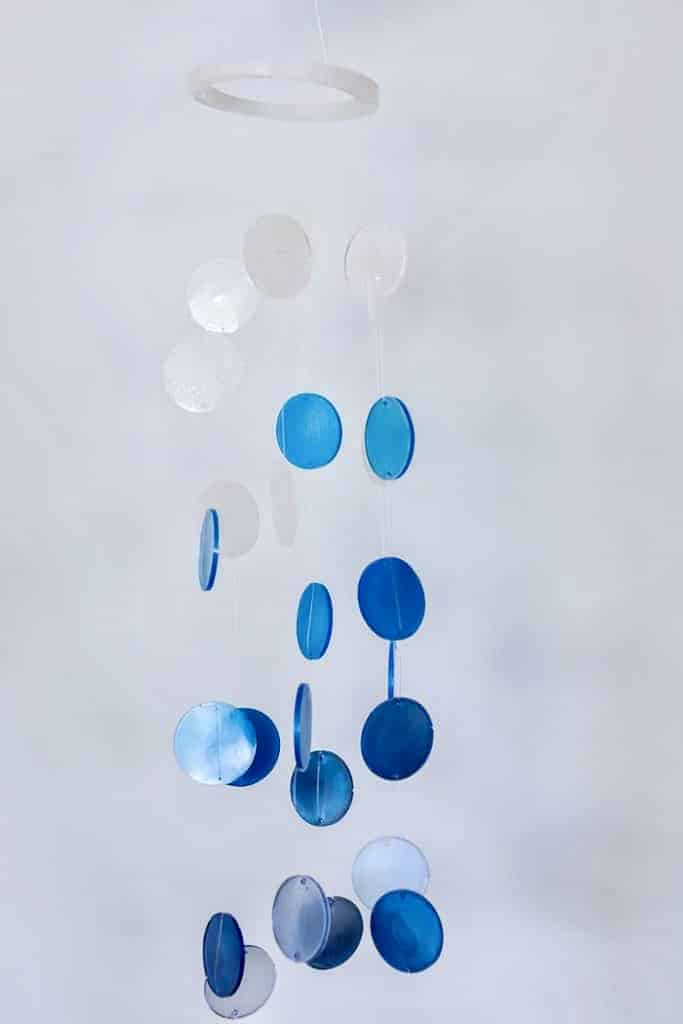
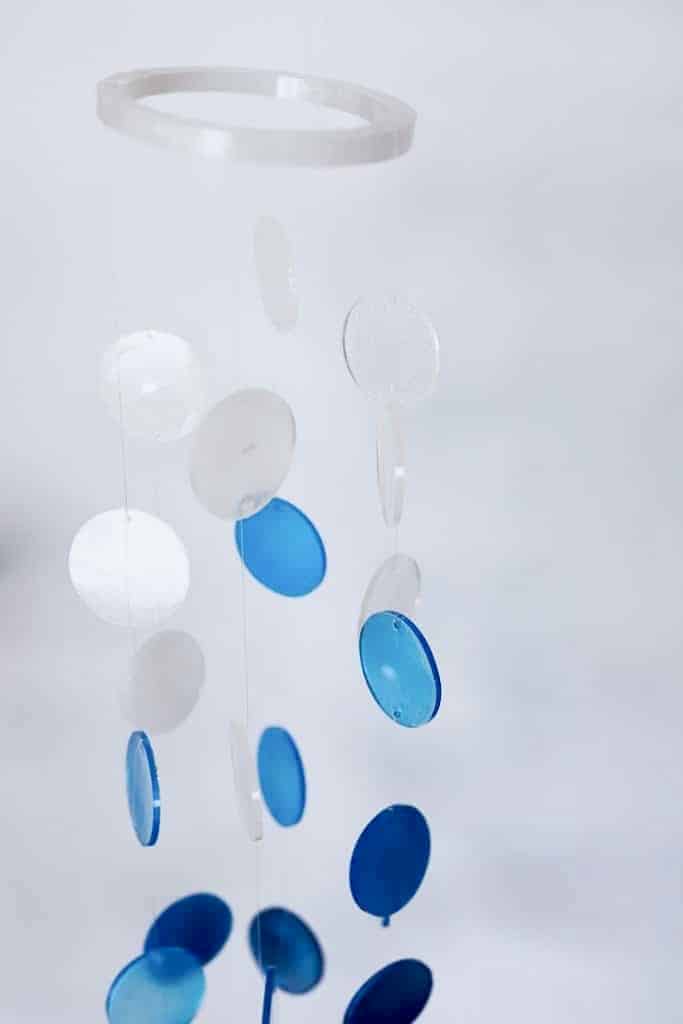
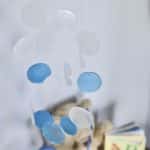
The Pacific Gift Pack has 5 packs of gorgeous Mica Powders. The beautiful shades of blue will give you all the ocean vibes! I went with Crater Lake Blue, Ocean Blue Metallic, and White Metallic. I wanted to create a simple ombre look and I think it turned out beautifully!
The main thing to remember when working with Mica powder is a LITTLE goes a LONG way! You always want to add a small amount and mix then add more powder if needed to achieve the color you want. I mixed up a large batch of resin, then poured it into smaller cups to mix the individual colors.
SUPPLIES NEEDED FOR RESIN BABY MOBILE
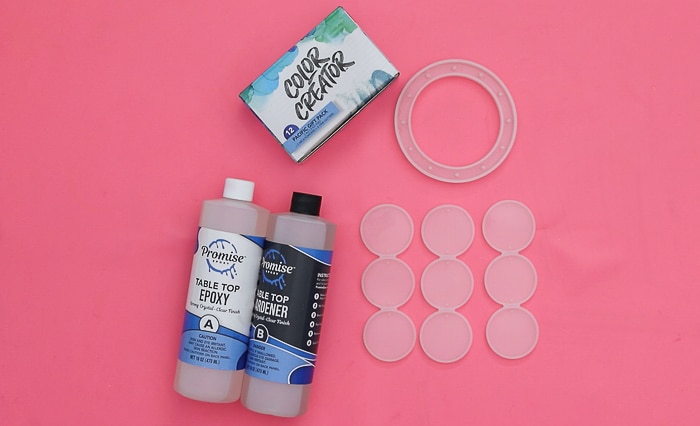
- 6oz of Promise Epoxy Table Top Epoxy
- Mobile or Wind Chime Mold
- Color Creator Mica Powders
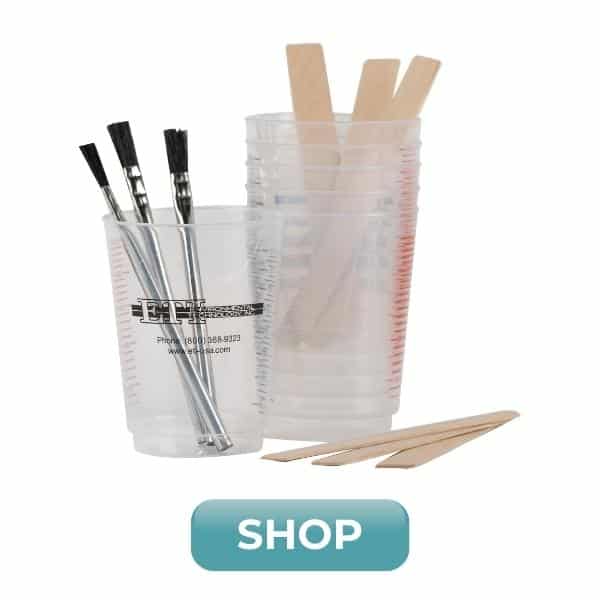
- Small mixing cups
- Mixing cups and stir sticks
- Gloves
- Drill
- Hanging Hardware
DIY EPOXY MOBILE INSTRUCTIONS
Safety first! Before you start working with epoxy resin, make sure that you’re wearing protective eyewear and gloves, cover your workspace or use a silicone mat in case of spills, and be sure to work in a well-ventilated area.
Step 1: Choose your colors and have the mica powders and small mixing cups ready!
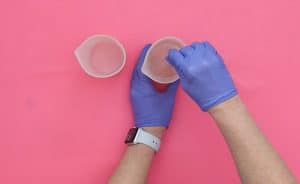
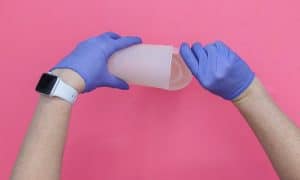
Step 2: Prepare the Promise Table Top Epoxy. This is a multi-step process so don’t start mixing until you are ready to do the whole process from beginning to end! If it’s cold, add the bottles to a warm water bath before mixing. Mix EQUAL parts of the Hardener and the Resin.
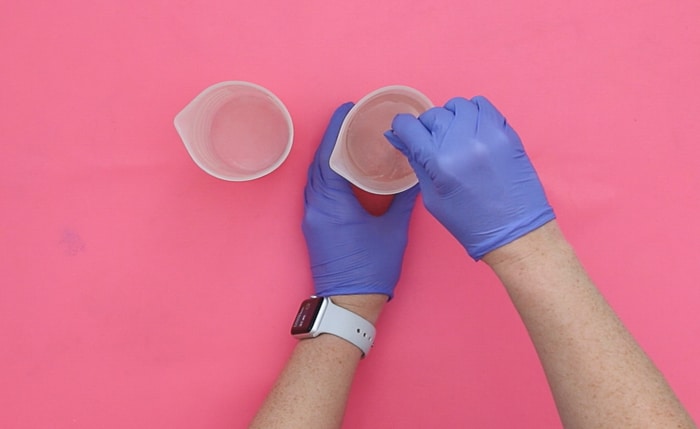
Stir for two minutes (be sure to scrape the bottoms and sides) then pour from the first cup into a second and mix with a new stir stick for another minute (or until there are no swirls visible).

Step 3: Gently pour into your smaller mixing cups and stir in a TINY amount of mica power. Add more if needed to achieve the colors you want!
Step 4: Fill the molds with each color of mixed resin you want.
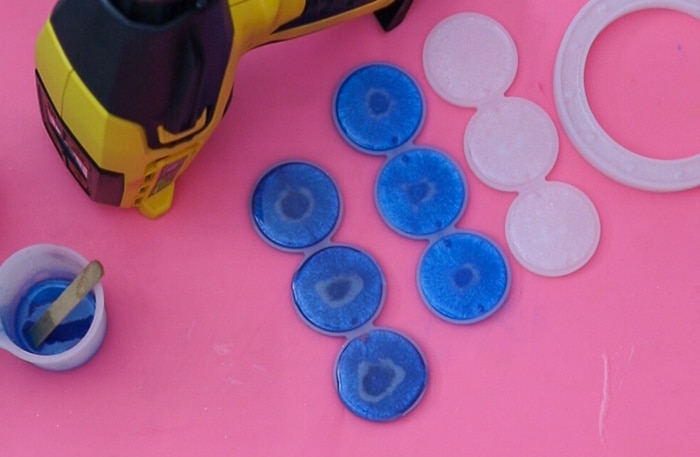
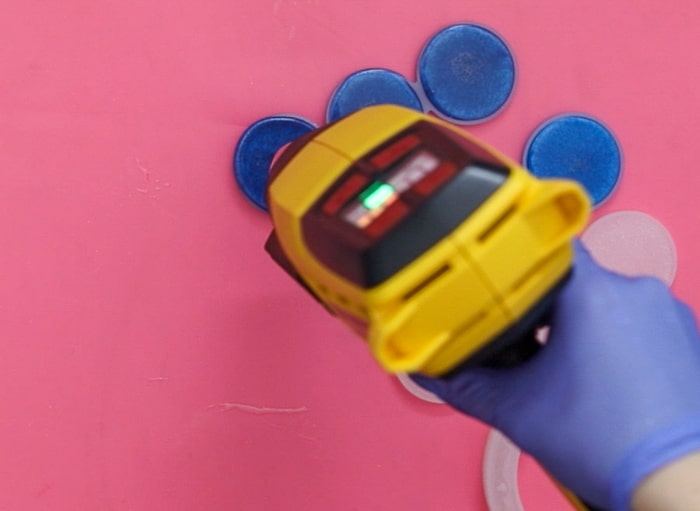
Step 6: Use a heat gun to pop any bubbles that rise to the surface of your project. You may have to repeat this a few times to get them all!
Step 7: Allow the resin to cure for 24 – 72 hours (climate dependent).
Step 8: Demold the mobile pieces and drill holes (if needed!) to add the hanging hardware.
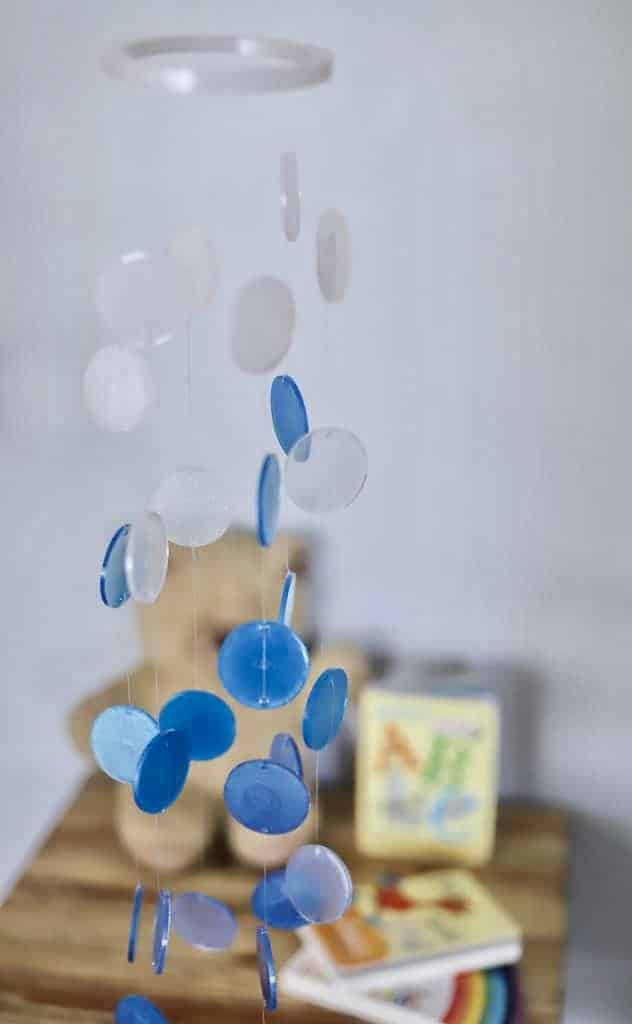
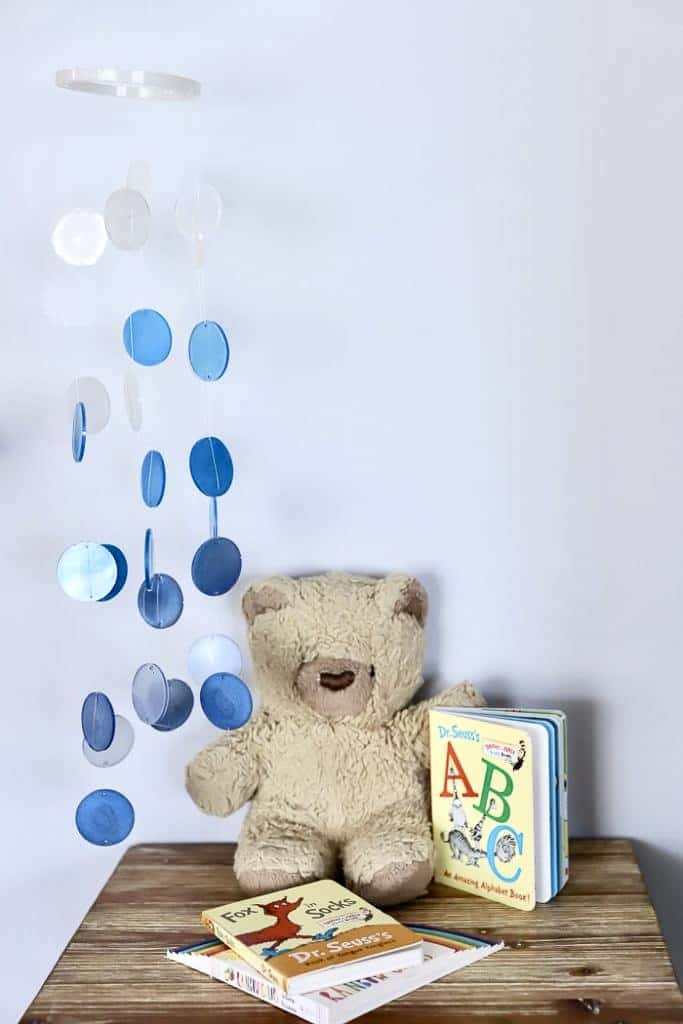
After your baby mobile is assembled you can hang it up! Put this up in the nursery for a beautiful handmade gift for your new baby! I plan to put this above our diaper-changing area instead of the crib. I’ve learned you don’t want anything distracting during sleep time, but this should come in handy for diaper changes!
I hope this project inspires you to make your own baby mobile! Use Promise Table Top Epoxy for crystal clear, durable resin pieces and Color Creator colorants for gorgeous, custom-colored projects!
DIY Resin Baby Mobile Tutorial
Materials
- 6 oz Promise Table Top Epoxy
- Mobile or Wind Chime Mold
- Color Creator Pacific Gift Pack
- Small mixing cups
- Mixing cups and stir sticks
- Gloves
- Drill
- Hanging Hardware
Instructions
- Prepare the Promise Table Top Epoxy. This is a multi-step process so don’t start mixing until you are ready to do the whole process from beginning to end! If it's cold, add the bottles to a warm water bath before mixing for about 15 minutes. Mix EQUAL parts of the Hardener and the Resin.
- Stir for two minutes (be sure to scrape the bottoms and sides) then pour from the first cup into a second and mix with a new stir stick for another minute (or until there are no swirls visible).
- Gently pour into your smaller mixing cups and stir in a TINY amount of mica power. Add more if needed to achieve the colors you want! Fill the molds with each color of mixed resin you want.

- Use a heat gun to pop any bubbles that rise to the surface of your project. You may have to repeat this a few times to get them all!

- Allow the resin to cure for 24 – 72 hours (climate dependent). Demold the mobile pieces and drill holes to add the hanging hardware.
Notes
Amber Oliver is a DIY and lifestyle blogger who shares easy DIY tutorials, colorful crafts, and more on her blog, Amber Oliver. She’s a native Oklahoman living “in the loop” in Houston, TX with her husband and dog. She’s an avid reader, world traveler, loves Tex Mex food, and creating everything from woodworking projects to websites. She focuses on budget friendly projects for the home and empowering women to try new things.


thank you for the information