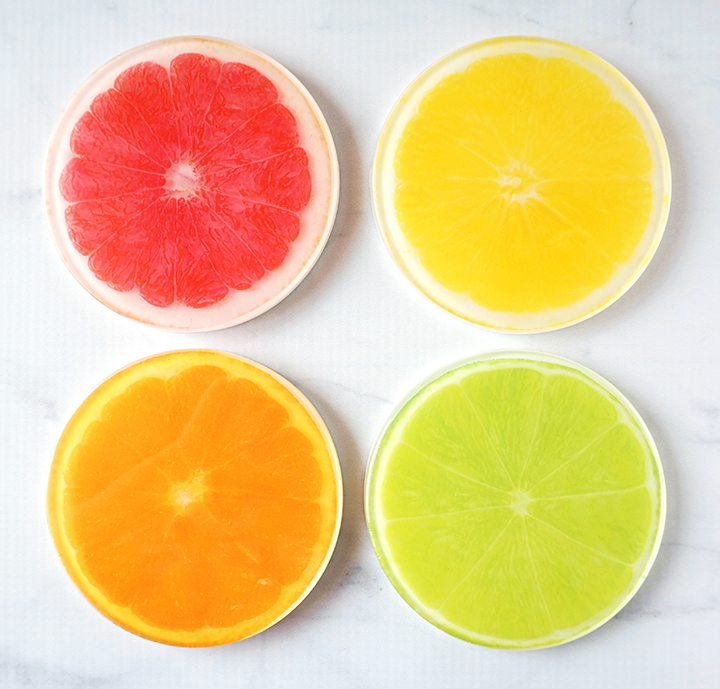
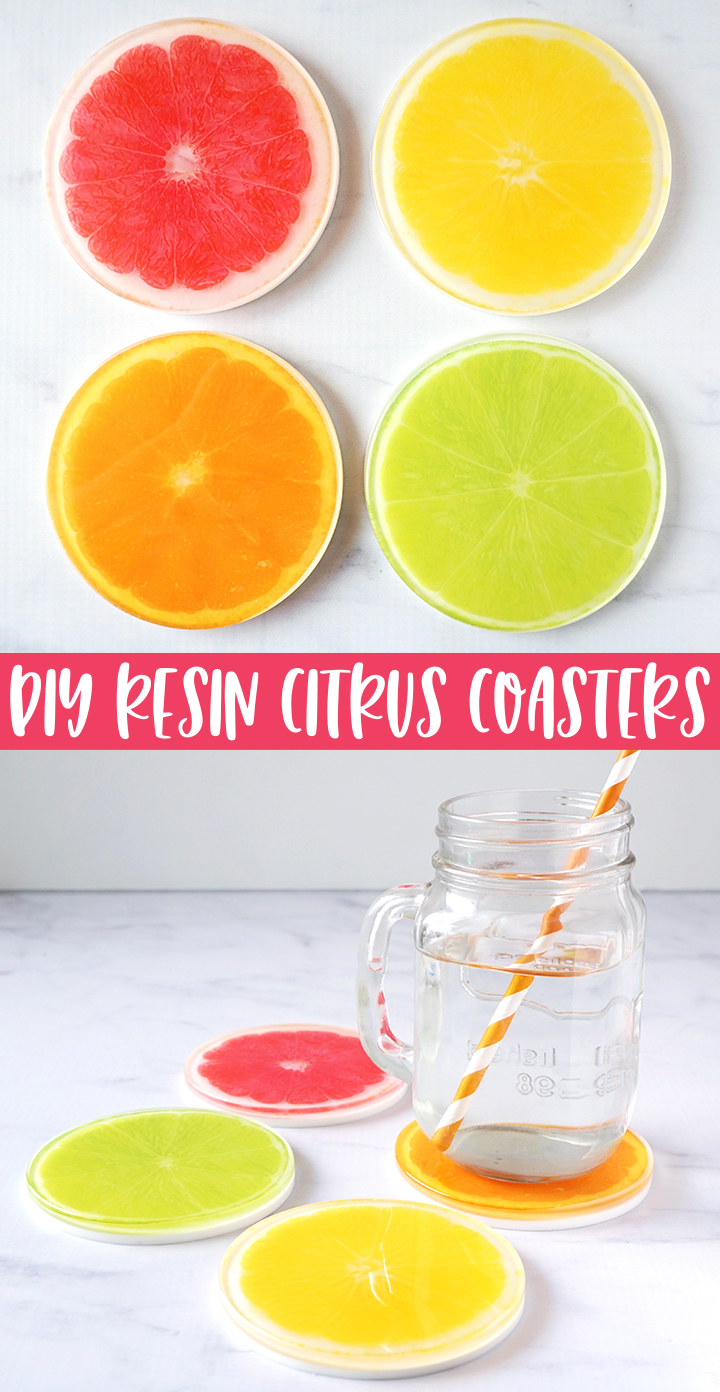
Create a bright and colorful set of DIY Resin Citrus Coasters, perfect for summertime entertaining!
Hello, Resin Crafters! Lindsay from Artsy-Fartsy Mama here with a “zesty” resin project for you to try! Summer is here, and nothing beats a tall glass of lemonade on a hot day. One of my favorite ways to use resin is by making coasters, and I am so excited with how this set of Citrus Coasters turned out! These are a simple resin project, and will add a pop of freshness to your summer patio set, coffee table, or desk.

SUPPLIES NEEDED FOR DIY RESIN CITRUS COASTERS:
- EnviroTex Lite Pour-On
- FastCast or Castin’ Craft Opaque Pigment, white
- Measuring Cups
- Stirring Sticks
- Resin Brush
- Disposable Gloves
- 4″ Round Silicone Coaster Molds
- Transparency Film
- Printable Citrus Slices (personal use only)
- Scissors


Step 1:
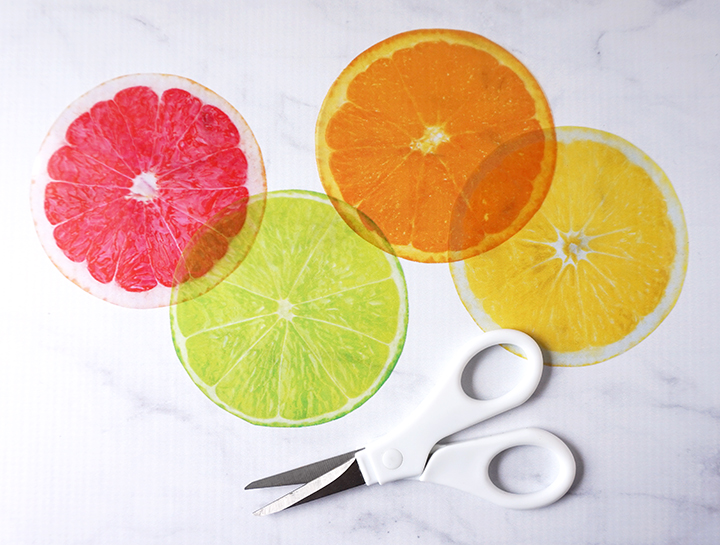
Download and print out the citrus slices on transparency film. I used a laser printer for mine, but make sure to check your transparency packaging for printing instructions. Carefully cut the citrus slices out with sharp scissors just inside the borderline.
If you print using an inkjet printer, you will need to spray a coat of clear spray sealer over the printed images to prevent the ink from bleeding into the resin. Let the sealer dry completely before moving onto the next step.
Step 2:
Prepare the EnviroTex Lite Pour-On according to package directions. Be sure to work in a well-ventilated area and wear disposable gloves.
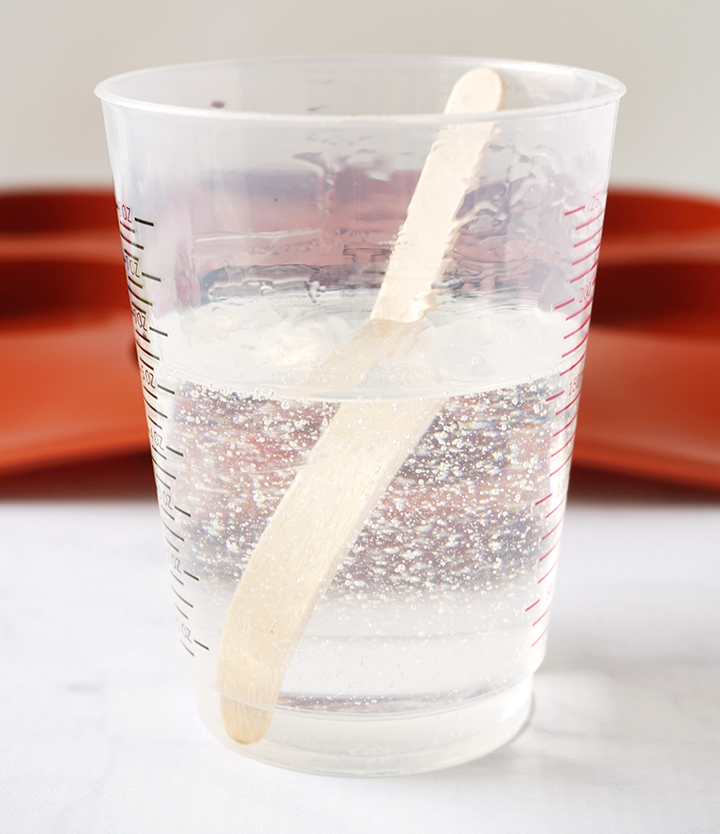
Add equal parts resin and hardener to the mixing cup. Each mold cavity will need 1 ounce of resin for this step, so I mixed up 4 total ounces. Stir the resin mixture together with a stir stick for two minutes, making sure to scrape the bottom and sides of the mixing cup. Pour the resin into a clean mixing cup and stir the resin again for another minute or two with a clean stir stick.
To keep the bubbles down to a minimum, don’t stir too fast, and then give the resin a minute or two to “rest” after mixing to let any bubbles rise to the top.
Step 3:
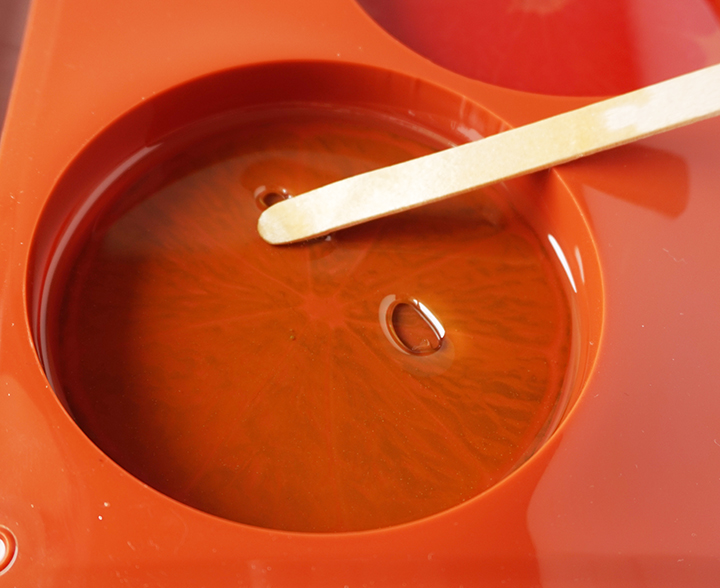
Pour 1 ounce of resin into each of the coaster molds. Let the resin sit for a few minutes, then use a straw or heat gun to remove any air bubbles that rise to the top.
The transparency prints will have a “shiny” side and a “dull” side. The dull side is the side with the ink on it. Place the print with the shiny side down into the resin. Use a clean stir stick or a resin brush to carefully press it down into the mold until it is completely submerged. Lightly drag the stir stick from the center to the outer edge to bring any bubbles stuck underneath the transparency film to the surface.
Pop any bubbles that rise to the top using a heat gun or by blowing through a straw. Leave the resin to cure in an undisturbed area for 24 hours. You will know that the resin is completely cured when it is no longer tacky. DO NOT REMOVE THE COASTERS FROM THE MOLD.
Step 4:
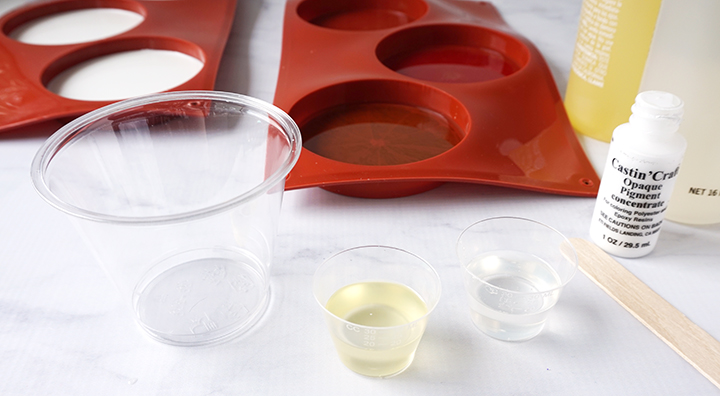
To make the citrus images really pop, you need to add some white behind the images. You can do this one of two ways: mix up some EnviroTex Lite Pour-On with a little bit of white Castin’ Craft Opaque Pigment, or use some FastCast. Both will work great, but the main difference is in the curing time. EnviroTex takes 12-24 hours to cure, and FastCast takes only 10-15 minutes!
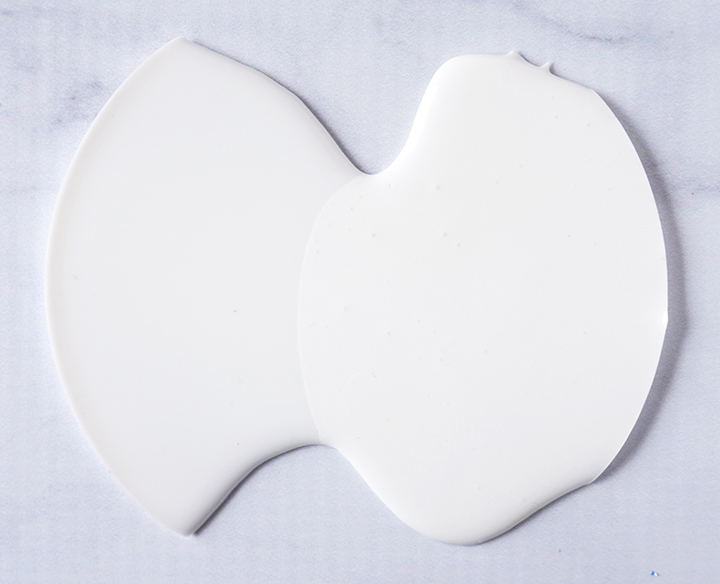
Not only is it quicker, but FastCast also turns white when completely cured. I’ve added color pigment to FastCast lots of times, but wanted to see if white Castin’ Craft Opaque Pigment would do anything to make it whiter. The difference is minimal, but the left side is FastCast without pigment, and the right is with a couple of small drops mixed in. Now you know!
Step 5:
Mix up FastCast according to package directions. The resin sets quickly, so it’s important to make sure the process is set up before starting. I highly recommend mixing enough resin for one coaster at a time, which is 1 ounce total. To do this, mix 1/2 oz of the resin with 1/2 oz of the hardener. Mix for 1 minute, and then pour into a separate cup with a drop of white opaque pigment and stir with a new stick for 30 seconds.
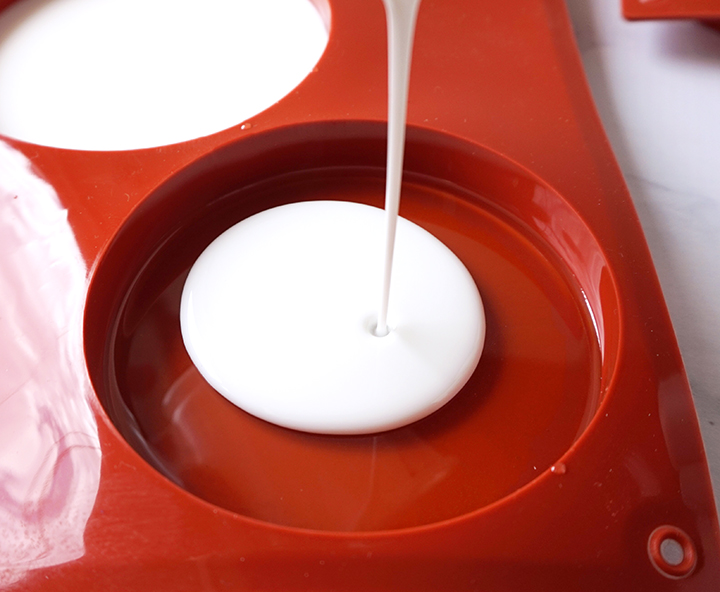
Immediately pour it into one of the molds over the cured clear resin. Repeat the process for all of the coasters. Because of the white pigment, you won’t be able to see the FastCast transform from clear to white to know that it’s cured. Instead, I recommend setting a timer for 15 minutes, and then gently touch the coaster. If it’s still feeling tacky and a little soft, give it a little more time. You don’t want it to still be flexible when you remove it from the mold, otherwise you could leave fingerprints, indents, or bend the coaster.
Step 6:
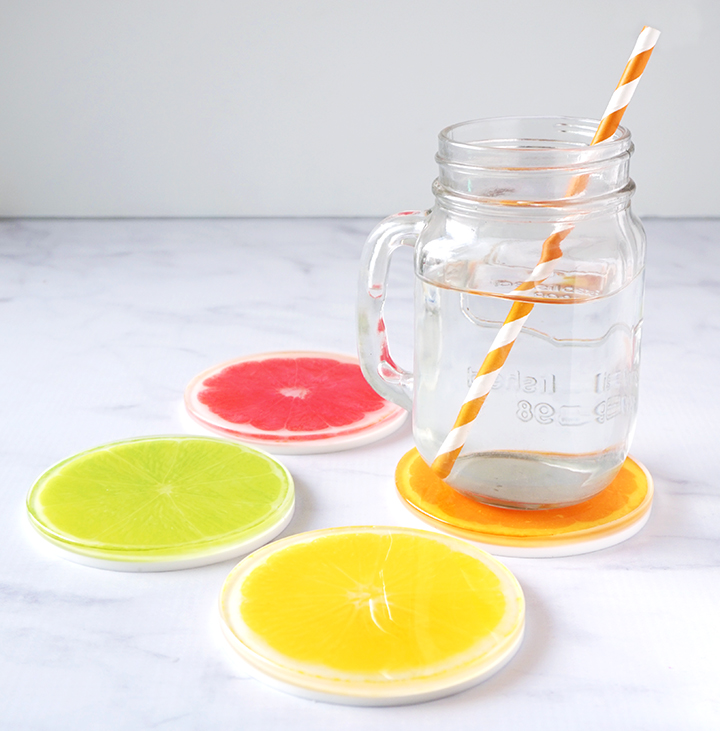
Carefully remove the coasters from the mold and admire your work. I love the bright pops of color and how each coaster “slice” is so realistic looking! Another bonus is that if you had any bubbles get trapped underneath the print, it won’t matter too much because citrus fruits are juicy anyway. If you have any rough edges, you can trim it away with scissors or sand then down if necessary.
I am SO excited about these coasters! They are so much fun for summer, and make me want to pour an ice cold drink to enjoy in the sun. You can make these “zesty” coasters to add some color to your desk or coffee table at home, and they would make a fun gift for someone special.
Don’t forget to Pin, Like, and Share!
Lindsay is a crafter, graphic designer, and glitter enthusiast from Utah. She’s passionate about homeschooling her creative daughter, traveling, and spending time in the craft room. Lindsay shares DIY project tutorials, printables, recipes, kids crafts, and more on her blog, ArtsyFartsyMama.com, where she inspires readers to live a creative life.


Love the coasters, It’s a touch of sunshine all year round. Question. I always get a slightly raised edge on my coaster and if I fill them right to the top some parts over spill. I do cut them off but then I have to sand, this leaves scratch marks. How can I get rid of them. Any advice would be great. I’m new to this and often feel I’m using or wasting my expensive resin. Many thanks. Deborah
Hi Deborah, This is such a great question! I would recommend putting another thin coat of resin over the piece. It should fill in any scratches and you won’t be able to see them once the new layer has cured.
that is awesome and so pretty!
Thank you so much, Mary!
Can you post what kind of transparency film you used?
Hi Michelle, I use the Samsill Economy Transparent Printer Paper from Amazon.