DIY Resin Letter Keychains are a fun way to customize your personal items and make great gifts!
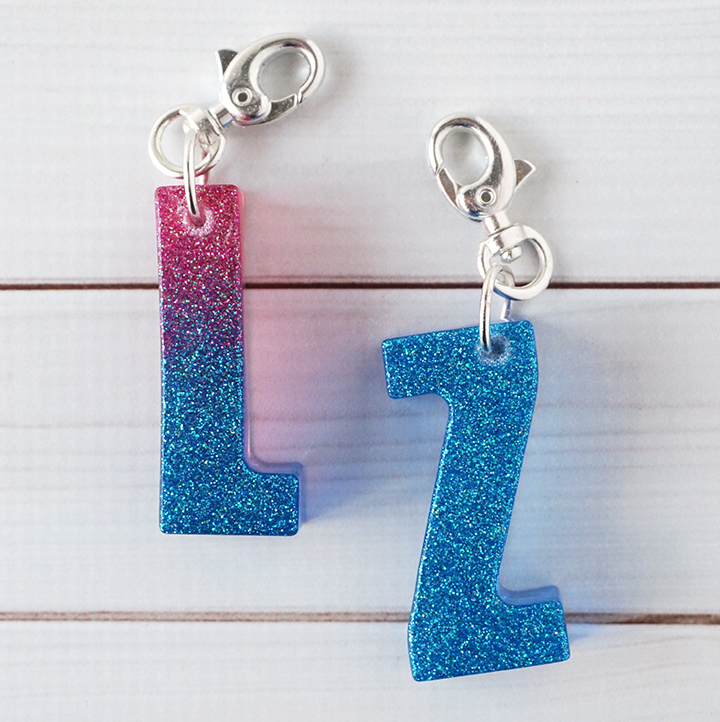
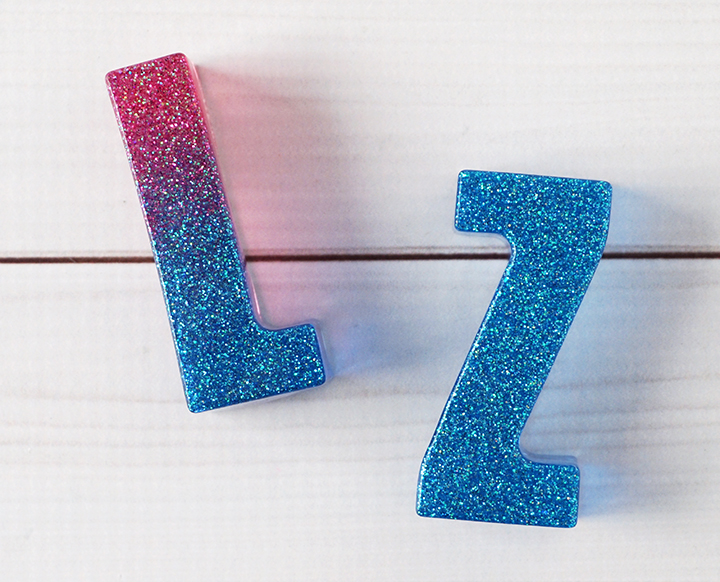
Hello, Resin Crafters! Lindsay here with a new, glittery, resin project to share with you! My daughter loves accessorizing her backpack, so we worked together to make her a unique zipper pull/keychain packed with glitter in her favorite color. These keychains are similar to the Planner Charms, but are a bit larger. They are the perfect size to hook to your keys or for kids to attach to their backpacks.
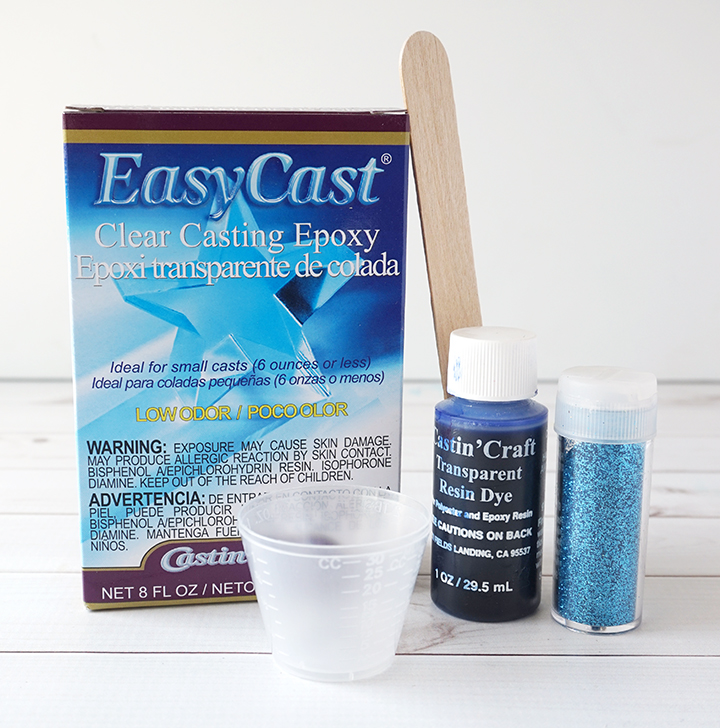
Supplies needed to make your own Resin Letter Keychains:
- EasyCast Clear Casting Epoxy
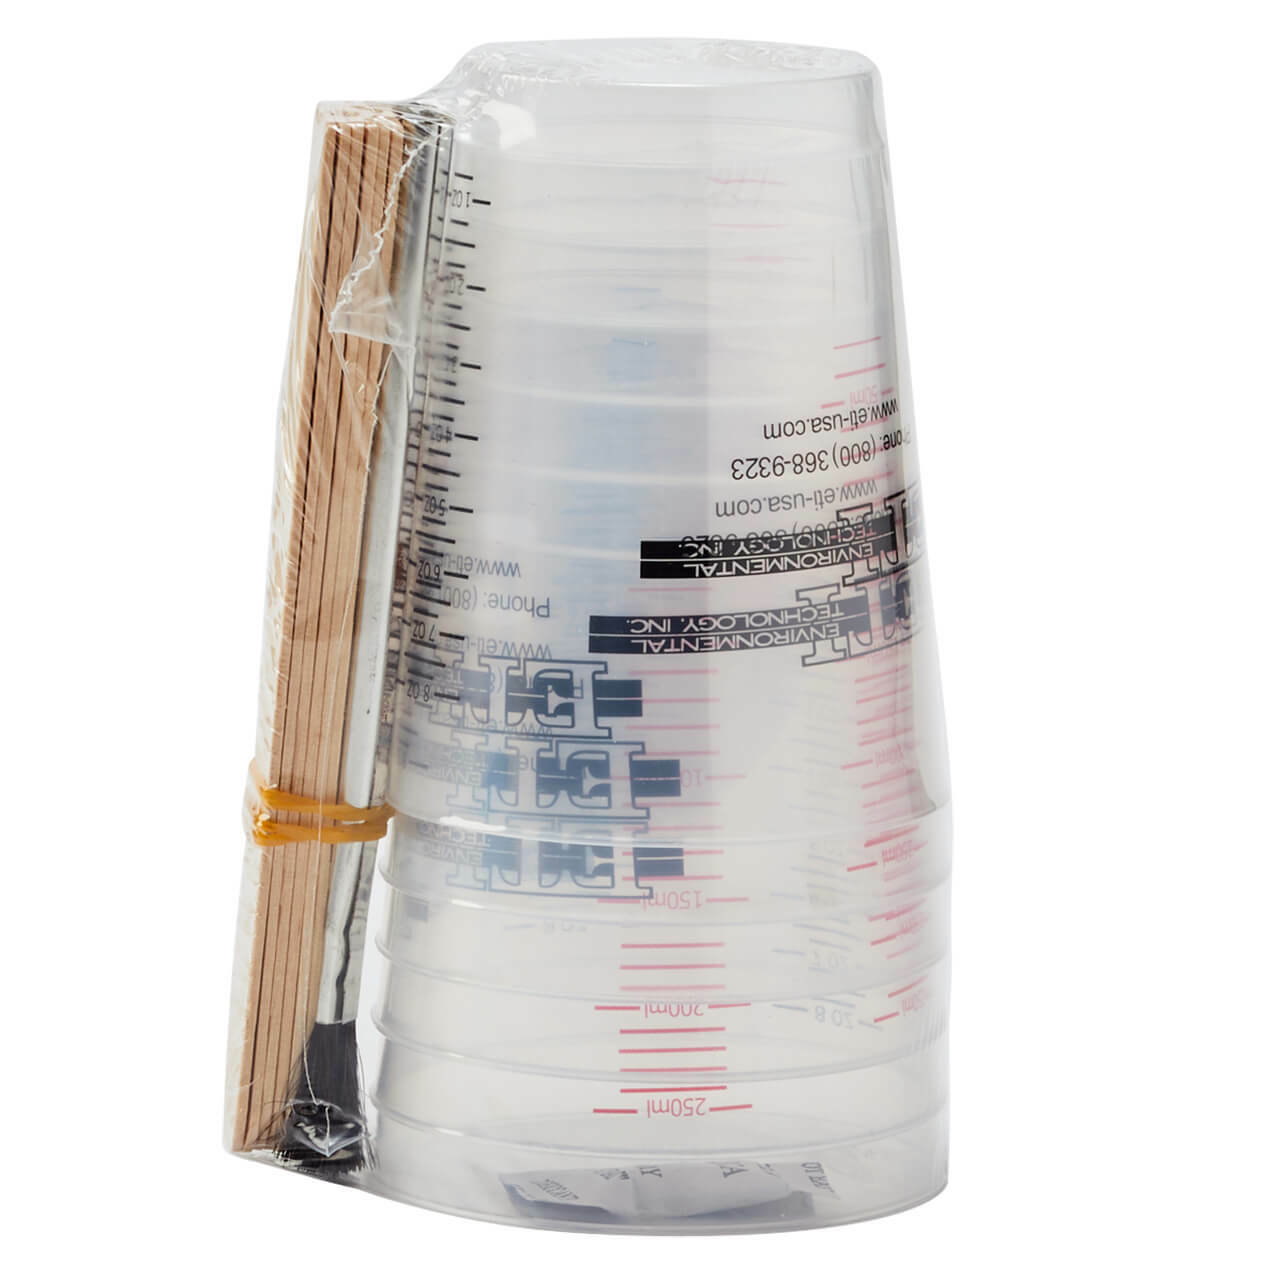
- Mixing Cups
- Gloves
- Stir Sticks
- Castin’ Craft Transparent Dyes – Blue
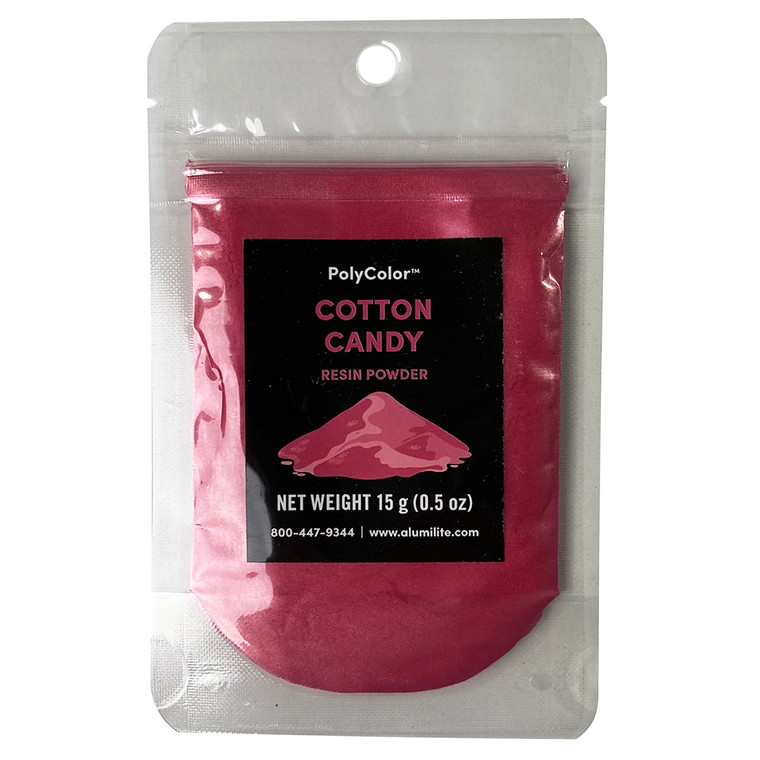
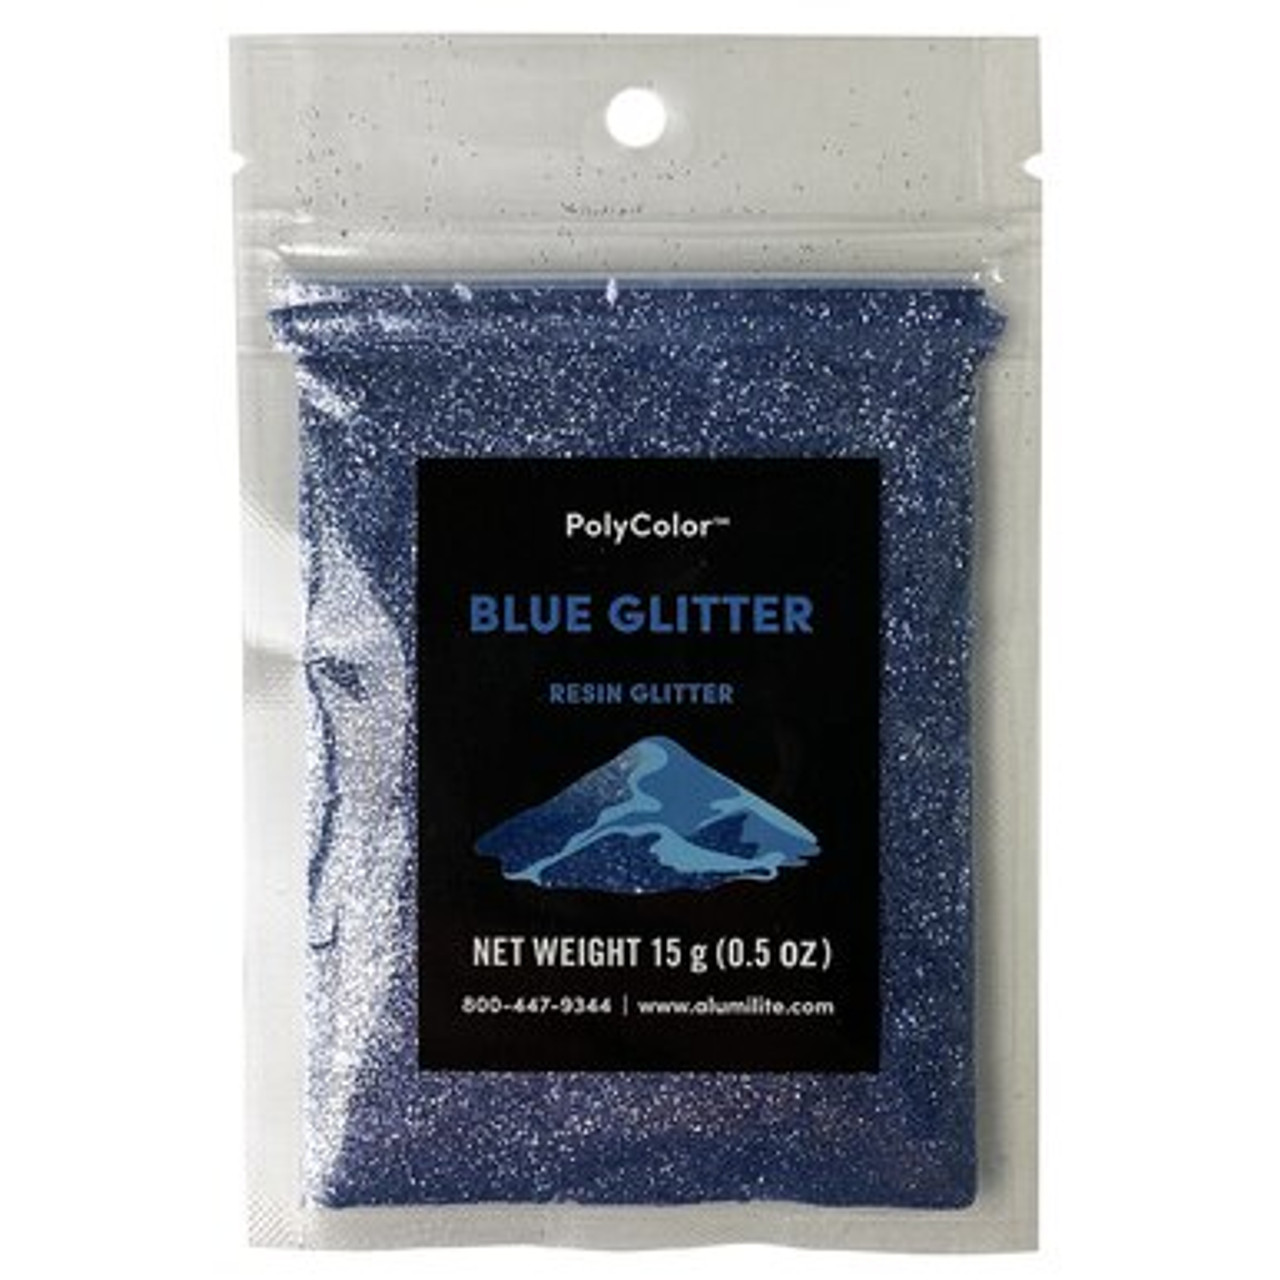
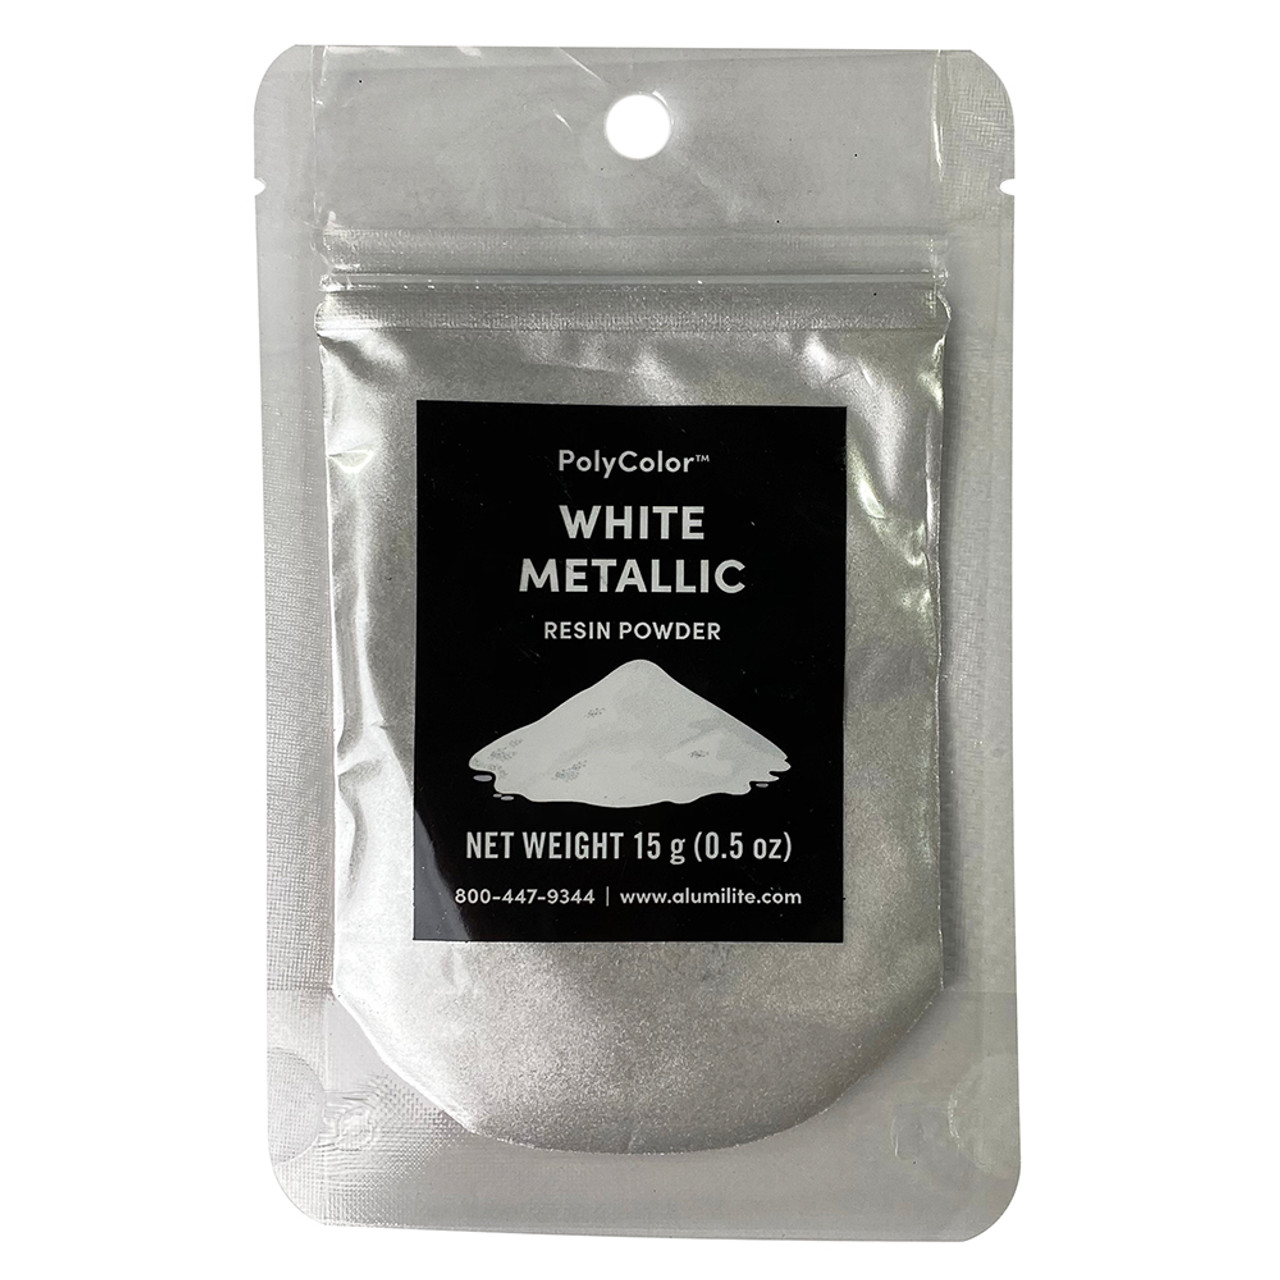
- PolyColor Resin Powder and Resin Glitter – I used a mix of pink, blues and white
- Alphabet Silicone Mold
Step 1:
Prepare the EasyCast Clear Casting Epoxy according to package directions. Be sure to work in a well-ventilated area and wear disposable gloves. Pour in equal parts of resin and hardener to the mixing cup.
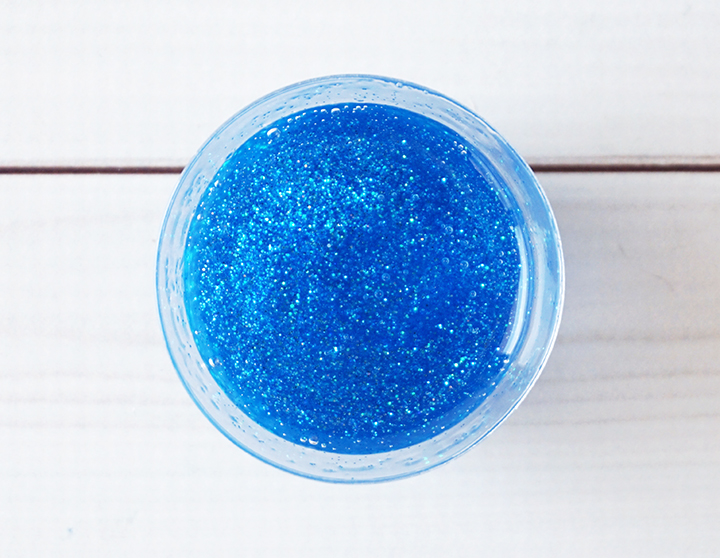
Stir the resin mixture together with a stir stick for two minutes, and then pour the resin into a clean mixing cup. Stir the resin again for another minute or two with a clean stir stick. Add a drop or two of resin dye, and sprinkle in a generous amount of glitter.
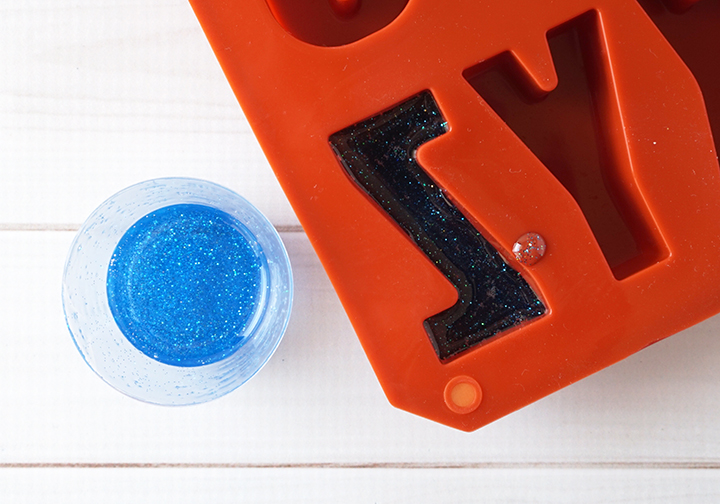
Step 2:
Slowly pour the resin into the letter mold of your choice. Pop any bubbles that rise to the top using a lighter or by blowing through a straw.
Step 3:
Leave the resin to cure in an undisturbed area for 24 hours. You will know that the resin is completely cured when it is no longer tacky.
*To make a two-toned letter keychain, split the mixed resin into two cups. Then add different dyes and glitters to each cup. Pour a little bit of each resin color in different ends of the mold, alternating until the mold is filled.
Step 4:
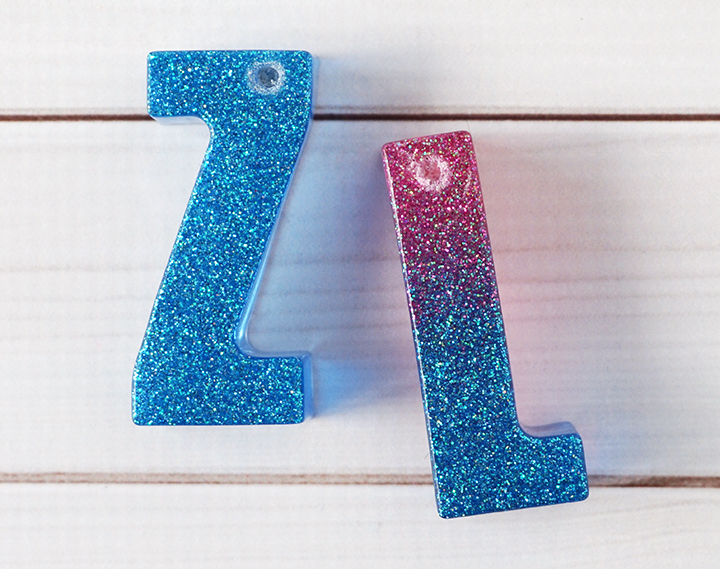
Use a drill and a small drill bit to make a hole towards the top of the letters.
Step 5:
Hook a large jump ring through the hole in the resin letters, and attach a keyring.
Now you can hook the DIY Resin Letter Keychains to anything you want! You can make them for your own keys, or make some for your kids to attach to their backpacks! These keychains would also make great gifts for friends and family!

Lindsay is a crafter, graphic designer, and glitter enthusiast from Utah. She’s passionate about homeschooling her creative daughter, traveling, and spending time in the craft room. Lindsay shares DIY project tutorials, printables, recipes, kids crafts, and more on her blog, ArtsyFartsyMama.com, where she inspires readers to live a creative life.


Hello, so I’m just starting to resin and wondered do I need a mold release for a silicone mold, or will it be fine without it? TIA.
It always helps to use a mold release but not technically necessary for a silicone mold.
How big are the letters and where you purchased your letter mold, thanks
Hi Mayra! I found the mold on Amazon, and the letters are about 2″ tall.
When and how do you put a hole for a keychain?
Hi Emma! After I removed the resin from the mold, I used a drill with a small drill bit to add a hole to the top of the letters. Hope this helps!
Hi, I have made a few of these for myself and friends and have had a few friends come back and tell me the small ring broke or expanded and so the keychain broke. Do you have any tips for how I can get the smaller flimsy ring to stay closed?
Hi Lauren! So sorry to hear about that problem. Try using a thicker jump ring (I find the thinner ones break too much), or another option is to use a hand drill to make a vertical hole in the top of the letter, and then glue in an eye screw instead to attach the chain to.
What kind of glue do you used in the hole you made for the keychain?.
Thanks
Hi Asmaa! I used E6000, but you can use any strong craft glue or even resin to hold the eye screw in place (just will need to wait for the resin to cure).
What’s the best size jump ring to use? Thank you
Hi Diane! I would recommend at least 15 mm, depending on how thick the resin letter is.
How much resin do you think I would need for the entire alphabet to be done for school purposes?
Hi Kayla! I think you would probably need about 1 oz per letter.
Where do you buy your jump rings?
Hi Sylvia! I usually get mine from Amazon or Michaels.
How much resin do i need to mix for one letter
Hi Nabila, it’s about 1 oz per letter.
Hello you said about 1 oz per a letter is that half oz hardener and half oz of resin or 1 oz of each and mix 2gether for 1 letter sorry im new and got my first lot to try out the alphabet many thanks
Hi Jackie, Great question! Yes, you would use half resin, half hardener (1 oz total). Hope you have a great time!
Hi, Im new to making resin keycain, great tutorial. When I did mine I filled to the top so I think I did, when dry, I removed it from the silicone and back side has some what an indention. Should I add a little of Mixin resin to fix that Issue?
Hi Gracie! Resin slightly shrinks as it cures, so having it sink a little on the back is totally normal. Since it is the back of the letter, it shouldn’t really matter. If it bothers you, you can do a thin layer of resin over the back (called “doming”) to even it out.