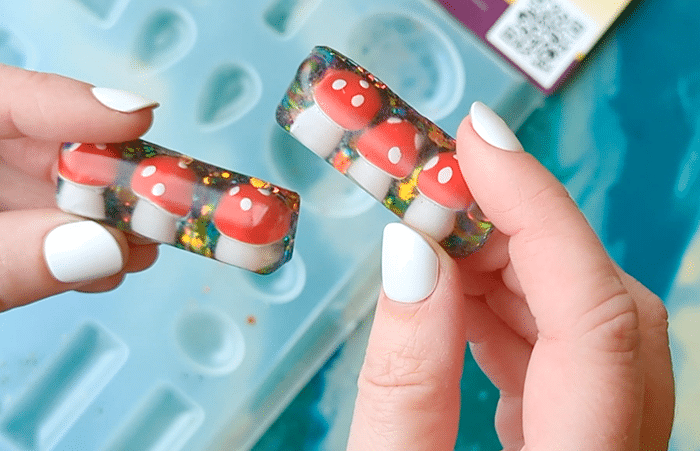
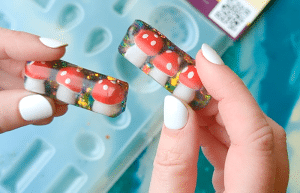
Make your own resin mushroom hair clips with small mushrooms from the craft store and Amazing Clear Cast Epoxy. They are such a fun accessory to hop on the mushroom trend we’re seeing everywhere!
Supplies to make mushroom and resin hair clips
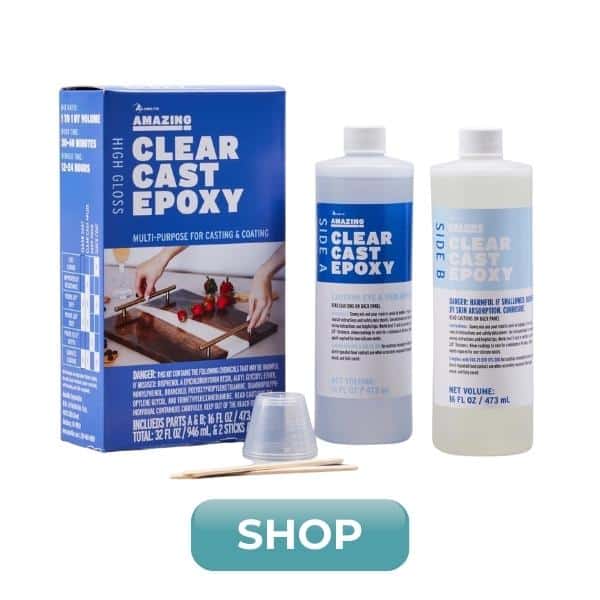
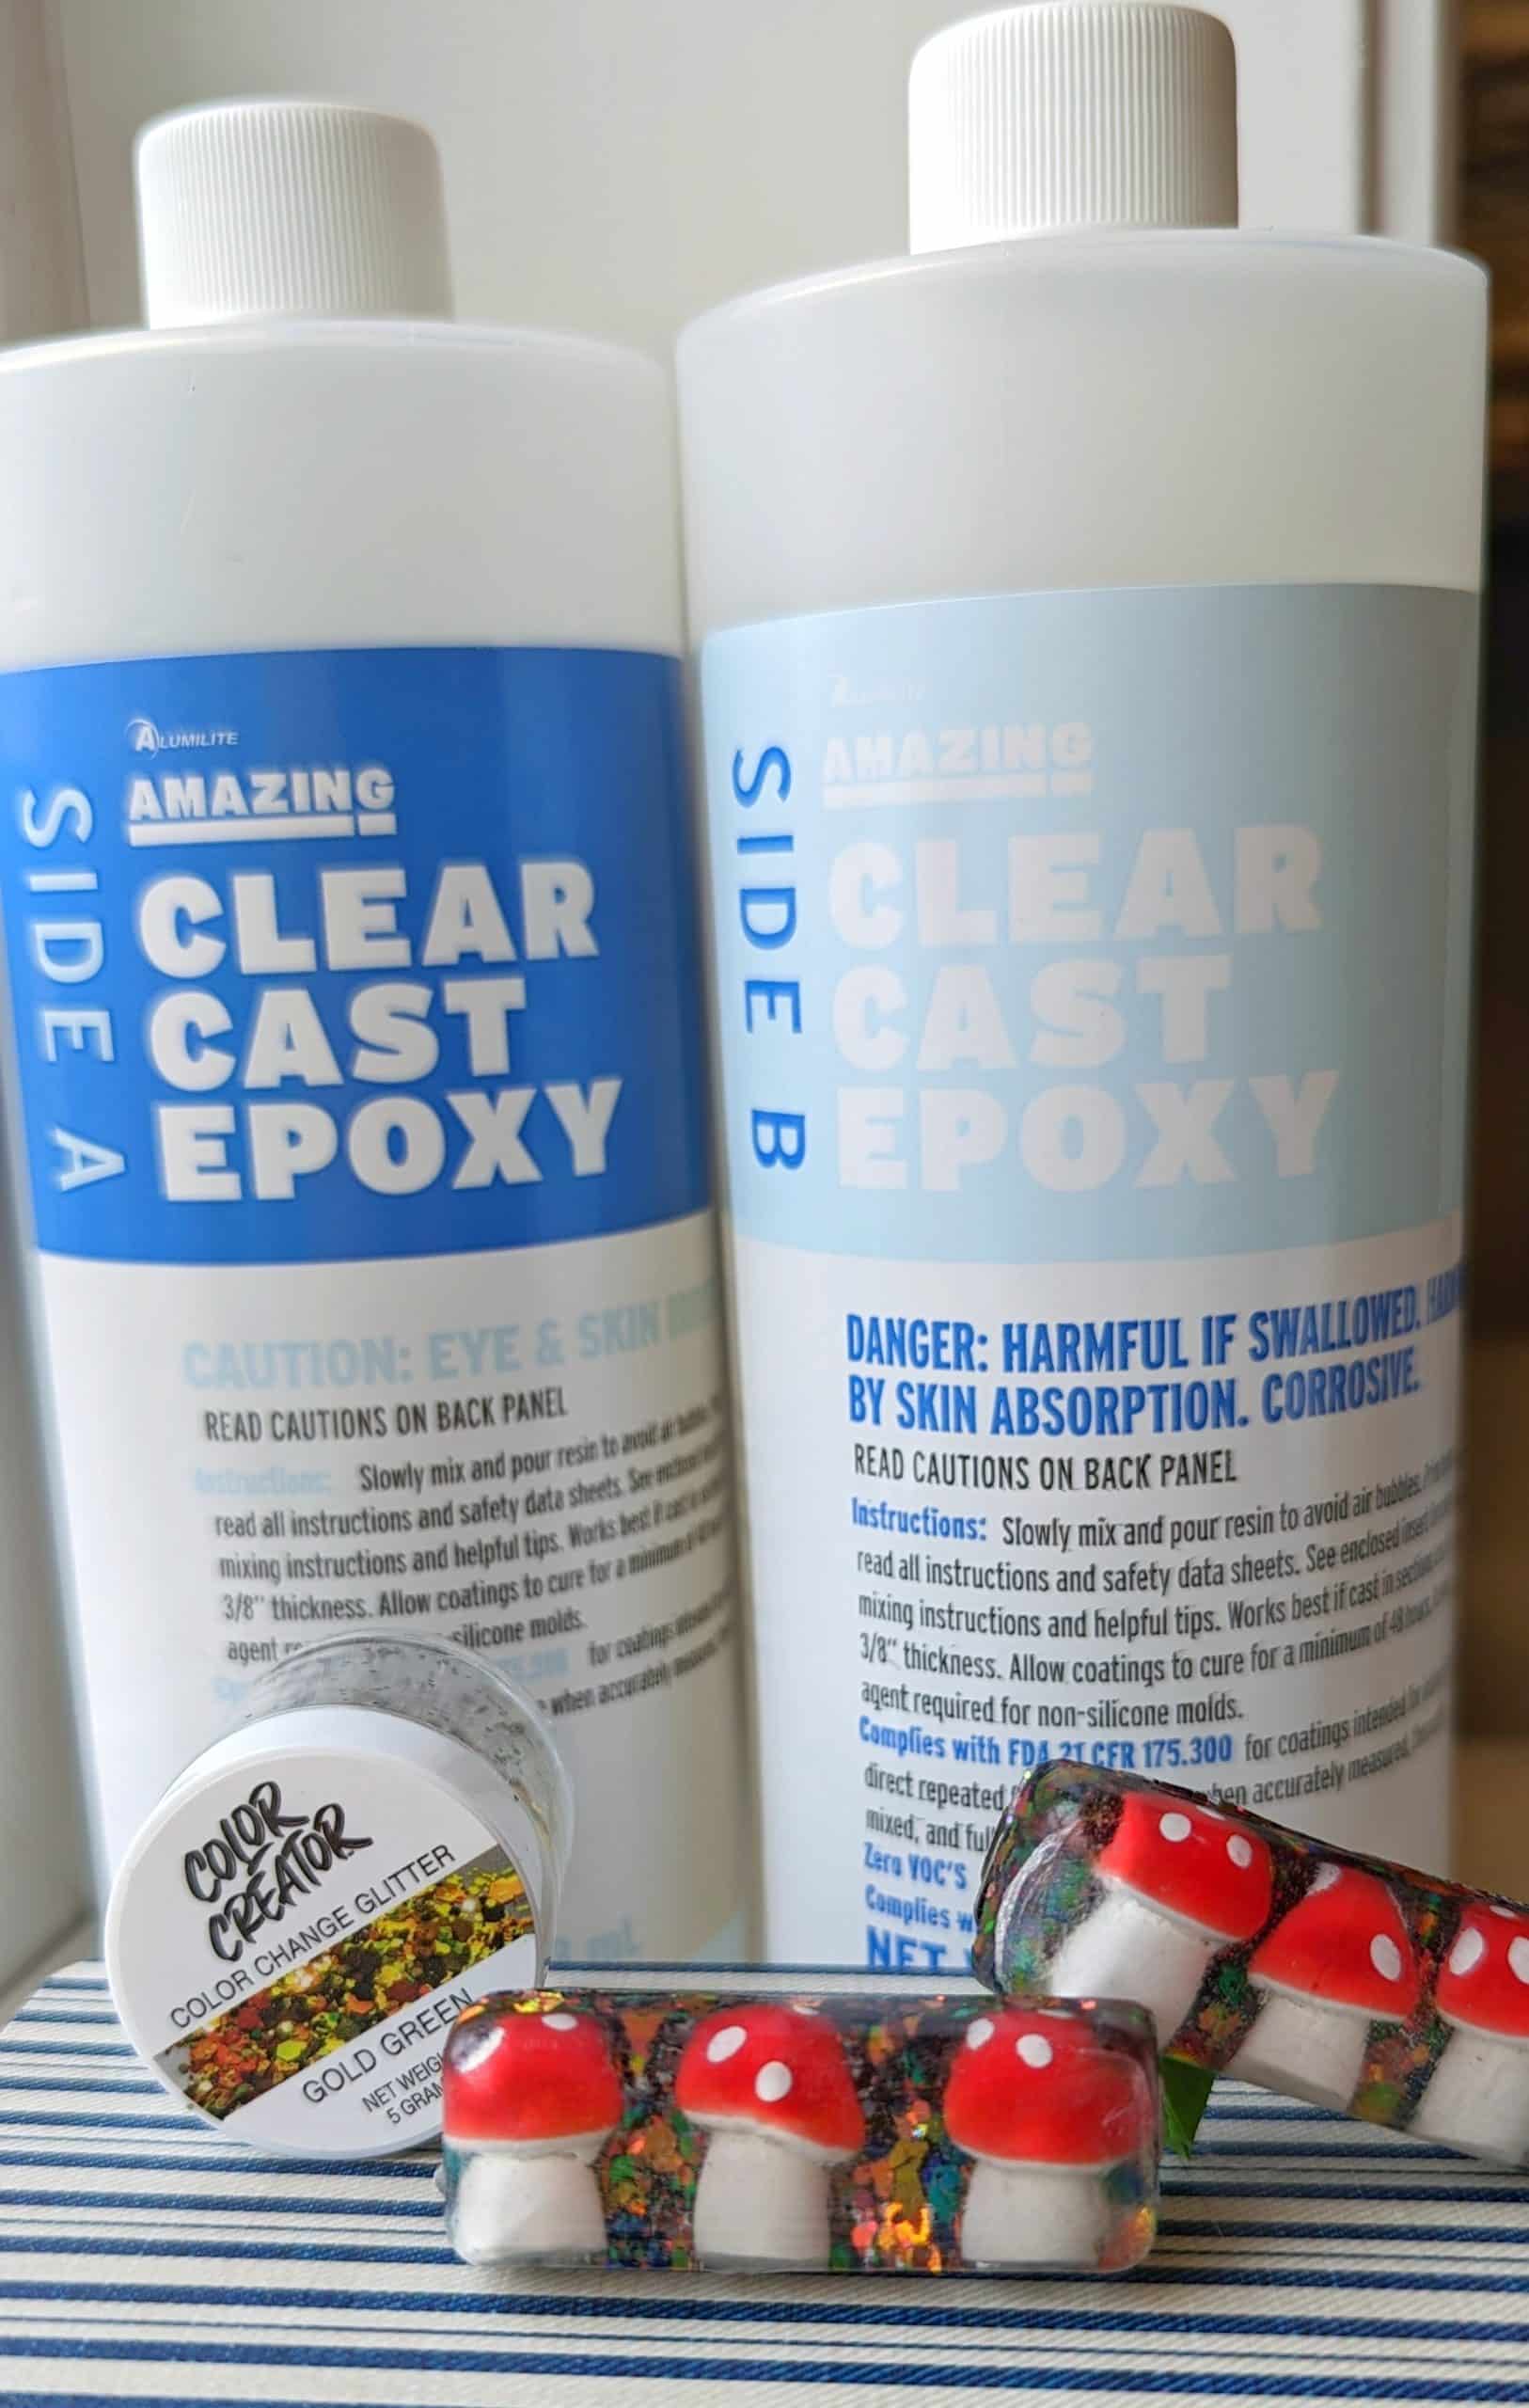
- Alumilite Amazing Clear Cast Epoxy
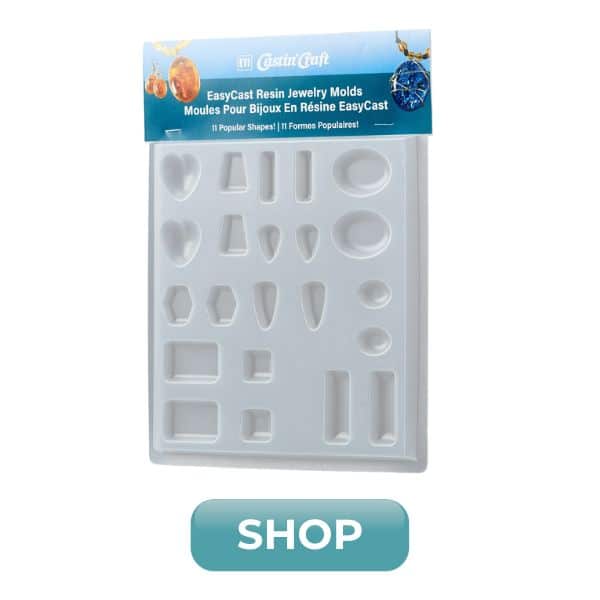
- Jewelry Mold
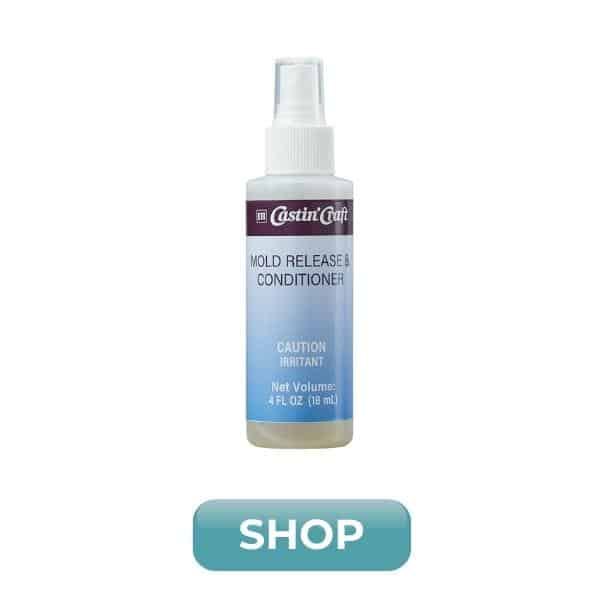
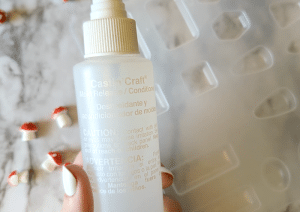
- Mold Release and Conditioner spray
- Small mushrooms (look in the “miniatures” section at the craft store, or look for mushroom beads – just make sure they’ll fit in the mold you’re using)
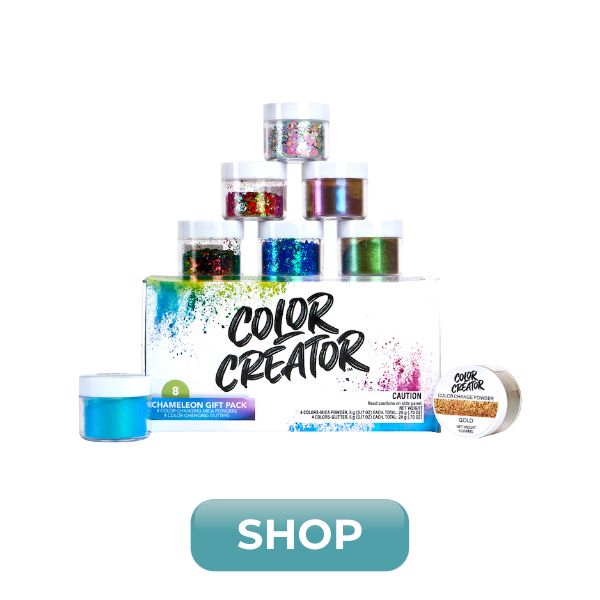
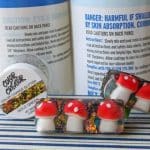
- Color Creator glitter
- Blank hair clips
- E6000 or similar adhesive
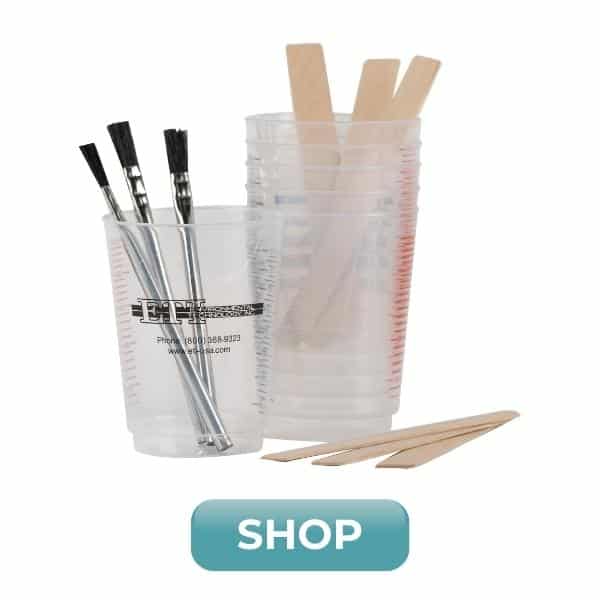
- Cups and stir sticks
- Gloves and eye protection
How to Make Resin Mushroom Hair Clips
Printable instruction card can be found at the bottom of this post. Made by Stephanie of Crafting in the Rain.
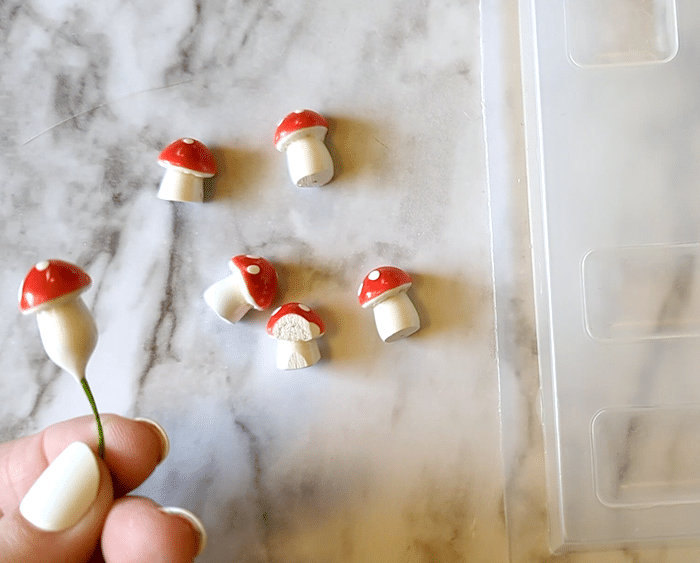
Prep faux mushrooms for resin
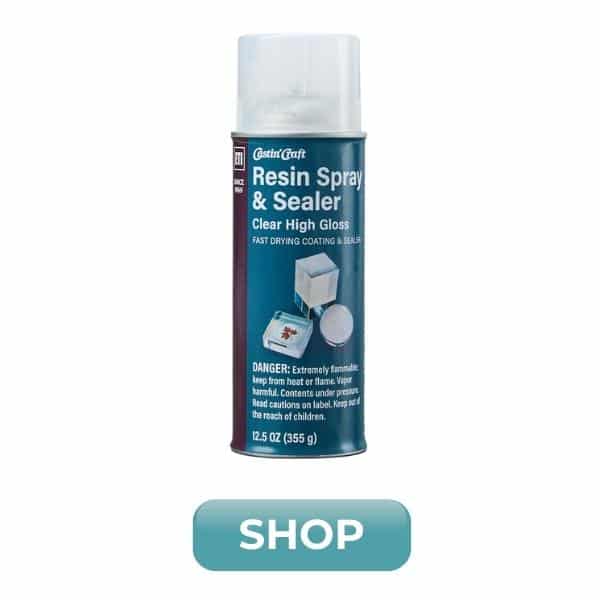
If you get the same mushrooms that I did, that have floral wire in the bottom, pull out the wire and use rough sandpaper to make the mushroom stem flat. Also, sand a bit off the back so the mushroom can lay flat. Spray the mushrooms with resin spray sealer.
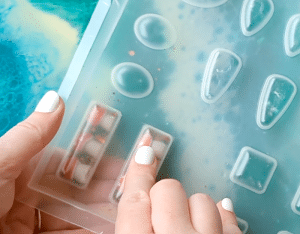
Prep jewelry mold
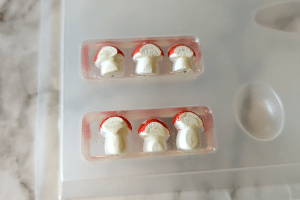
Spray the jewelry mold with mold release. This mold shape fits 3 mushrooms nicely in a row – use other mold cavities if you want to play with different designs.

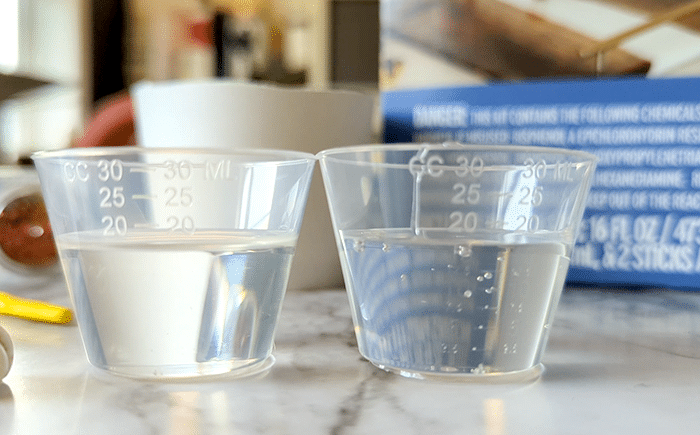
Mix and Epoxy
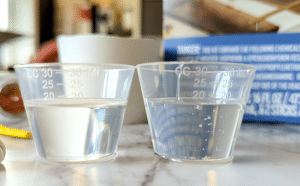
Let the mold release dry while you mix up some resin. While wearing gloves, pour 10 mL each of sides A and B (for a total of 20 mL) into a mixing cup and stir for 4 minutes or until there are no swirls visible.
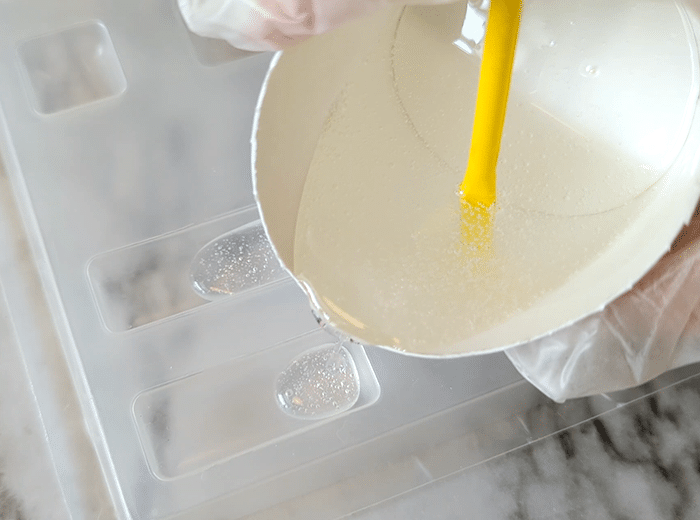
Fill the jewelry molds about half full with resin. Let sit for 10 minutes to let bubbles release. Tap on the mold to help them rise, and lightly mist with alcohol to pop the bubbles on the surface. Repeat as needed.
Embed plastic mushrooms in resin
Set the mushrooms, flat side up, into the resin. Add a bit more resin to almost cover the mushrooms.
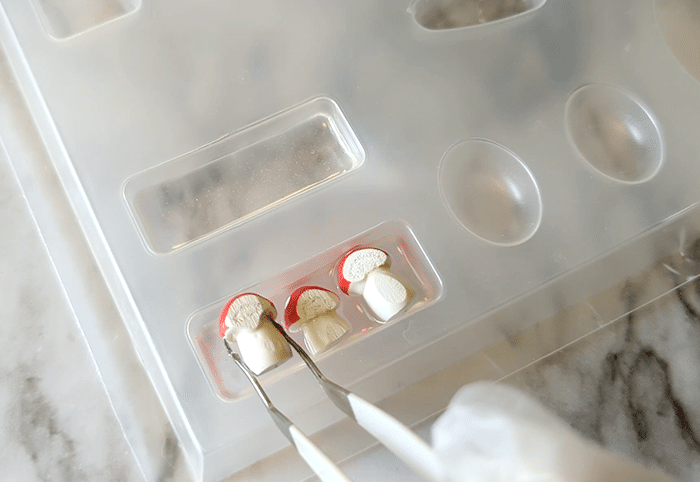
Remove bubbles again, and adjust the position of the mushrooms if needed as the resin starts to set.
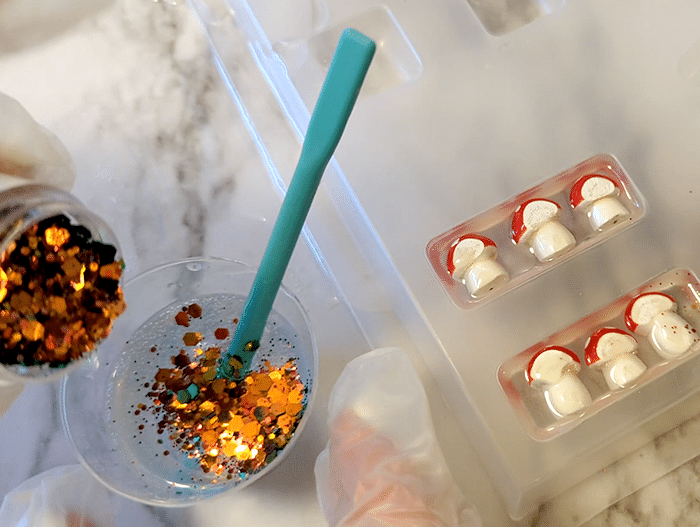
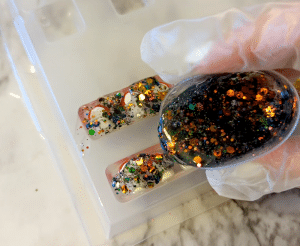
After about 4 hours prepare more resin (about 12 mL total this time) and add gold/green Color Creator chunky glitter. Then pour a layer over the mushrooms.
Amazing Clear Cast Epoxy is great for small layering projects like this. Layer depth is recommended at 3/8 inch or less, and can be layered as soon as 4 hours. So it worked great to set the mushrooms, and then pour the bottom glitter layer.

Demold after 24 hours. I find that pressing from the back of the mold helps the pieces pop out.

Make resin hair clips
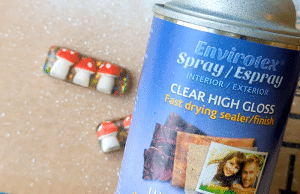
I did a couple of coats of resin spray sealer to add some shine back to the resin after it came out of the mold.

When the sealer completely dries, attach a clip with e6000. Be sure to not glue the clip closed! (Clip around a silicone mat if needed.) Also, remember to glue them on like they were a pair – one going each direction.
Aren’t they cute? You can make them along with these mushroom earrings for a complete look!
DIY Resin Mushroom Hair Clips
Materials
- Alumilite Amazing Clear Cast Epoxy
- Jewelry Mold
- Mold Release and Conditioner Spray
- Small mushrooms look in the “miniatures” section, or look for mushroom beads – just make sure they’ll fit in the mold you’re using
- Color Creator Chameleon Gift Pack
- Blank hair clips
- E6000 or similar adhesive
- Mixing cups and stir sticks
- Gloves and eye protection
Instructions
Prep faux mushrooms for resin
- If you get the same mushrooms that I did, that have floral wire in the bottom, pull out the wire and use rough sandpaper to make the mushroom stem flat. Also, sand a bit off the back so the mushroom can lay flat. Spray the mushrooms with resin spray sealer.

Prep jewelry mold
- Spray the jewelry mold with mold release. This mold shape fits 3 mushrooms nicely in a row – use other mold cavities if you want to play with different designs.
Mix and Pour Epoxy
- Let the mold release dry while you mix up some resin. While wearing gloves, pour 10 mL each of sides A and B (for a total of 20 mL) into a mixing cup and stir for 4 minutes or until there are no swirls visible.
- Fill the jewelry molds about half full with resin. Let sit for 10 minutes to let bubbles release. Tap on the mold to help them rise, and lightly mist with alcohol to pop the bubbles on the surface. Repeat as needed to remove all bubbles that come to the surface.

Embed plastic mushrooms in resin
- Set the mushrooms, flat side up, into the resin. Add a bit more resin to almost cover the mushrooms.
- Remove bubbles again, and adjust the position of the mushrooms if needed as the resin starts to set.
- After about 4 hours prepare more resin (about 12 mL total this time) and add gold/green Color Creator chunky glitter. Then pour a layer over the mushrooms.
- Demold after 24 hours. I find that pressing from the back of the mold helps the pieces pop out.
Make resin mushroom hair clips
- I did a couple of coats of spray sealer to add some shine back to the resin after it came out of the mold.
- When the sealer completely dries, attach a clip with e6000. Be sure to not glue the clip closed! (Clip around a silicone mat if needed.) Also, remember to glue them on like they were a pair – one going each direction.
Stephanie is a crafty wife and mom living in the Pacific Northwest. She shares her creative ideas -along with a bit of “making it up as she goes” – on her blog, Crafting in the Rain.


Leave a Reply