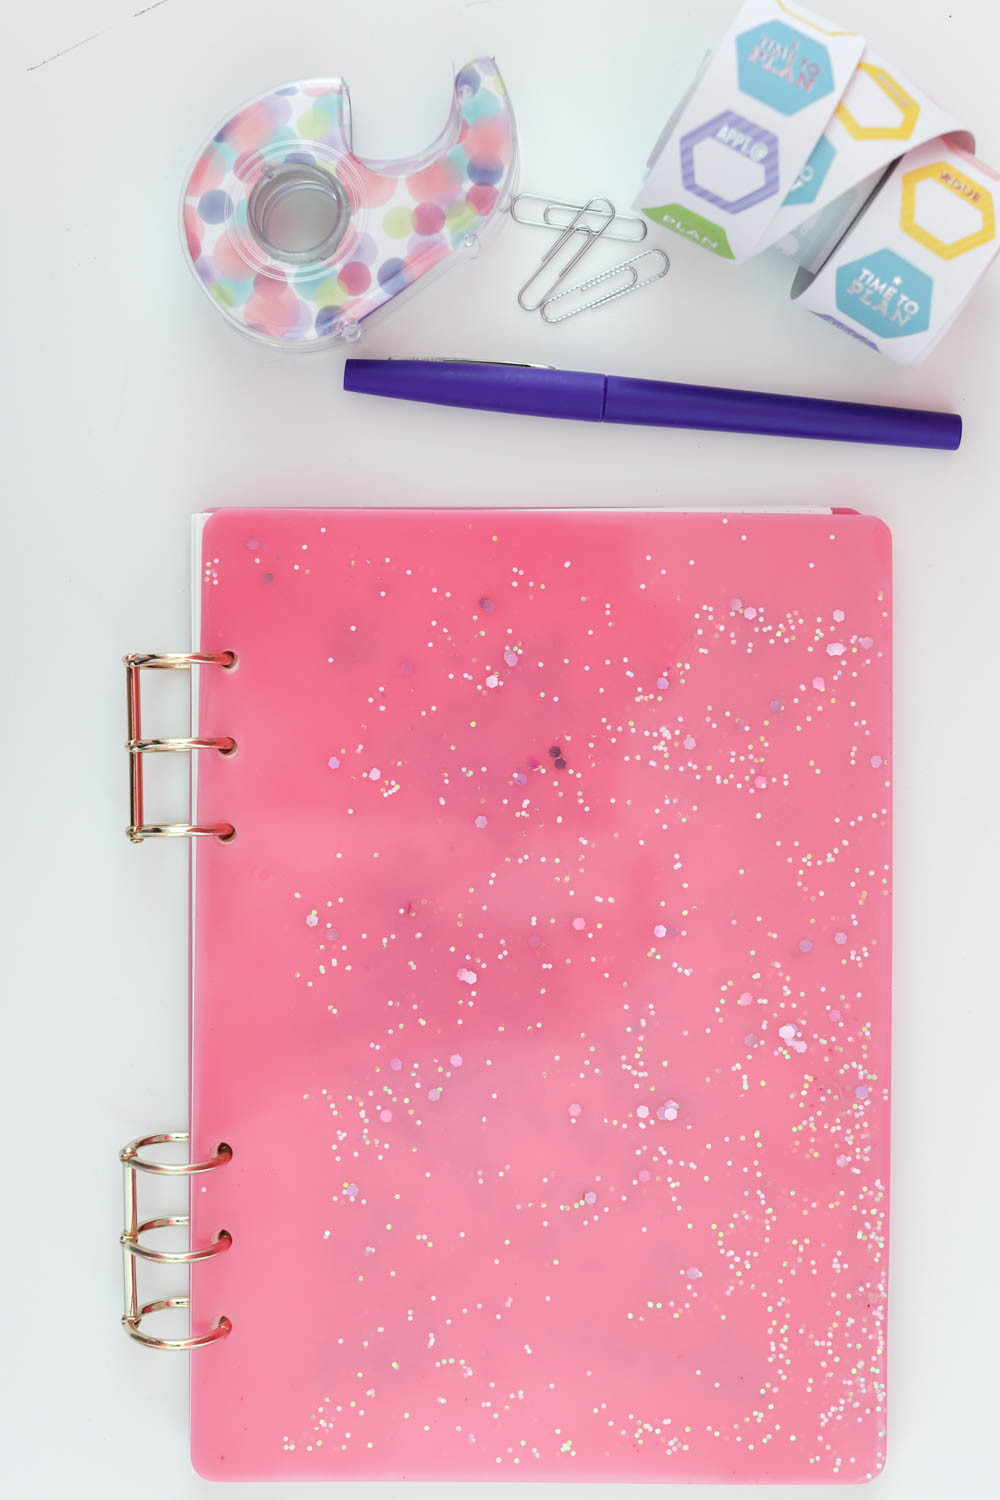
Create beautiful DIY resin notebook covers using a silicone mold, EasyCast Clear Casting Epoxy, and acrylic paint.
Hey Resin Crafters! Amber Oliver here with another great resin project! Can you believe it’s already August?? Back to school is just around the corner! That means it’s time for new school supplies! Not headed back to school? Well you still could use some new office supplies! Let’s make a super cute DIY resin notebook that’s perfect for taking notes in your new class or jotting down to-do lists for work!
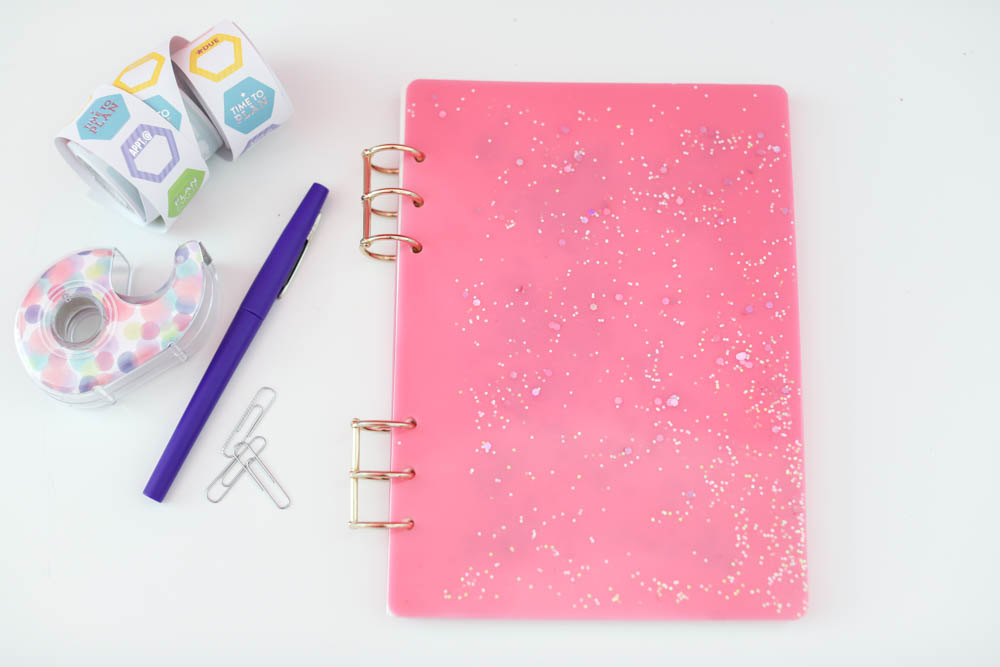
SUPPLIES NEEDED FOR DIY RESIN NOTEBOOK:
- EasyCast Clear Casting Epoxy
- Acrylic Paint in the color of your choice
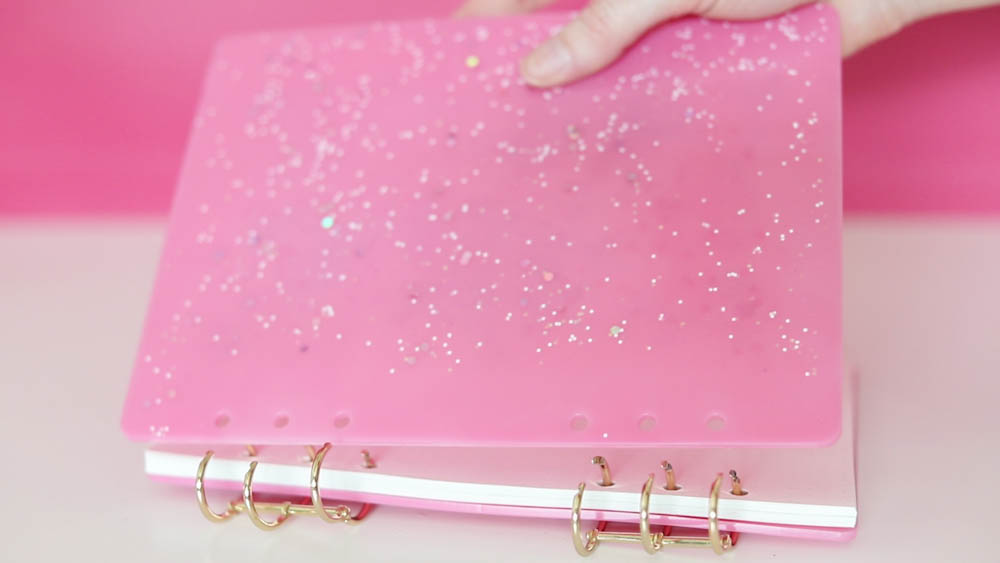
- Notebook Mold
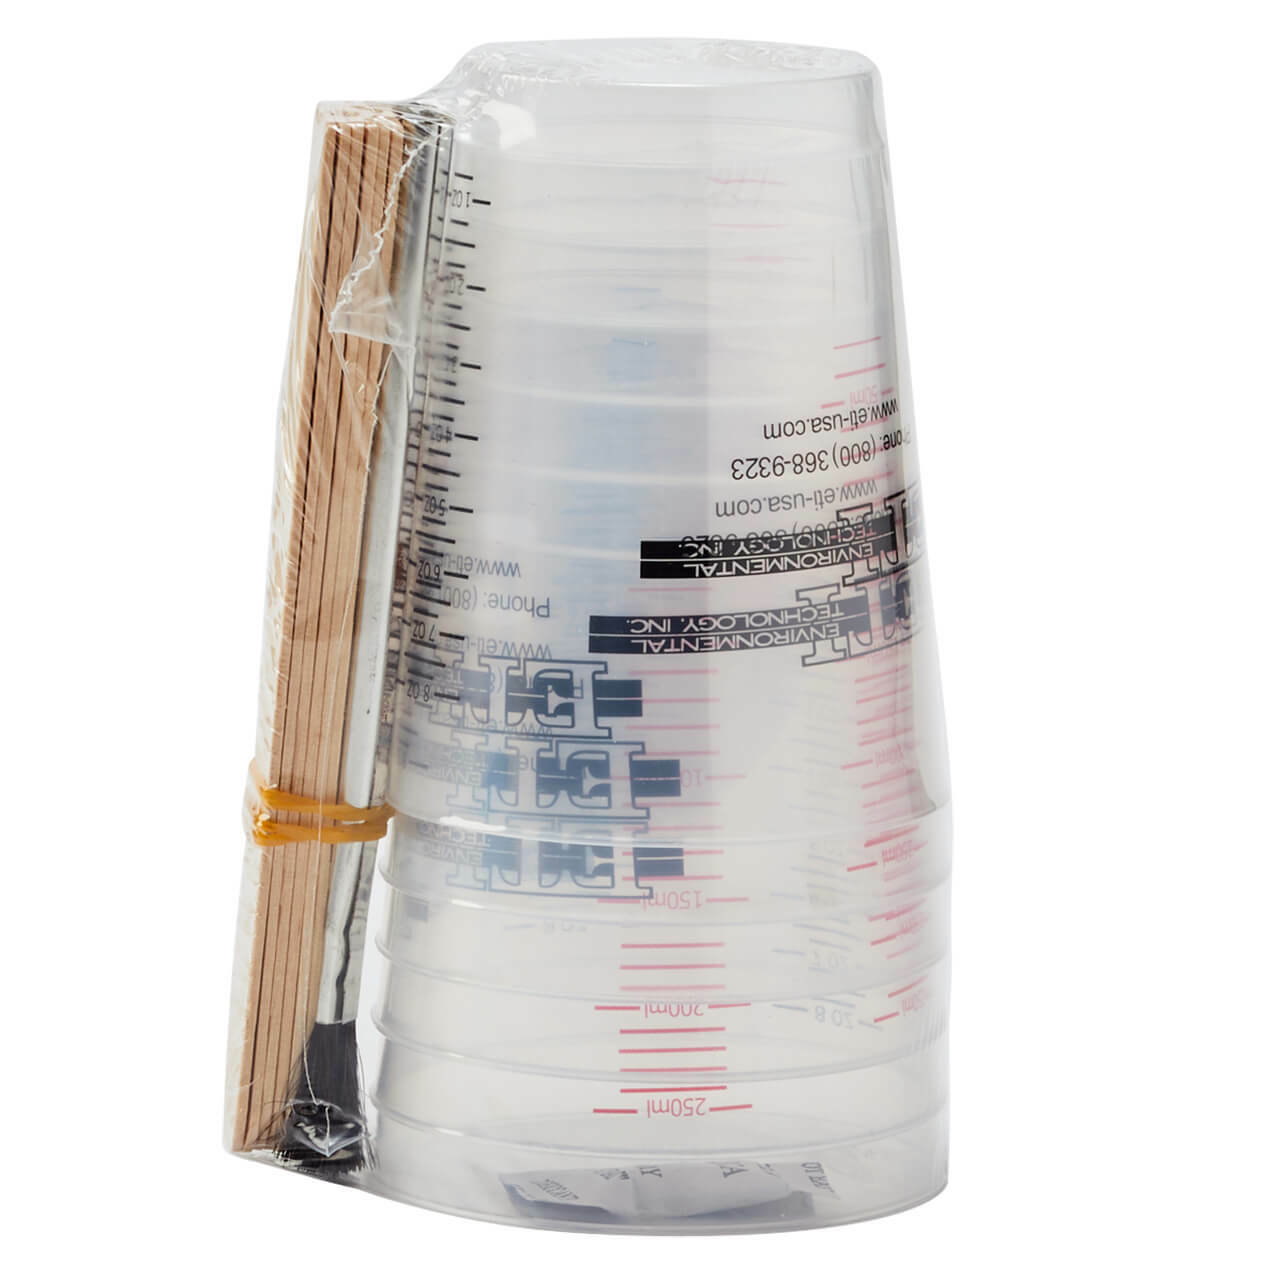
- Mixing Cups
- Stir Sticks
- Notebook Paper
- Notebook Rings
Step 1:
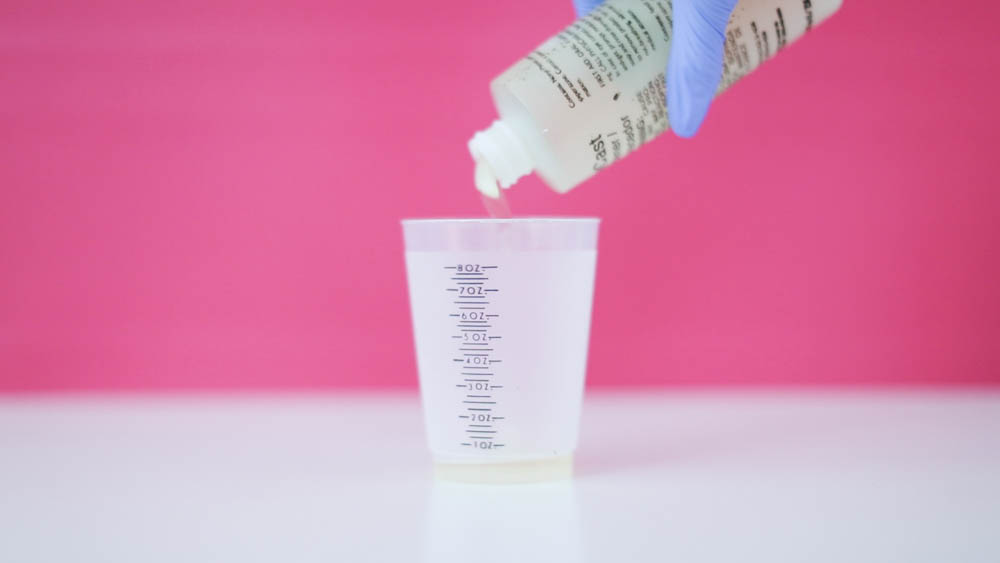
First, prepare the EasyCast Clear Casting Epoxy. This is a multi-step process so don’t start mixing until you are ready to do the whole process from beginning to end!
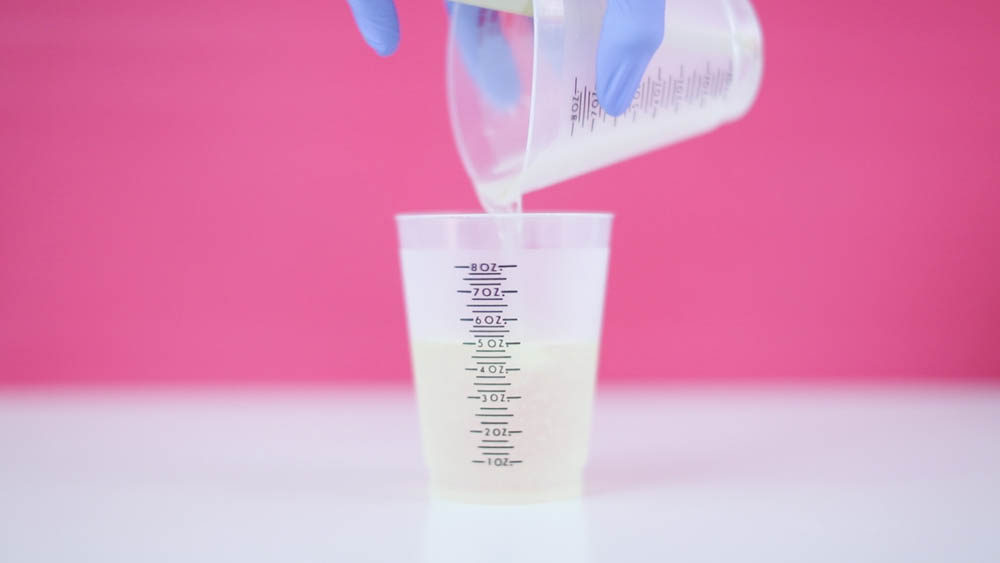
Start by mixing EQUAL parts of the Hardener and the Resin.

Stir for two minutes (be sure to scrape the bottoms and sides) then pour from the first cup into a second and mix with a new stir stick for another minute.
Step 2:
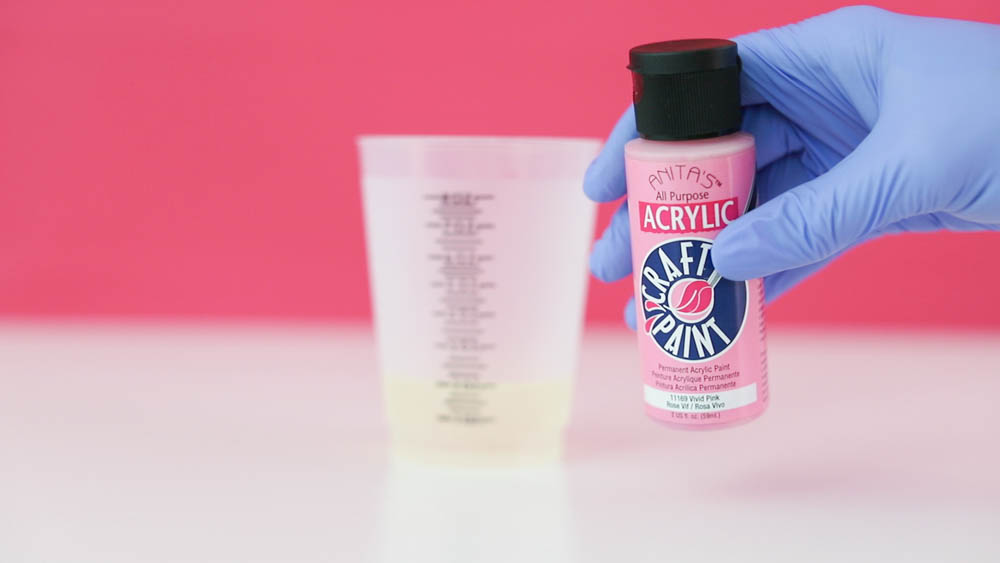
Once your mixture is ready, add in a few drops of acrylic paint then stir.
Step 3:
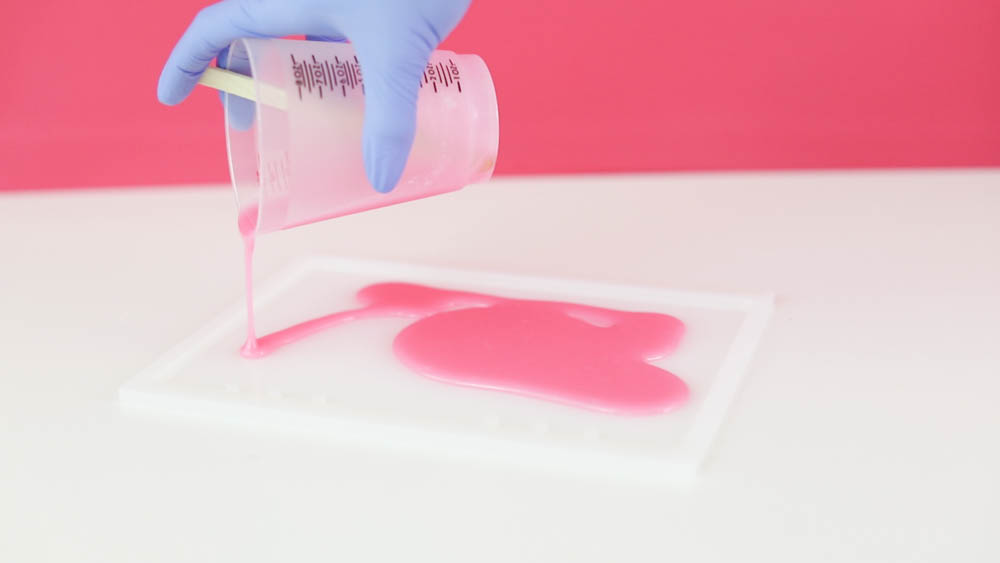
Pour slowly into your mold – taking care not to cover the holes on the left.
Step 4:
After about 20 minutes you may see bubbles appear on the surface of the resin – you can use a butane torch to pop these or simply breathe on it like I did! It’s the CO2 in your breath that releases the bubbles – not the heat!
Amber Oliver is a DIY and lifestyle blogger who shares easy DIY tutorials, colorful crafts, and more on her blog, Amber Oliver. She’s a native Oklahoman living “in the loop” in Houston, TX with her husband and dog. She’s an avid reader, world traveler, loves Tex Mex food, and creating everything from woodworking projects to websites. She focuses on budget friendly projects for the home and empowering women to try new things.


Love your notebook! I want to make one! I was wondering how to keep the resin from getting in the holes as you mentioned. It seems like if you avoid the holes your resin would come up short on that side. Could you put toothpicks or a stirrer of some kind in the holes to keep the resin out of them? I am thinking I am too clumsy to pour it accurately otherwise. Thanks! So glad I found your blog!
Hi! Thanks so much! You could wrap tape around the places that make the holes – that way it sticks up a little higher 🙂
I’m not to clear on the method you use for protecting the holes from clogging, maybe a picture would help?
Hi Debbie,
You simply do not over fill. The holes will be created by the mold, just don’t overfill and when you pop the piece out the holes will be there 🙂 Here’s a video I created of the project: https://www.instagram.com/p/B4dj0xPABW7/
Where did you find the notebook rings? And did you add the glitter into the liquid resin or after
You can find them on Amazon. You can add the glitter once the resin has gotten a little thicker (not cured) to add the glitter so that it stays suspended in the resin and doesn’t fall to the bottom.
What do you mean by mix the Hardener and the Resin? What’s the hardener and what’s the Resin?!
Hi Lilli! It’s a 2 part resin that is mixed together before pouring.
Hi, can I know which measurement is more precise, is it 1:1 or 3:1? Because I’ve been doing 3:1 and my book cover became too soft.
Hello Wawa! It’s 1:1.
Hi.What’s the measurements for the resin? I keep having trouble to keep it even
Apologies but I don’t have the exact measurements! I usually mix up about 6-8oz and do several projects at once.
hi,
I just started making resin notebooks and my covers are still a little flexible after a few days. I don’t know if I did something wrong or it’s the resin I used. I haven’t had this problem before
Hi Angel, sorry for the late reply! Did it harden after more time? If not your pour may have been too thin or the ratios were slightly off? Those are reasons I’ve had trouble in the past.