These DIY Resin Pencil Charms are the perfect back to school accessory!
Hello, Resin Crafters! Lindsay here with a back to school resin project to share with all of you. These DIY Resin Pencil Charms are so much fun to make and you can do so many things with them! With just a little resin and glitter, you can create custom backpack charms or one-of-a-kind jewelry to give to your teachers!
Supplies needed for DIY Resin Pencil Charms:
- EnviroTex Jewelry Resin
- Gloves, Mixing Cups, and Stir Sticks
- Castin’ Craft Transparent Resin Dye
- Glitter
- Clear Packing Tape
- Toothpicks or Skewers
- Open Bezel Pencil Charms
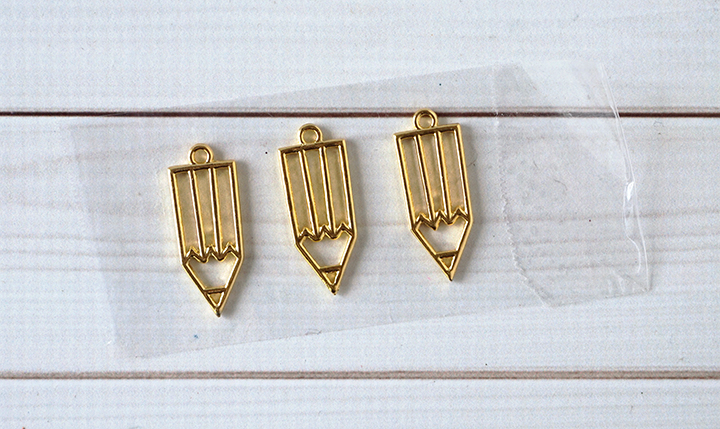
Step 1:
Cut a 4-5 inch piece of packaging tape. If you cut it too long (like I did), just fold the end over to make it easier to grab onto without getting stuck to it! Stick the pencil charms to the tape and use a brayer tool to press them down well.
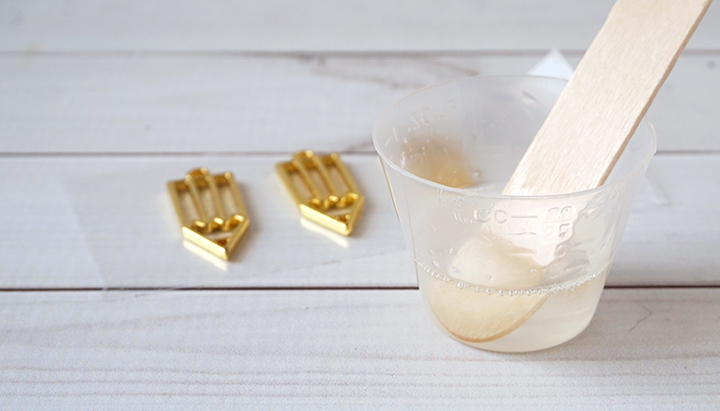
Step 2:
Prepare the EnviroTex Jewelry Resin according to package directions. Be sure to work in a well-ventilated area and wear disposable gloves. Pour in equal parts of resin and hardener to the mixing cup.
Stir the resin mixture together with a stir stick for two minutes, and then pour the resin into a clean mixing cup. Stir the resin again for another minute or two with a clean stir stick. Split the resin into three separate mixing cups.

Step 3:
Decide what color of pencil you want to have. Traditional yellow? Green? I chose blue to make things interesting. Pour in some blue glitter and one drop of blue Castin’ Craft Transparent Resin Dye into one of the mixing cups. This will make the color of the glitter look more vibrant rather than when you add glitter on its own. Stir the resin mixture until the dye and glitter are combined.
Mix one of the other resin cups with black glitter and dye, and the other with white glitter (no dye needed).
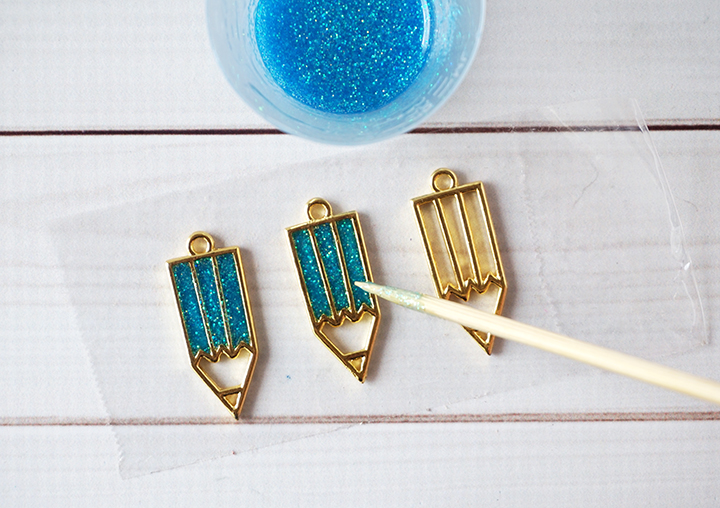
Step 4:
Use a toothpick or a skewer to carefully fill the pencil charms in with blue glittered resin. Be careful not to overfill! If for some reason the resin starts to leak underneath the charm, just leave it there to cure. It will all be okay!
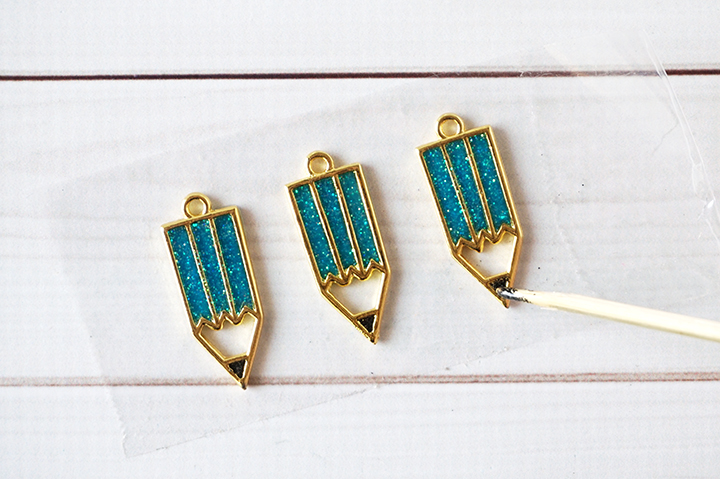
Step 5:
Add a small drop of the black glittered resin into the tips of the pencil charms using a clean toothpick or skewer.
Step 6:
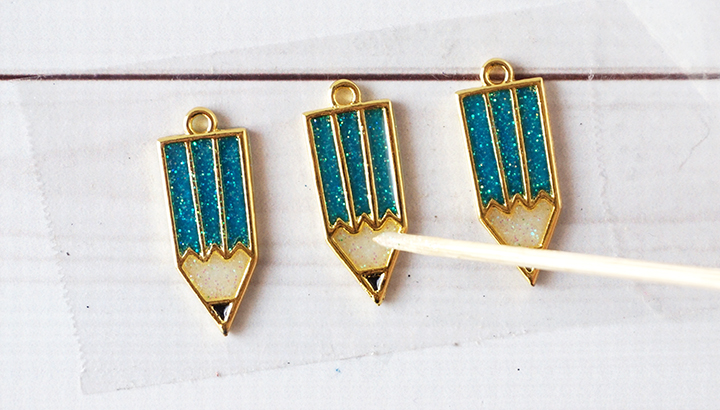
Last, but not least, fill in the last empty space of the pencil charms with the white glittered resin. Be careful to not overfill!
Step 7:
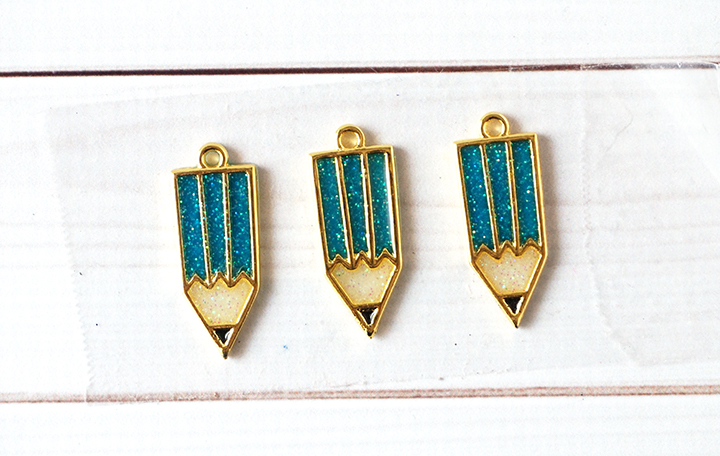
Leave the resin to cure in an undisturbed area for 12-24 hours. You will know that the resin is completely set when it is no longer tacky.
Step 8:
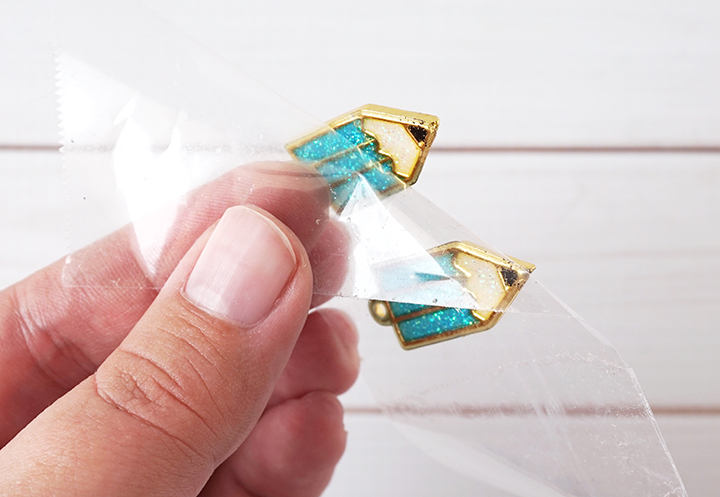
Carefully and slowly peel the packaging tape away from the pencil charms. As long as the resin is cured, it should come off without a problem. If there is any sticky residue left on the charm from the tape, you can gently wipe it away with some rubbing alcohol.
Step 9:
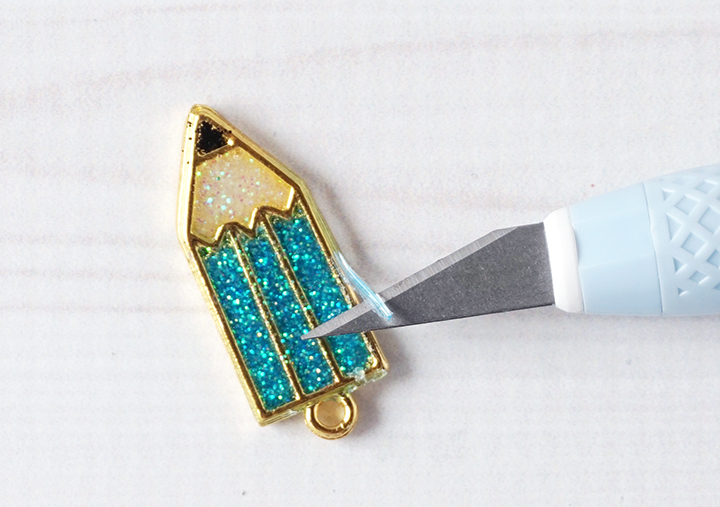
If the resin leaked at all underneath the charm, don’t panic! Use a craft knife and gently cut or scrape away the excess resin off along the metal part of the charm. Just be careful not to accidentally scratch the resin that’s inside the charm!
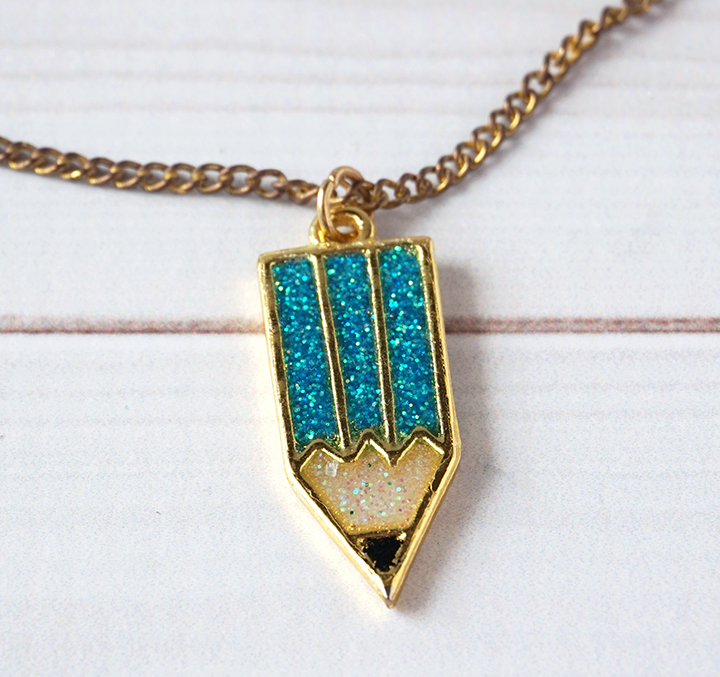
Step 10:
If you want to make the charms into a necklace, backpack zipper pull, or keychain, just add a jump ring to the charm hook. Thread a chain through for a necklace, or add a keyring like we did with these Alcohol Ink Keychains!

Step 11:
For earrings, use some jewelry pliers to attach earring hooks to the pencil charms.
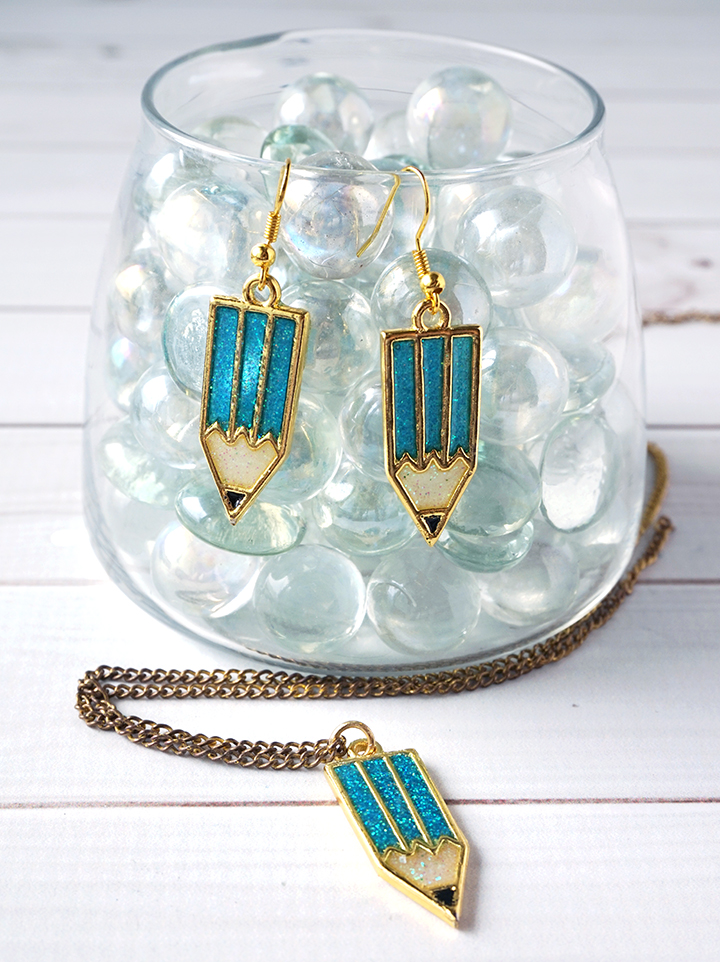
I had so much fun making up these DIY Resin Pencil Charms to transform into one-of-a-kind jewelry! Resin Pencil Jewelry would be such a unique gift for kids to give to teachers at the beginning of the school year or during Teacher Appreciation Week!
Who would you share this Resin Pencil Jewelry with?
Lindsay is a crafter, graphic designer, and glitter enthusiast from Utah. She’s passionate about homeschooling her creative daughter, traveling, and spending time in the craft room. Lindsay shares DIY project tutorials, printables, recipes, kids crafts, and more on her blog, ArtsyFartsyMama.com, where she inspires readers to live a creative life.
Leave a Reply