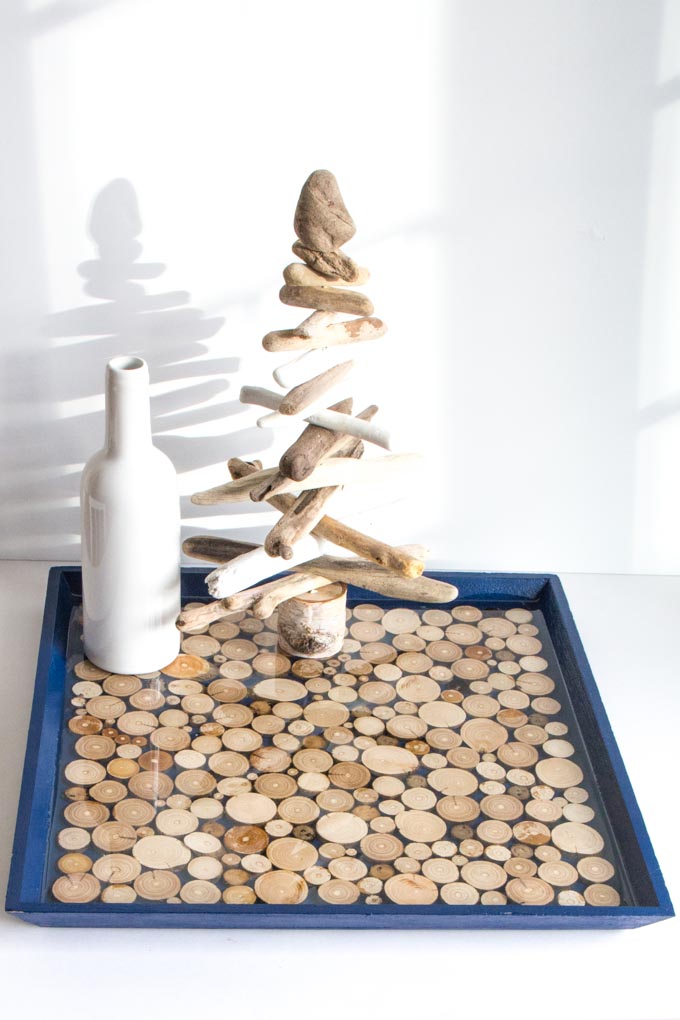
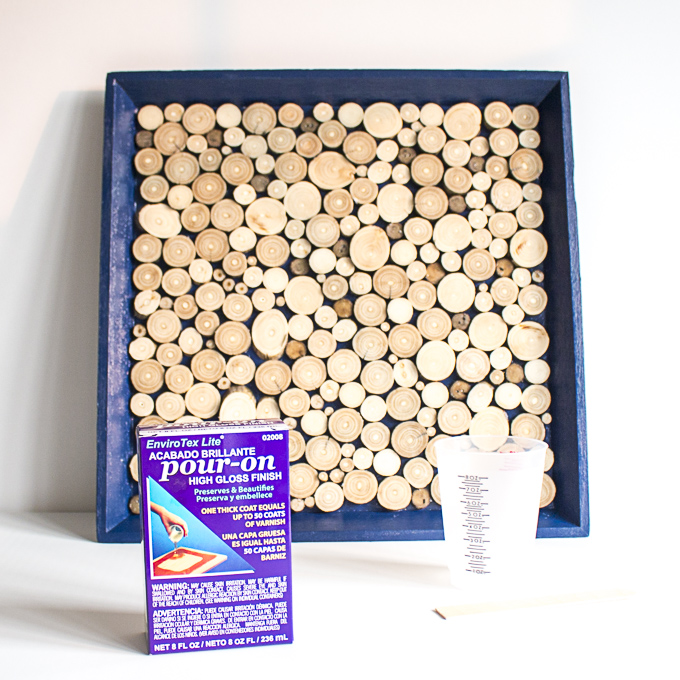
This DIY serving tray made with driftwood slices and Envirotex Lite Pour-On High Gloss Resin is a beautiful and functional way to add a coastal, rustic touch to your home decor.
Hi there! It’s Sonja from Sustain My Craft Habit. If you’ve been by our blog you might have caught that we love to make stuff with driftwood. From a DIY hanging rope shelf with driftwood, a driftwood mirror and even a driftwood Christmas tree, we find all kinds of fun ways to use this natural resource.
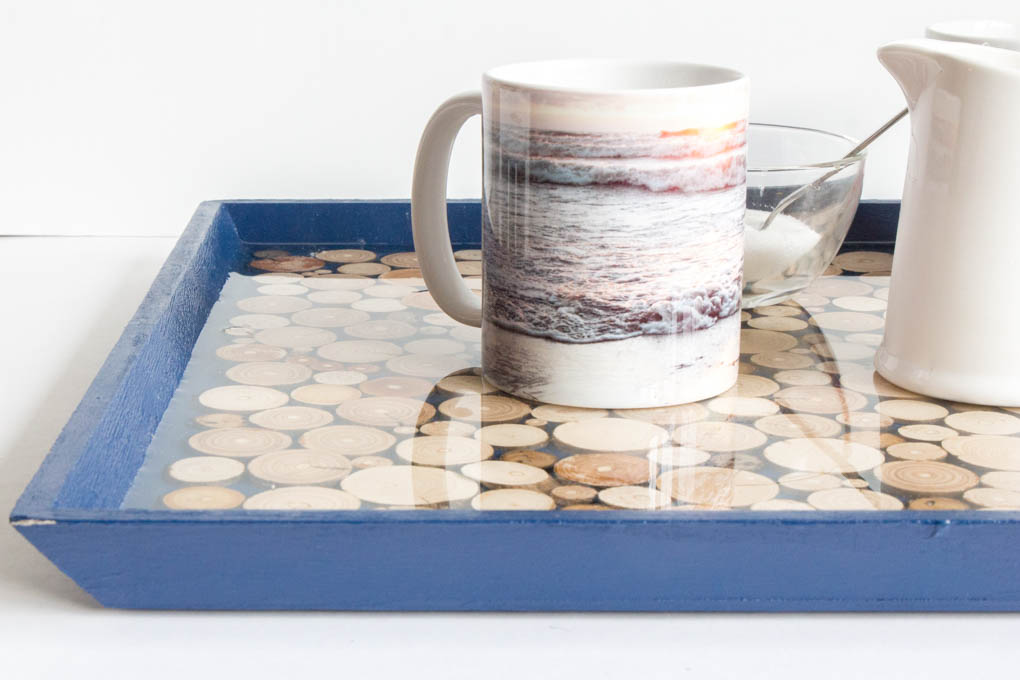
DIY Serving Tray with Driftwood and Resin
Recently Jane was slicing driftwood pieces to make buttons with. Many of them did not meet her high standards (some might say she’s a bit picky). However, the driftwood rounds were all so naturally beautiful that I had to come up with a way to use them. This idea, to display them in a functional DIY serving tray came to mind.
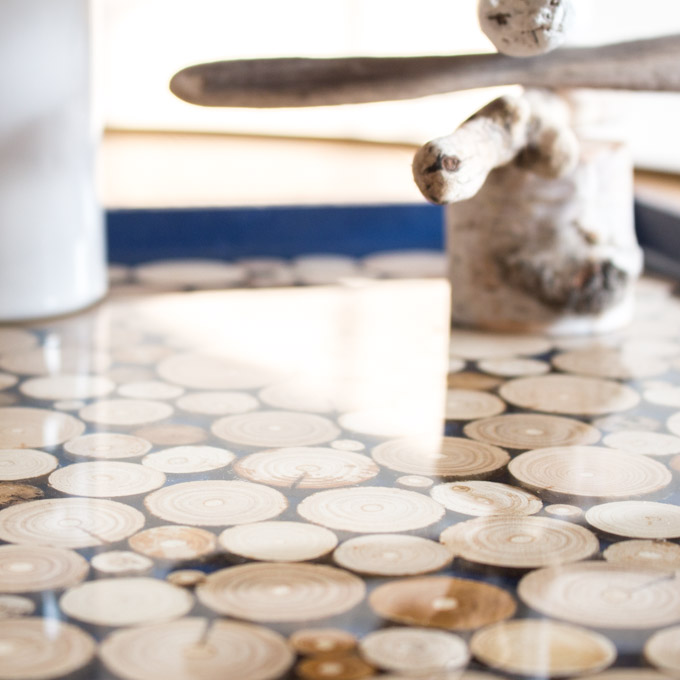
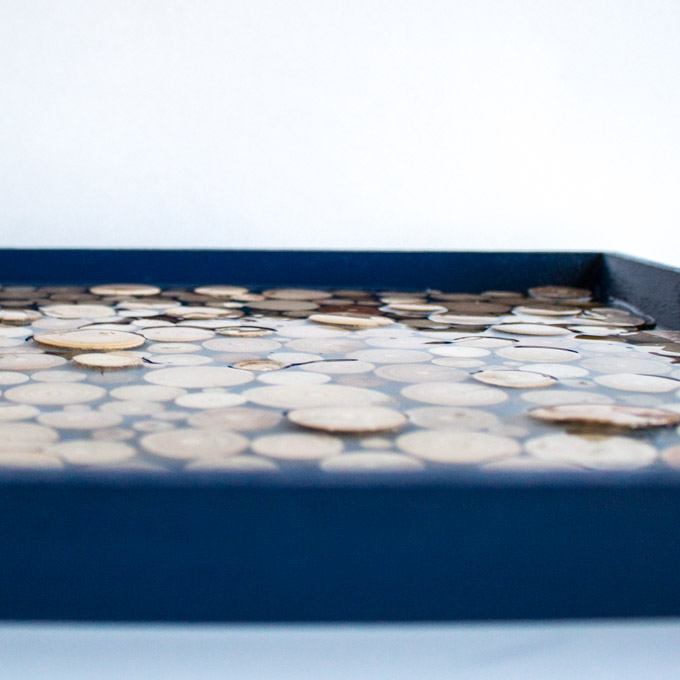
I love how the EnviroTex Lite accentuates and showcases the natural colours and designs of the driftwood pieces. It’s created such a smooth, glossy surface that looks like glass. The best part is that while the driftwood slices are all different depths, the resin creates a flat, durable surface making the serving tray completely functional. So let’s get started with making yours!
Materials Needed to Make your Own DIY Serving Tray with Driftwood and Resin:
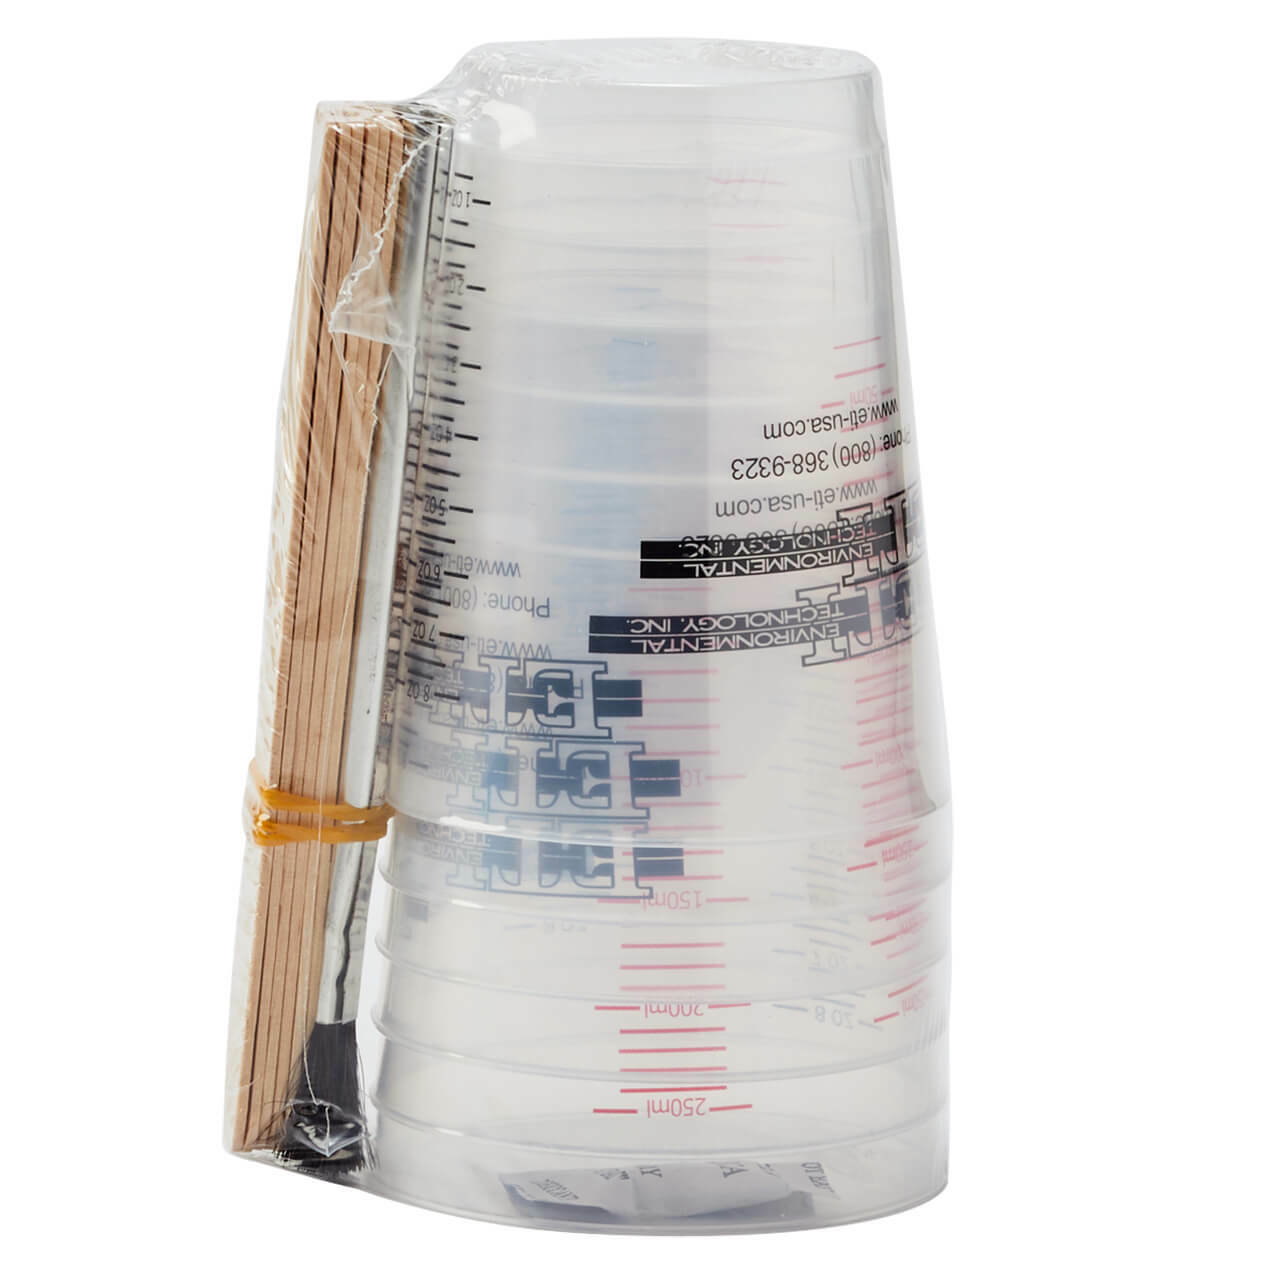
- EnviroTex Lite Pour On Resin
- Wood Tray, painted and sealed
- Driftwood slices, varying widths and thicknesses ranging from ¼” to 5/8” thick)
- Ultra Seal Multi-Purpose Sealer / Glue
- Measuring Cups
- Gloves
- Stir Sticks
- Straws
- Sandpaper, 220 grit
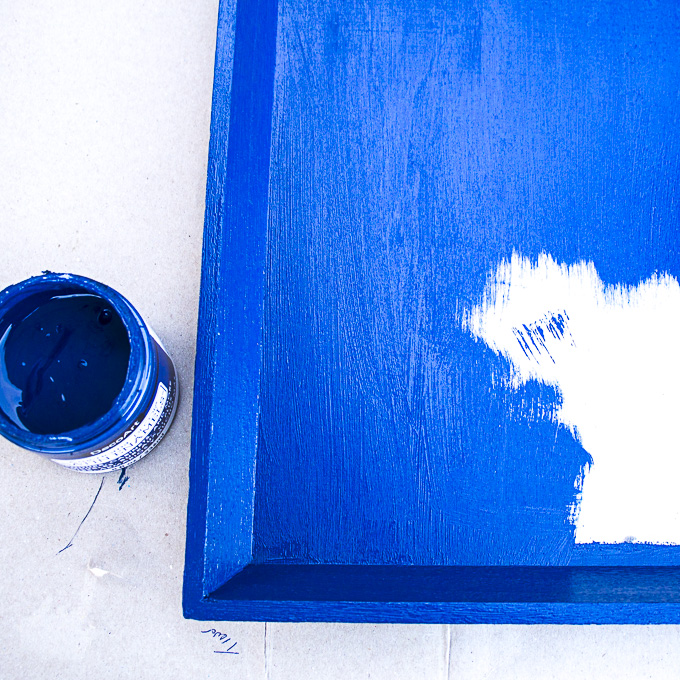
Step 1: Preparing the Materials
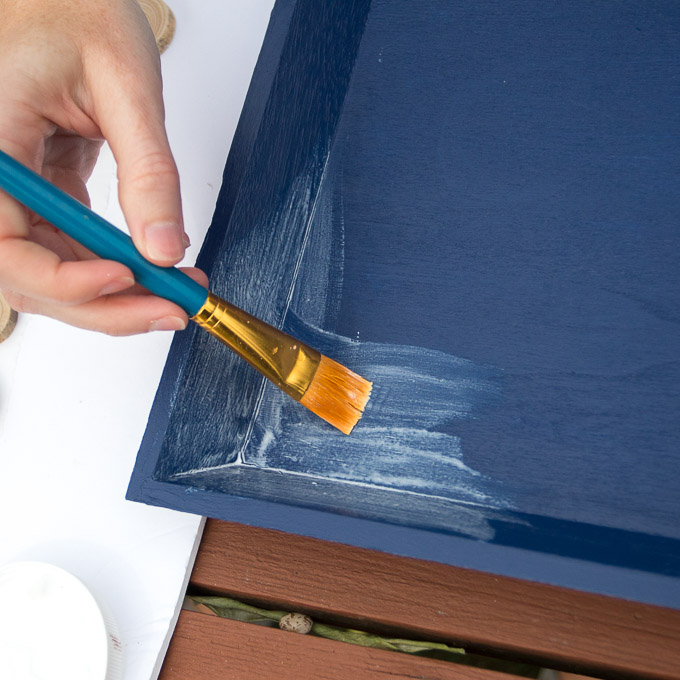
Paint your wood tray in any color of your choosing. We used Dark Denim from Americana Decor Satin Enamels, which provided a strong, durable finish with a light sheen. Once painted, put it aside to dry fully before moving onto the next step.
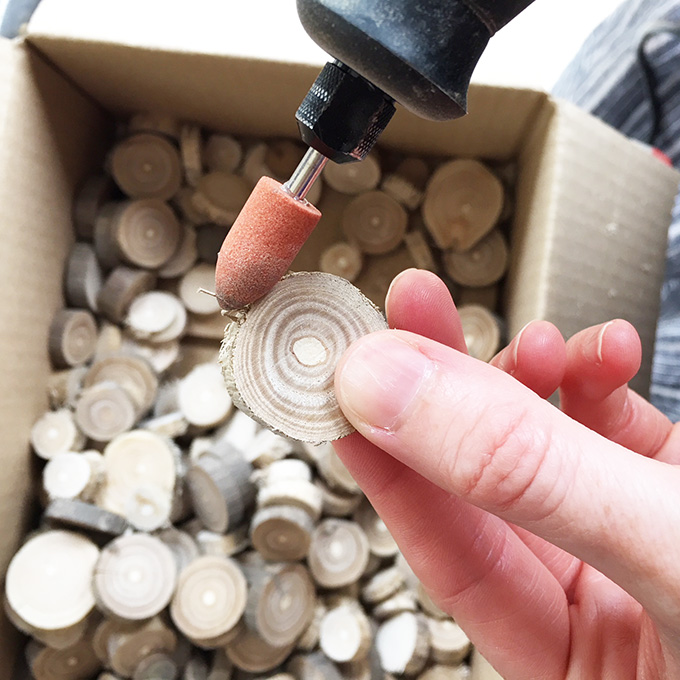
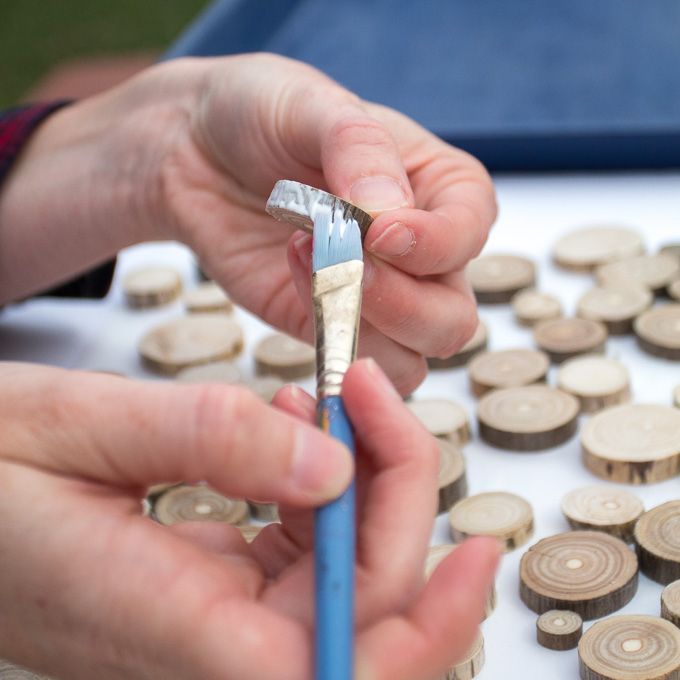
Safety first! Make sure you have all the necessary protective equipment when using power tools. Using a mitre saw, cut a variety of different sized driftwood pieces into a range of thicknesses from ¼” to ⅝”. It’s important to use driftwood formed from hardwood versus softwood to get a smooth surface.
Cut enough slices to fully cover your tray. It’s a bit of a jigsaw puzzle so be sure to cut extra pieces for working with.
Sand the rough cut edges of the driftwood slices and wipe away any sawdust.
Step 2: Assembling the Materials
Apply one generous coat of all-purpose sealer to the inside of your serving tray. Leave it to dry.
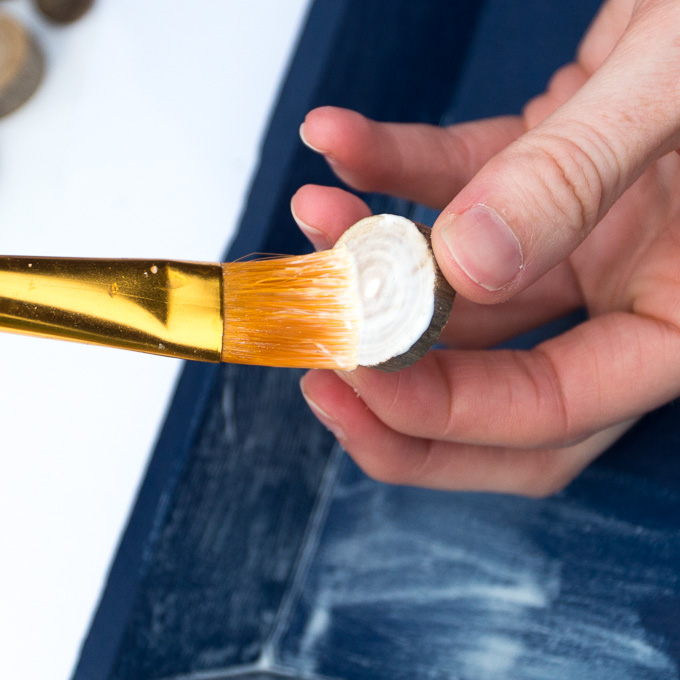
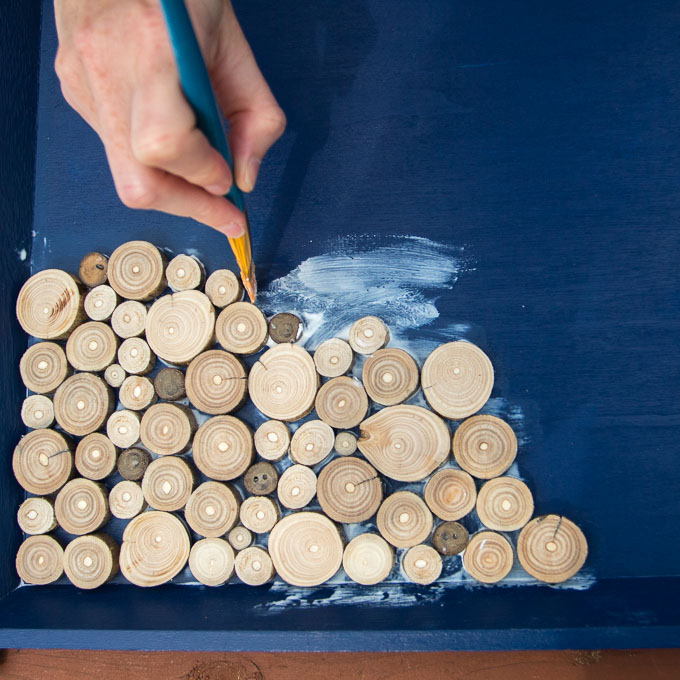
Using a paintbrush, apply all-purpose sealer to the bottom side of the driftwood slices.
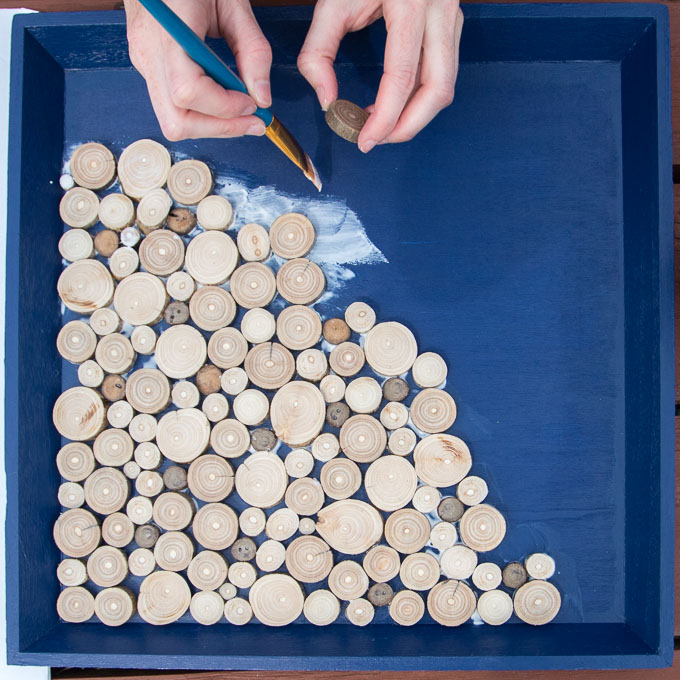
Working in small sections, coat the tray with glue/sealer as well as the underside of the driftwood slice. Place them onto the serving tray one at a time.
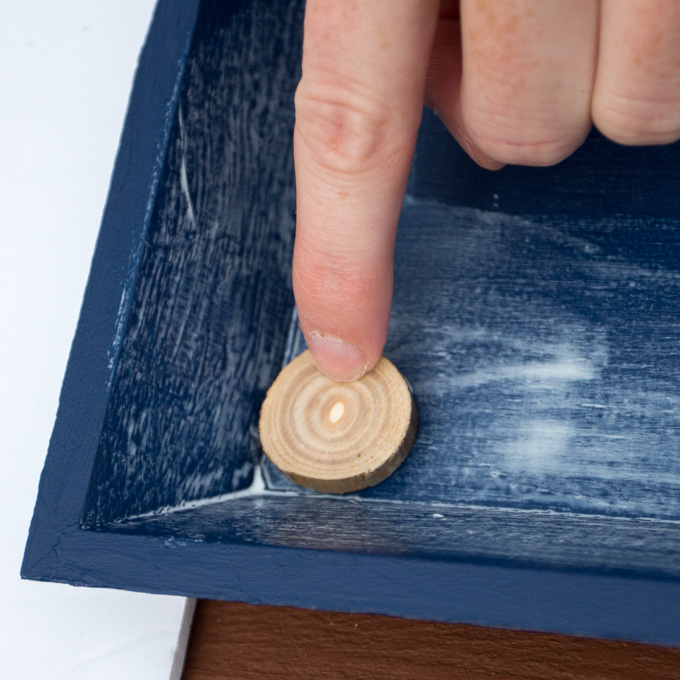
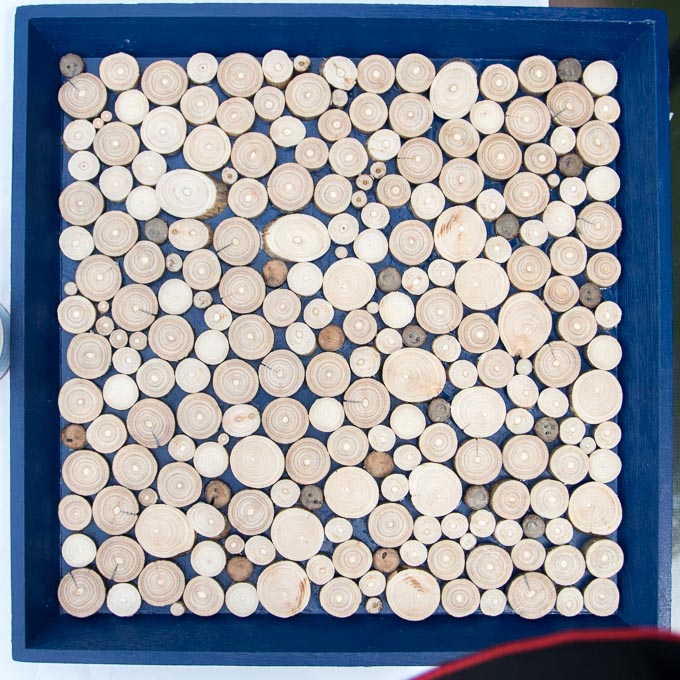
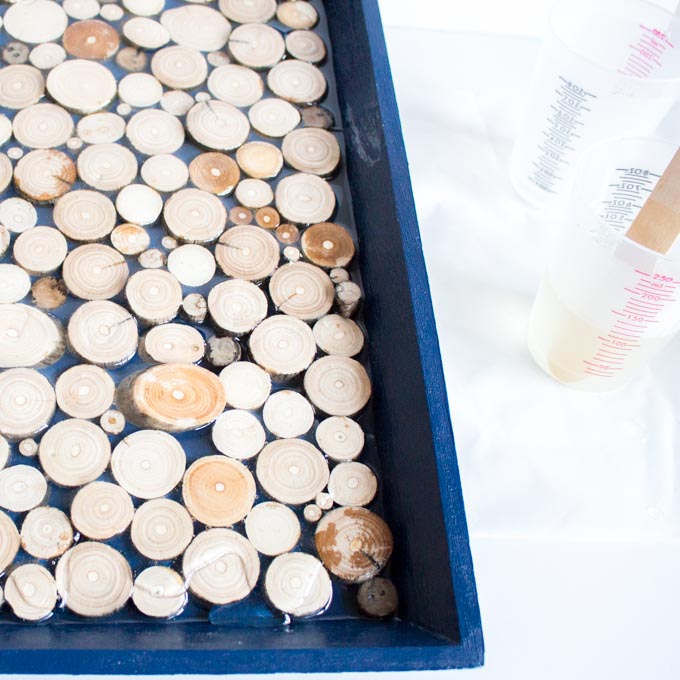
Continue to add the driftwood slices until your serving tray is fully covered. Get creative with use different sizes, depths and colours of wood slices.
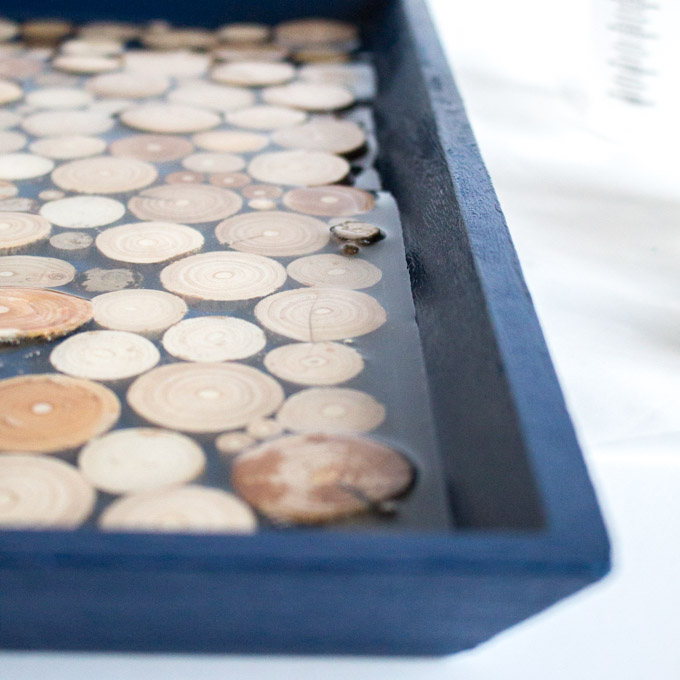
Once the driftwood slices are set in place, use a paintbrush to apply a coat of all-purpose sealer to the tops and sides of all the driftwood slices. Take your time with this step to ensure you don’t miss any pieces. You can see some of the pieces that I missed turned a different color after the resin was poured on.
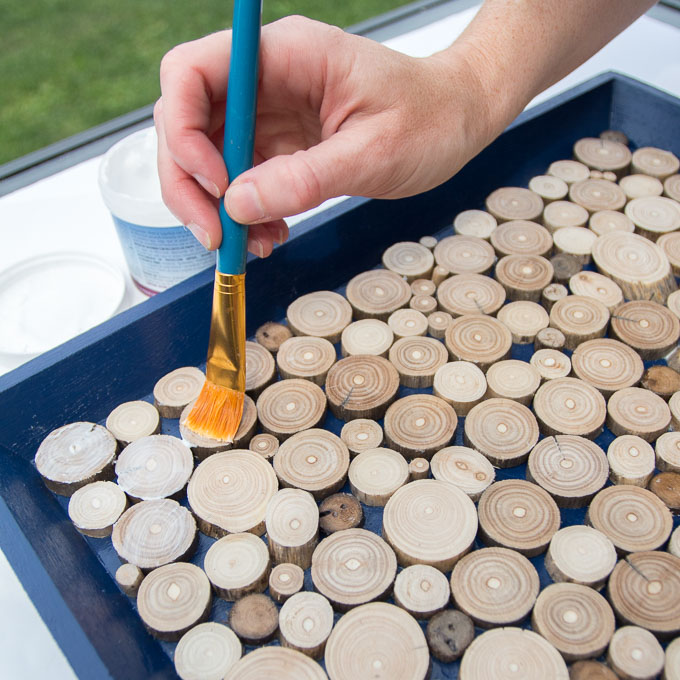
Once the piece is fully sealed, leave it to dry completely before moving on to the next step.
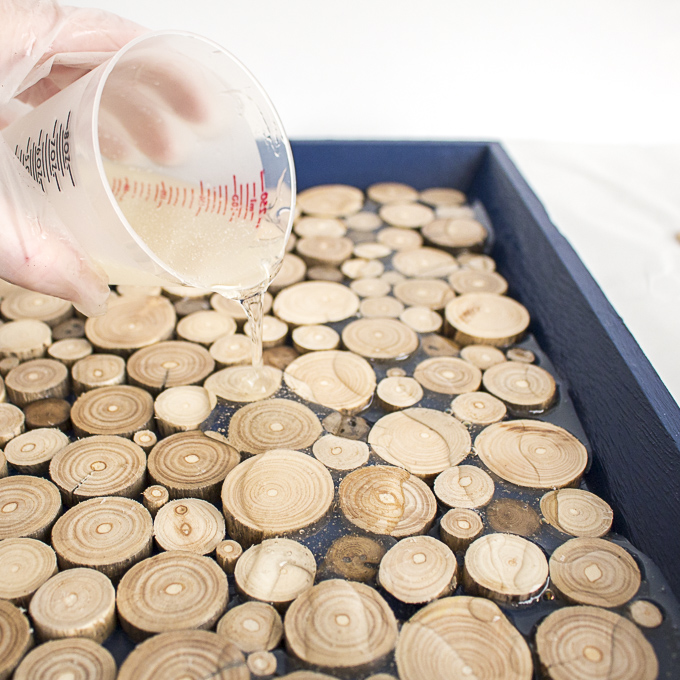
Step 3: Applying the Pour On Resin
Work in layers until your piece is fully covered. For this particular piece, it took 3 layers of Pour On resin before all of the driftwood pieces were fully covered.
For best results be sure to read the instructions provided in the EnviroTex Lite Pour On packaging. Ensure your resin and hardener are at room temperature or warmer before mixing.
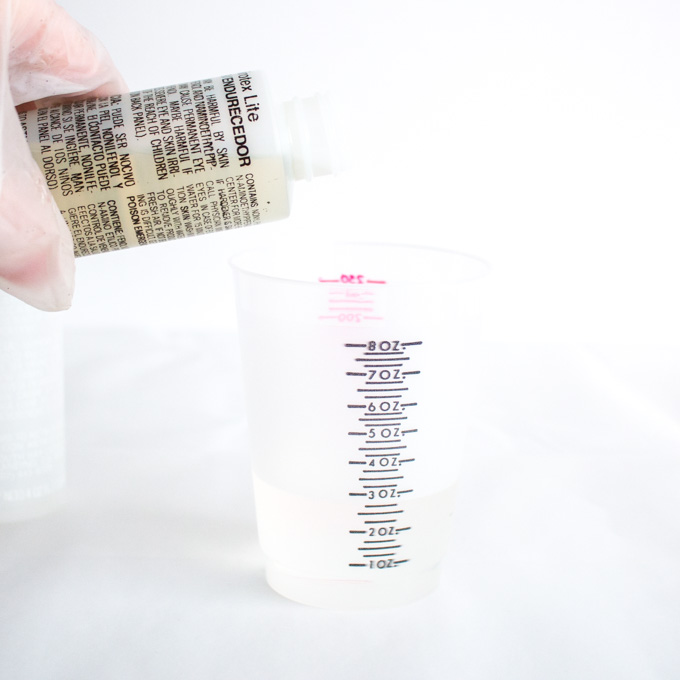
1st Resin Layer:
Mix exactly equal amounts of Resin and Hardener into one measuring cup. The size of your piece will determine how much resin you need. In my case, I filled the cup up as much as possible as my tray is fairly large size. Stir continuously for 2 minutes, scraping the sides of the container.
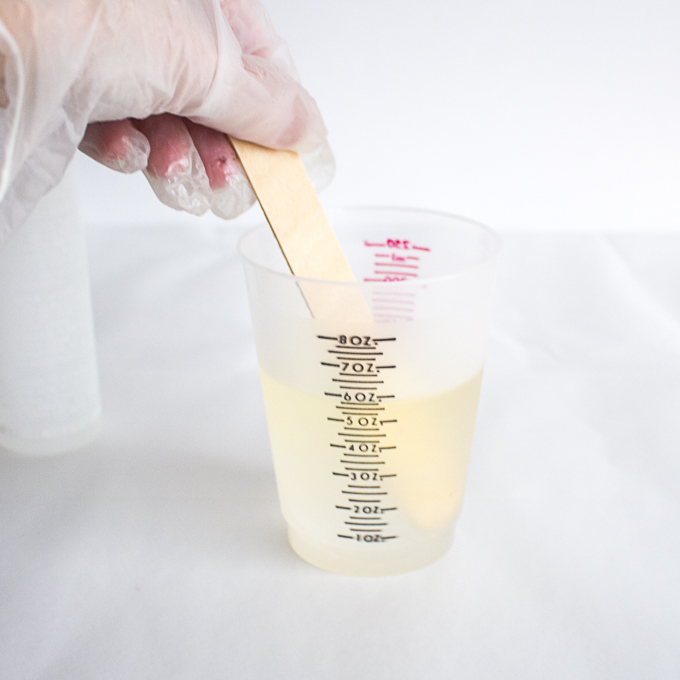
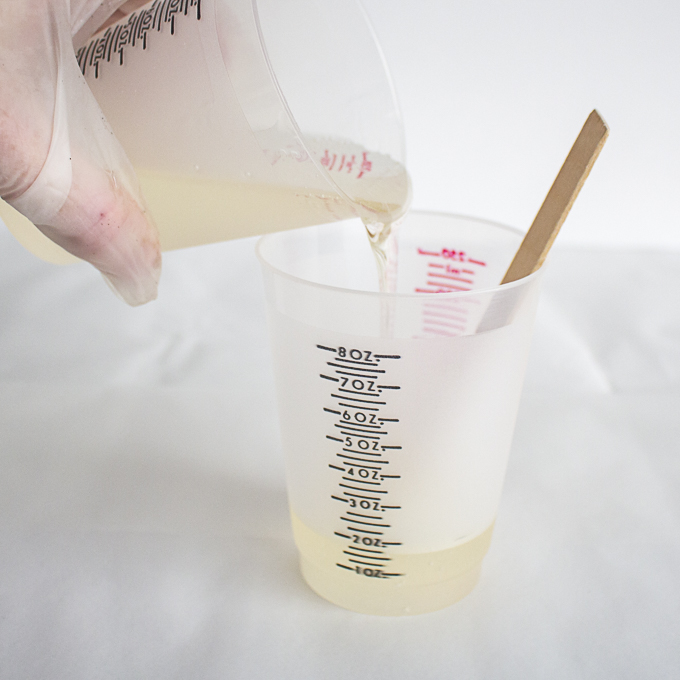
Pour the mixture into a second cup and stir for an additional minute (use a new stir stick). Scrape the sides of the container as you mix.
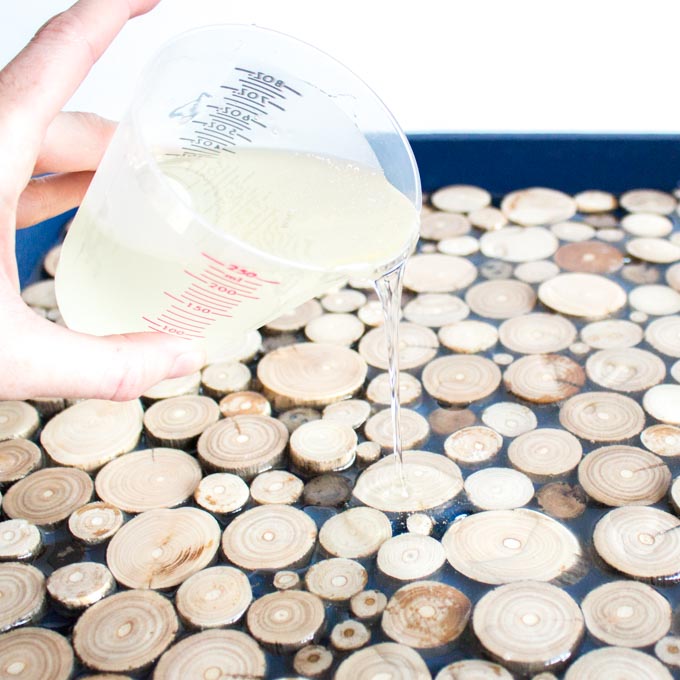
Using the stir stick, dip your stick into the EnviroTex mixture and then begin pouring the resin over top of your piece. Pour evenly from one side to the next. The resin will settle and level itself out but try to fill the spaces in between the driftwood as best you can. Lift the tray and tilt it back and forth to help the resin level out.
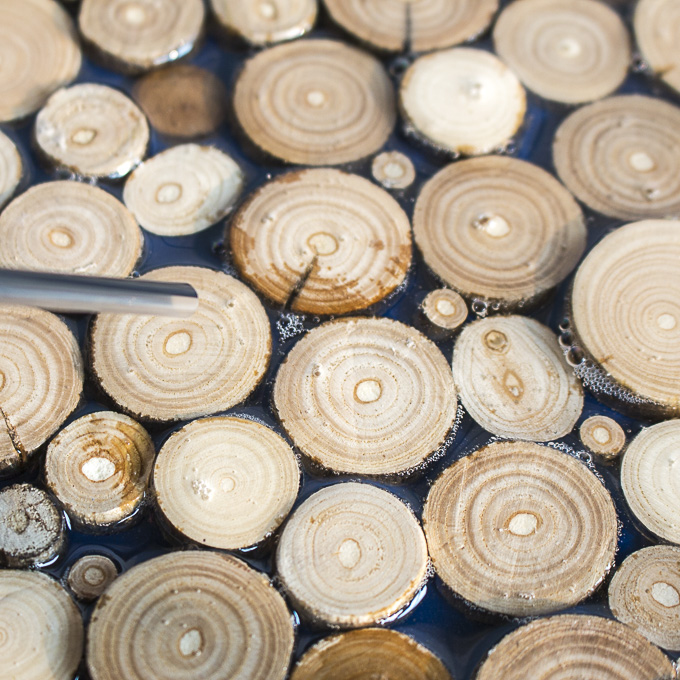
Cover to keep dust from settling in. Ensure your tray is placed on a level surface. After about 15 minutes, remove any bubbles that have risen to the surface by gently blowing over the piece through a straw or using a small kitchen torch. Repeat if necessary after another 15 minutes and up to about an hour all the bubbles are popped. Use a clean straw each time to avoid moisture from your breath collecting inside the straw and transferring onto the piece.
Cover and allow to cure overnight.
2nd Resin Layer:
Check your piece to see if the driftwood pieces are fully covered. If the resin surface is smooth and flat, then there is no need for another layer of resin.
In my particular case, I needed more resin so I repeated the 1st layer steps from the day before.
3rd Resin Layer:
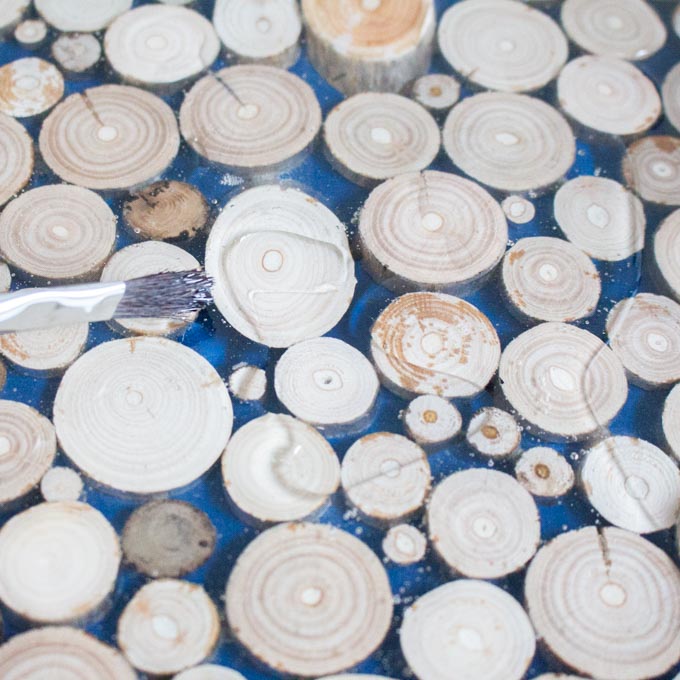
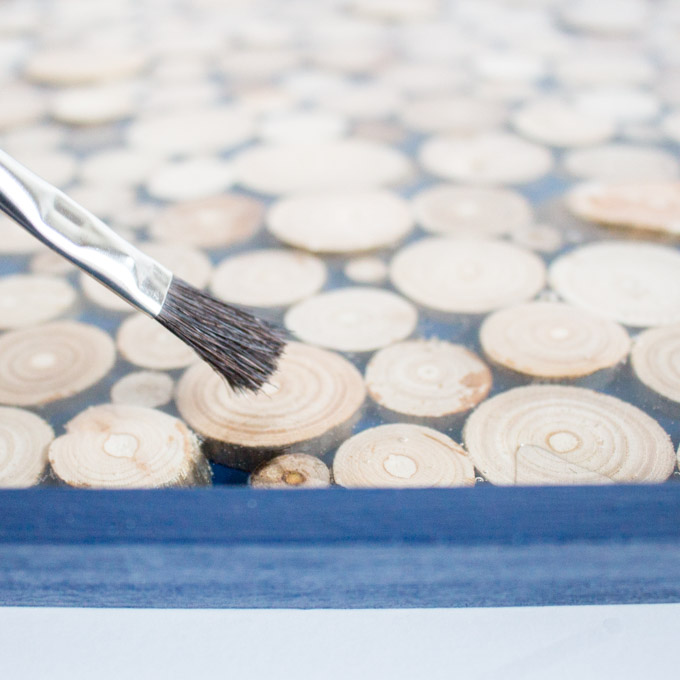
Since some of my driftwood pieces were pretty thick, I ended up needing a 3rd layer of resin. I repeated the 1st layer steps from the previous days to add my final layer of resin. As it hardens, the resin is self leveling but I wanted to help it along so I brushed some of the driftwood surfaces with a small clean crafting brush right after pouring.
Cover and allow to cure fully (~72 hours) before using.
I absolutely love how this piece turned out! The high gloss resin is the perfect contrast to the natural and rustic driftwood slices. I’m picturing this same idea on a larger scale, as a side table or beach-themed coffee table. However, Jane is already clamoring for a DIY serving tray of her own, so I may just need to make it as a Christmas or birthday gift for her.
We hope you enjoyed this DIY serving tray tutorial using EnviroTex Lite Pour-On Resin.


Jane and Sonja are sisters, moms and lifelong craft addicts both living near Toronto, Canada with their families. They share their love of creativity, nature and coastal DIY ideas on their blog Sustain My Craft Habit. They craft and decorate their homes using repurposed and upcycled items and materials found in nature.


This is great ideas to do that. I want to try it out for myself
Thank you so much! Let us know if you have any questions. -Jane
I love this! I wonder if it would work with my pieces of pottery that I designed for a mosaic. I’ll try it. Thanks
Oh thank you so much! Yes, it definitely could. You’ll want to seal any porous areas with a water-based sealer (such as Mod Podge), or else air bubbles will form in the resin. Also, it’s not ideal for really light (white) surfaces. Let us know how it goes! -Jane
Hello. What if I want to add a second layer of envirotex lite? Do I scuff the cured first coating with fine grit sand paper (220), wipe with alcohol to remove dust, then pour new coat? Like suggested with epoxy. Please advise. Thanks.
Hi Elizabeth. We’ve done a few resin layering projects and have never done anything special between the layers. The resin adheres to itself. Hope this helps! -Jane
Hi, do you think this would work with broken glass pieces like a mosaic?
Hi Katie. Absolutely! We recommend using a product such as Ultra Seal or Mod Podge (or any clear-drying water based adhesive) to secure the pieces to the tray prior to pouring the EnviroTex Lite to keep them in place.
I’d like to try this with wine corks in a wood tray. Should I cut them in half lengthwise and lay flat side down or would it be ok to use the whole cork? Do they need to be sealed first? Thanks.
Hi Jan.
That would be so lovely! If you can, I’d suggest cutting down the corks (we have a tip to help with that here: https://sustainmycrafthabit.com/diy-wine-cork-bath-mat/ – just make sure they’ve completely dried out before using them wiht resin). If you don’t cut them, your piece will be thicker and you’ll likely need more resin to cover everything. If this is the effect you’d like, then go for it. Just make sure your base tray is solid to hold the weight and volume of the resin.
Once they’re dry, sealing would be a good idea. Otherwise you might have air bubbles seep out during the curing process which could affect your final piece.
Hope that helps,
Jane
Is there something that should be applied before pouring resin into mold (such as Vaseline or Saran wrap).
How do you remove your mold once the resin is cured?
I would like my fished product to be reversible to see both sides.
Ty
Hi Cecile!
That would be amazing for the tray to be reversible. The preferred solution would be a silicone mold. You can search for large rectangular/square silicone molds (check Amazon or Etsy). Just make sure it has a smooth surface. Most baking molds (unless it says to have a smooth surface) will result in a frosty finish which you’d need to sand or spray after. For a flexible silicone mold you’ll be OK without any release agent.
If you’re making your own mold, again ensure that whatever you use has a smooth surface. If it’s a rigid plastic mold you’ll need a mold release conditioner (such as this one by ETI: https://eti-usa.com/products/consumer-products/mold-release/). It might be tempting to use glass but the only way to get your piece out would be to shatter the glass, so it isn’t ideal.
I hope this helps. Let me know if you still have questions!
Jane