Fishbowl Centerpiece Made with Resin DIY
Hi Resin Crafters, it’s Natalie from Doodlecraft sharing another unique resin craft. Fish are the only pet that we can own…because of our especially horrible animal allergies. It got me thinking that it would be fun to make a resin fishbowl, then it’s the perfect pet that needs no attention or care. Little fish bowls would make a cute table centerpiece, fun for an animal themed party or a carnival set up.
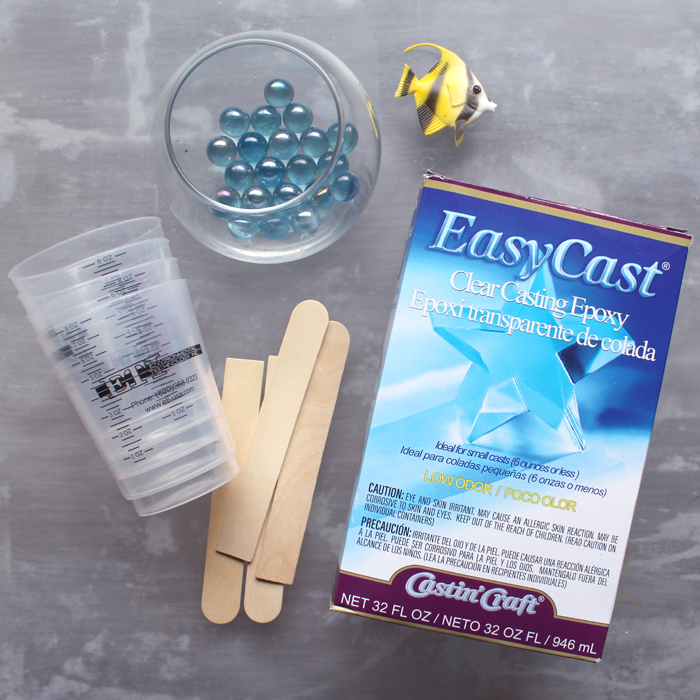
Supplies Needed:
Small round bowl
Handful of Marbles
Plastic Fish
Stirring Sticks, Mixing Cups, Disposable Gloves and Work Surface
Straw or Heat Gun
Let’s get started!
Begin by placing the marbles in the base of the glass bowl carefully. Then mix up 6 ounces of EasyCast resin. Be sure to read the resin directions carefully before beginning. Mix the resin in the 2 phase mixing process. 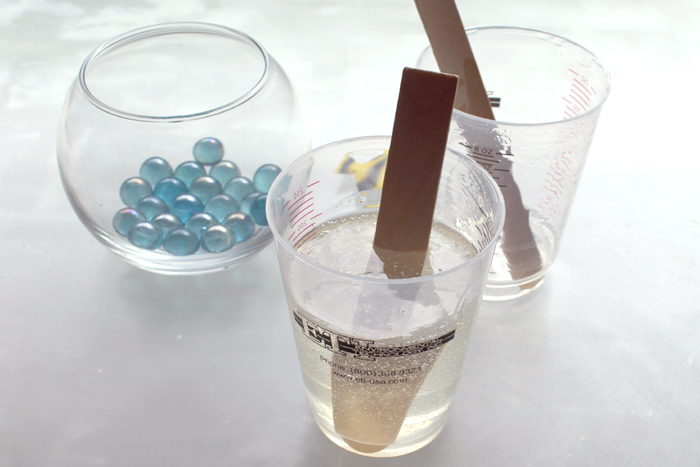
Once the resin is mixed completely, it is ready to pour right inside the fish bowl.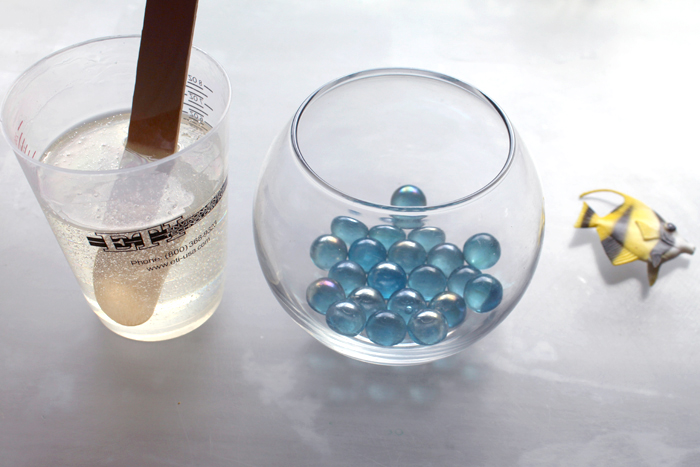
The 6 ounces of mixed resin just barely covered up the marbles in the base of the fishbowl. Let the resin sit for 20 minutes for all the bubbles to rise to the surface as pictured below.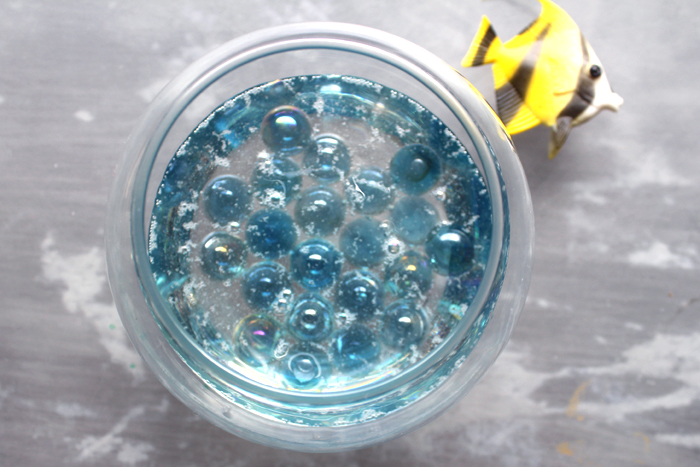
Next use a straw to blow gently on the bubbles, the warm breath will pop all the surfaced bubbles. A quick flash of a heat gun will pop the bubbles as well, but do not overheat the resin or glass. 
Next set the fishbowl aside to let it cure for about 2 hours. The marbles look giant and translucent from the side!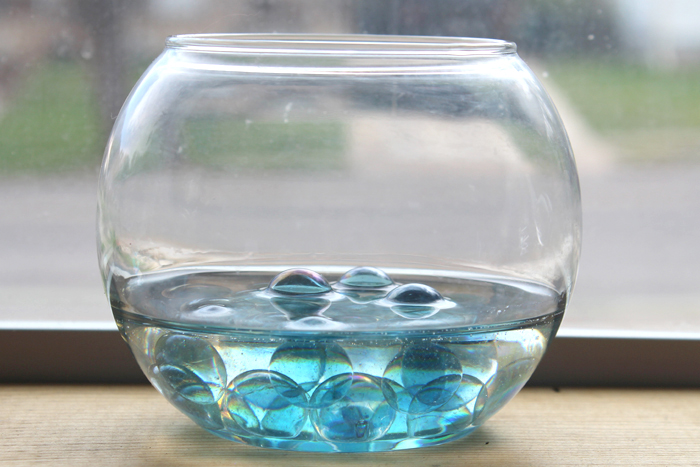
After 2 hours the EasyCast should have set enough to hold the fish in place while drying. Place the plastic fish in the bowl. Look how tiny the fish is in the bowl–the resin magnifies it and fills up the fishbowl! Then let the fishbowl sit for another hour, checking on the fish every 10 minutes to make sure it hasn’t slipped.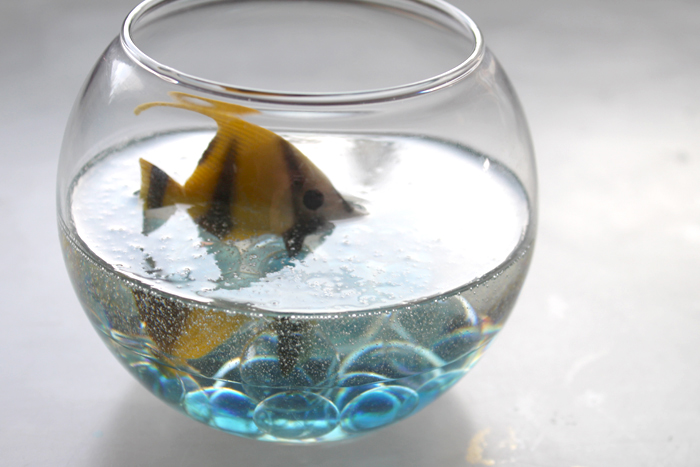
Step 2:
Now the fishbowl is ready for the next phase. Repeat the resin mixing process in the same fashion as earlier. Mix up the same amount of resin, about 6 ounces.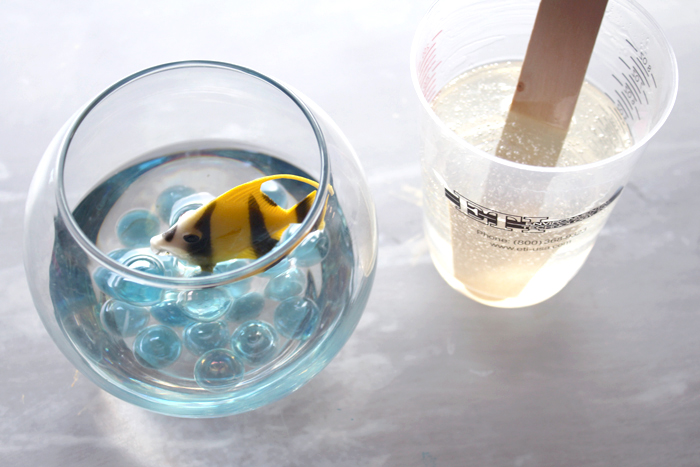
Pour the resin in the fishbowl around the little plastic fish. Again, as before, let the bowl sit and cure for about 2 hours, popping the bubbles that have formed after 20 minutes.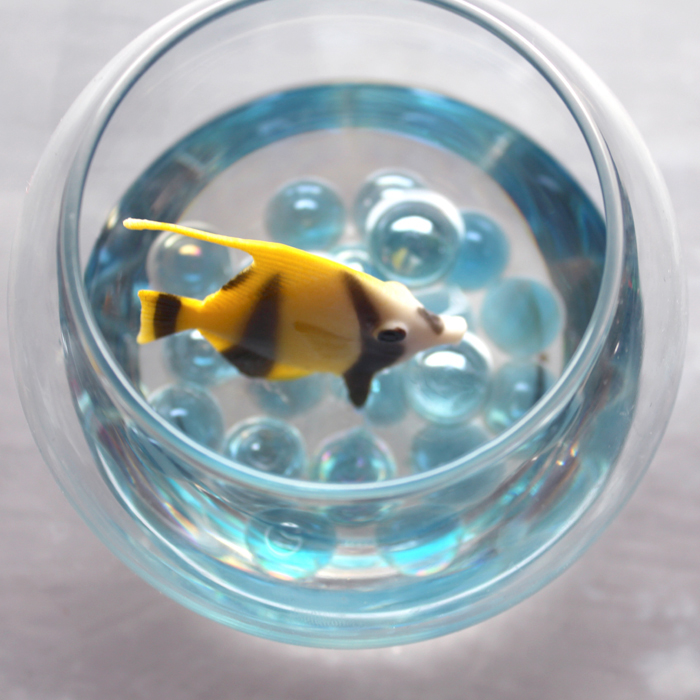
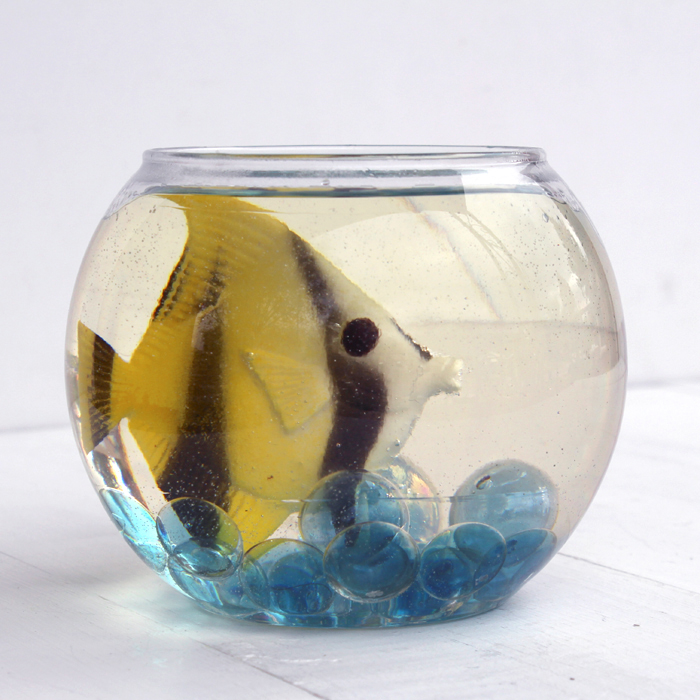
Repeat the mixing, pouring, bubble popping and curing process as before until the fishbowl is filled to the top. Then let it sit aside overnight to cure. Look how big the fish looks now, magnified with the curvature of the bowl and the resin. The marbles look like uniquely magical bubbles. The layers of resin blend flawlessly and don’t even show.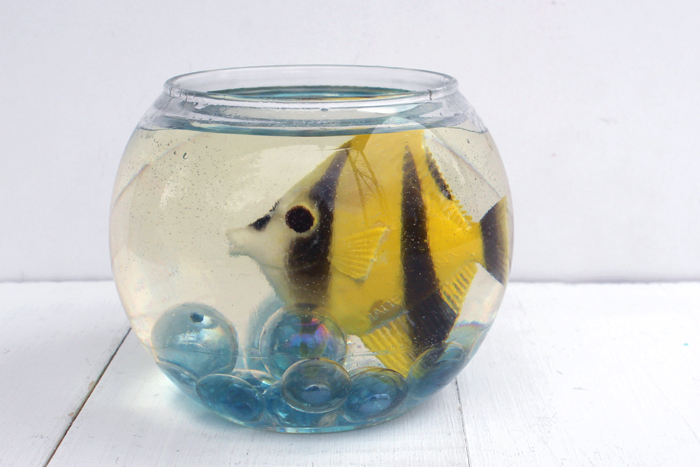
Here’s the fun part! The fishbowl can be turned upside down and look peculiar defying gravity!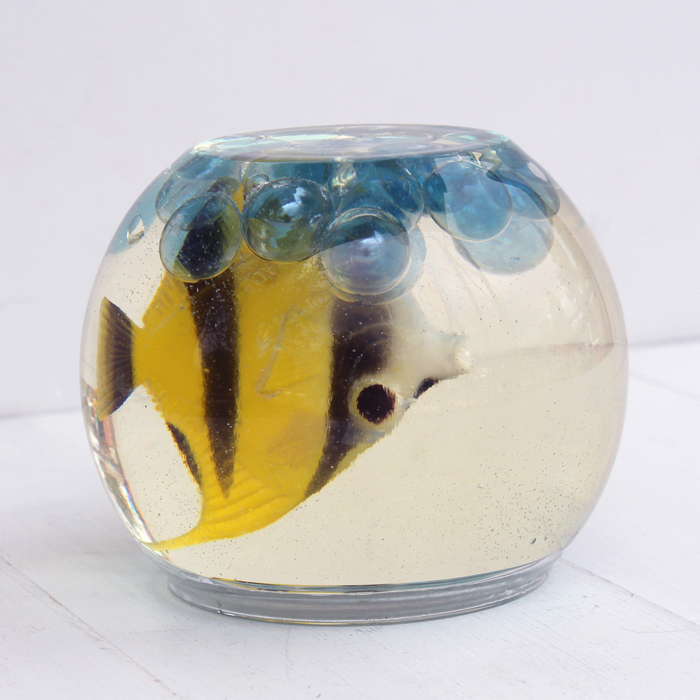
Here’s a view from the underside, I love the aqua blue!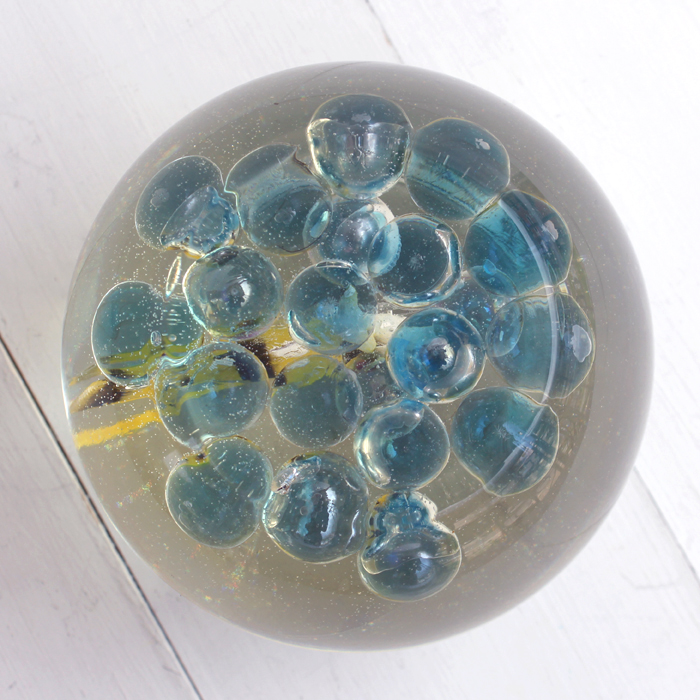
This fishbowl is guaranteed to start conversations and fill all who look at it with awe. Like, Pin and Share!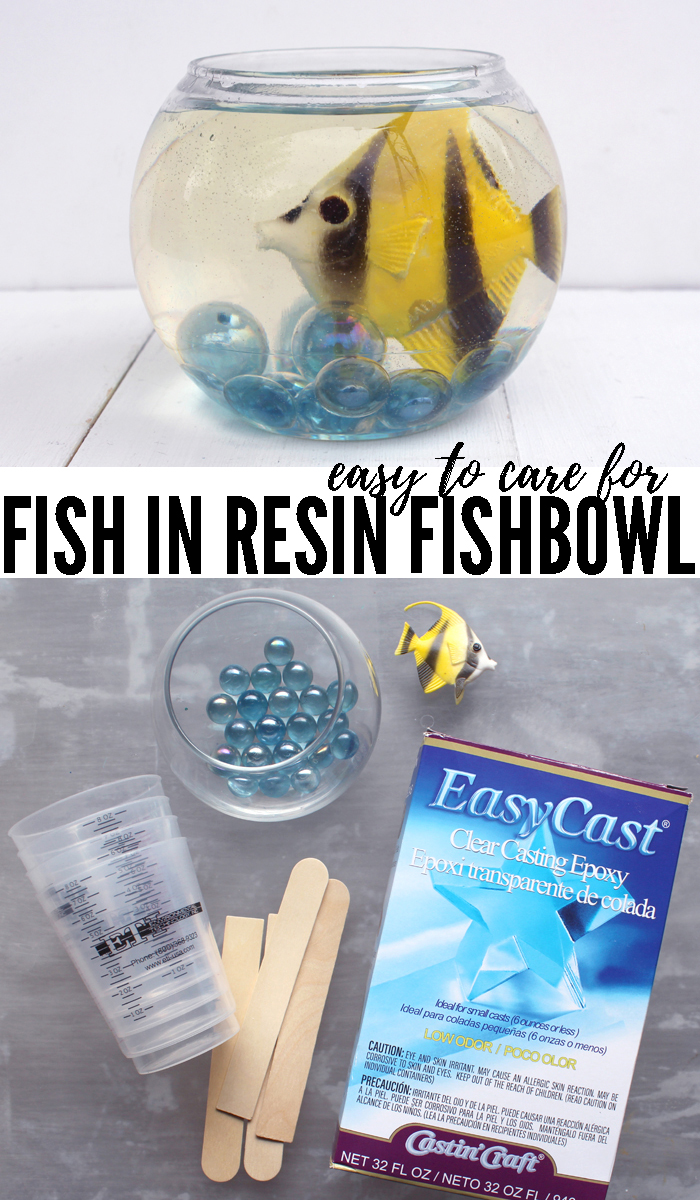
Natalie Shaw is a Craft/DIY blogger at Doodlecraftblog.com. She loves sci-fi, fantasy and video game geekery and that comes out in many of her projects. She posts budget conscious DIY’s, crafts, jewelry, kid friendly projects, upcycled treasures and other fun on her blog 5 days a week.

Bonjour,
très jolie le bocal .
bonnes explications.
bravo