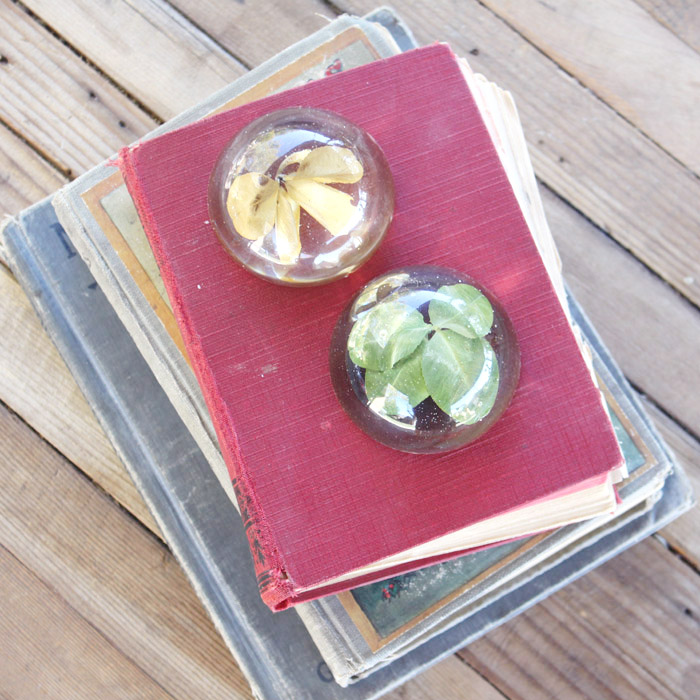
Preserve a Four Leaf Clover using EasyCast epoxy and make a great paperweight to bring you good luck all year long!
Hey Resin Crafters, it’s Natalie from Doodlecraft sharing another fun resin project!
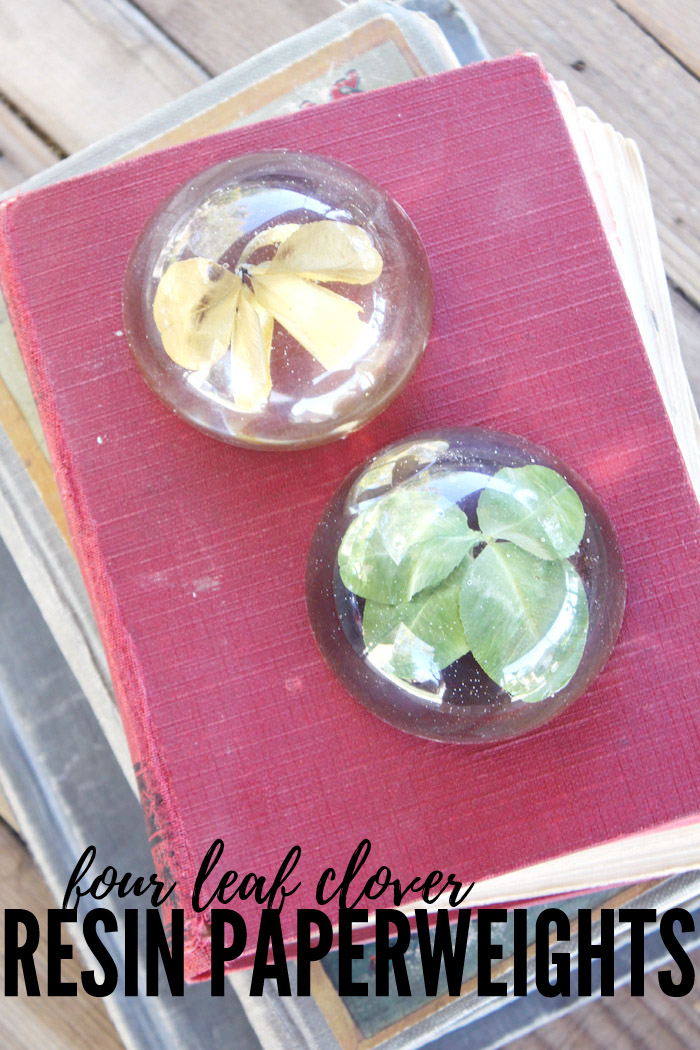
Learn how to make a resin paperweight preserving a four leaf clover perfectly. Using EasyCast epoxy is the easiest way to create dimensional resin pieces. Great for encasing all kinds of treasures, including these giant four leaf clovers!
Four Leaf Clover Resin Paperweight DIY
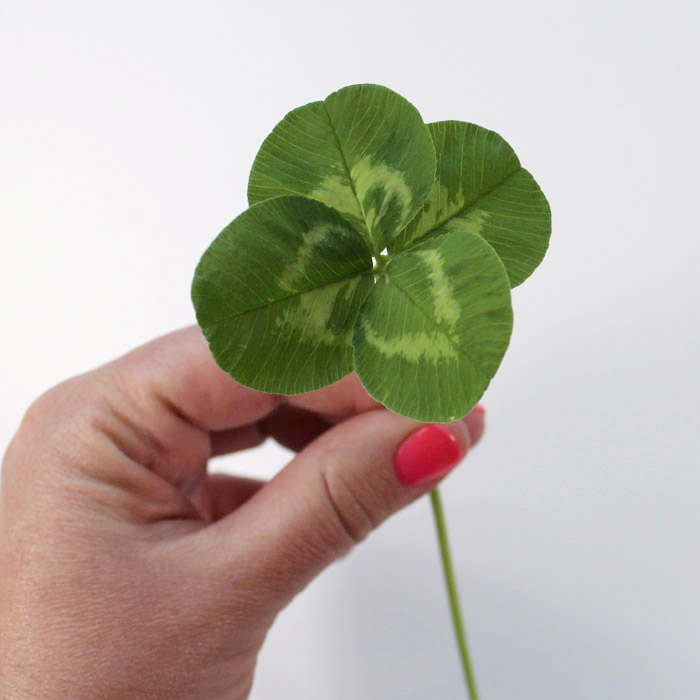
Have you ever found a four-leaf clover? They are said to be pretty unique, like 1 in every 10,000 three leaf varieties. We’ve been super lucky to have giant clover plants grow in our yard. The best part is that there are hundreds of 4 leaf clovers during the summer season.
In preparation for this craft, I asked my 12 year old son to get me a 4-leaf clover. Thinking that it might take him awhile, I offered him one dollar for his efforts. He came back inside in less than one minute and presented me with the largest 4 leaf clover I’ve ever seen! He’s one lucky boy!
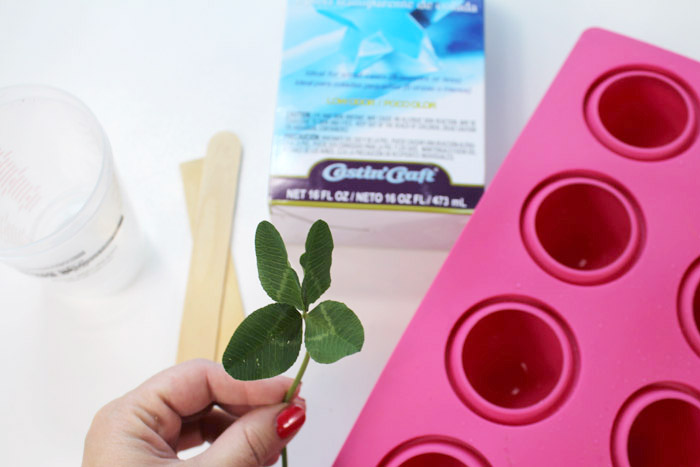
Supplies Needed for Four Leaf Clover Resin Paperweight:
- EasyCast Clear Casting Epoxy
- Silicone Mold (half circle domes)
- Four Leaf Clover
- Mixing Cups, Stirring Sticks, Disposable Gloves/worksurface, Protective gear
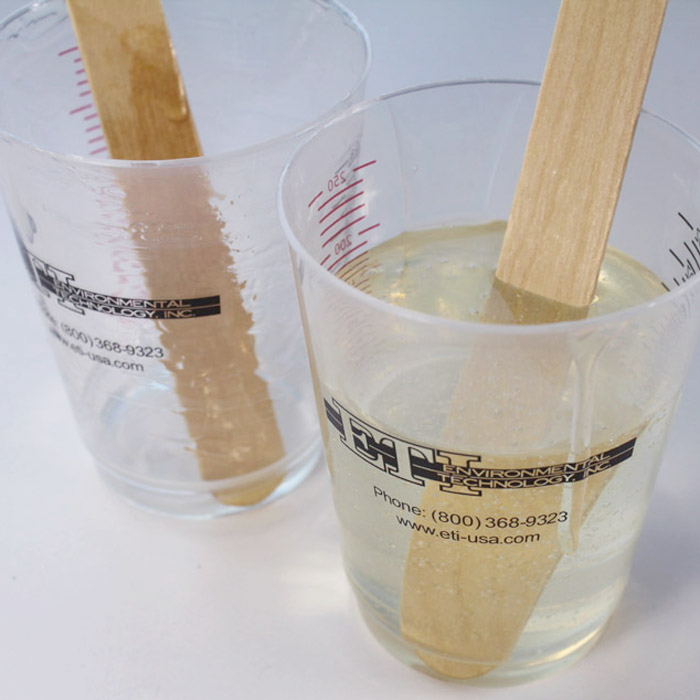
Step 1: Mixing the EasyCast
Begin by reading the directions for the EasyCast epoxy. Working with resins is simple enough, as long as you carefully follow the directions. If the resin doesn’t set right, it’s likely due to the mixing or the temperature. So this is the most important part.
Mix 1 part epoxy with 1 part hardener and stir gently for 2 minutes. Then pour the mixed epoxy into a second cup and mix with a new stirring stick for one more full minute.
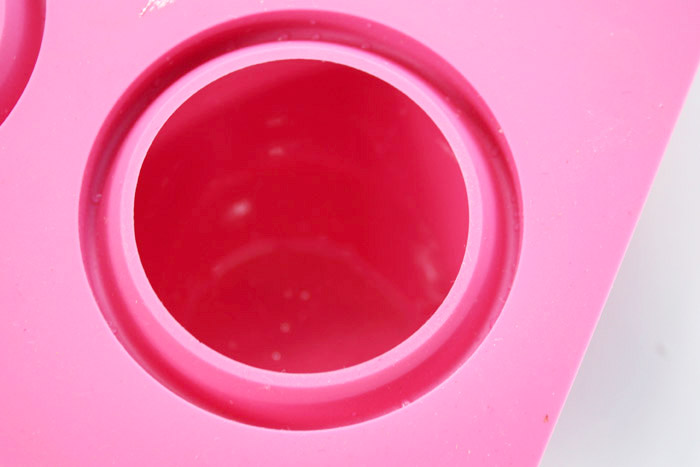
Step 2: Pouring Resin
Pour a small layer of epoxy in the mold. Just to fill about 1/4-1/2 inch of the base of the mold and then let it sit for 20 minutes. Pop any bubbles that have risen to the surface by blowing through a straw near them. Let the epoxy sit until it “gels” for about an hour.
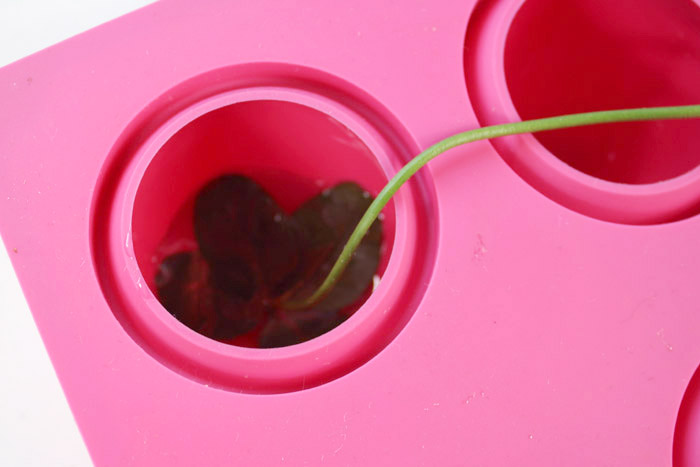
Step 3: Placing the Four Leaf Clover
After waiting an hour for the epoxy to gel, place the clover face down on the surface of the epoxy. Then let it sit for 4 hours. Finally mix up a little more EasyCast in the same manner as before. Clip the stem of the clover and pour the epoxy over the top of it, making sure to completely cover the clover.
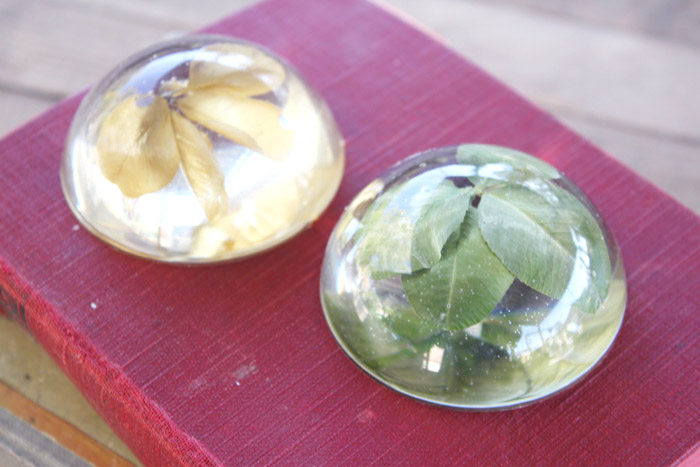
Then let the epoxy set and cure for 24-72 hours.
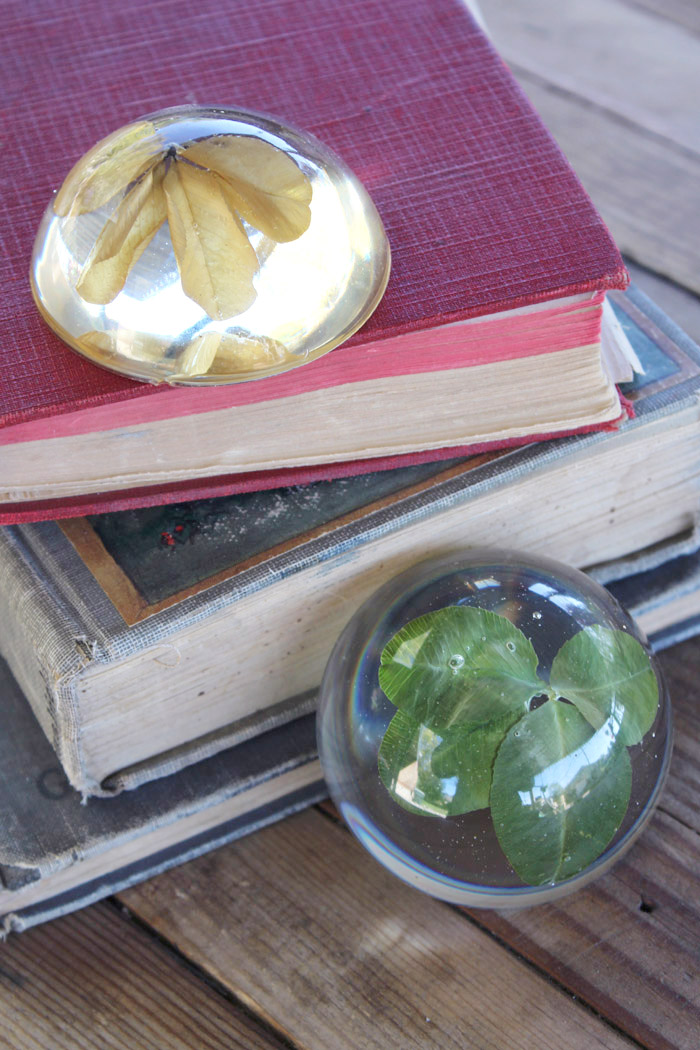
Then pop them out of the mold and admire your fabulous paperweights! These are sure to bring lots of good luck! If you can’t find 4 leaf clovers, gather other things from outside and encase them for preserved perfection! Some items will lose color over time.
**QUICK TIP**
If you are preserving a clover and want it to keep its bright green color, paint the four leaf clover with Ultra Seal or spray it with Castin Craft Resin Spray Finish/Sealer.
That’s it!
Don’t forget to save and share this post!
Natalie Shaw is a Craft/DIY blogger at Doodlecraftblog.com. She loves sci-fi, fantasy and video game geekery and that comes out in many of her projects. She posts budget conscious DIY’s, crafts, jewelry, kid friendly projects, upcycled treasures and other fun on her blog 5 days a week.


Leave a Reply