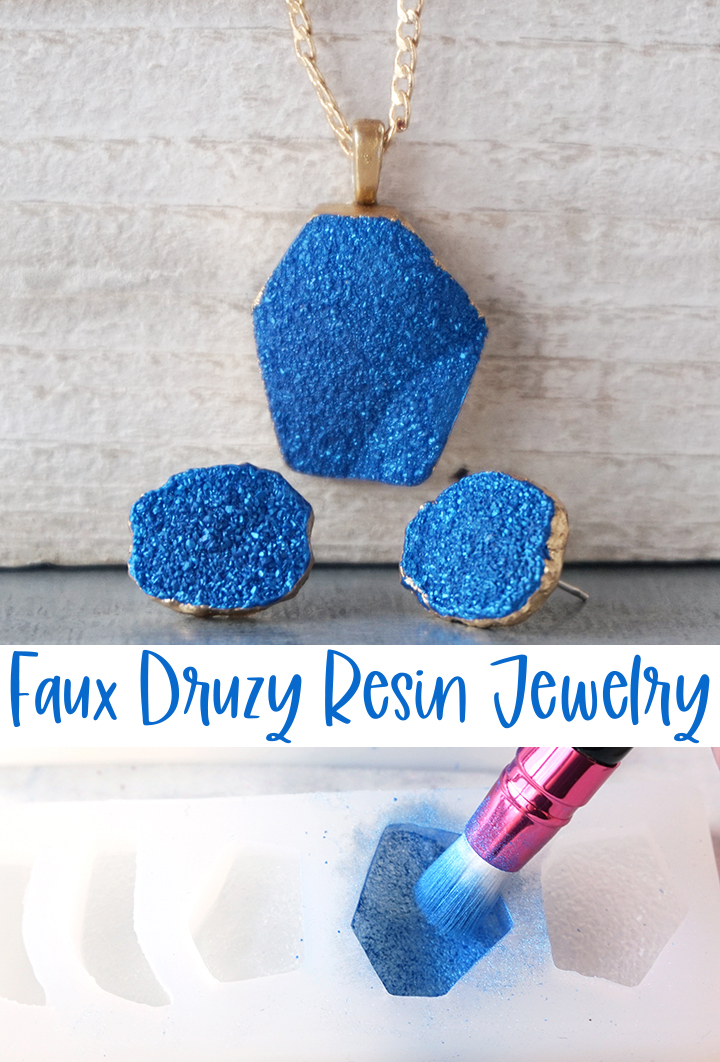
Create a glamorous set of Faux Druzy Jewelry using resin and colorful resin powder!
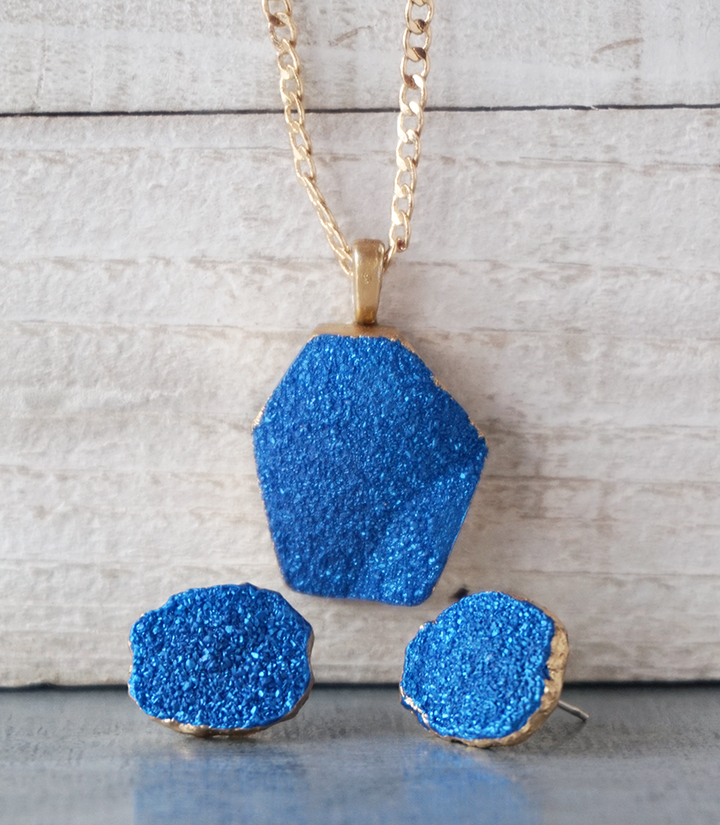
Hello, Resin Crafters! Lindsay from Artsy-Fartsy Mama here with a shiny new resin project for you to try! I’ve been loving the mineral jewelry trend happening right now. Druzy (or agate) is the crystallization that you see on a lot of stones, like a geode. It’s so sparkly, and makes gorgeous jewelry. By combining colorful powdered pigment and resin, this Faux Druzy Resin Jewelry set is an easy resin craft for every level, and will definitely make a statement. The earrings and necklace are the perfect accessory for a night out. This set would also be a one-of-a-kind gift idea!
TO MAKE YOUR OWN FAUX DRUZY JEWELRY, YOU WILL NEED THESE SUPPLIES:
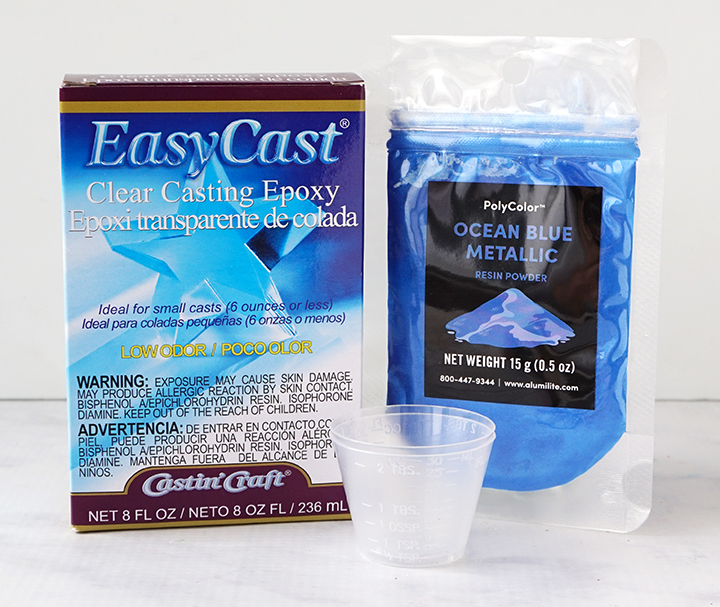
- EasyCast Clear Casting Epoxy or EnviroTex Jewelry Resin
- Mold Release and Conditioner Spray
- Measuring Cups
- Stirring Sticks
- Disposable Gloves
- PolyColor Resin Powder – Ocean Blue Metallic
- Castin’ Craft Opaque Pigment
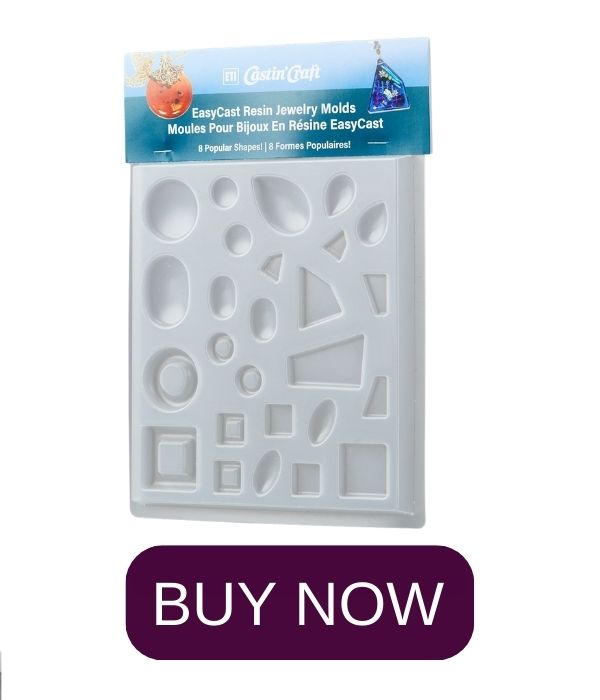
- Druzy Silicone Mold
- Small Jewelry Bail
- Jump Rings
- Jewelry Chain
- Earring Hooks or Posts
- Jewelry Pliers


STEP 1:
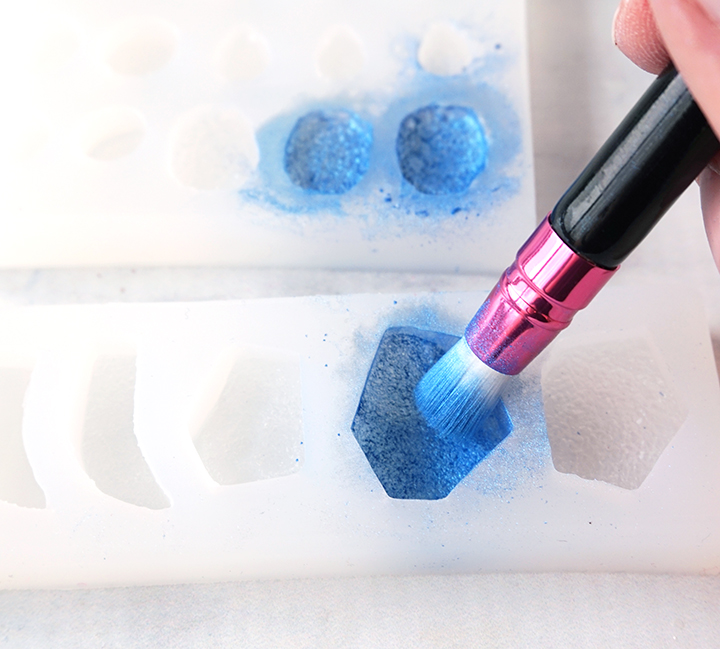
Spray your druzy silicone mold with Mold Conditioner and Release Spray and let it dry completely. This will help make sure your project comes out perfectly every time. This will sound a little backwards than how we usually do resin, but this is a great trick to easily add color to the face of your resin project.
Choose two smaller druzy shapes (similar in size) and one larger one in the mold(s) to create your jewelry set. Dip a small resin brush (or a small make-up brush) into the resin powder and “paint” the inside of the mold. Make sure to get the sides and inside all of those tiny crystal crevices! You actually don’t need as much powder as you might think, so use a little bit at a time and work in layers. It’s okay if you get powder on the outside of the mold. It will clean right off later. Clean off your brush (just like you would with make-up or paint) and let it dry to use again for your next project.
STEP 2:
Because resin can get messy, lay something down to protect your work surface before getting started. Prepare the EasyCast Clear Casting Epoxy according to package directions. Be sure to work in a well-ventilated area and wear disposable gloves.
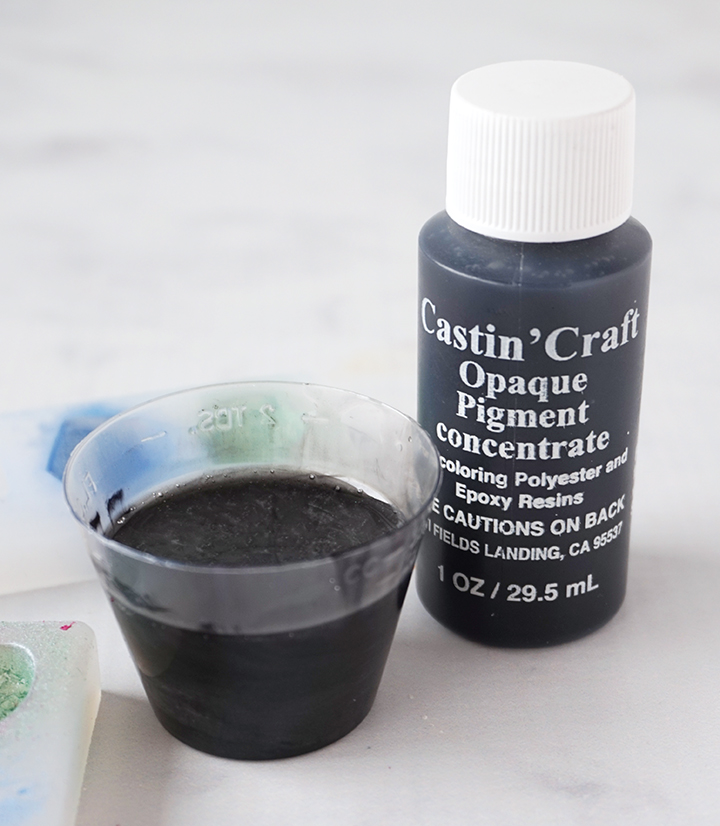
Pour in equal parts resin and hardener to the mixing cup. Stir the resin mixture together with a stir stick for two minutes, making sure to scrape the bottom and sides of the mixing cup. Pour the resin into a clean mixing cup and stir the resin again for another minute or two with a clean stir stick. Add a small drop or two of black Castin’ Craft Opaque Pigment. Stir well to distribute the pigment.
The reason I am using black is because it will help the powder color to pop, especially if you are using a chameleon or color-shifting type of pigment powder. However, feel free to try different colors of resin to see what you like best!
STEP 3:
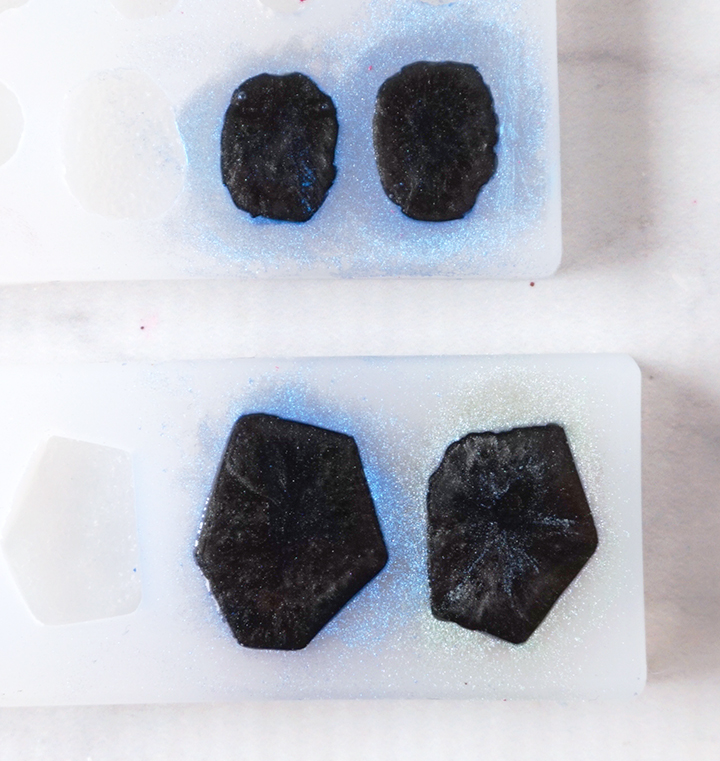
Fill the mold up with resin, and pop any bubbles that rise to the top using a heat gun or by blowing through a straw. Leave the resin to cure in an undisturbed area for 24 hours.
STEP 4:
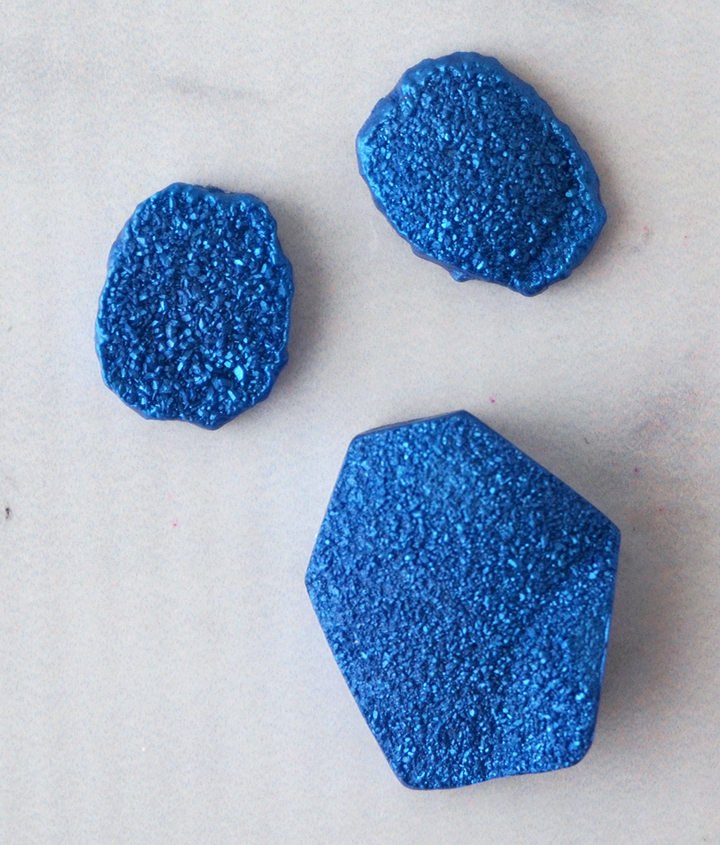
Carefully remove the pendants from the molds and admire your work. The vibrant color of the resin druzy creates such a cool effect, and no two pieces are the same! I definitely recommend using this resin powder-first technique to make more projects. It’s such a fun way to add color!
Use scissors to cut away any over-poured resin, and use a fine grit sandpaper to smooth any uneven edges on the back.
STEP 5:
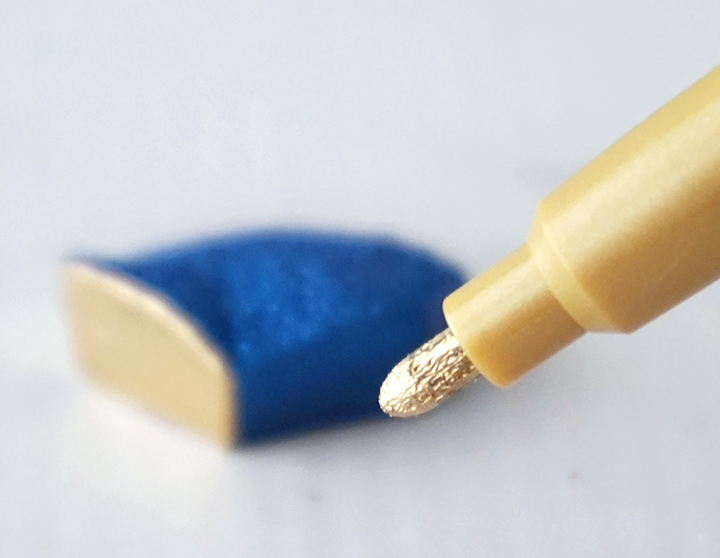
The high-priced druzy jewelry is plated with gold around the sides and back. You can do the same, but you’ll save a lot more money by using paint! I used an oil-based metallic gold paint pen and carefully colored around the sides of all three resin pieces. Let the paint dry completely, then color the back. If you don’t have a paint pen, you could use metallic gold acrylic paint instead.
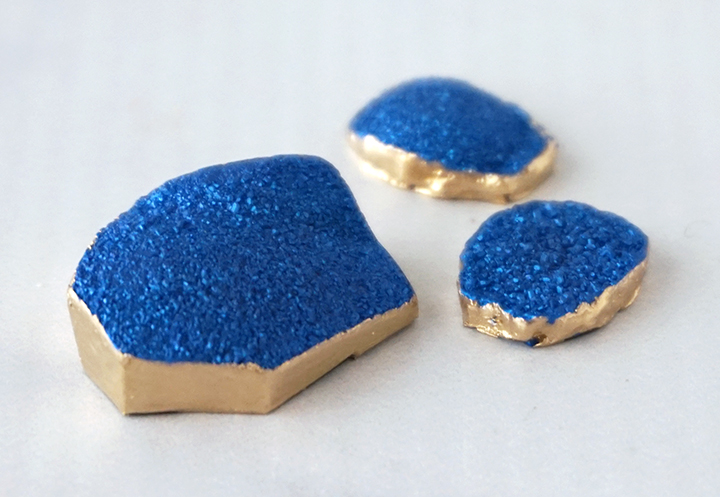
Look how gorgeous these druzy pieces are! So shimmery, and look so chic with the gold “plating” around the outside. At this point, you can use these for anything you want – jewelry, pins, or even add them to a larger project!
STEP 5:
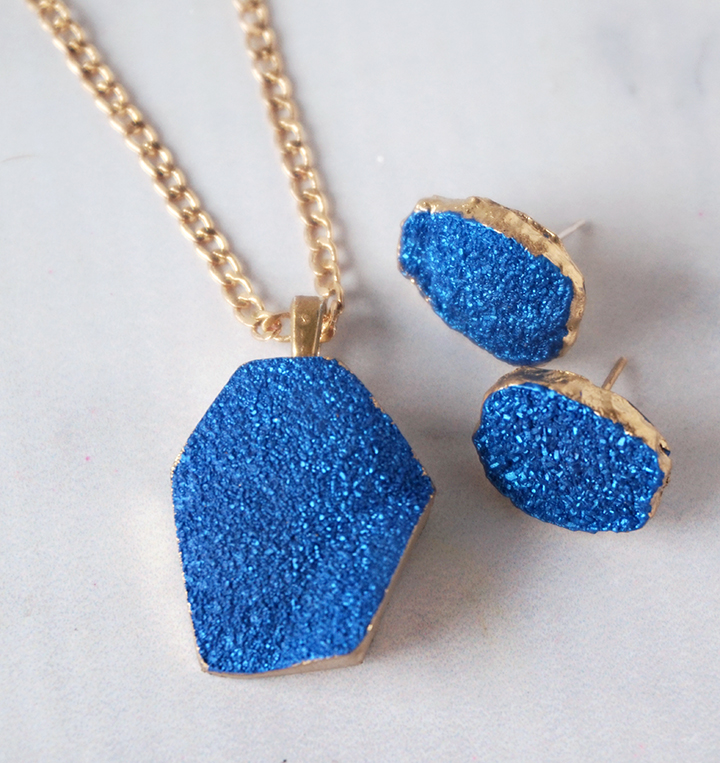
Use jewelry adhesive to attach a bail to the back of the pendant and earring posts to the smaller pieces. If you’d rather use earring hooks, you can drill a small hole in the top and secure an eyepin inside. Let the adhesive dry completely and then attach a jump ring to the pendant. Lastly, thread a chain through the pendant jump ring to complete the necklace.
The Faux Druzy Resin Jewelry set is now ready to wear on date night out or to give as a gift! I would love to hear what you think, and would be thrilled to see your own druzy projects in the Facebook Group!
Don’t forget to Pin, Like, and Share!
Lindsay is a crafter, graphic designer, and glitter enthusiast from Utah. She’s passionate about homeschooling her creative daughter, traveling, and spending time in the craft room. Lindsay shares DIY project tutorials, printables, recipes, kids crafts, and more on her blog, ArtsyFartsyMama.com, where she inspires readers to live a creative life.


Thank you. I enjoy your post