
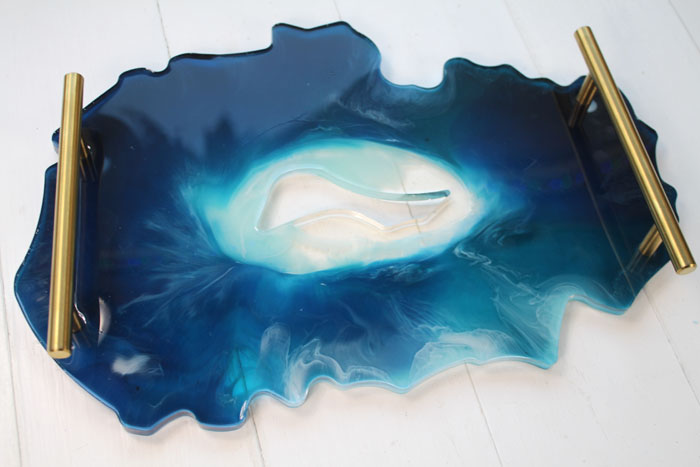
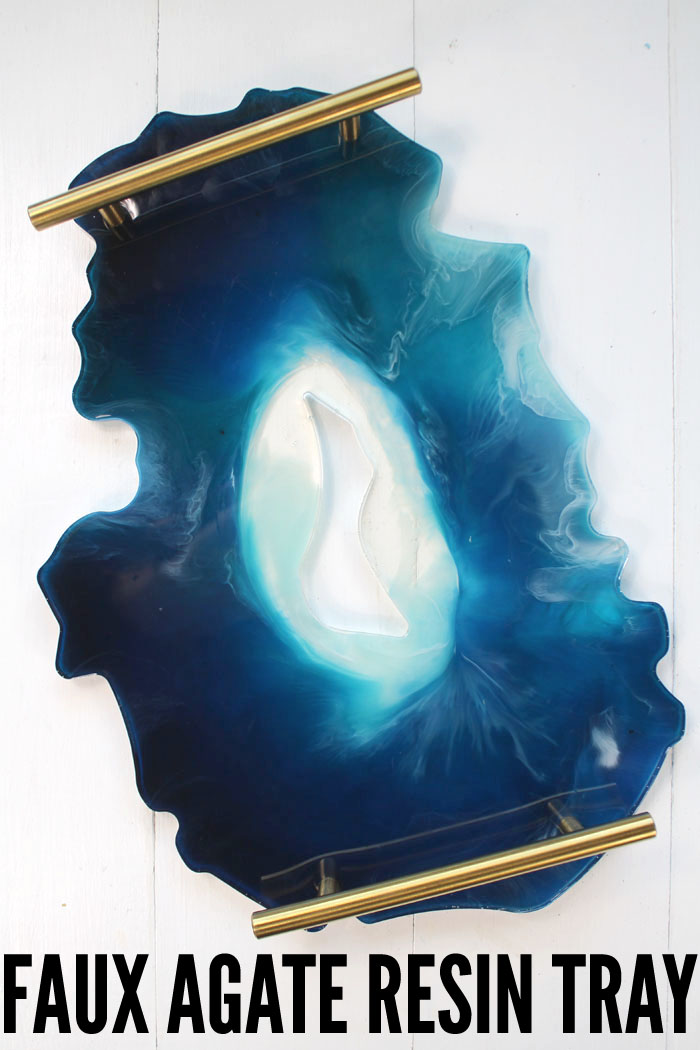
How to Make a Faux Agate Resin Tray
Hi Resin Crafters, it’s Natalie from Doodlecraft sharing another blue resin project! Make a faux agate resin tray to use as a drink server, catch-all, decor/converstation piece or for parties and entertaining. Pick your favorite colors to create a gorgeous work of art.
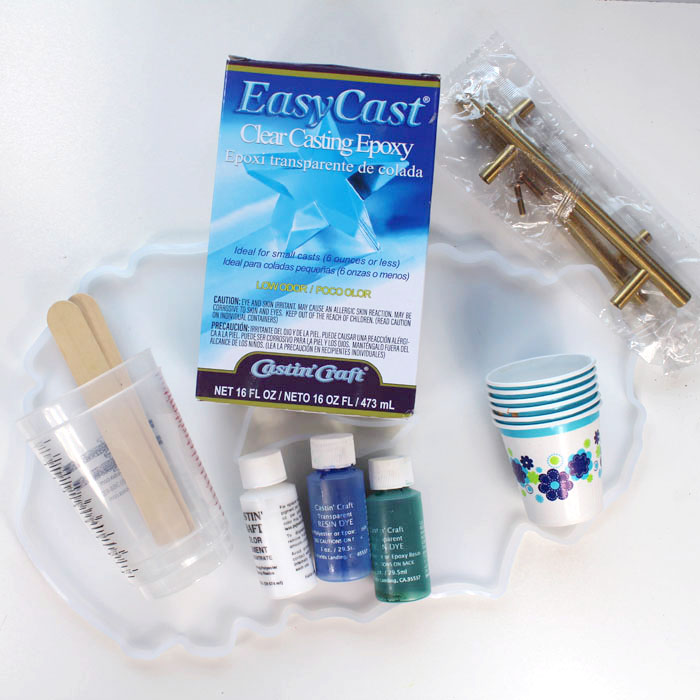
Supplies Needed for Faux Agate Resin Tray:
- EasyCast Resin
- Castin’ Craft Transparent Dye in Green and Blue
- Castin’ Craft Opaque Pigment in White
- Silicone Mold (affiliate link)
- Tray Hardware
- Drill/Bit
- Mixing Cups, Stirring Sticks, Disposable Gloves
- Small Paper Cups
- Embossing Heat Gun
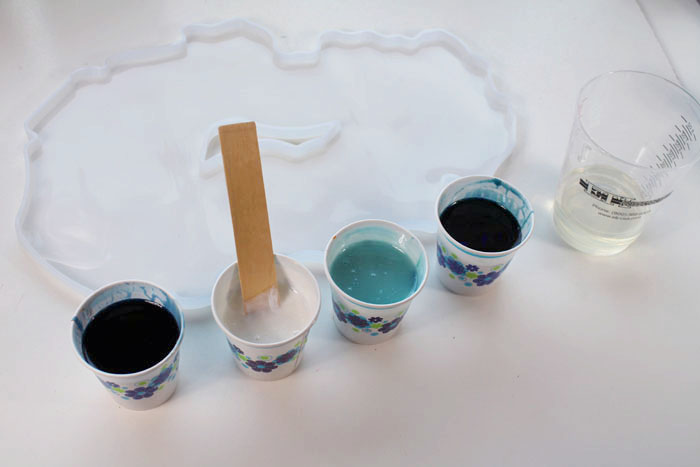
Step 1: Mixing Resin for Faux Agate Tray
Begin by mixing EasyCast resin in the 2 phase process. I mixed 8 ounces of resin for this tray. Then separate it out into 5 individual cups. Then add the colors desired in the smaller cups. The ratio of dye to resin is important, if too much colorant is added, the resin will not set properly. Always start with a tiny bit.
Leave one of the cups clear and one of the cups white. Mix 3 small cups of color.
Step 2: Pouring the Resin
Now pour the clear resin around the center of the mold. Pour the next color of resin in a circle around the clear.
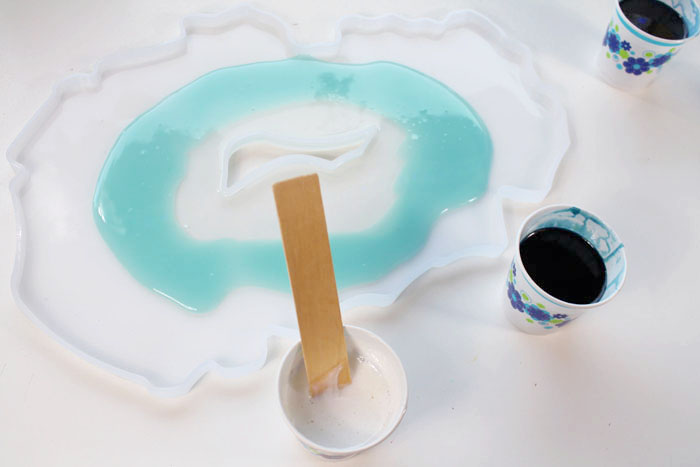
Repeat the agate look by adding the next darkest color of mixed resin.
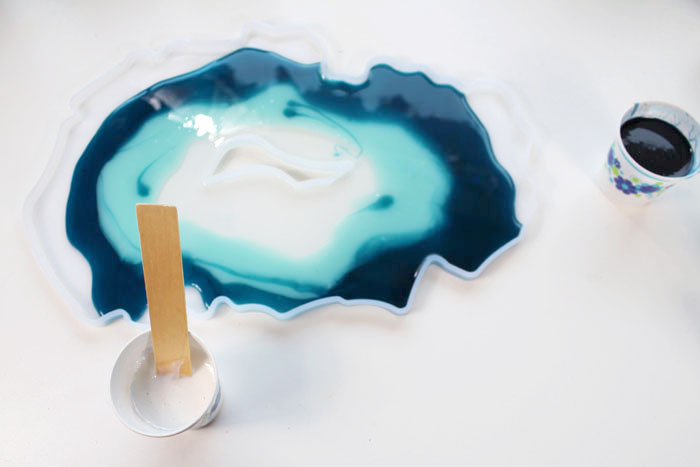
Pour the darkest color around the outer edge of the silicone mold.

Finally, swirl the white resin around the the resin in thick and thin rings. Let it set for 20 minutes, then use the embossing heat gun to pop any formed bubbles and spread the resin around a little bit. Then let it dry and cure completely for 24-48 hours.
To give it more of an agate look, you can add crushed glass, various sizes of glitter, or even gold leaf flakes.

Step 3: Adding Hardware
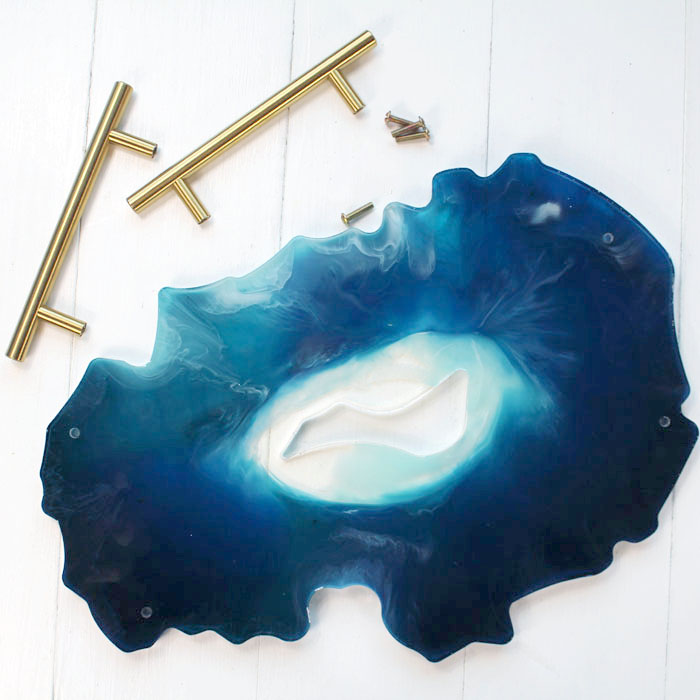
Remove the resin from the silicone mold and admire both sides of your creation! Decide which side you want to face up and show to the world. The white pigment resin sinks more than the other colors, so the underside is busy and spectacular.
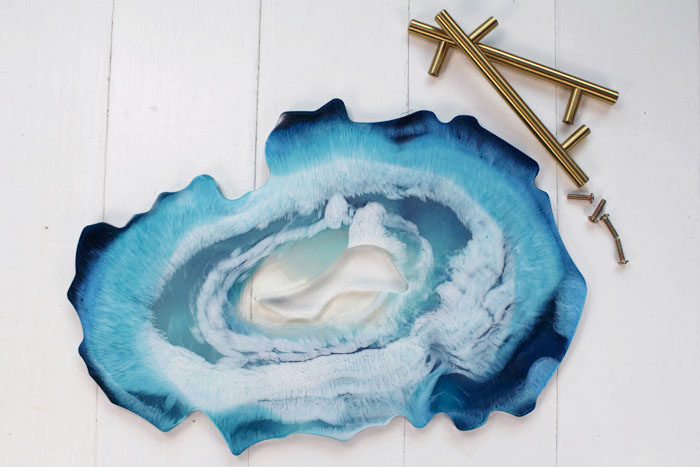
Line up the hardware on the faux agate slice and mark with a pen where the hardware holes should be placed. Honestly, it’s hard to get them both completely parallel, but I just eyeballed it. Then use the drill to pilot holes for the screws.
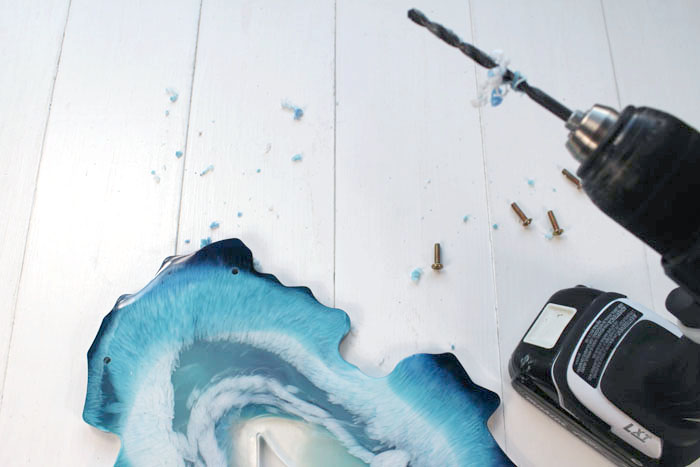
Then poke the screw through the tray from the bottom and use a screwdriver to twist it all the way into the handles. Repeat for all four screws, don’t over tighten.
Now it is ready to place on the coffee table and use as a drink service, place in the entryway as a catch-all, or use for parties and entertaining.
What colors will you choose for your Faux Agate Resin Tray?
Share yours on social media and tag @resincraftsblog and @doodlecraft so we can cheer you on!
Natalie Shaw is a Craft/DIY blogger at Doodlecraftblog.com. She loves sci-fi, fantasy and video game geekery and that comes out in many of her projects. She posts budget conscious DIY’s, crafts, jewelry, kid friendly projects, upcycled treasures and other fun on her blog 5 days a week.


Super beau merci! J’ai acheter justement un quitte pour le faire, je vais essayer avec du orange brûler pour le plus foncé, bien hâte de voir le résulte. Merci!