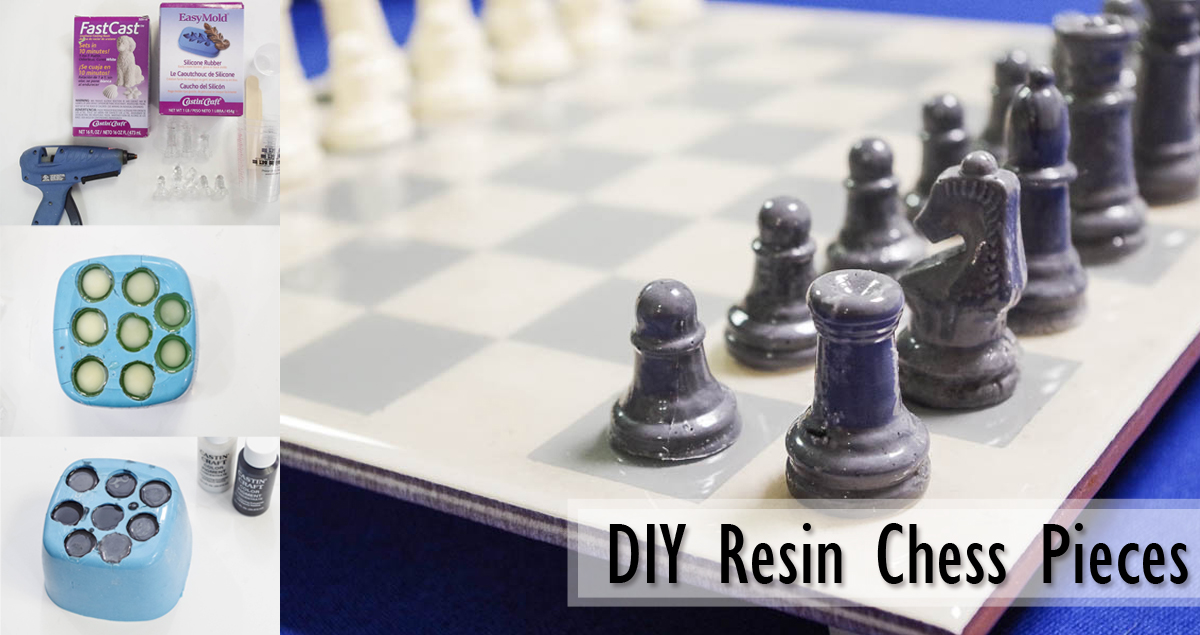
Hello resin crafters! Today I’m here with the second part of the resin chess set project; the pieces! If you missed it, be sure to check out my Upcycle Tile to Resin Coated Chess Board tutorial to find a quick and easy way to make a beautiful chess board. I don’t know about you, but my kids are not careful with anything. They constantly have me worried they’ll break our nice glass chess set, so I wanted to make them a version of their own that will be less fragile. This would also be useful if they lose any pieces! Here’s how I made them:
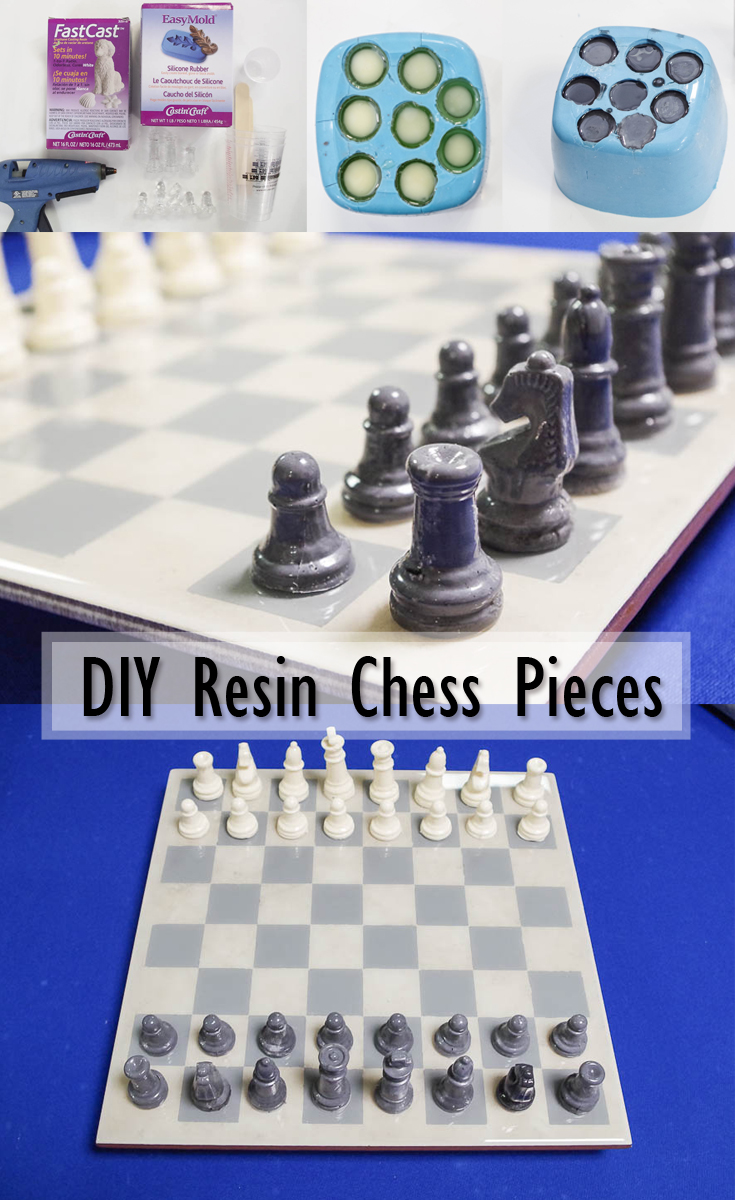
Supplies for the Molds:
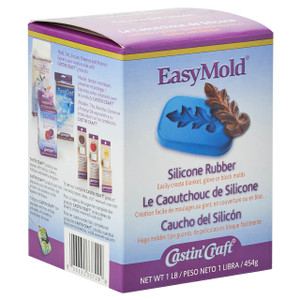
- EasyMold Silicone Rubber
- Disposable Plastic Containers
- Wooden Stir Sticks
- Glue Gun and Glue Sticks (can also use modeling clay)
- Chess Pieces you want to replicate
- Vinyl Gloves
Supplies for the Castings:
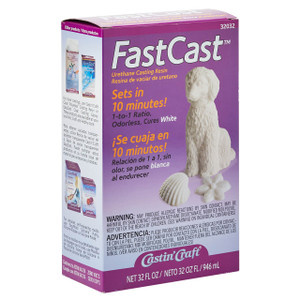
- FastCast Urethane Casting Resin
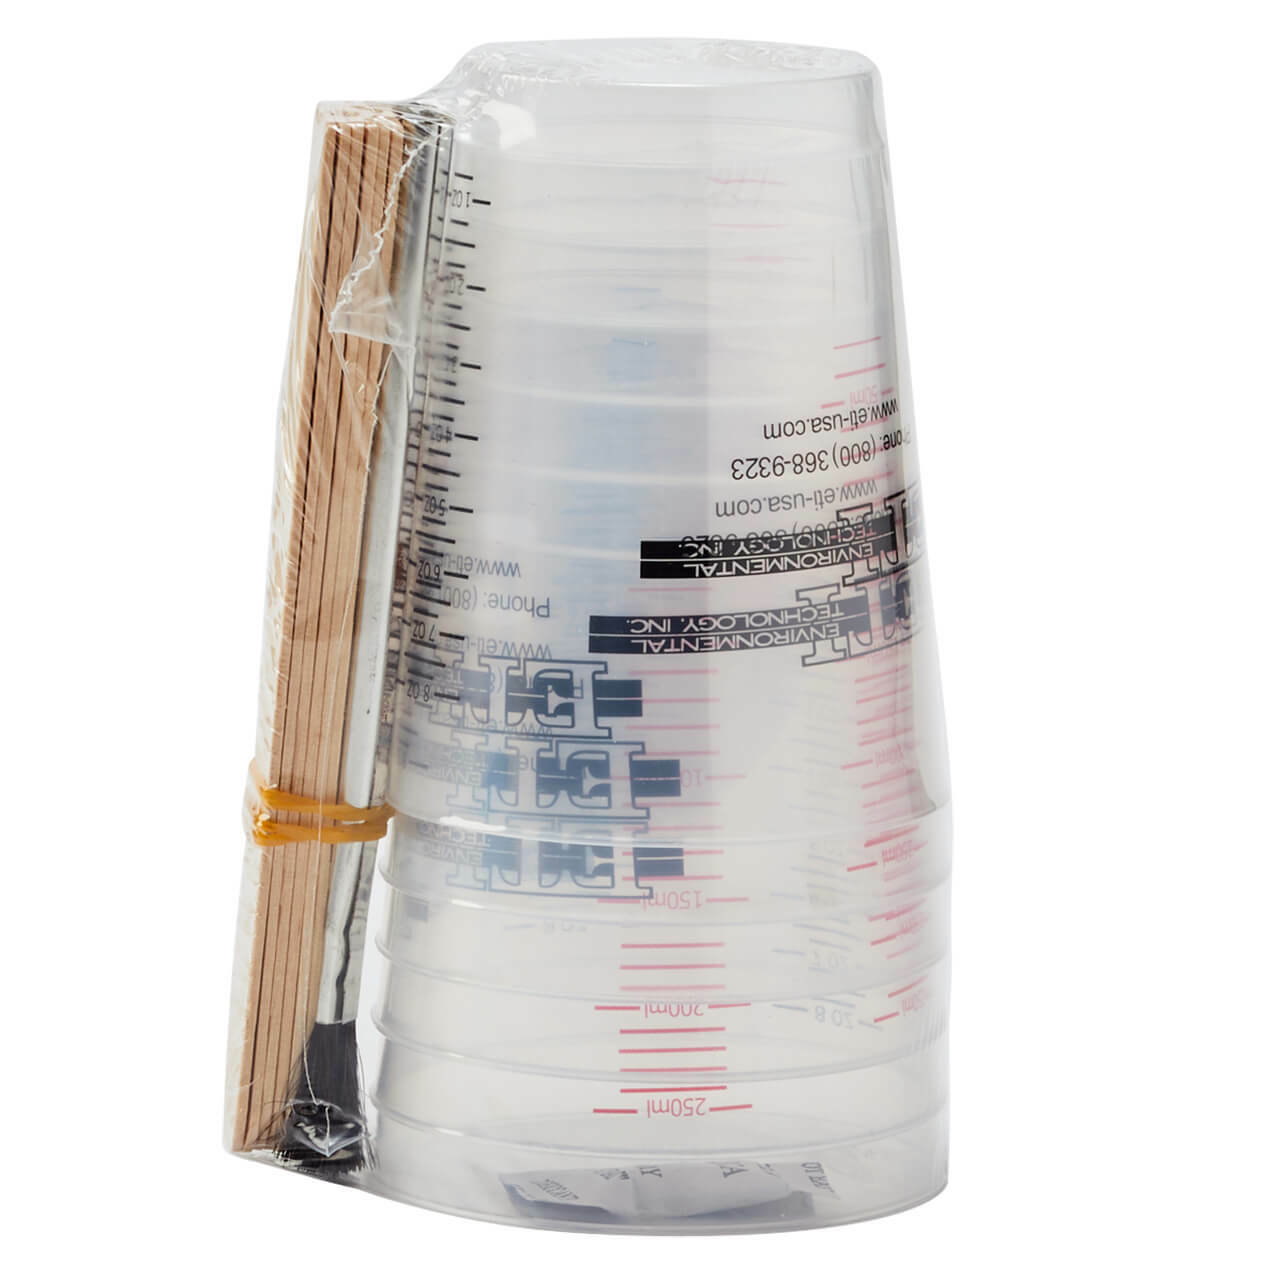
- Disposable Measuring Cups
- Wooden Stir Sticks
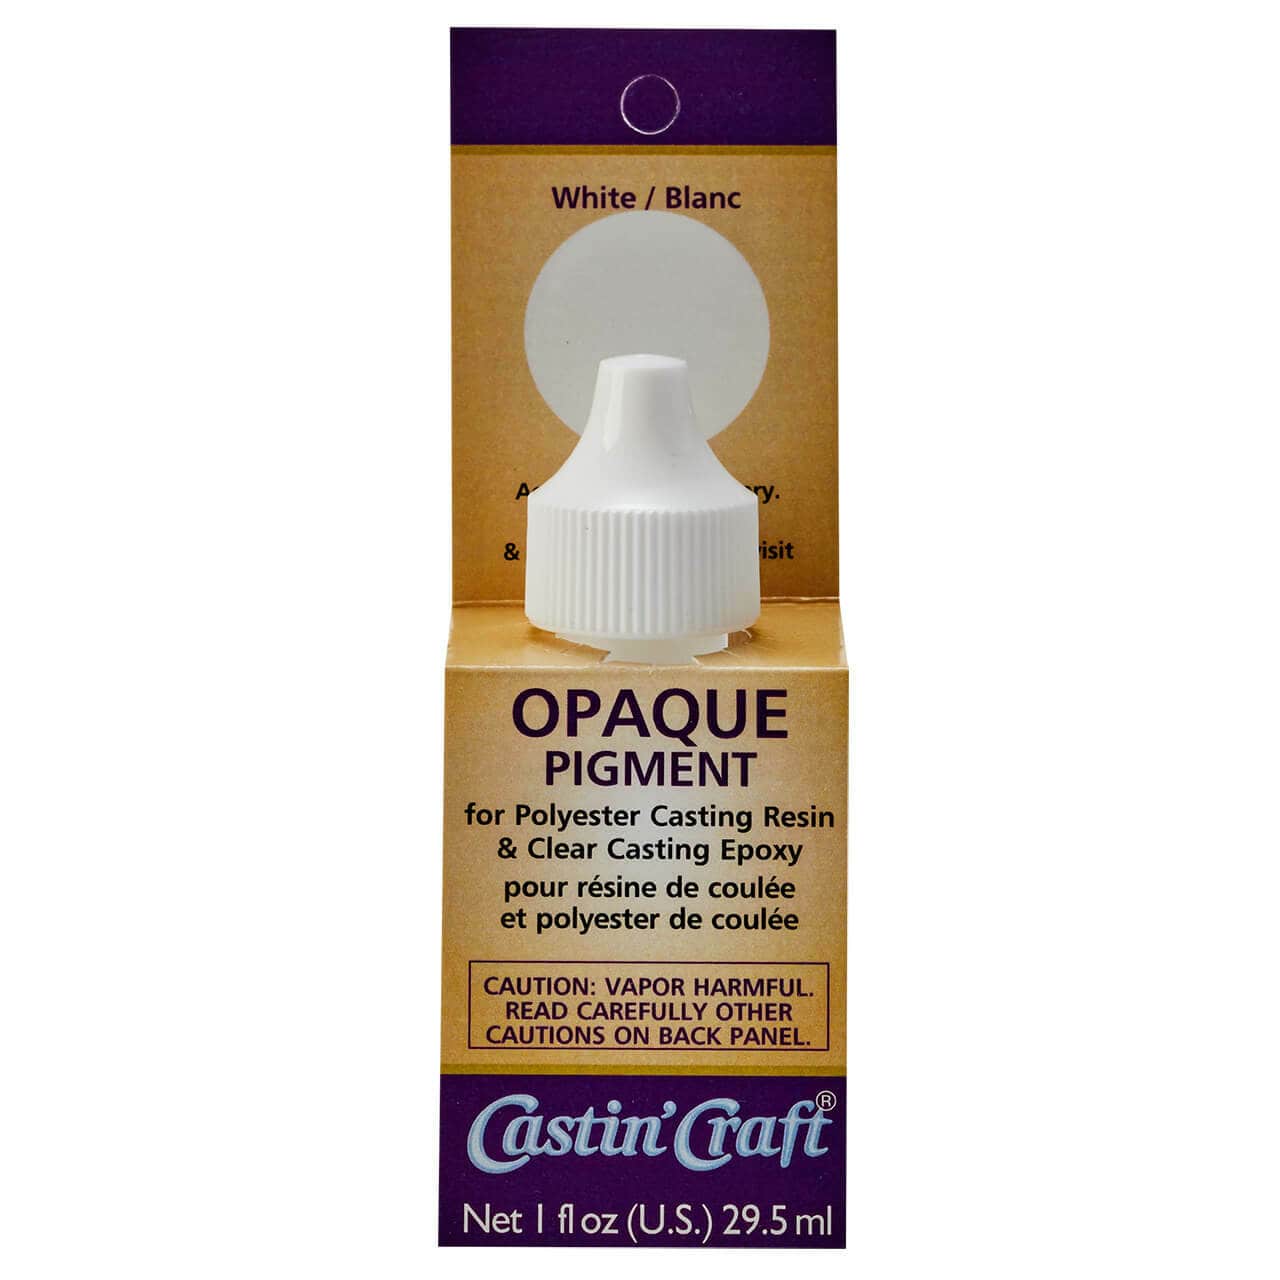
- Opaque Pigment
- Sander (optional)
- Vinyl Gloves

Make the Mold(s):
Alright, I am going to show you how I created my mold. In hindsight, I would create a couple separate molds as it became difficult to remove the castings later on, but this process will still give you a good guideline on how to make those. This one large mold still worked for me, but I’ll explain as I go what issues I ran into.
The first thing to do is get your container that will fit your pieces inside. (Again, looking back, I’d probably find two separate containers.)
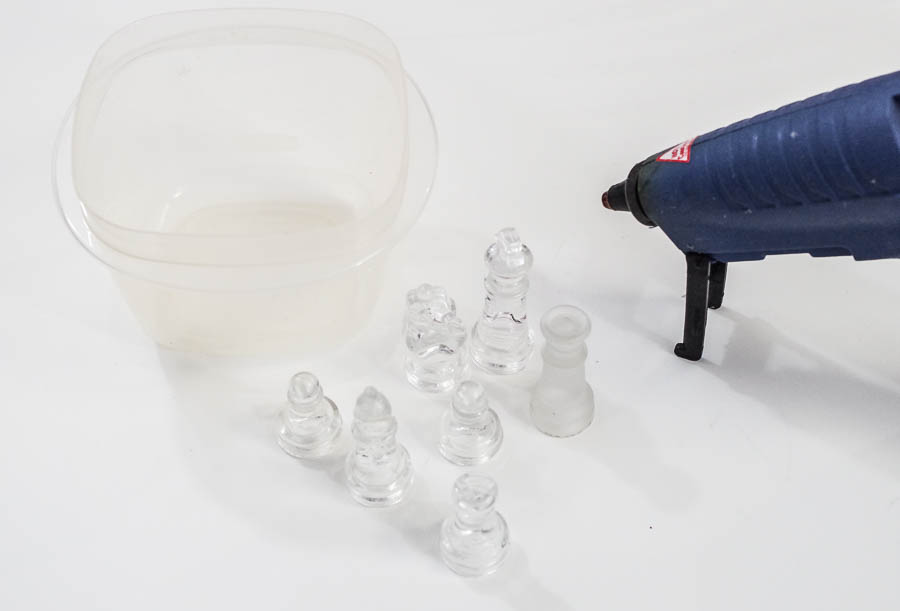
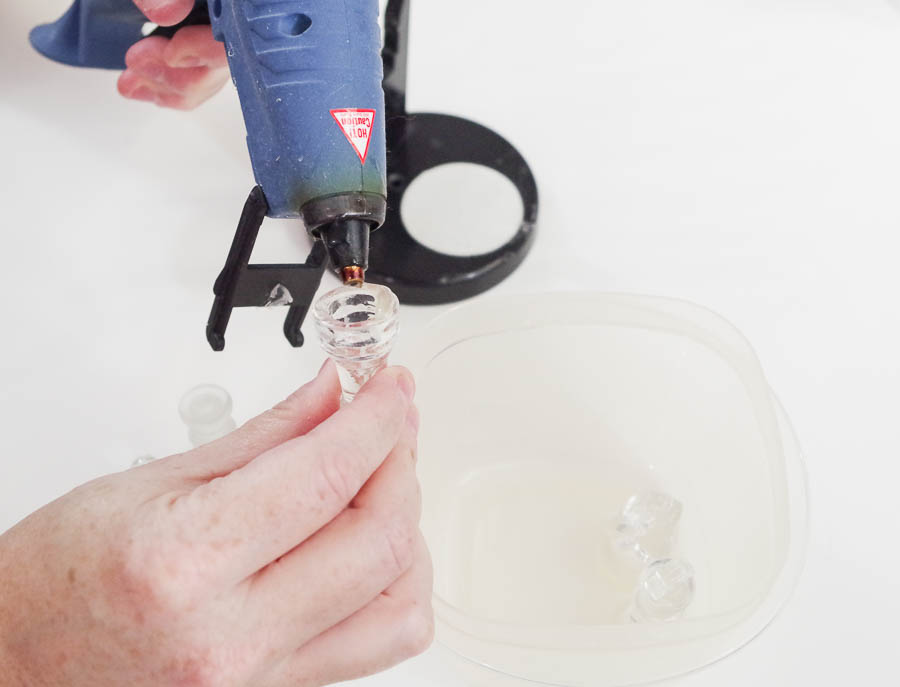
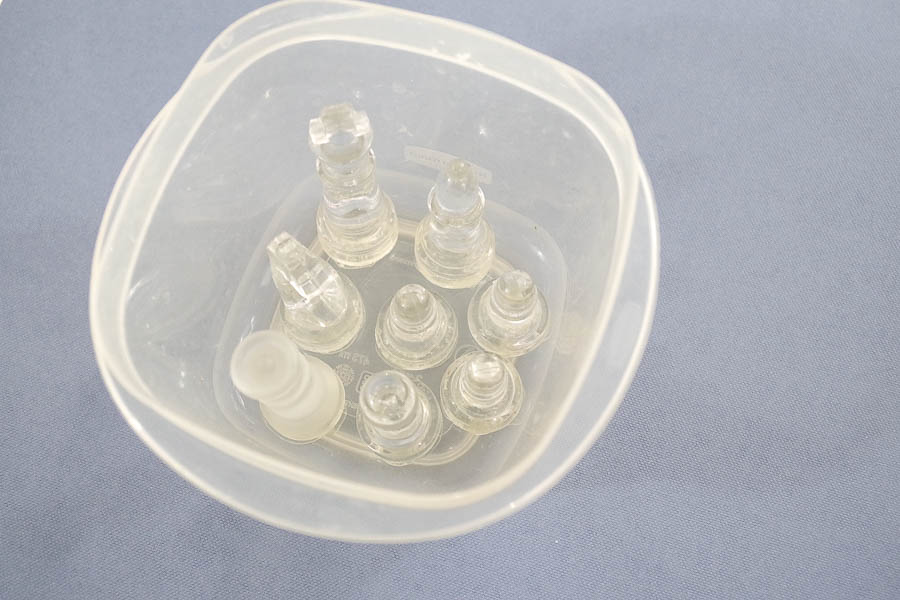
Add hot glue to the bottom of your chess pieces and glue them to the inside of your plastic container. Be sure to get the glue all around the bottom edge to seal it. This will hold them in place and prevent the Silicone Rubber from seeping underneath.
I used an old plastic container that we no longer had a lid for but I would recommend using something with thinner plastic. This was very strong and made the removal process a couple steps from now more difficult than it should have been.
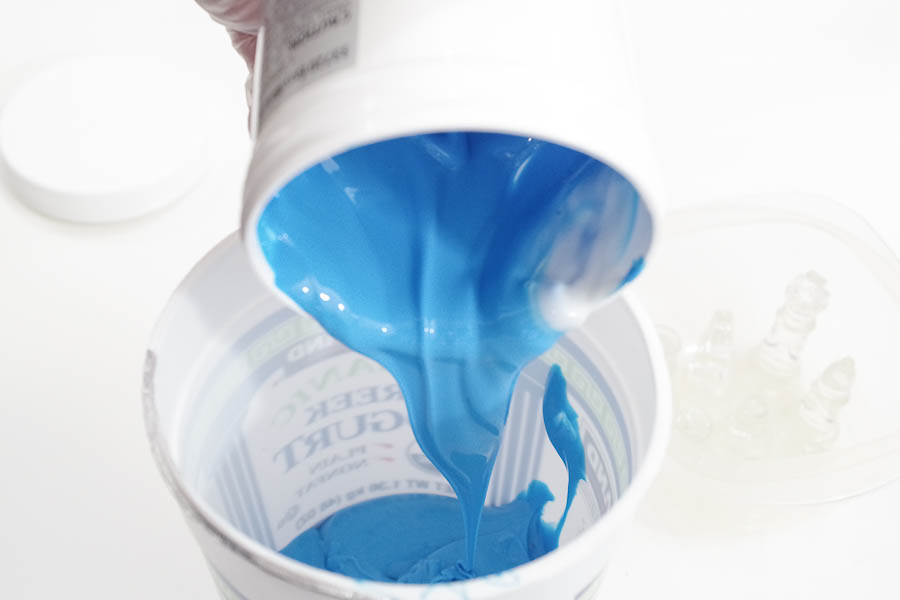
Time to mix the Silicone Rubber! Put Part A into a large mixing container (I used a cleaned large yogurt container shown later.)

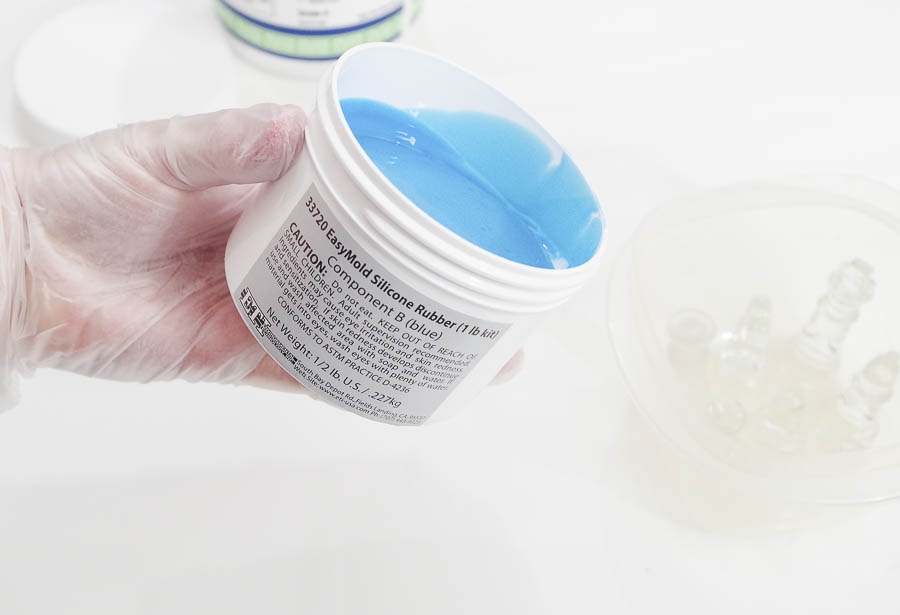
Then add Part B and mix thoroughly!
As you can see I poured them both into a large mixing container and mixed thoroughly. You’ll then be using a two-cup method and mixing it again in a different container.
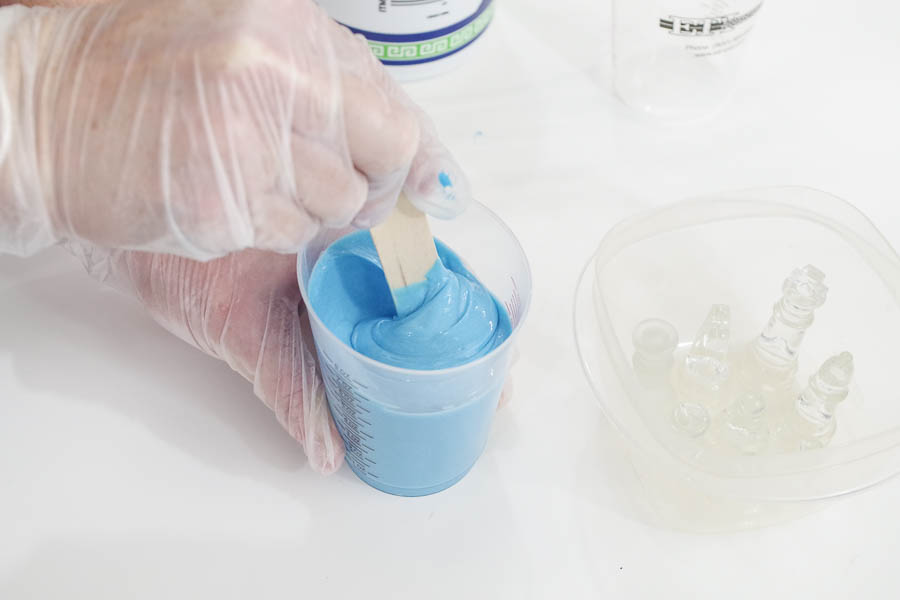
To do this, I poured some of the rubber into a smaller cup and made sure it was thoroughly mixed. I did the same with a second batch because I wanted to be sure I had the right amount of rubber to cover all the pieces.
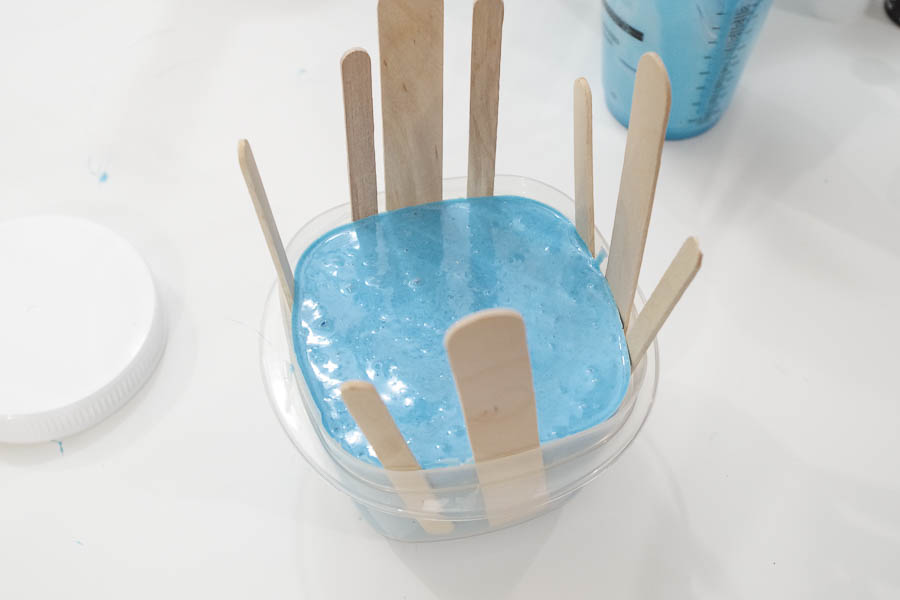
Pour the Silicone Rubber onto the pieces. Pour from above and keep pouring in the same spot, this will help reduce air bubbles.
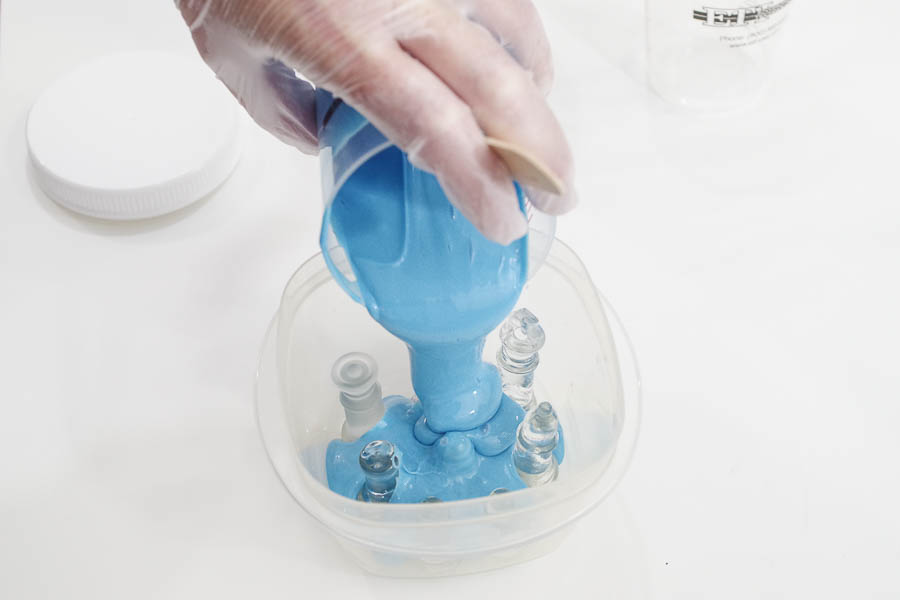
Once the pieces are covered by the Silicone Rubber, tap the entire thing on the table a few times to help release the bubbles. I also used a small needle to pop many of these bubbles you see.

Remove the Mold:
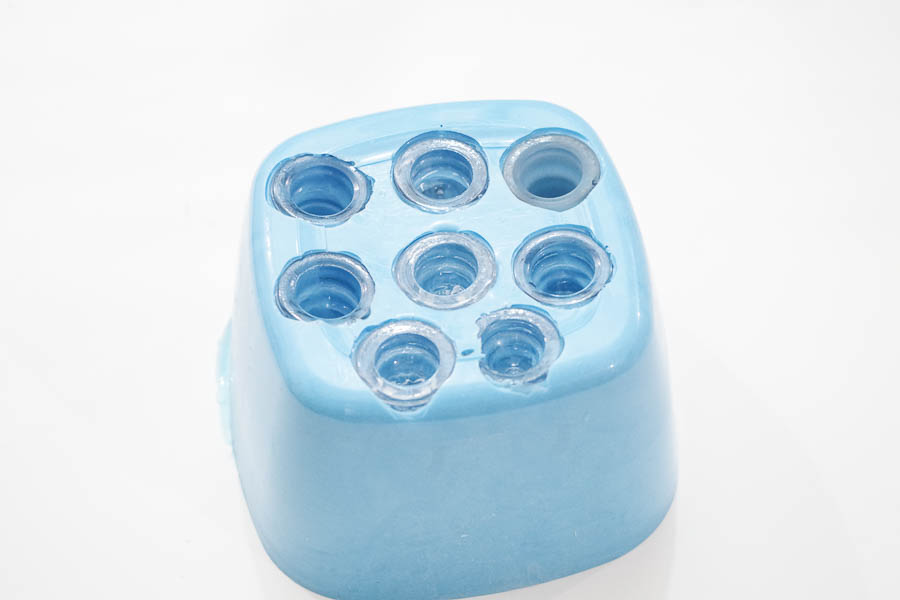
Once the Silicone Rubber mold is cured, you’ll want to remove it from the plastic container. This was difficult with mine because the plastic was so thick and did not bend at all, so again, I recommend using a container with more pliable plastic (like that old yogurt container I used.) The first step is to try to break the seals of the sides. Because my container was so strong, I used wooden sticks in all the sides to break the seal. Once that was done it became fairly easy for me to manuever it out of the container.
The chess pieces still had hot glue on the bottom of them, so I peeled that off and this is what I was left with:
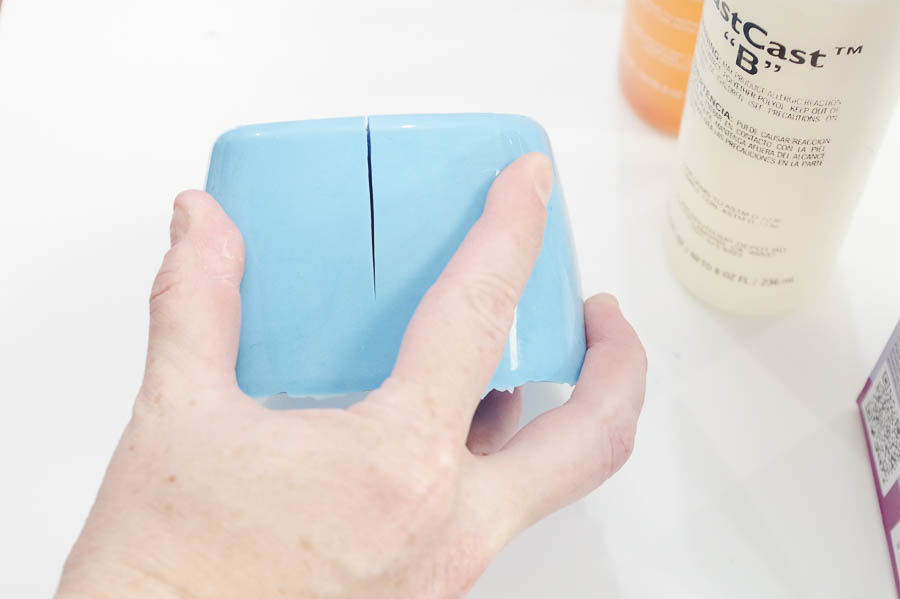
So now it is time to take the glass pieces out of the mold. Again, first try to break the seal on all sides. Because I did all of this in one big mold it made it very difficult to bend the silicone rubber and I had a hard time getting the pieces and the future castings out of the mold. I did find a good solution though, as seen in the picture below, use a craft knife to cut a thin line down the edge of the piece. This gives you the ability to open it a little more and remove the pieces. I did this for most of the pieces.
All that being said, by creating two different molds I think it would be easier to remove the pieces, it’s up to you.
Cast New Pieces with FastCast
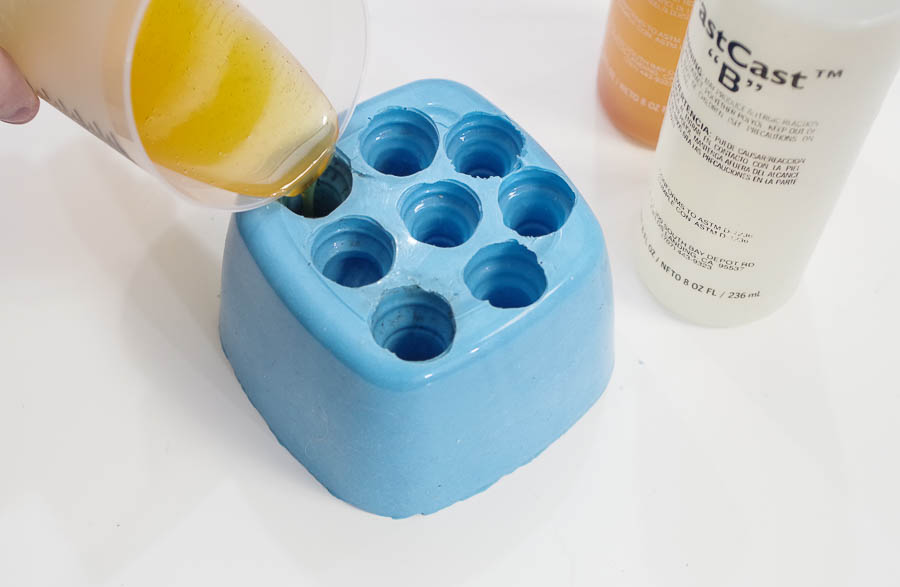
Now time to create new chess pieces! Gather your FastCast, measuring cups, mold and gloves!

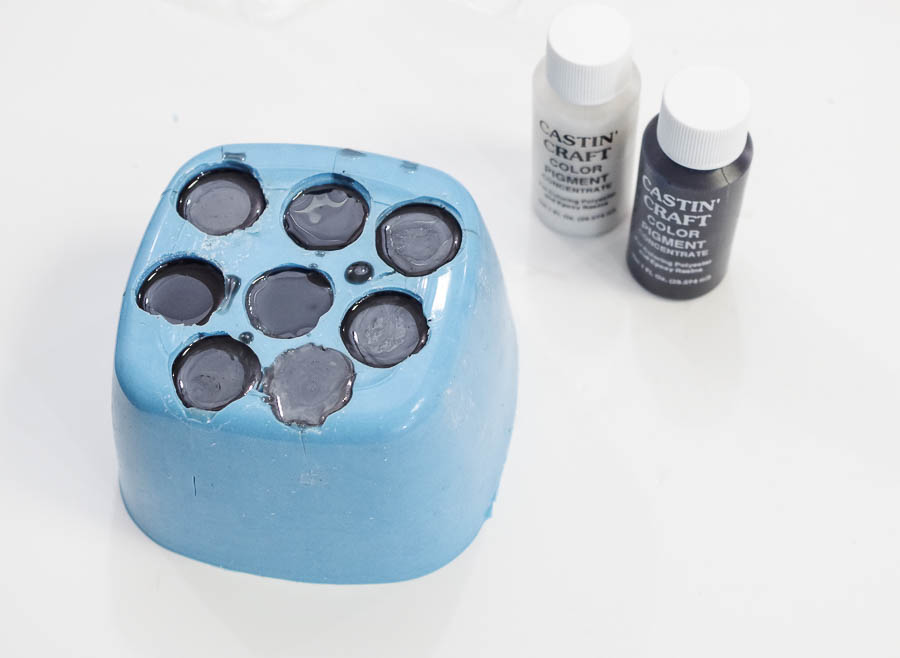
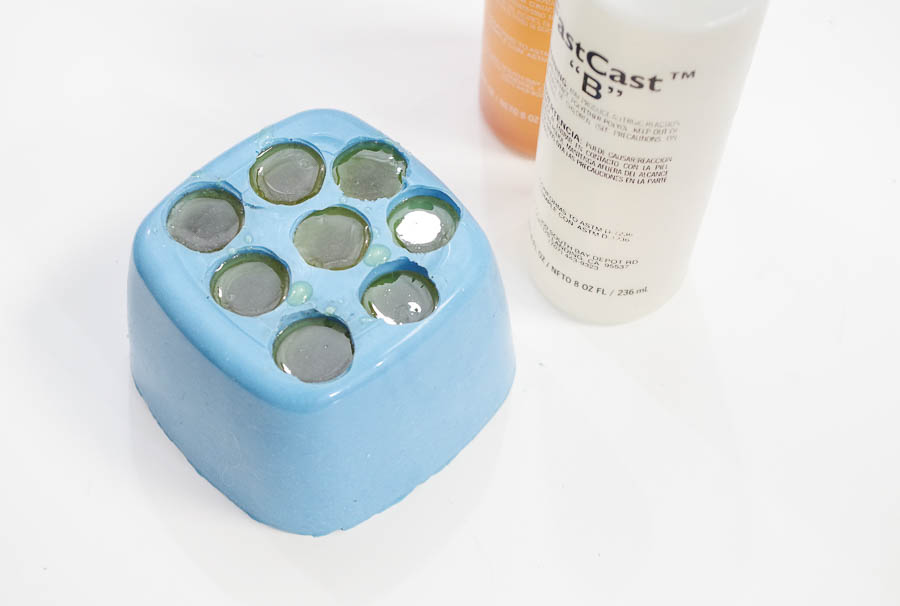
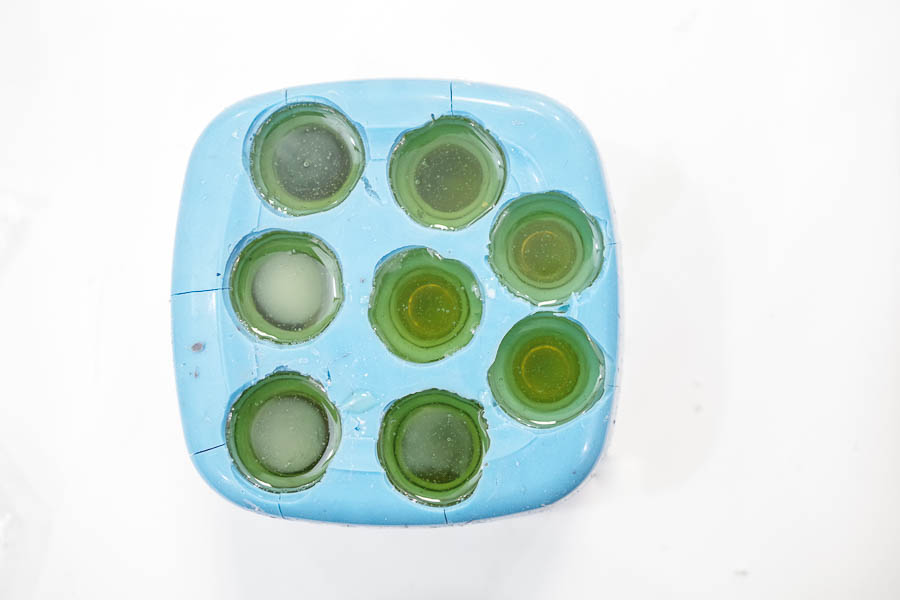
First, you only have a minute or so to work with the FastCast once the two parts are together, so work quickly. Mix equal amounts of FastCast Part A and B in a measuring cup and add some black opaque pigment. Mix thoroughly. Pour into second cup and mix again. Then pour into the mold. As you can see, there are cuts in the mold but because the Silicone Rubber holds it’s shape so well I didn’t have to worry about it at all.
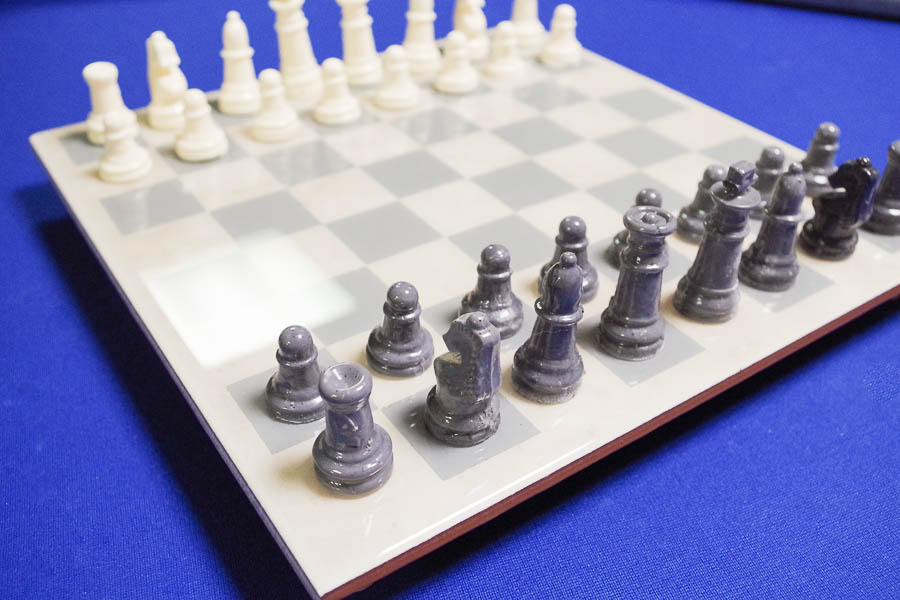
Do that step a couple times until you have all the gray pieces you need. FastCast dries in an off-white color, so any color you add to it will be lighter. Therefore, adding black gives us gray pieces, which happen to match the Upcycle Tile to Resin Coated Chess Board perfectly.
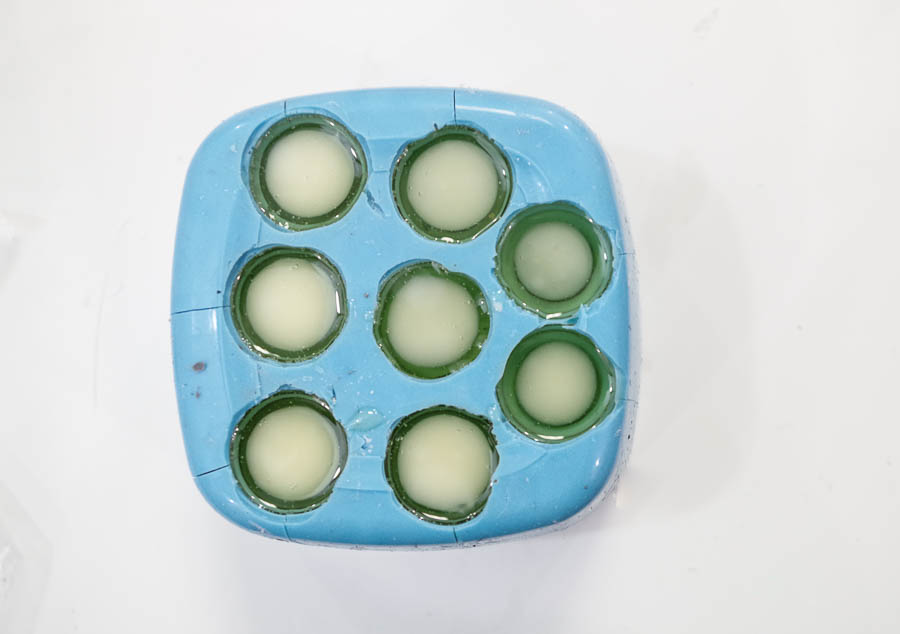
Now mix just the two parts together without adding pigment for the off-white pieces. This color also matches well. If you want though, you can use a different color. It’s all personal preference. Here are a few shots to show how it looks after they cure.
Finished!
Once you have all your pieces made, add them to your chess board and admire your awesome new, much less fragile, chess set!


What do you think? Let me know in the comments. If you liked this project, please share the image below on Pinterest or with the social media buttons on the left side of the screen.
Pour on!
–Sheri
Sheri is a Maker and DIY blogger at Hazel + Gold Designs. She is usually in the middle of multiple projects at once and finds great satisfaction and joy in creating something new. She is constantly learning new skills, putting them to the test, and sharing her experience and knowledge with others. Her favorite hobbies are crafting, painting, crocheting and basic woodworking. Her goal is to inspire others to step out of their comfort zone, learn a new skill and have the confidence to make their life a little more beautiful!


This is so cool can I mold my own pieces out of clay then follow this process?
You sure can!