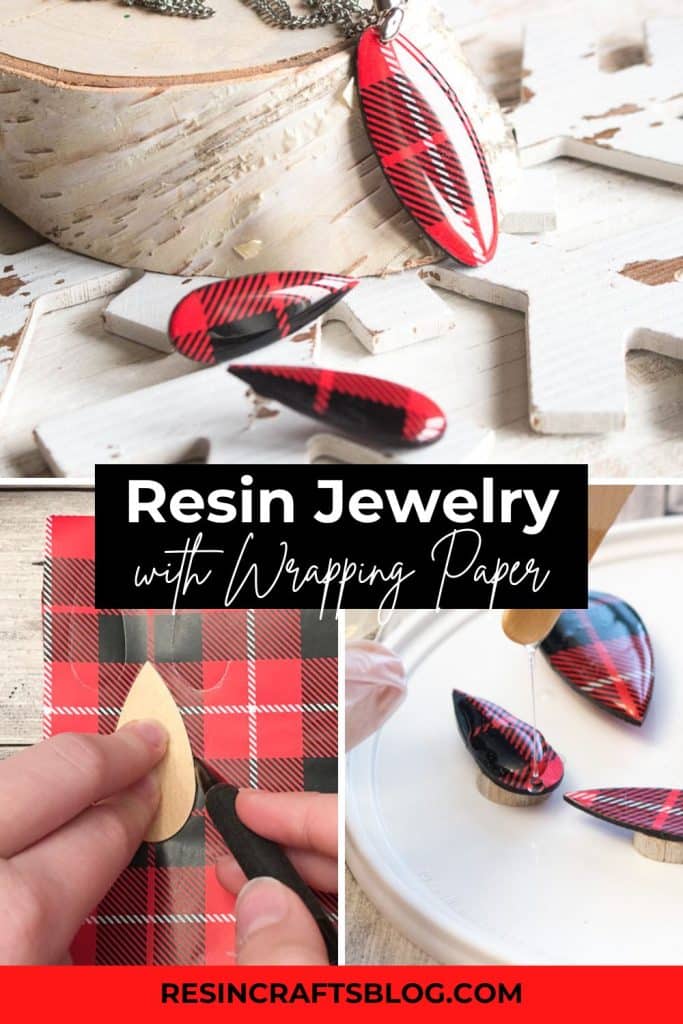
A few weeks ago I came across a small stash of little wood cut-outs. I was really keen to use them for some Christmas crafting. Then, when I spotted buffalo plaid wrapping paper in my sister’s craft room, it all came together! With just a little bit of resin I was able to create a beautiful set of Christmas jewelry that I’ll be able to gift this holiday season. And we’ll show you how to make resin jewelry with your own beautiful left over gift wrap.
Hello crafty friends. This is Jane from Sustain My Craft Habit, a DIY, craft and home decor blog I write with my sister Sonja. Last Christmas, we made a really simple set of Christmas glitter stud earrings and necklaces which I gave to my nieces as presents. They were a huge hit all around so I wanted to make a new Christmas-inspired design this year.
As mentioned above all the pieces came together when I found this lovely buffalo plaid wrapping paper. Although I love this pattern I can’t wait to save bits of any wrapping paper we receive over Christmas to make some more jewelry with. Wrapping paper designs can be so ornate and beautiful and I always feel sad about simply throwing them away. Now I have this new way to preserve and display a bit of these miniature works of art.
Materials needed to make your own Jewelry with Gift Wrap:
- Wood cut outs
- Wrapping paper scraps in a buffalo plaid pattern (or any leftover gift wrap)
- Alumilite Amazing Clear Cast Epoxy
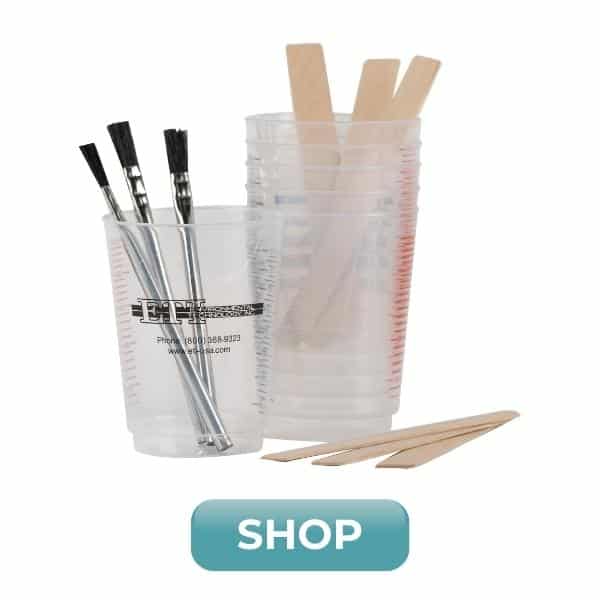
- Measuring cups and stir sticks
- Ultra Seal Multi-Purpose Sealer or Amazing Sealer (or any clear drying craft glue)
- Gloves
- Paper towels
- Scissors
- Acrylic paint (in a coordinating color)
- Fine tip paintbrush
- Earring posts and pendant bail
- Jewelry and bead glue
- Drill with a small sized drill bit

How to make Resin Jewelry with Gift Wrap
Preparing the wood shapes
Start by selecting the shapes you’d like to use. I went with a larger teardrop and oval for the pendants and smaller teardrops for the earrings.
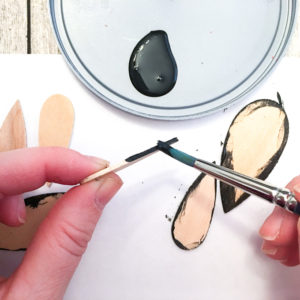
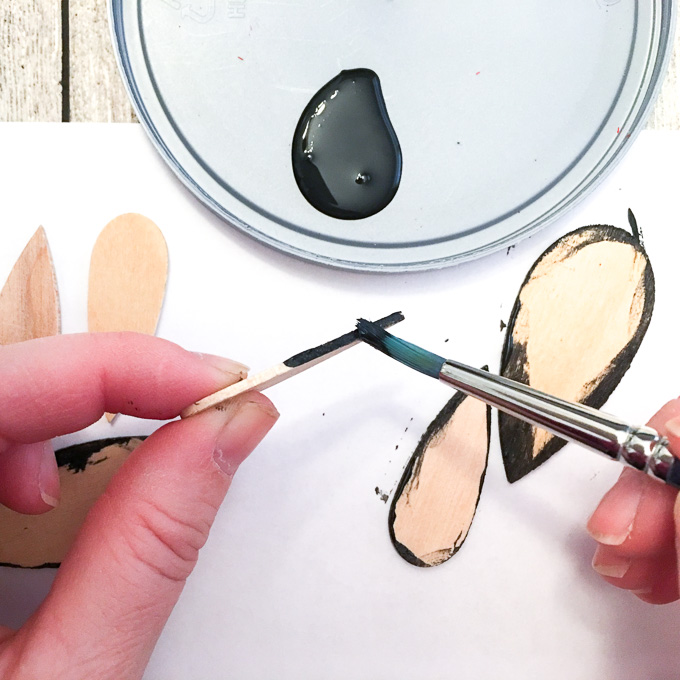
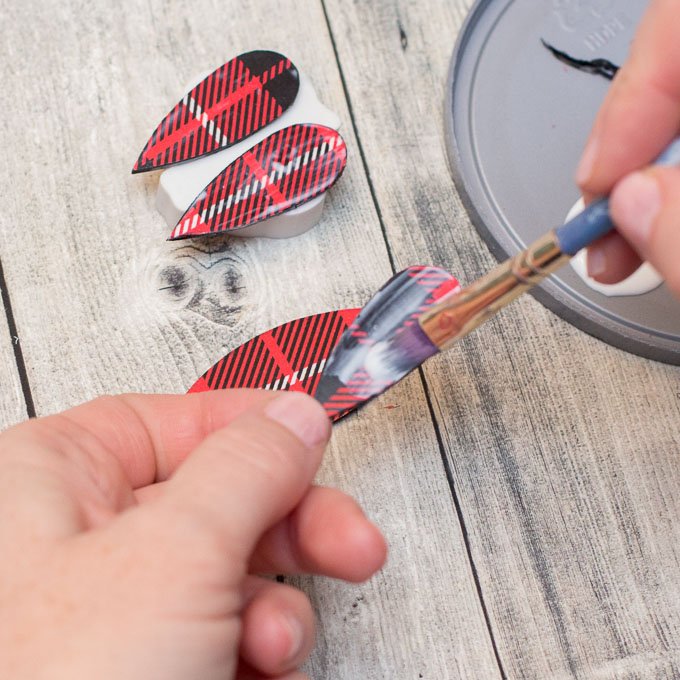
If you don’t want the edges to look unfinished paint them with a coordinating colour. I used black although red would have looked lovely too.
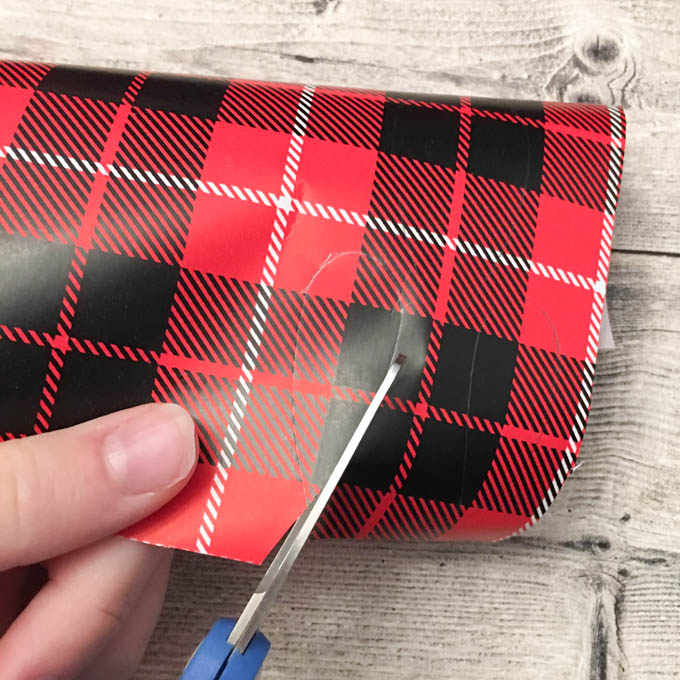
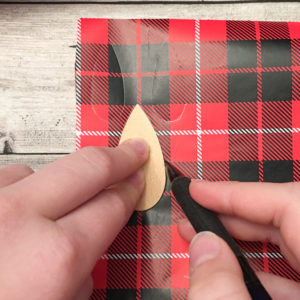
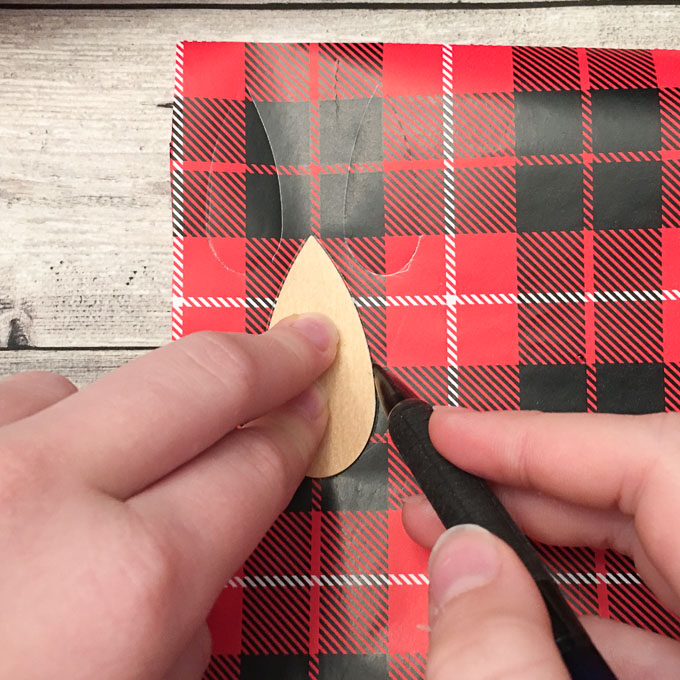
Trace the wood shape onto the wrapping paper. You can choose which parts of the design you like best: random spots, more symmetrical, mis-matched. The choice is yours!
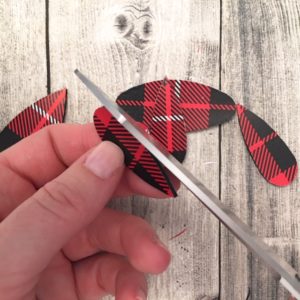
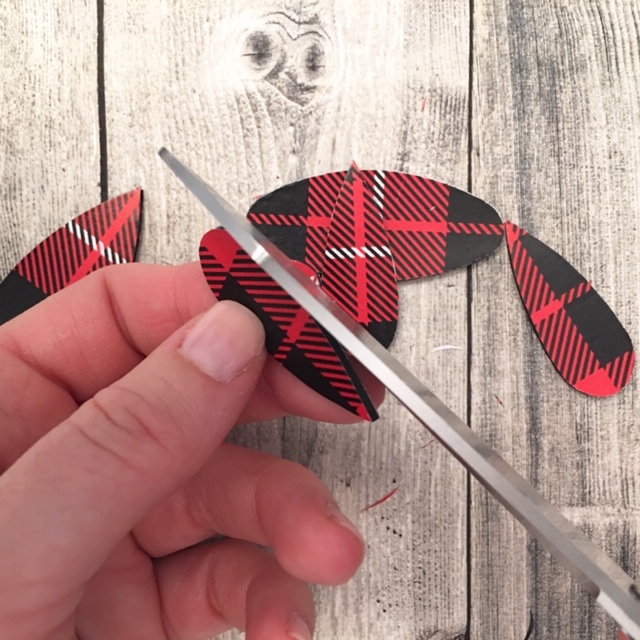
Cut out the shapes with sharp scissors (important to keep the paper from ripping). Don’t worry about being too precise- you’ll trim the paper in a later step.
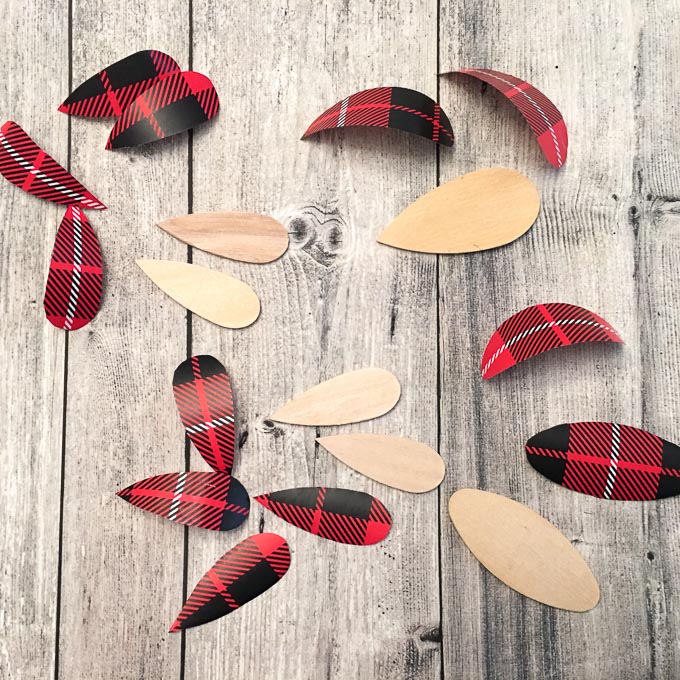
Use a water-based glue/sealer (such as Ultra Seal or Amazing Sealer) and apply the wrapping paper to the wood shapes. Let dry and repeat with the other side.
When the paper is completely dry, trim as close to the edge of the wood as possible using sharp scissors. If needed paint over any white edges of paper carefully with a black paint. Let dry.
Pouring the resin
Work in the well ventilated area and be sure to read all the instructions on the products before beginning your project.
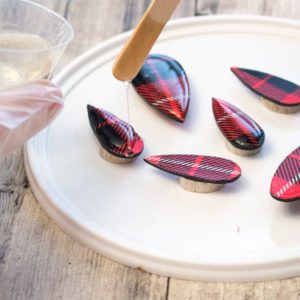
Prop your prepared wood cutouts on a raised surface to prevent the resin from pouring over the sides and sticking to the surface.
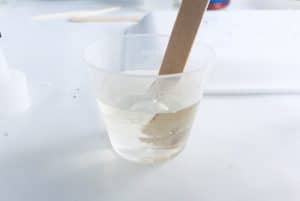
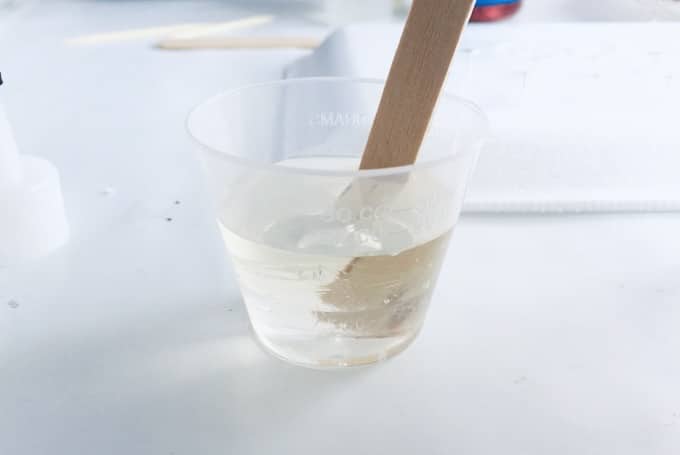
Mix exactly equal amounts of Resin and Hardener into one measuring cup. I used very little of each, only about 10 mm and it went along way as you’ll see. Stir continuously for 2 minutes, scraping the sides of the container.
Pour the mixture into a second cup and stir for an additional minute, scraping the sides of the container and stir stick.
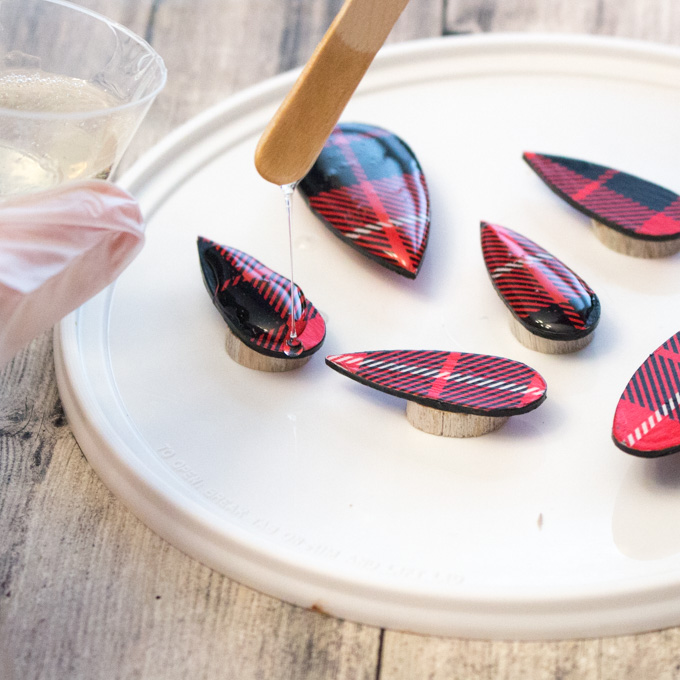
Using the stir stick drop small amounts of the resin mixture onto the surfaces of all the prepared wood cuts. Try to get a nice domed droplet without the resin pouring over the edges (but not to worry if it does).
Cover the pieces to keep dust out and let cure overnight. 24 hours for a soft cure and up to 72 hours for fully cured jewelry.
Turn pieces right side down and repeat the resin pouring process.
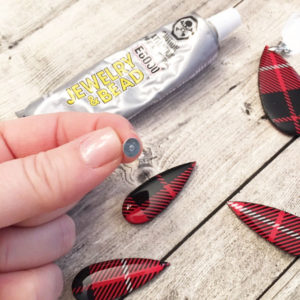
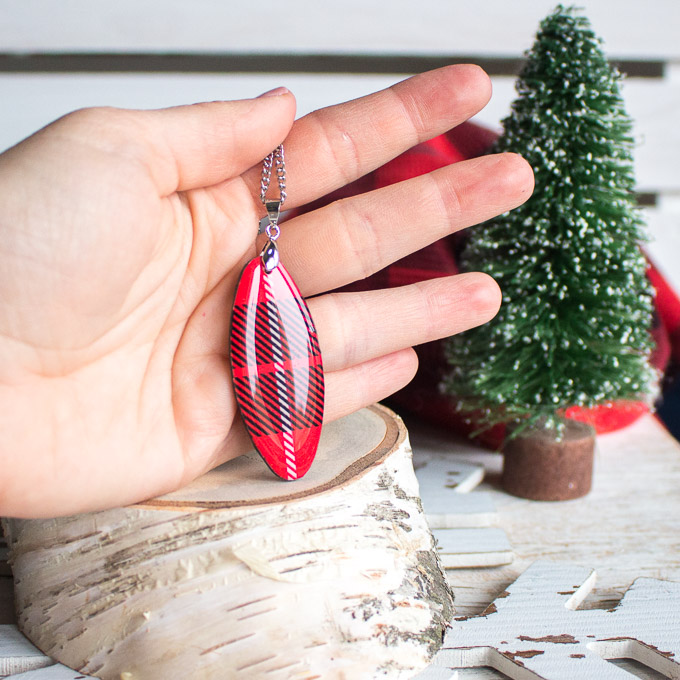
Once completely cured, attach the earring posts to the back side with jewelry and bead glue and attach the pendant bails after drilling a small hole close to the top of the pendant.

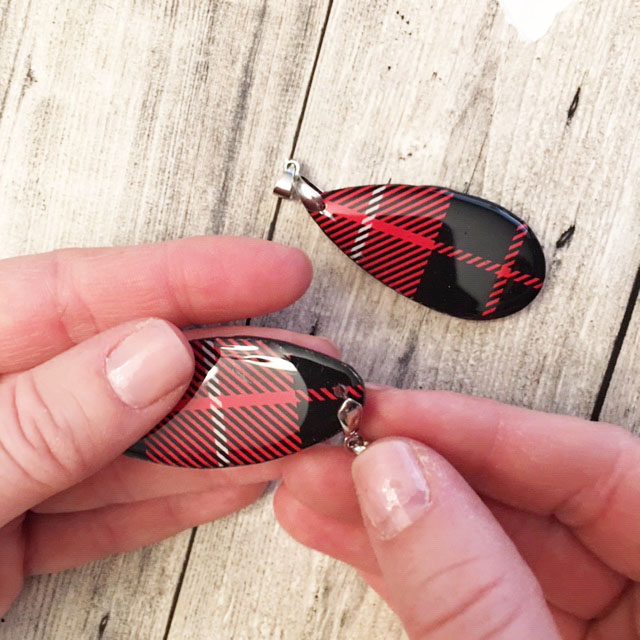
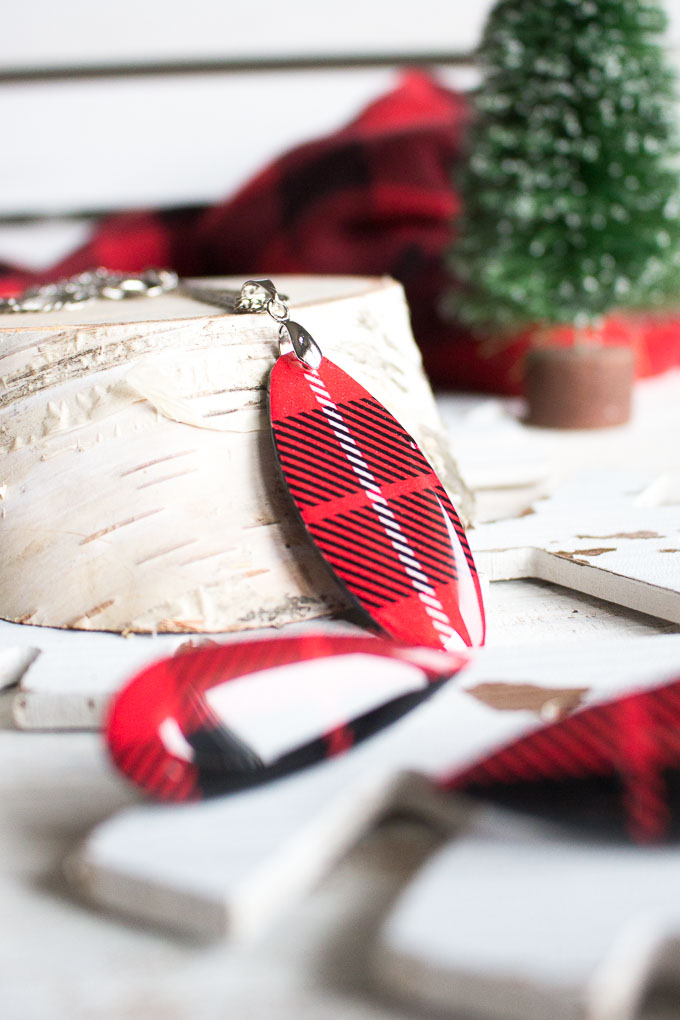
And there you go, beautiful jewelry to gift or keep for yourself. The sky is really the limit with this technique. You could also use decorative napkins, scrapbook paper, newspaper or really any kind of design.
Resin Buffalo Check Jewelry
Materials
- Wood cut outs
- Wrapping paper scraps in a buffalo plaid pattern or any leftover gift wrap
- Alumilite Amazing Clear Cast Epoxy
- Measuring cups and stir sticks
- Ultra Seal Multi-Purpose Sealer or Amazing Sealer or any clear drying craft glue
- Gloves
- Paper towels
- Scissors
- Acrylic paint in a coordinating color
- Fine tip paintbrush
- Earring posts and pendant bail
- Jewelry and bead glue
- Drill with a small sized drill bit
Instructions
Preparing the wood shapes
- Start by selecting the shapes you’d like to use. If you don’t want the edges to look unfinished paint them with a coordinating colour.
- Trace the wood shape onto the wrapping paper. Cut out the shapes with sharp scissors (important to keep the paper from ripping). Don’t worry about being too precise- you’ll trim the paper in a later step.
- Use a water-based glue/sealer (such as Ultra Seal or Amazing Sealer) and apply the wrapping paper to the wood shapes. Let dry and repeat with the other side.
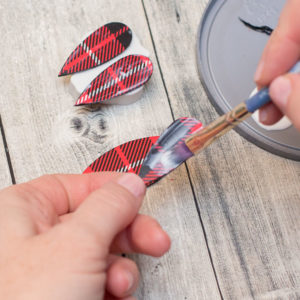
- When the paper is completely dry, trim as close to the edge of the wood as possible using sharp scissors. If needed, paint over any white edges of paper carefully with a black paint. Let dry.
Pouring the resin
- Work in the well ventilated area and be sure to read all the instructions on the products before beginning your project. Prop your prepared wood cutouts on a raised surface to prevent the resin from pouring over the sides and sticking to the surface.
- Mix exactly equal amounts of Resin and Hardener into one measuring cup. (About 10 mm of each). Stir continuously for 2 minutes, scraping the sides of the container until there are no swirls visible.
- Using the stir stick drop small amounts of the resin mixture onto the surfaces of all the prepared wood cuts. Try to get a nice domed droplet without the resin pouring over the edges.
- Cover the pieces to keep dust out and let cure overnight. 24 hours for a soft cure and up to 72 hours for fully cured jewelry.
- Turn pieces right side down and repeat the resin pouring process.
- Once completely cured, attach the earring posts to the back side with jewelry and bead glue and attach the pendant bails after drilling a small hole close to the top of the pendant.
If you like to gift jewelry, consider some of these lovely DIY nature inspired jewelry ideas:
For more Christmas inspired resin crafting ideas check out these creative projects:
- Resin Christmas Ornaments
- Copper Tree Christmas Ornaments for Your Holiday Tree
- Resin Photo Christmas Ornaments with EasyCast
- 10 Unique DIY Christmas Decor Options
- Faux Stained Glass Christmas Ornament
Like it? Pin it for later!
Jane and Sonja are sisters, moms and lifelong craft addicts both living near Toronto, Canada with their families. They share their love of creativity, nature and coastal DIY ideas on their blog Sustain My Craft Habit. They craft and decorate their homes using repurposed and upcycled items and materials found in nature.




love the gift wrap jewelry so creative . what type of wood did you glue the wrapping paper too.
Hi Margaret! I believe she used basswood.