Need a place to hang stockings because you don’t have a mantel? Make a DIY epoxy knob stocking holder like this one!

Supplies for Epoxy Knobs
- Knob molds (and hardware)
- Gold leaf
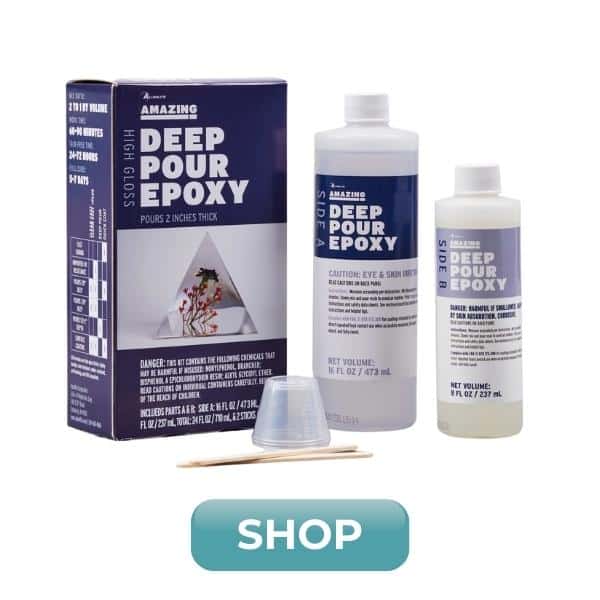
- Alumilite Amazing Deep Pour Epoxy
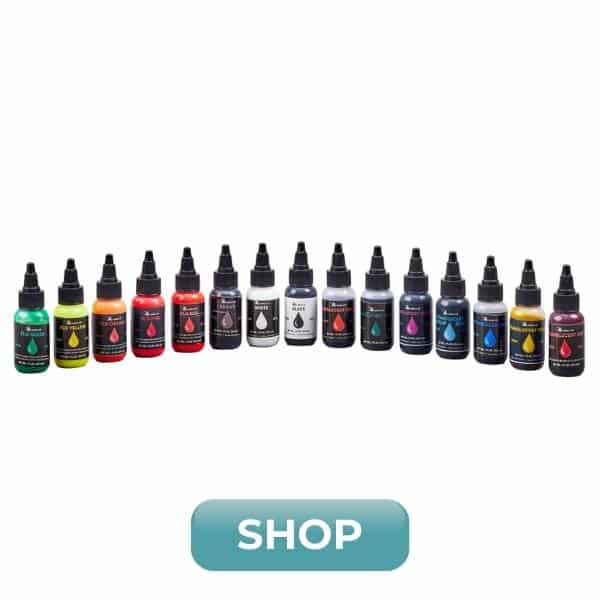
- White Opaque Pigment
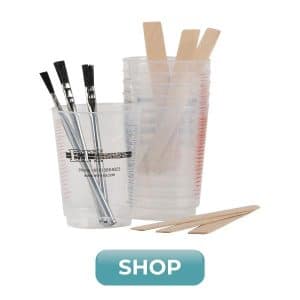
- Mixing cups and stir sticks
- Gloves and protective eye wear
- Strong adhesive / super glue
Pour resin knob molds
Remember that the deep pour resin can take 2-3 days to cure and demold, and up to 5-7 for a complete cure, so plan enough time for this project.
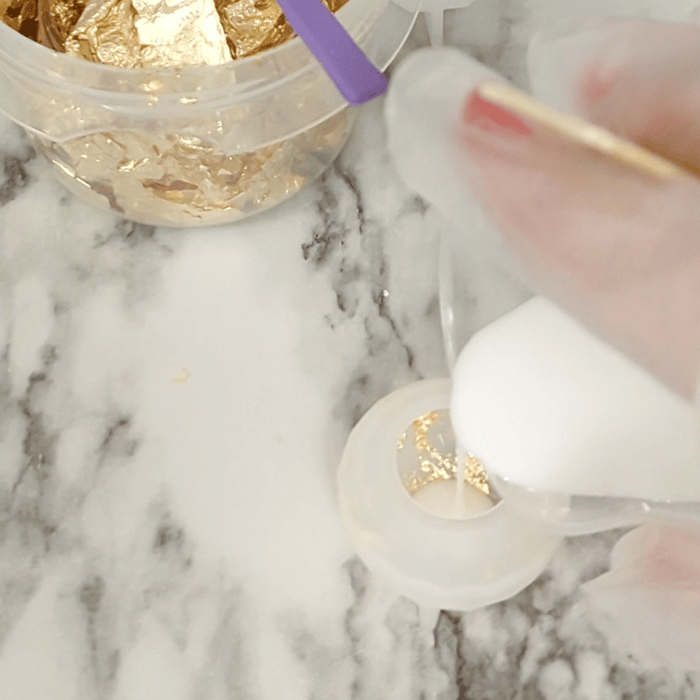
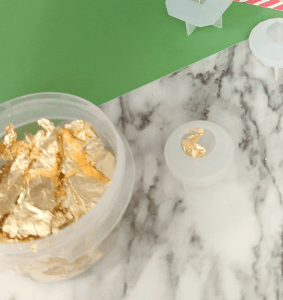
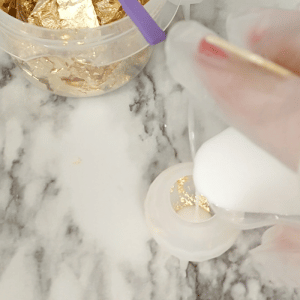
Add a few pieces of gold leaf to the inside of each mold. I found that placing in a flake and then pushing it around with a silicone stir stick helped it lay nicely against the inside of the silicone mold. Repeat with each mold. If you don’t want any gold flakes on your knobs, you can skip this part.

Mix resin according to directions. You’ll notice that the A bottle is bigger than the B bottle. This is because the ratio is 2:1 A to B.
Measure A and B into two different measuring cups. I needed about 15 mL of resin per mold, so that’s 60 mL total. So you need 40 mL of part A and 20 mL of part B.
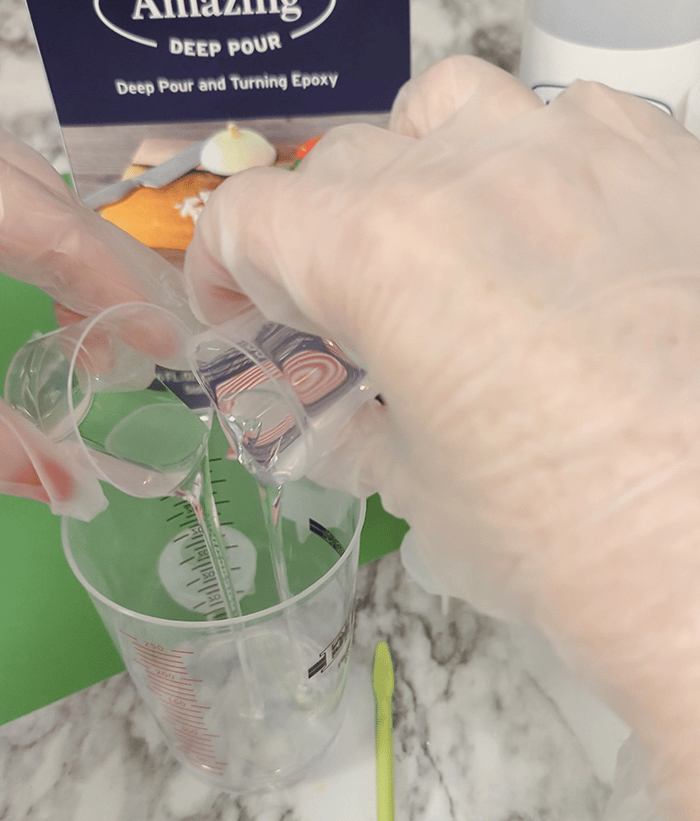
Pour them both into another mixing cup and stir for 2-3 minutes, until any cloudy swirl is gone and the mixture is clear. Then mix for 2 more minutes.
Add a few drops of opaque white and stir until evenly mixed. If you don’t want white, add your preferred colorant here. Some mica powder or translucent dyes would be really pretty too.
Distribute the resin to the molds. After about 15 minutes, check for any bubbles on the surface and pass a heat gun over the top. This epoxy is pretty runny, and designed to release bubbles really well – it’s what makes it so great for deeper pours!
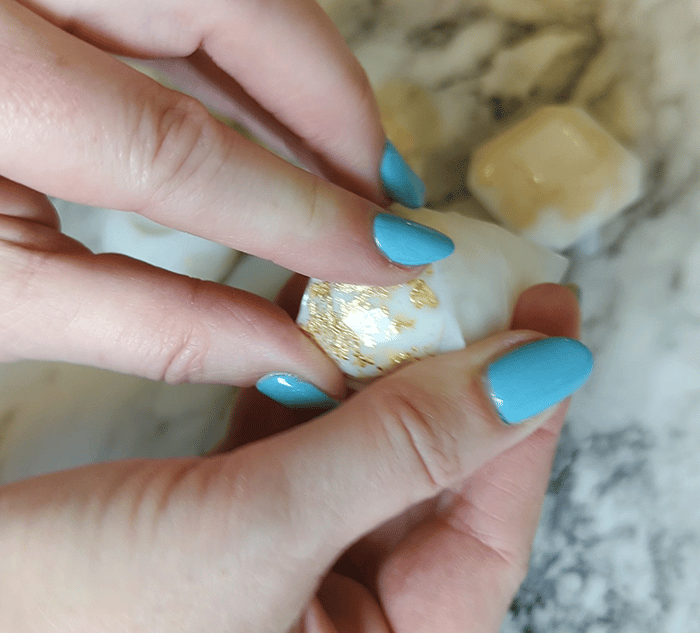
When the resin has cured, remove the knobs from the molds.
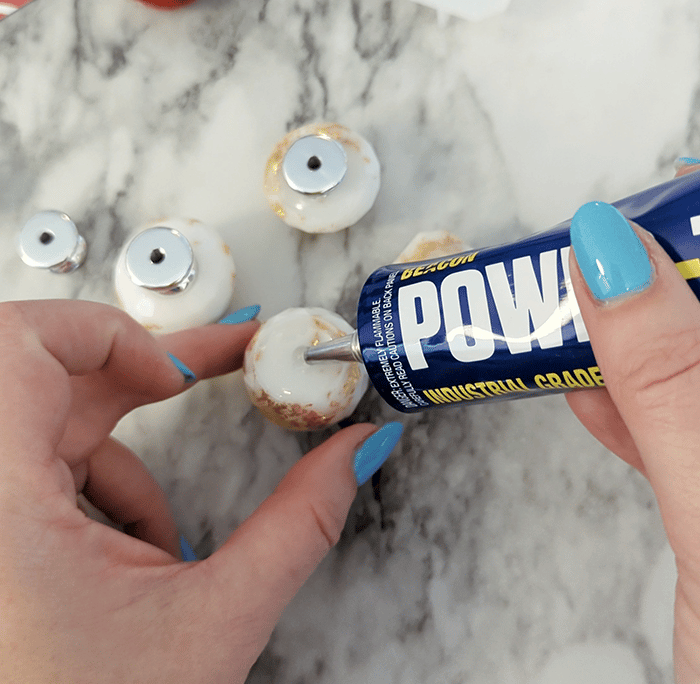
Attach the knob hardware with a strong glue and let it harden 24 hours or at least overnight.
Supplies for Stocking Holder
- Piece of wood – I used a 1×6 cut to 26 inches long.
- Paint
- Vinyl if desired
- Drill
Make stocking holder board
While the knobs are curing, work on the stocking holder part of the project.
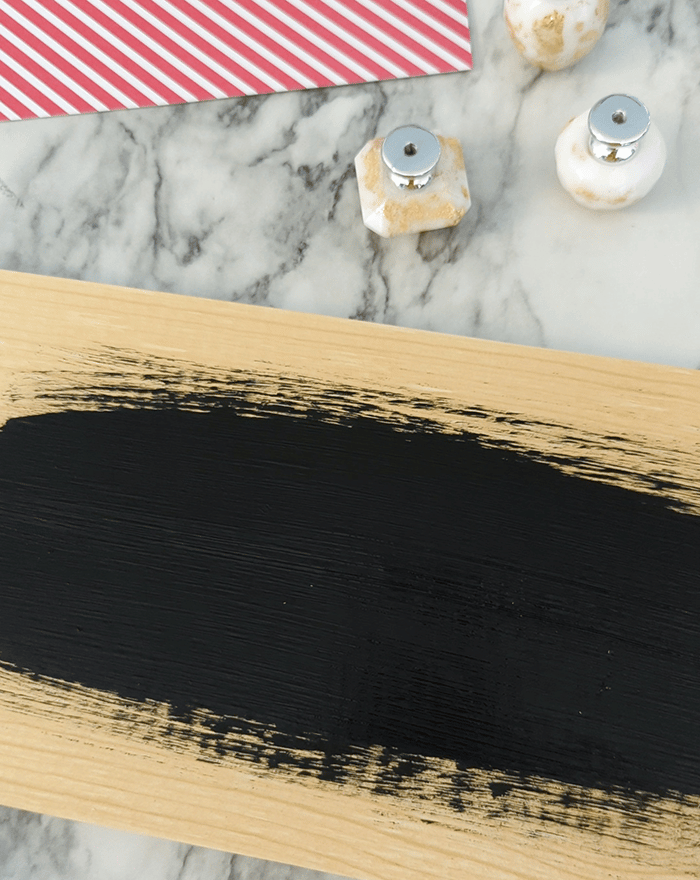
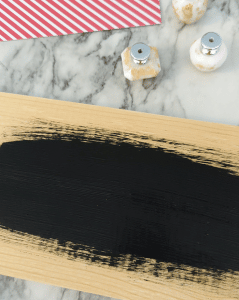
Measure wood so that all the stockings you need will fit across it. Paint in desired color – I used black because I want the white and gold knobs to really stand out. You can paint with a brush or spray paint, whichever you prefer.
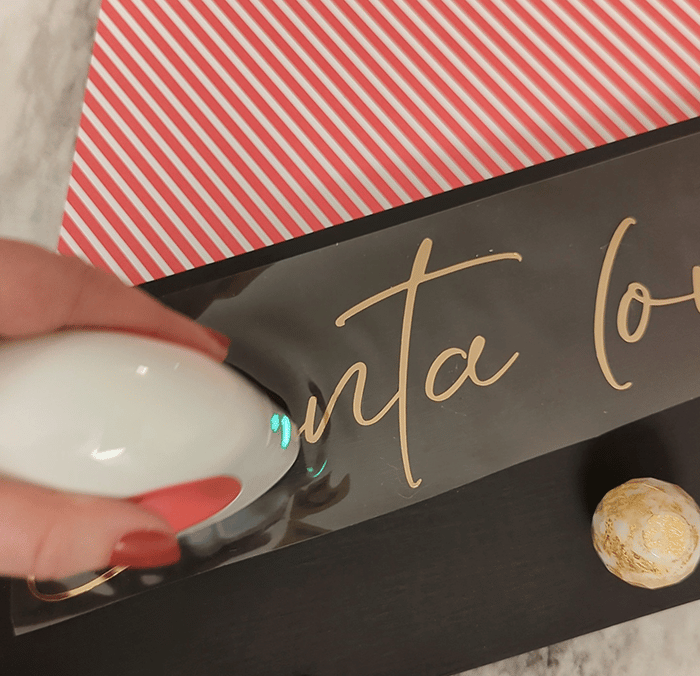
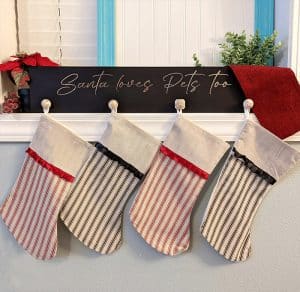
After the paint dried for a day, I added gold vinyl that says “Santa loves Pets too.” You can leave yours blank, add a decorative border, or put your family name on it, with vinyl or paint.
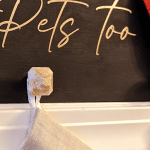
Mark out where each of the knobs will be installed, and drill a hole in each spot so the screw can fit through.

I actually bought new, shorter screws so that it would be the right depth for the 1×6 I was using.
If you plan to hang this on the wall, you can use Command Strips, picture hanging wire, or some other system you like.

Add the knobs and screws to secure them on, and hang the stockings. Since we actually do have a fireplace mantel at our house, I’ll be using these for our pets – the dog Zoey, the cats Luna and Stella, and our little birdies.
And there you have it! This makes such a holiday showpiece for your home. What kind of project would you want to make epoxy knobs for?
How to Make an Epoxy Knob Stocking Holder
Materials
- Knob molds (and hardware)
- Gold leaf
- Alumilite Amazing Deep Pour Epoxy
- White opaque pigment
- Mixing cups
- Stir sticks
- Nitrile gloves
- Protective eyewear
- Strong adhesive (like super glue)
- Piece of wood
- Paint
- Vinyl
- Drill
Instructions
- Before working with epoxy, don't forget to put on gloves and protective eyewear. Remember that the deep pour resin can take 2-3 days to cure and demold, and up to 5-7 for a complete cure, so plan enough time for this project.
- Add a few pieces of gold leaf to the inside of each mold. Repeat with each mold. If you don't want any gold flakes on your knobs, you can skip this part.
- Mix resin according to directions. You'll notice that the A bottle is bigger than the B bottle. This is because the ratio is 2:1 A to B. Measure A and B into two different measuring cups. I needed about 15 mL of resin per mold, so that's 60 mL total. So you need 40 mL of part A and 20 mL of part B.
- Pour them both into another mixing cup and stir for 2-3 minutes, until any cloudy swirl is gone and the mixture is clear. Then mix for 2 more minutes.
- Add a few drops of opaque white and stir until evenly mixed. If you don't want white, add your preferred colorant here.
- Distribute the resin to the molds. After about 15 minutes, check for any bubbles on the surface and pass a heat gun over the top. This epoxy is pretty runny, and designed to release bubbles really well – it's what makes it so great for deeper pours!
- When the resin has cured, remove the knobs from the molds.
- Attach the knob hardware with a strong glue and let it harden 24 hours or at least overnight.

- While the knobs are curing, work on the stocking holder part of the project. Measure wood so that all the stockings you need will fit across it.
- Paint in desired color – I used black because I want the white and gold knobs to really stand out. You can paint with a brush or spray paint, whichever you prefer.
- After the paint dried for a day, I added gold vinyl that says "Santa loves Pets too." You can leave yours blank, add a decorative border, or put your family name on it, with vinyl or paint.

- Mark out where each of the knobs will be installed, and drill a hole in each spot so the screw can fit through.

- Add the knobs and screws to secure them on, and hang the stockings. And there you have it! This makes such a holiday showpiece for your home.
Stephanie is a crafty wife and mom living in the Pacific Northwest. She shares her creative ideas -along with a bit of “making it up as she goes” – on her blog, Crafting in the Rain.


Leave a Reply