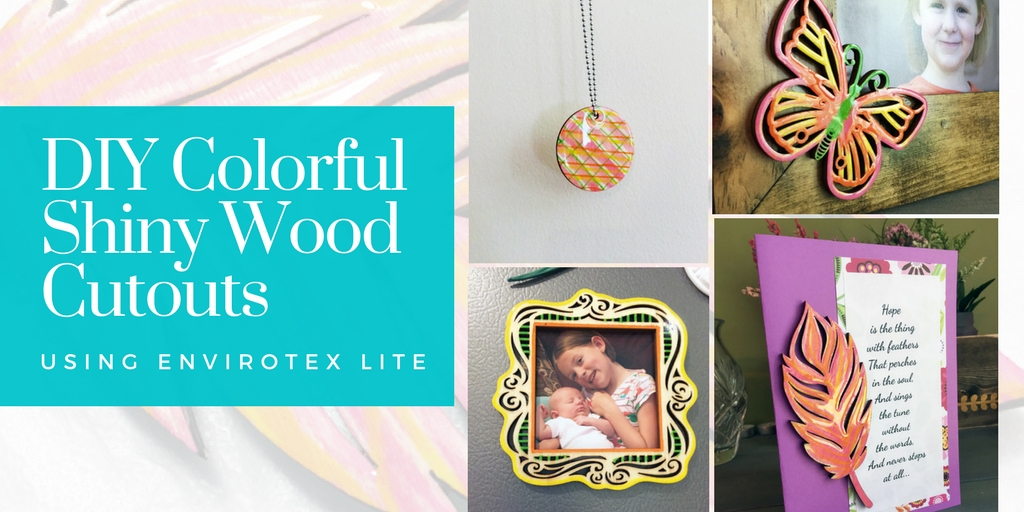
Aren’t these shiny wood cutouts crazy cute? The thing I love most about them is that they are so simple to make but can be used in so many different ways!
Here’s how I made them:
SUPPLIES: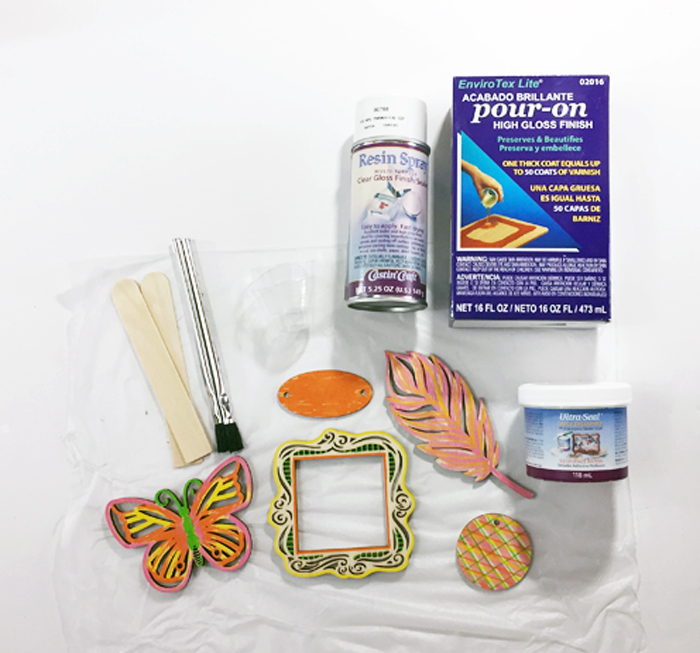
- Wood cutout shapes
- Paint Pens
- Ultra Seal or Multi-purpose Sealer and Glue, OR Resin Spray
- EnviroTex Lite
- Craft Brushes
- Mixing Cups for resin
- Stir sticks
Coloring the cutouts:
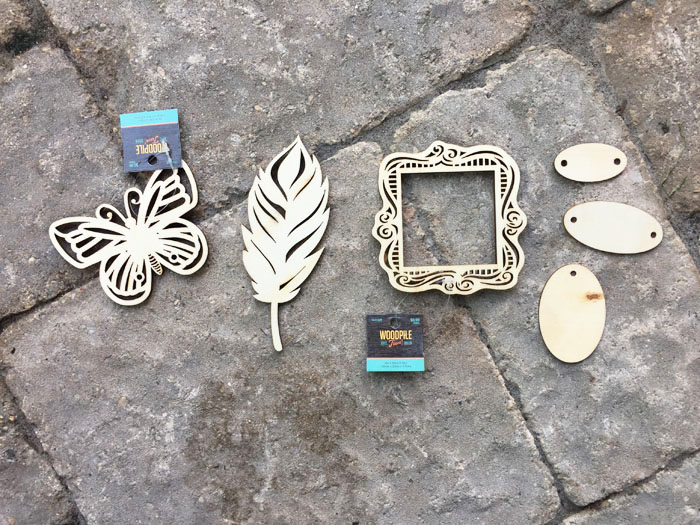
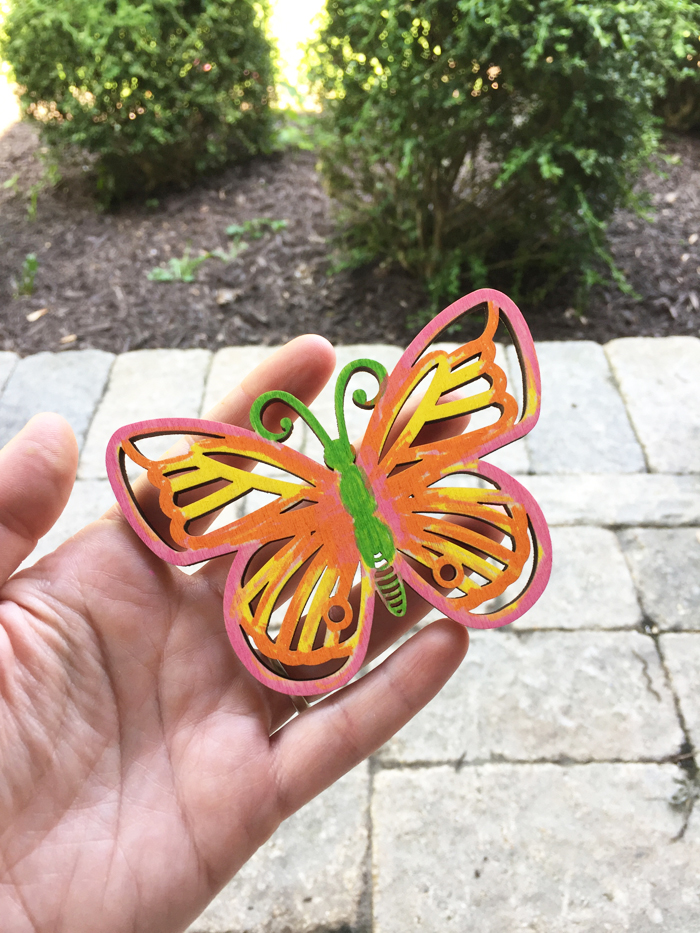
The first thing to do is color your wood cutouts. You can probably use a number of products to color yours, but I used paint pens and they worked quite well. You can get them at most craft supply stores.


Sealing the wood:
Next, seal the entire top of the wood cutout pieces with Ultra-Seal, or other clear-drying glue, and let dry. Another option would be to spray it with Resin Spray, just be sure to give it a couple sealing coats. Be sure to coat any part that will have the resin on it. Wood tends to produce air bubbles if not sealed.
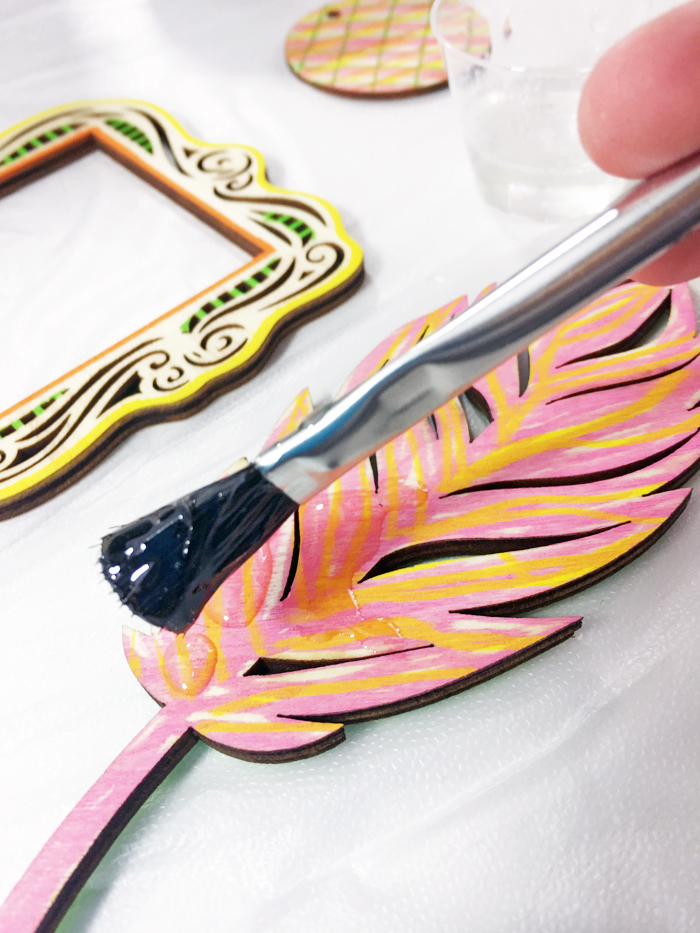
EnviroTex Lite as glaze:
When glue (or spray) is completely dried, mix your EnviroTex Lite. I only mixed a small amount, maybe an ounce, and it was plenty. For these wood shapes we aren’t going to pour the resin and let it drip over the sides, we are simply going to glaze the wooden shapes on the top. I used a small craft brush to do this and it worked perfectly.

Curing:
Let cure. Timing on this varies, but mine seemed cured in 24 hours since it’s such a thin coat.
Using Shiny Wood Cutouts:
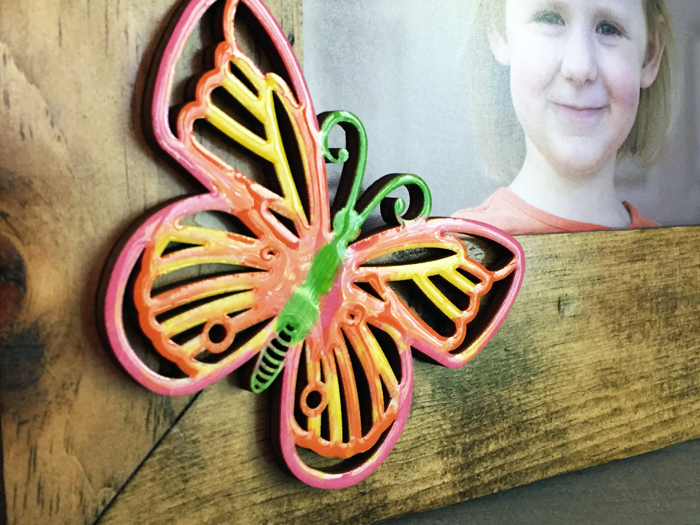
Use the shapes for all sorts of awesome projects!! I used mine to make the following Butterfly picture frame for my daughter….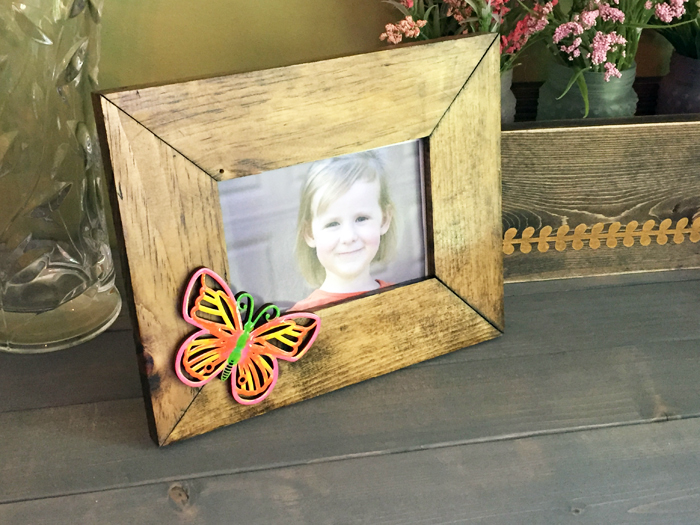
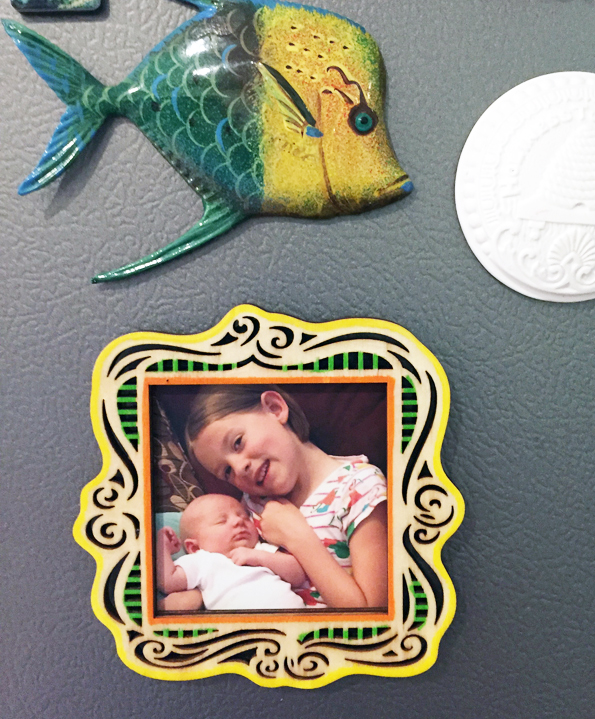
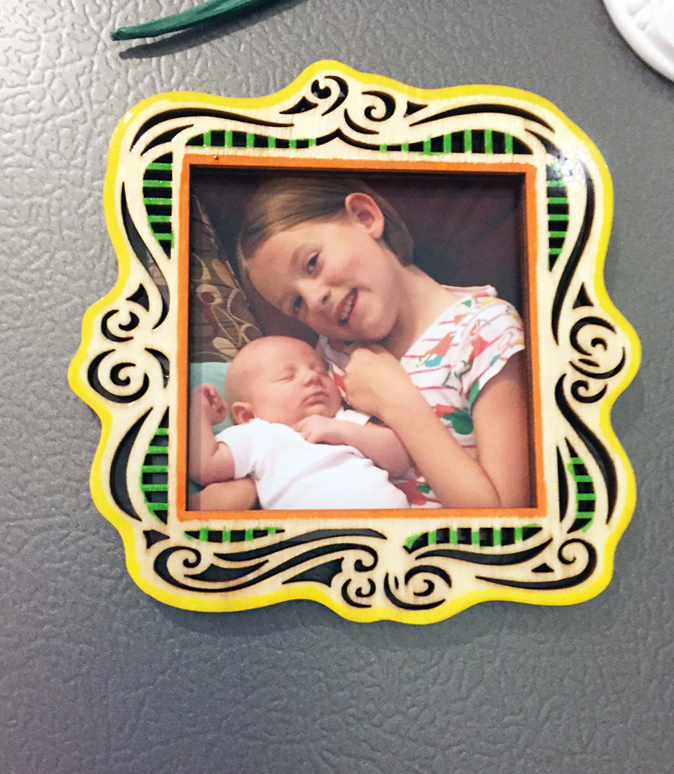
A magnetic framed photo for our refrigerator…
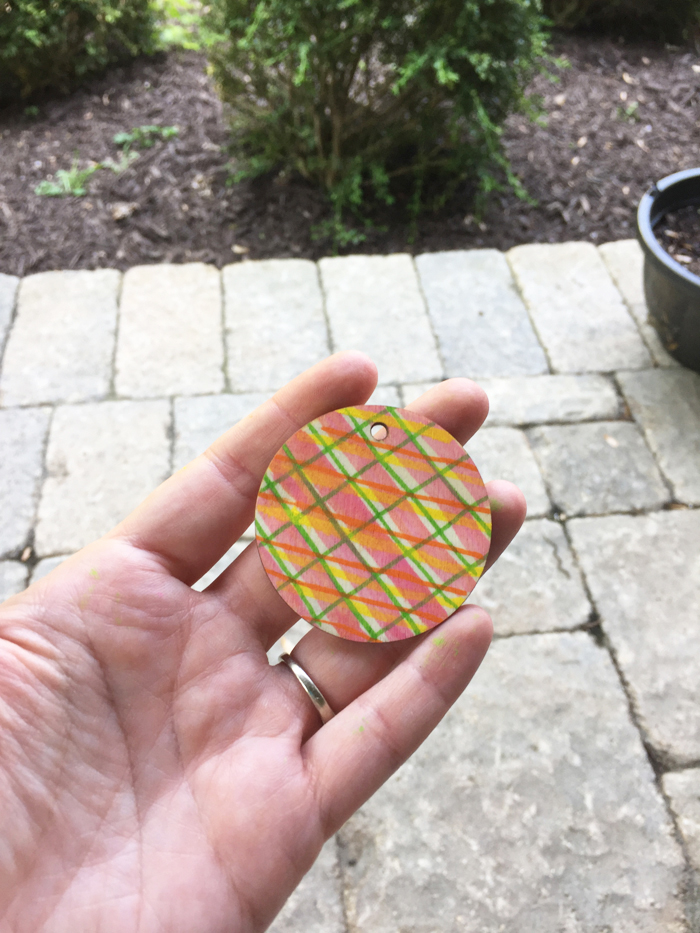
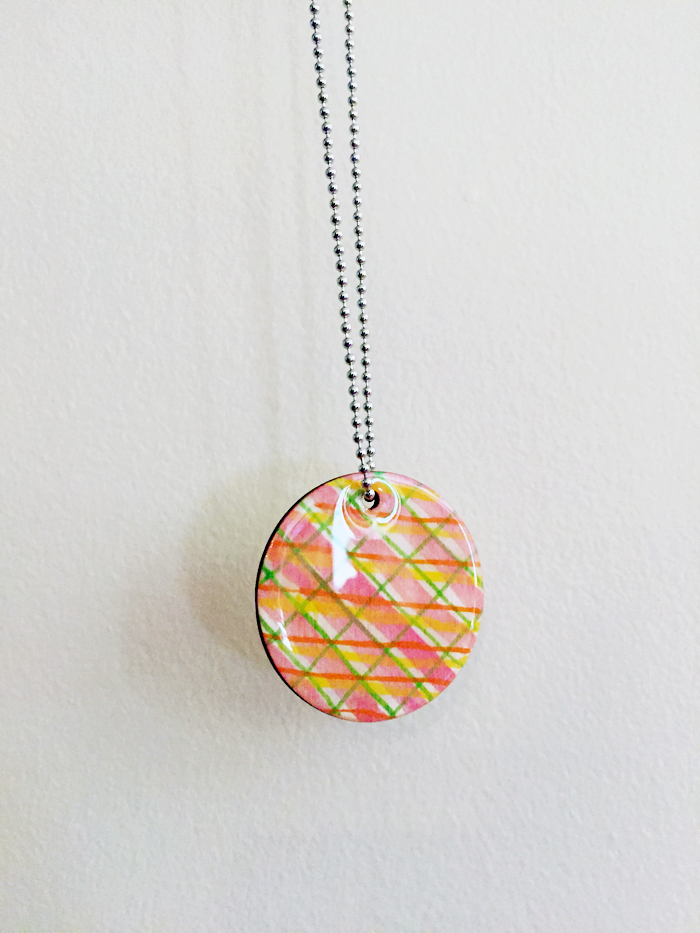
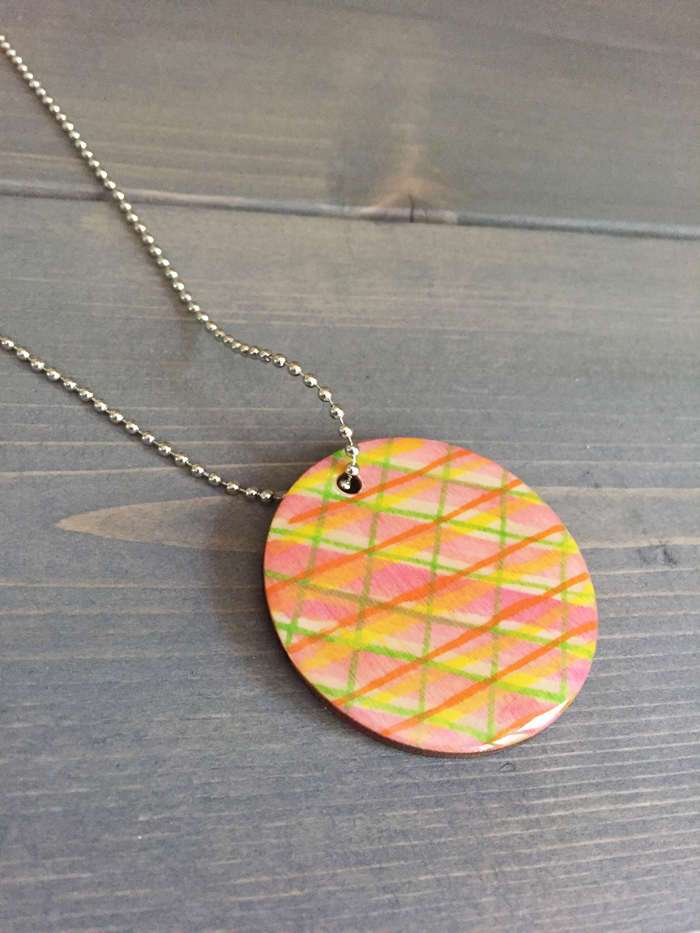
 A circular necklace pendant….
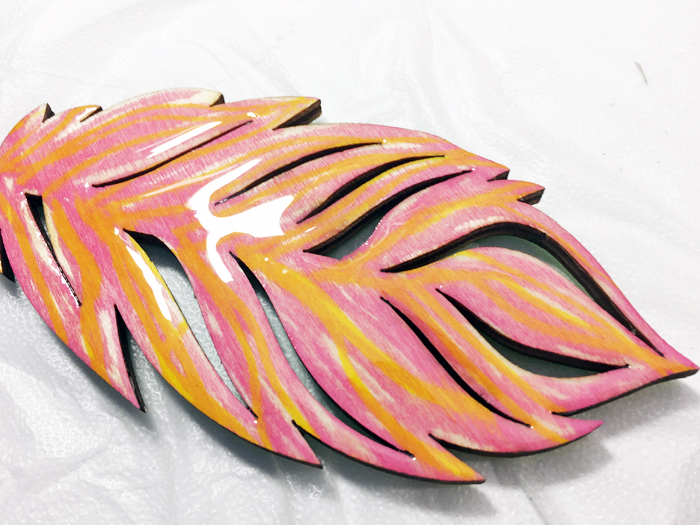
and a feather “Hope” card for a friend…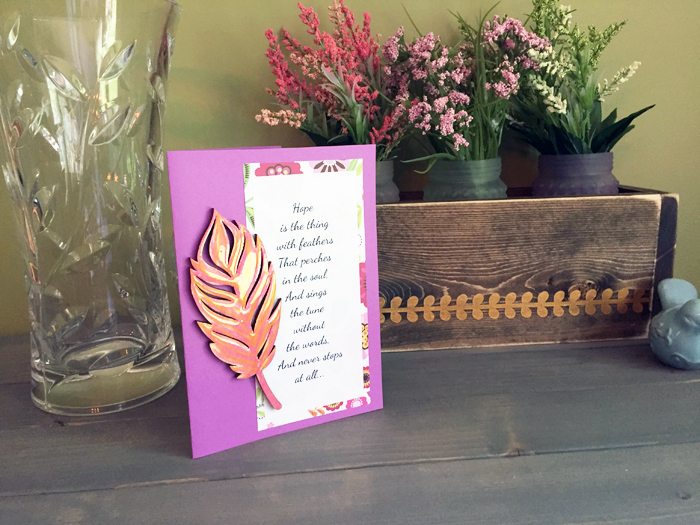

Really though, I could think of so many uses for each shape and just love the options! I might just make more of these and keep them on hand for random cards or custom gifts. The shiny EnviroTex Lite glaze really makes them stand out and finishes them off perfectly!
What do you think? Please share comments or ask questions, we’d love to hear from you!
Thanks for stopping by Resin Crafts Blog!
~~Sheri~~
Sheri is a Maker and DIY blogger at Hazel + Gold Designs. She is usually in the middle of multiple projects at once and finds great satisfaction and joy in creating something new. She is constantly learning new skills, putting them to the test, and sharing her experience and knowledge with others. Her favorite hobbies are crafting, painting, crocheting and basic woodworking. Her goal is to inspire others to step out of their comfort zone, learn a new skill and have the confidence to make their life a little more beautiful!


Leave a Reply