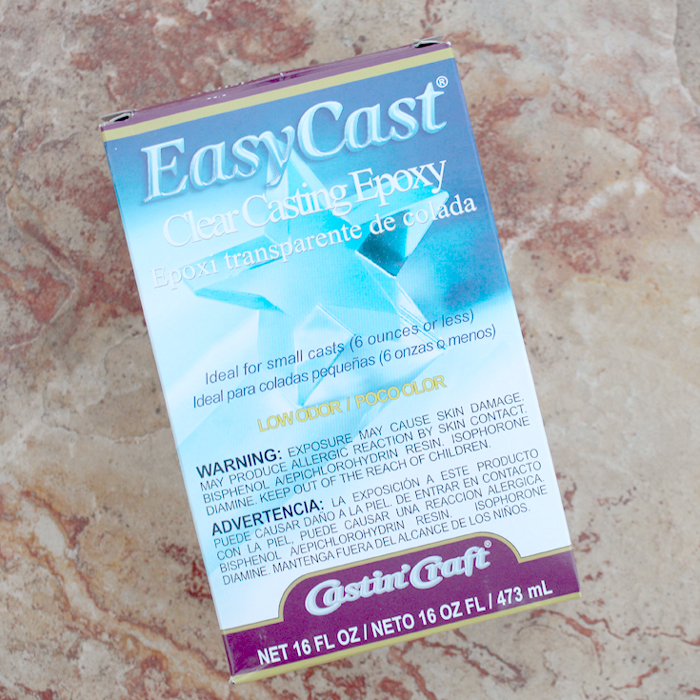
Insects Cast in EasyCast Clear Casting Epoxy
Hi Resin Crafters, it’s Natalie from Doodlecraft with a fun Autumn time resin casting craft. Did you know there are nearly 200 million insects for every human on earth? Their constant molting of skin and short life expectancies makes them the perfect subjects to cast in resin. You’ll need to do a little bug collecting.
Supplies needed:
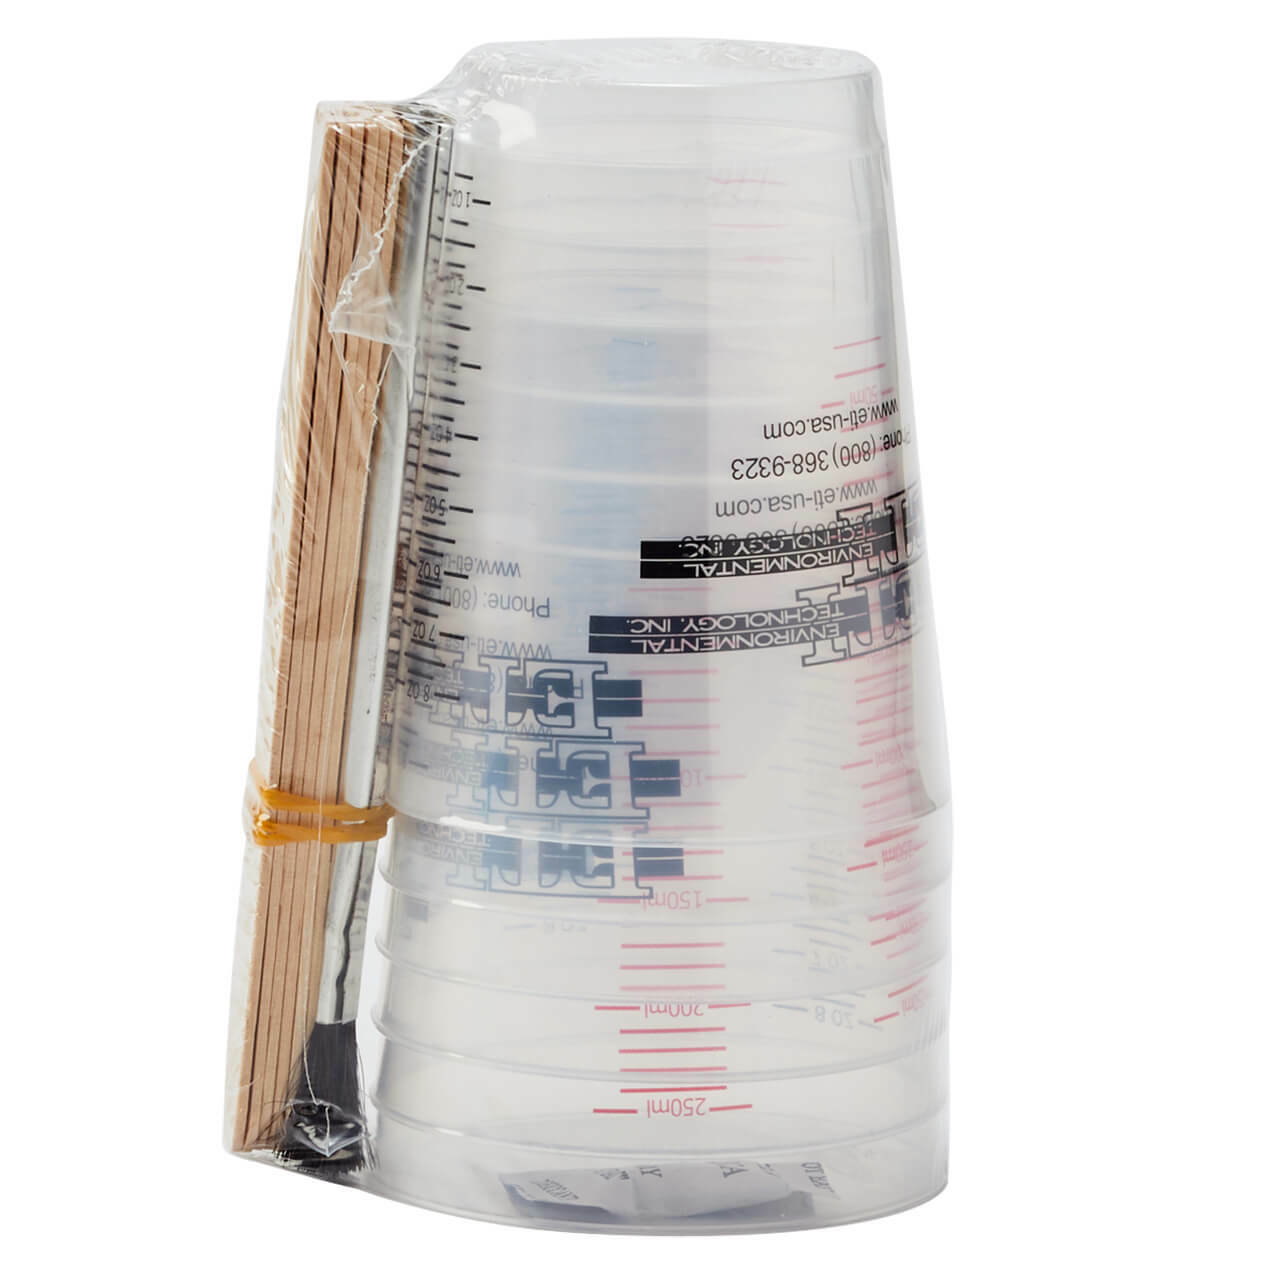
- EasyCast Clear Casting Epoxy
- Various Insects or Exoskeletons
- Silicone Molds
- Disposable work surface, gloves, mixing cups and stirring sticks
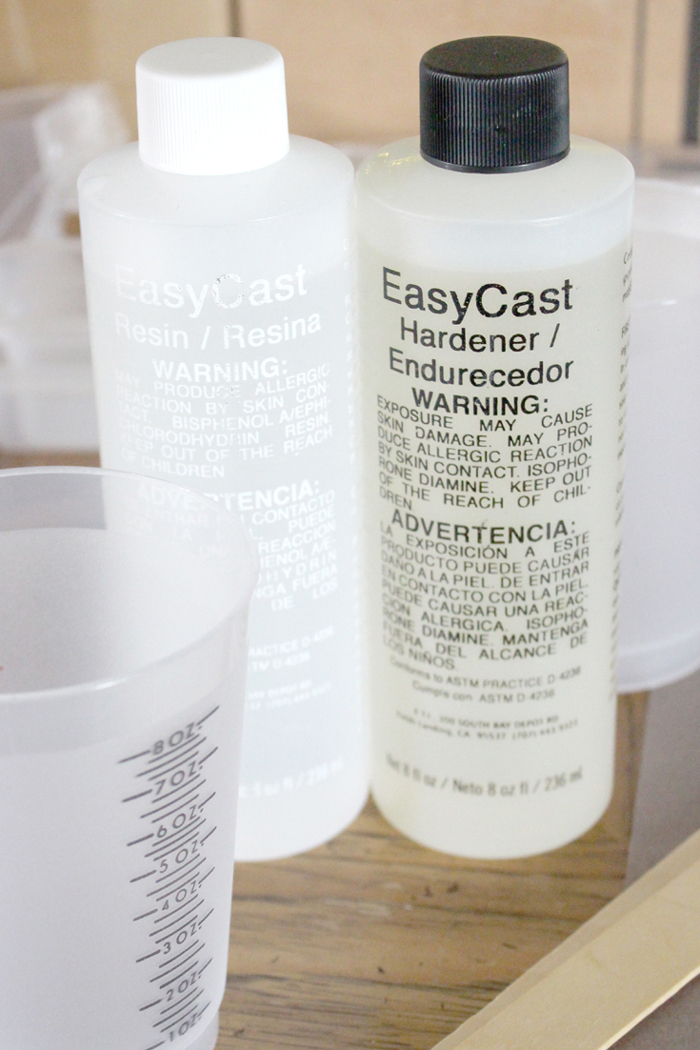
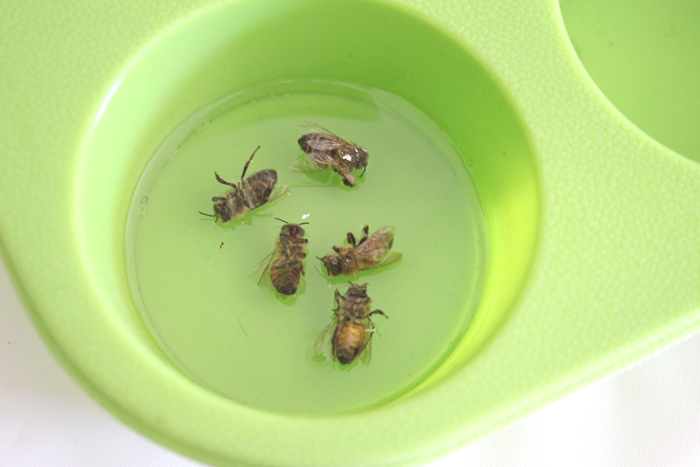
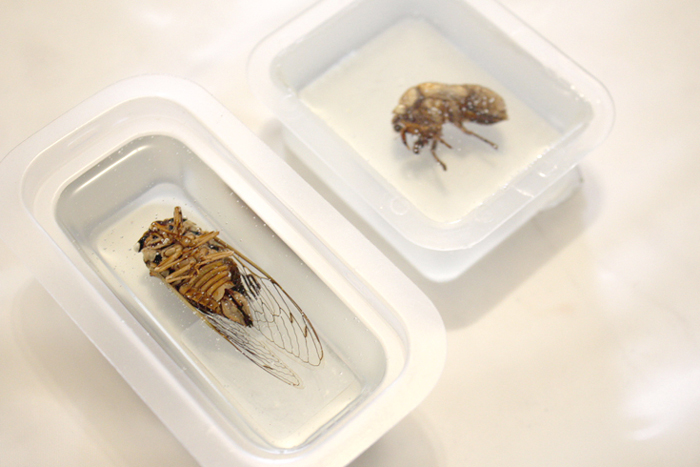
Begin by reading the directions for the EasyCast. Mix enough resin to fill about 1/4 inch in the base of each mold you will be using. To estimate the best amount, fill the mold to the needed height with water. Pour out water in mixing cup and read the measurement. Half that amount, one part hardener and one part resin. Mix according to package directions in the 2 phase mixing process. Pour 1/4 inch of resin in each mold and let it set until a gel consistency, about 20 minutes, then gently place your specimens. I included 5 bees from our hive that died…and one little stinger.
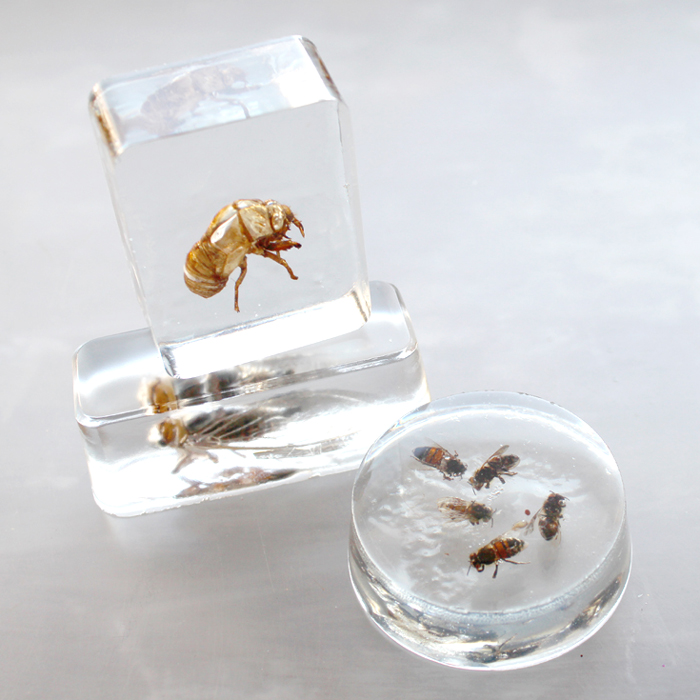
These 2 guys are cicadas. The small body with no wings is an exoskeleton. The cicada molts and becomes a cicada with wings.
After placing the insects in the resin carefully, mix up at least double the amount of EasyCast as earlier. Mix the same way as earlier in the 2 phase process. After mixing, pour the resin over the top of the insects slowly to encase them completely.

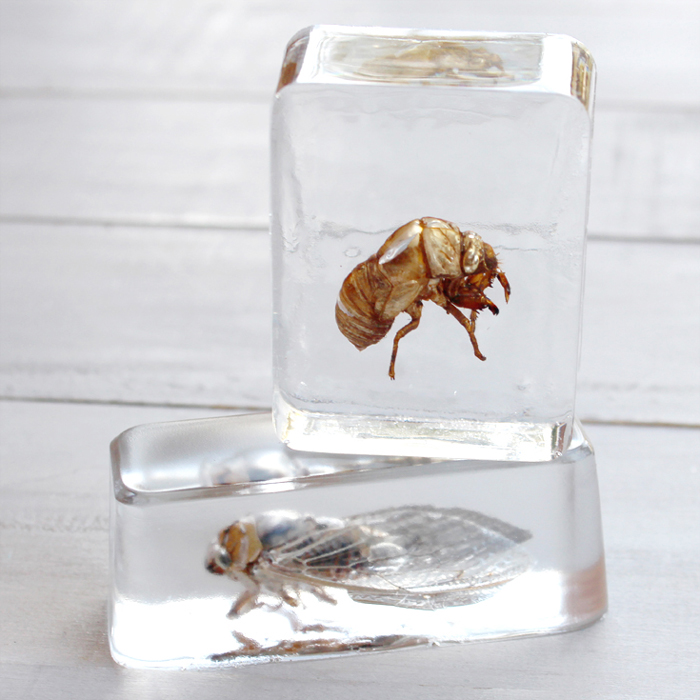
After 20 minutes, use a heat gun or mini torch to pop all the bubbles that have formed. Then let the resin cure for at least 24 hours. Then pop them from the molds to reveal the most interesting paperweights.
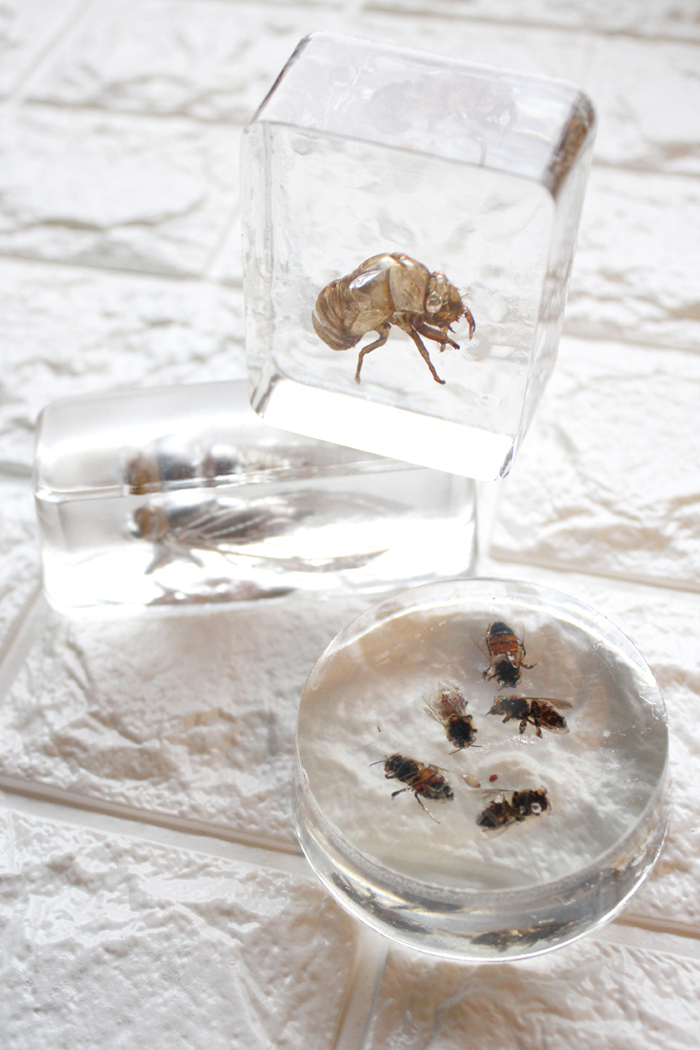
This is such an awesome way to showcase fragile insects so they can be observed, handled and understood; it’s a fun way to teach children the life cycle of bugs too!
What kind of creepers would you cast in resin?

Check out these beetle necklaces too!
Natalie Shaw is a Craft/DIY blogger at Doodlecraftblog.com. She loves sci-fi, fantasy and video game geekery and that comes out in many of her projects. She posts budget conscious DIY’s, crafts, jewelry, kid friendly projects, upcycled treasures and other fun on her blog 5 days a week.


I’m curious if you go through any drying process with these insects before putting them in epoxy?
Nope, there is no sort of drying process used before casting the insects in resin.
Did you spray them with anything before placing. I tried a bee and got a ton of air bubbles.
Hi Rosemary! Spraying them with Envirotex Resin Spray a few coats will help some. 🙂
How do you prevent the bees from rotting inside the resin if they are not sealed? Do you allow them to dry out first or do you soak in alcohol? I’ve tried embedding a sand dollar in resin without sealing it & it changed color.
I’ve had no issues with discoloration or rotting when casting insects in resin. I typically store the insect inside a air tight container until I am ready to cast it, but I don’t think it’s necessary. If you are worried about discoloration, a great solution is to spray the item with the ETI Resin Spray before casting. Hope this helps and happy Resin crafting!
Our insects just kept floating to the top!!! I’ve got a very disappointed 8 year old! Any ideas as to why? We followed directions to a T….
The first layer of poured resin needs to harden enough to be a gel like substance. This way the insects will hold into the gel and not float to the top. Just wait longer for the resin to become thick and sticky before proceeding to stick in the insects and fill with a second batch of resin.