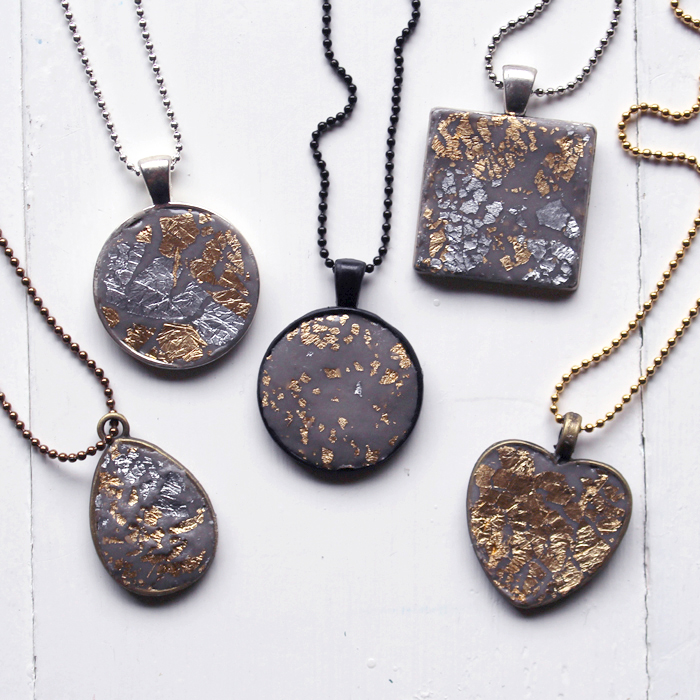
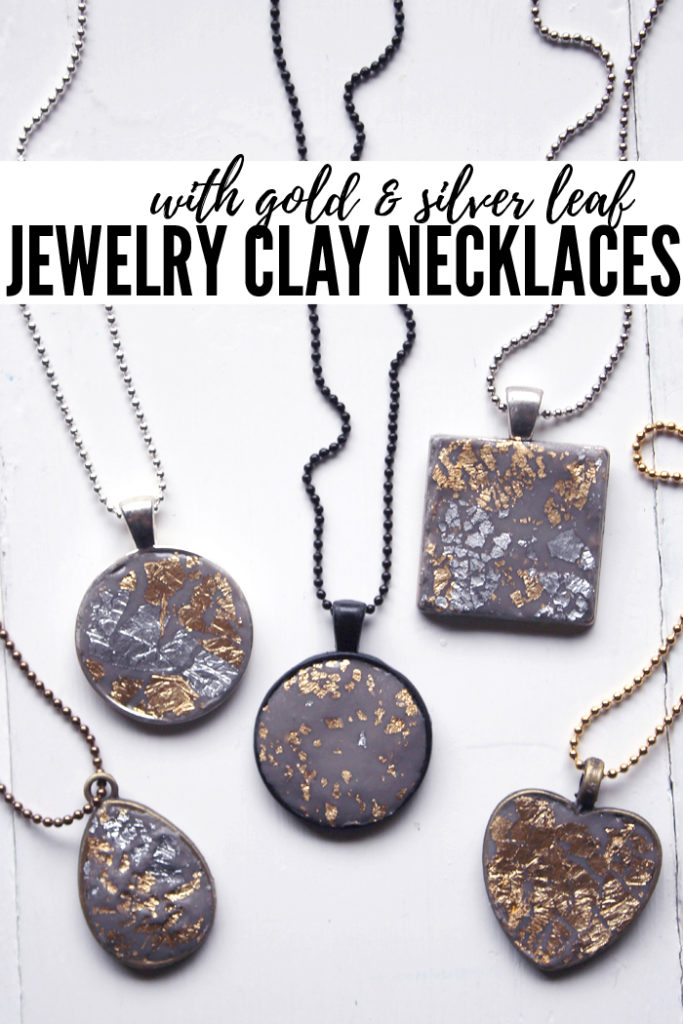
Jewelry Clay Gold Leaf Necklaces DIY
Hi Resin Crafters, it’s Natalie from Doodlecraft sharing a fun Jewelry Clay necklace. Using Jewelry Clay is a fantastic project for beginners and has such fun effects. Make a stunning necklace using Jewelry Clay with gold and silver leafing.
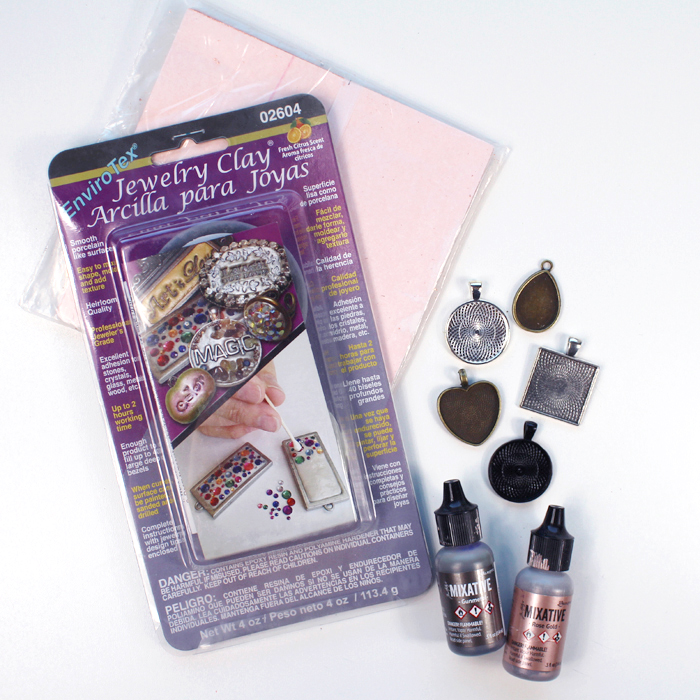
Supplies Needed for Jewelry Clay Necklaces:
- Envirotex Jewelry Clay
- Disposable Gloves
- Pendant Bezels & Chains
- Alcohol Ink (for color)
- Gold & Silver Leaf
- Hobby Knife
- Rolling pin or Pen
Step 1: Mixing Resin Clay
Begin by opening the jewelry clay and read the directions carefully. Wear gloves.
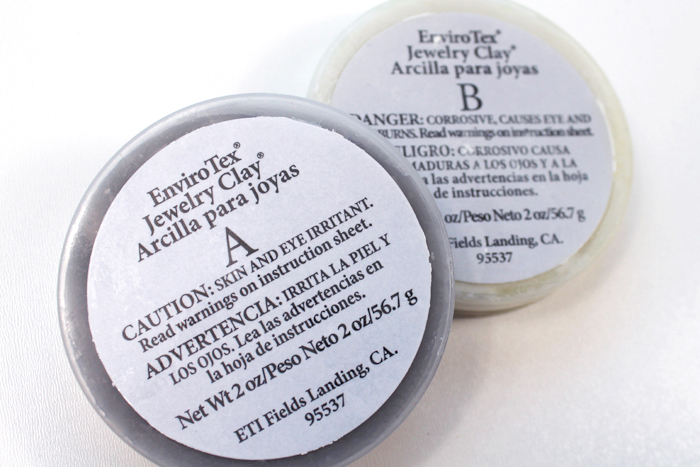
Get the same size of piece from each tub.
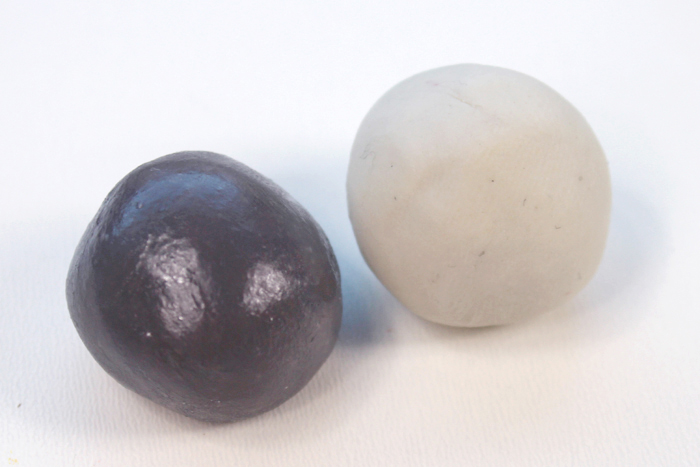
Mix the clay together until there is no marbling remaining.
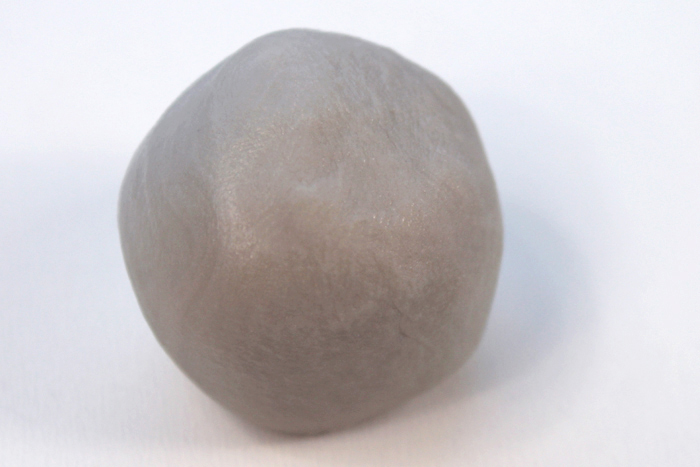
Step 2: Adding Color
Add a couple of drops of Alcohol Ink to add some color to the clay. Do not add too much or the clay will change chemically and won’t set up.
Mix the color into the clay, again, be sure you are wearing gloves. The resin clay can be quite sticky.
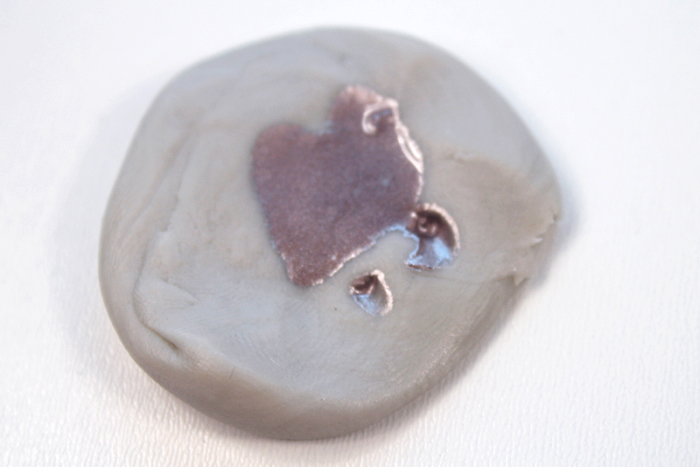
Step 3: Gold and Silver Leafing
Add silver and gold leaf to the top of the clay pressed on the work table.
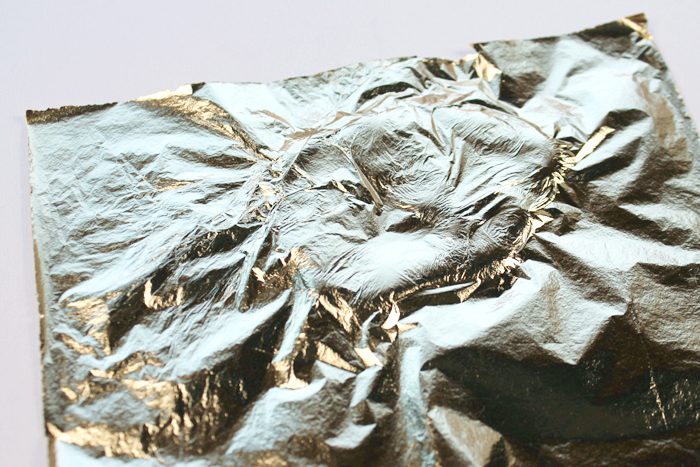
Then use a loose paintbrush to remove the excess gold leaf.
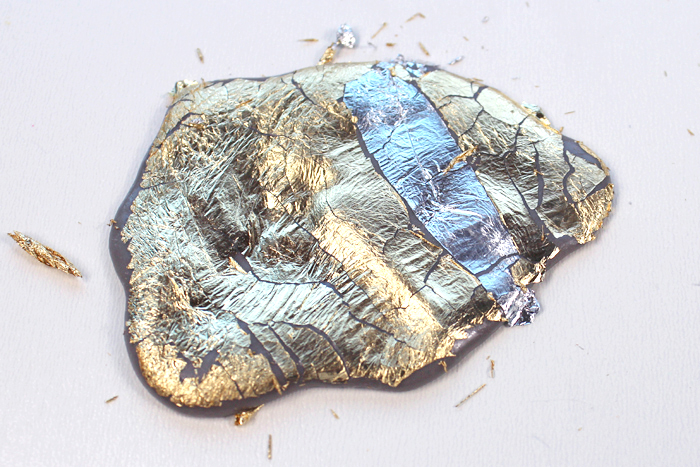
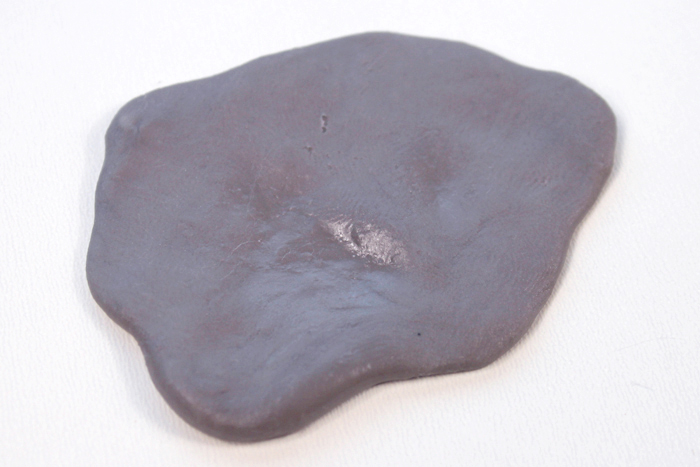
Use a pen tube to roll the clay out a bit. Rolling the clay will change the look of the leafing and even out the thickness of the clay.
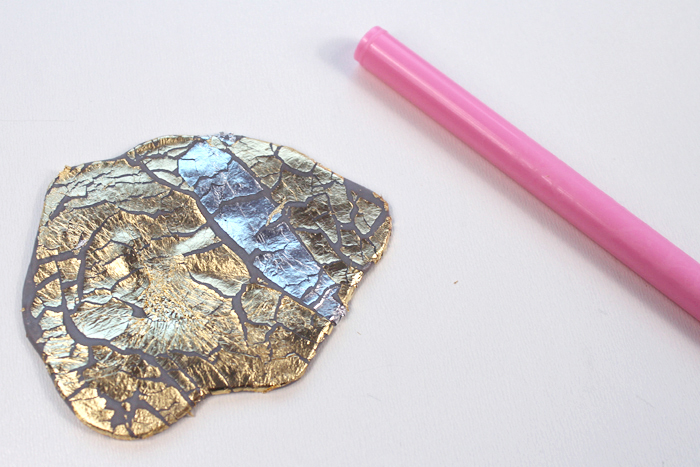
Then use a hobby knife to cut the shape of the bezel and set the resin clay inside the bezel. Trim the edges and press it in with your gloved fingers.
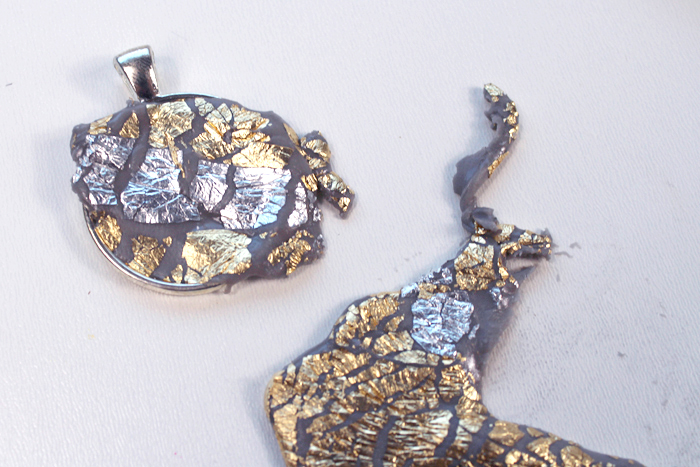
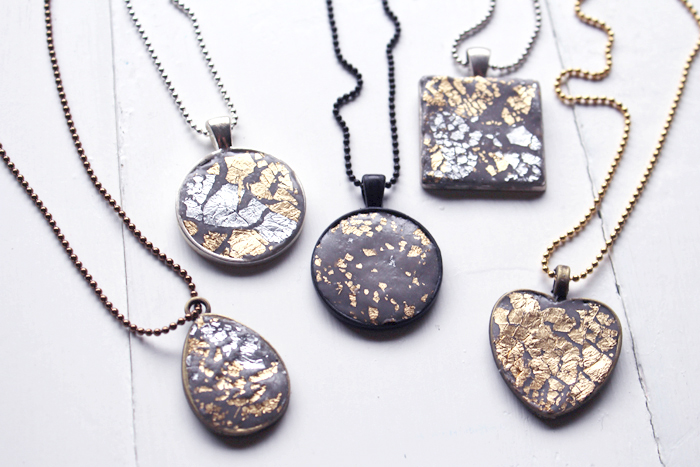
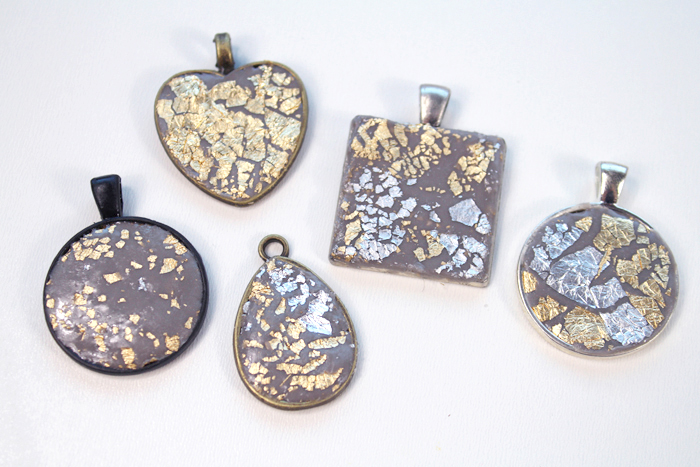
Repeat the process for each of the bezels. The small amount of clay I mixed up made 5 adorable pendants. I love how different they each look. I love the black pendant, it looks like a moon surface.
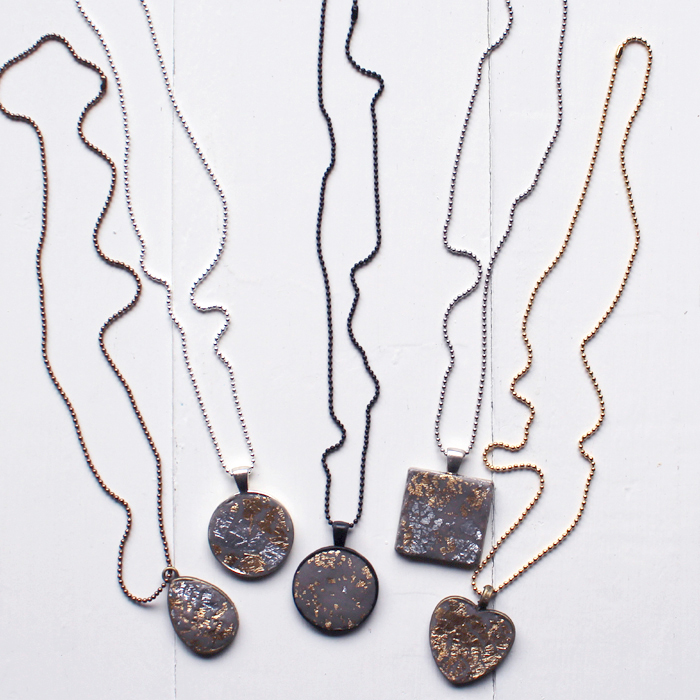
Set the bezels aside and let them dry and cure overnight. Then add chains to the pendants and they are ready to wear. I love the texture, shimmer and look of them!
That’s it!
This would be a great craft for summer camp or a girls night. A great resin craft for beginners to experts!
Like, Pin and Share!
Natalie Shaw is a Craft/DIY blogger at Doodlecraftblog.com. She loves sci-fi, fantasy and video game geekery and that comes out in many of her projects. She posts budget conscious DIY’s, crafts, jewelry, kid friendly projects, upcycled treasures and other fun on her blog 5 days a week.


Leave a Reply