• About Us
  • FAQ
  • Contact Us
  • Shop Supplies
  • Email
  • Facebook
  • Instagram
  • Pinterest
  • Twitter
  • YouTube
  • Skip to primary navigation
  • Skip to main content
  • Skip to primary sidebar

Resin Crafts Blog

Resin crafting projects and tutorials

  • Home
  • Resin Projects
  • Molds
  • Project Type
    • Jewelry
    • Home Decor
    • Art
    • Gift Ideas
    • Crafts
  • Resin Tips

Jewelry Clay Pendants with Ink Transfer

by Sheri 3 Comments

Share
Pin596
Tweet
596Shares
Check out how to make these awesome jewelry clay pendants with ink transfer. It's quite simple, totally customizable and has awesome results! via @resincraftsblog

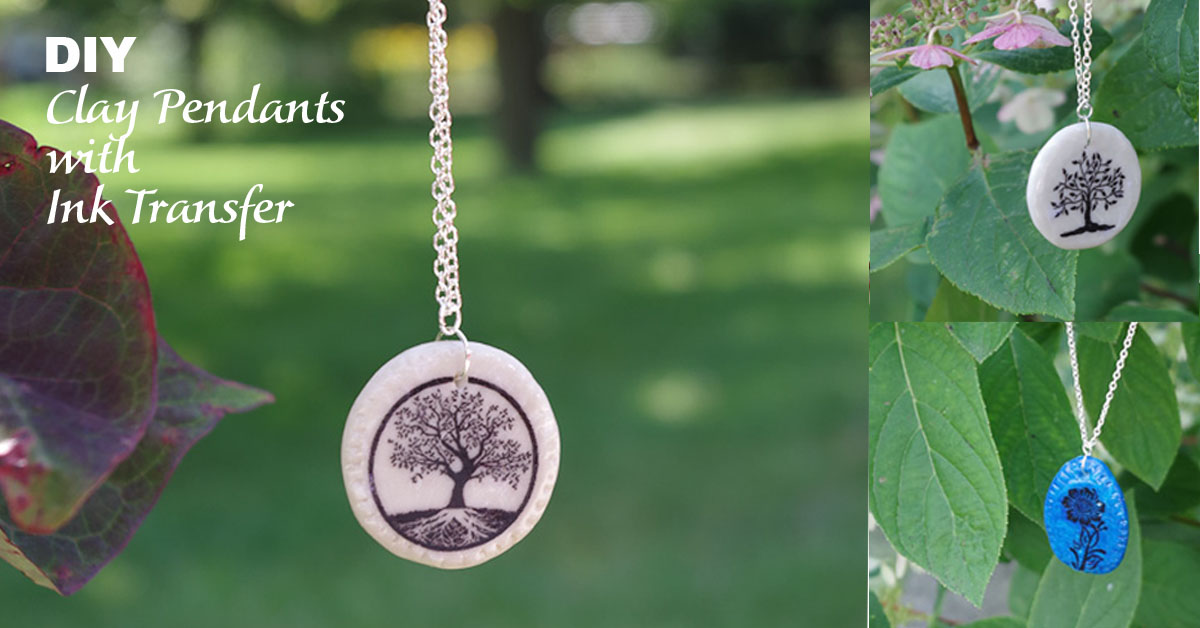
Thanks for stopping by! I’m excited to show you how to make these awesome jewelry clay pendants with ink transfer. It’s quite simple, totally customizable and has awesome results!

clay pendants ink transfer - social media image

Supplies:

Clay Pendant with ink transfer supplies

  • jewelry clay
  • parchment paper
  • disposable gloves
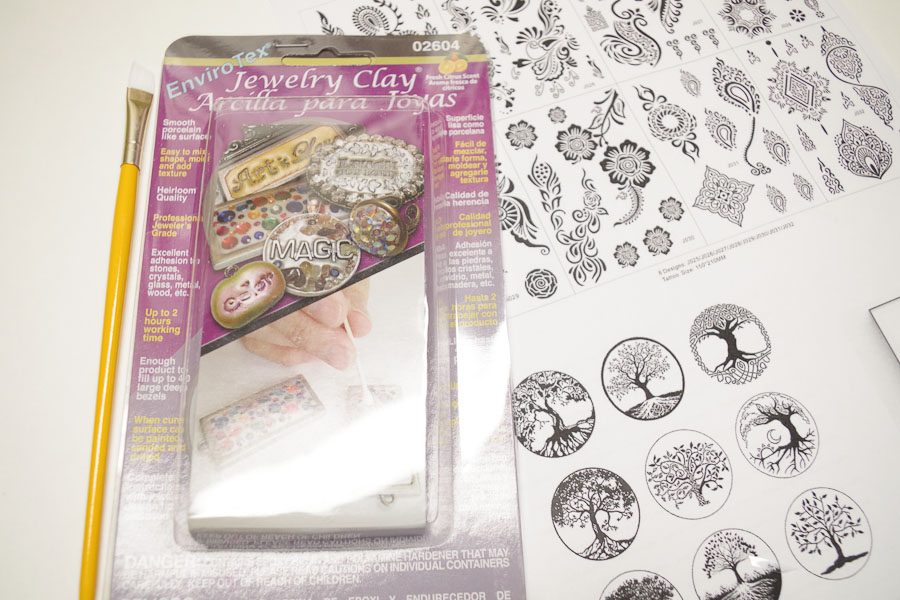
  • laser printed images to transfer
  • scissors
  • water
  • clay carving tools (optional)
  • Resin Spray

Making the clay pendants:

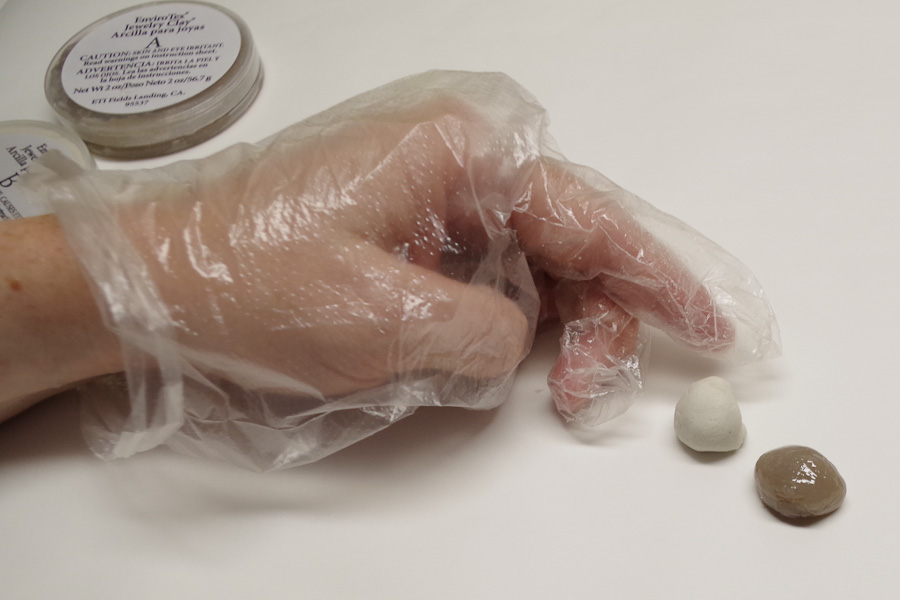
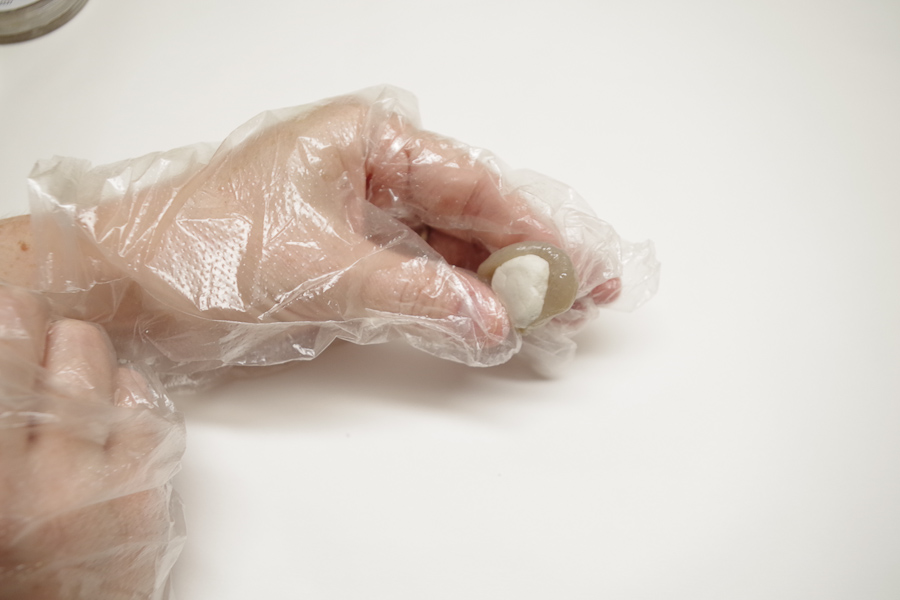
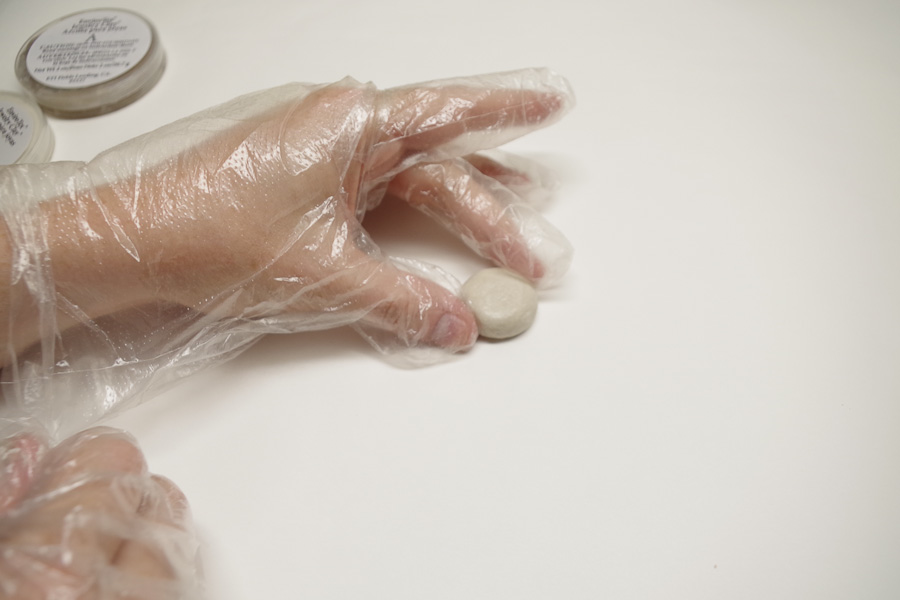
You’ll want to get a jewelry clay kit to start these pendants. Inside the kit is a pair of disposable gloves, full instructions, and two containers, one part A and one part B. To make the pendant you’ll take equal amounts of A and B, rolling them into a ball helps you to determine if you have an equal amount. Make sure you are using your gloves! You’ll then combine the two by kneading them together until thoroughly mixed.

Clay Pendant Ink Transfer get equal amounts of Part A and Part B

Clay Pendant Ink Transfer - knead the two parts together

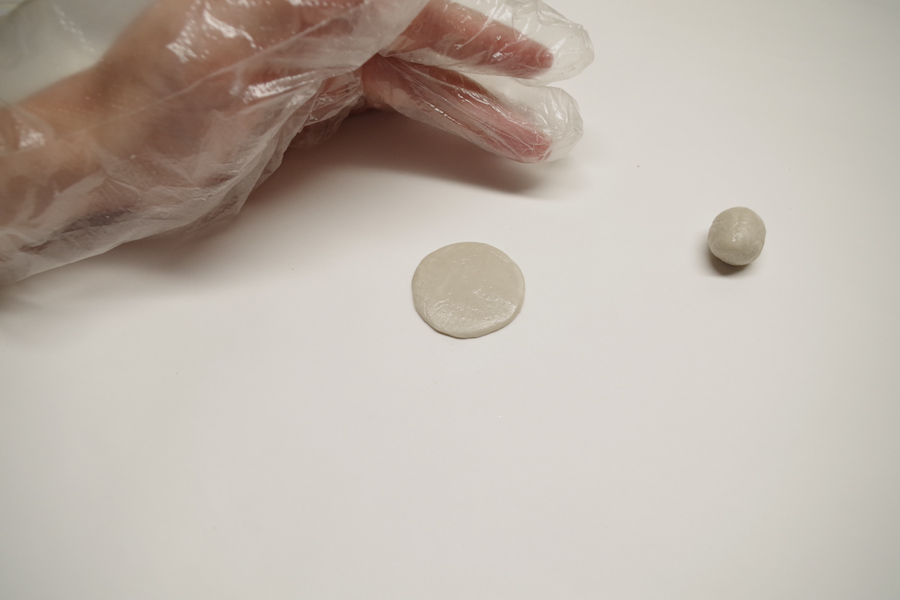
Shape the clay into the pendant shape and size that you want. I split this into two different pendants.

Clay Pendant Ink Transfer - place on parchment paper and shape as desired

Clay Pendant Ink Transfer made circle shape with the clay

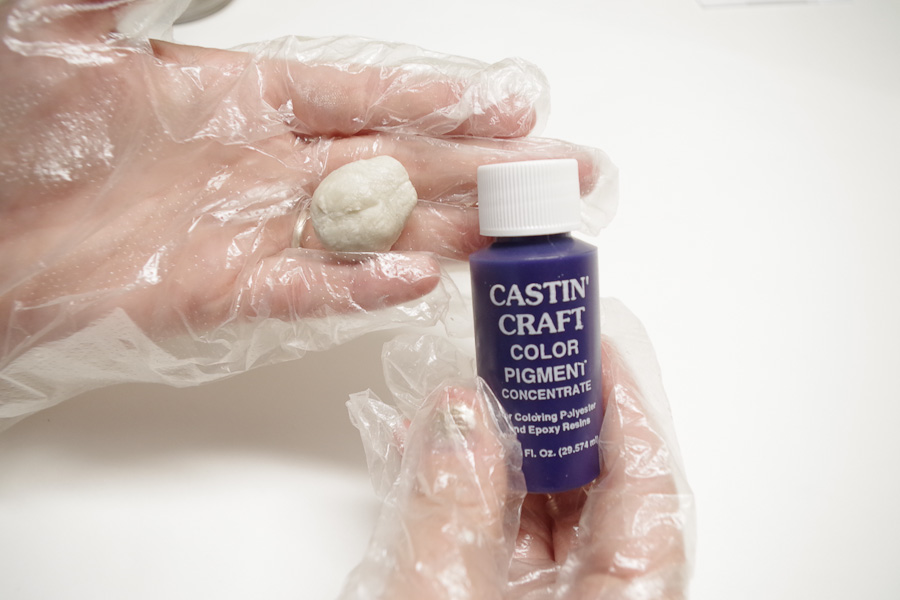
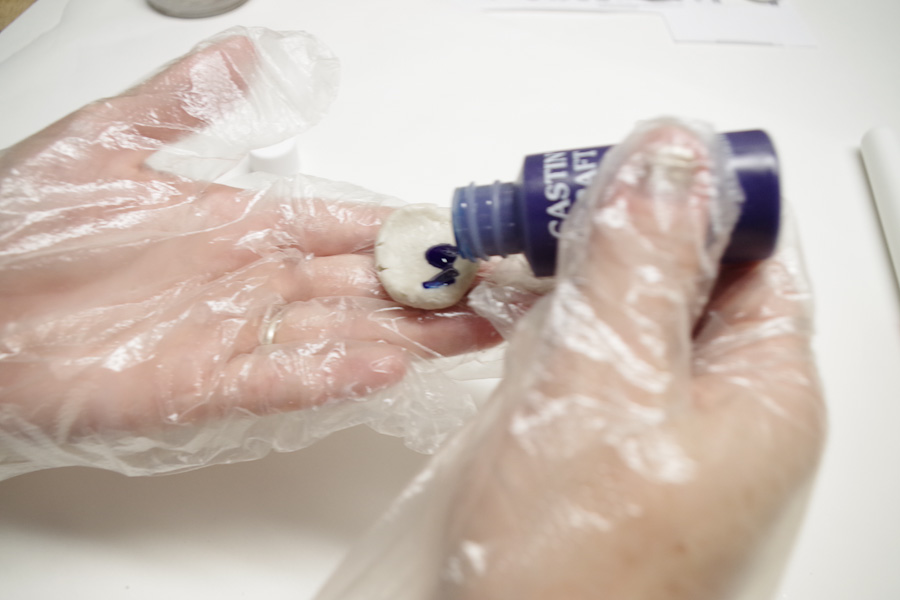
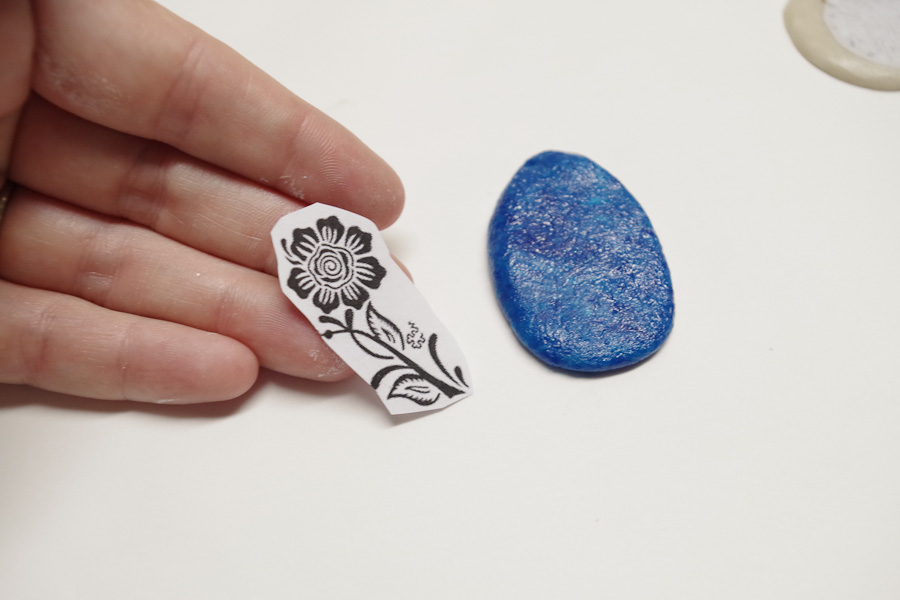
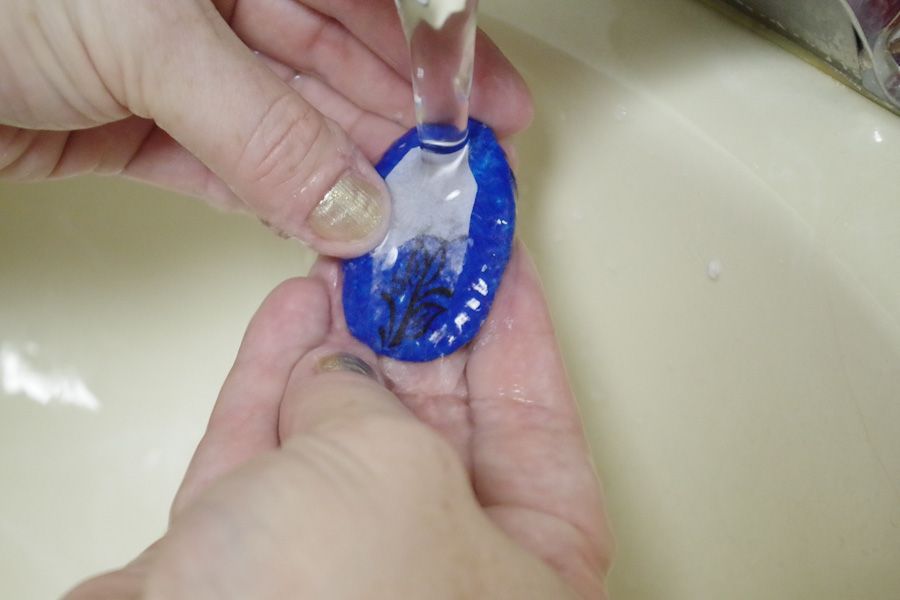
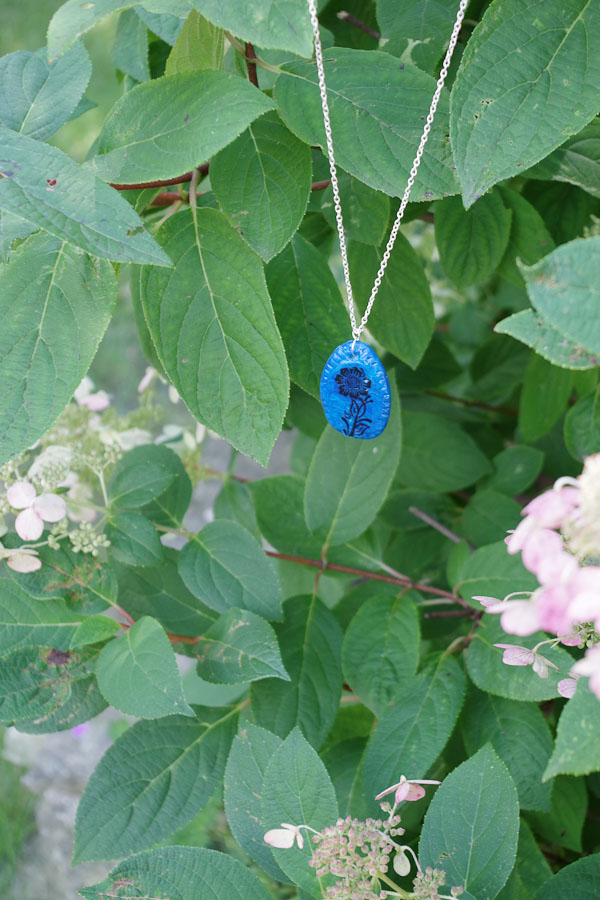
If you want to dye your clay, using some pigment coloring and do so. I may have used a little too much blue in mine, but I do love the color.

Clay Pendant Ink Transfer dye clay if desired Clay Pendant Ink Transfer dying jewelry clay blue

Adding Ink Images:

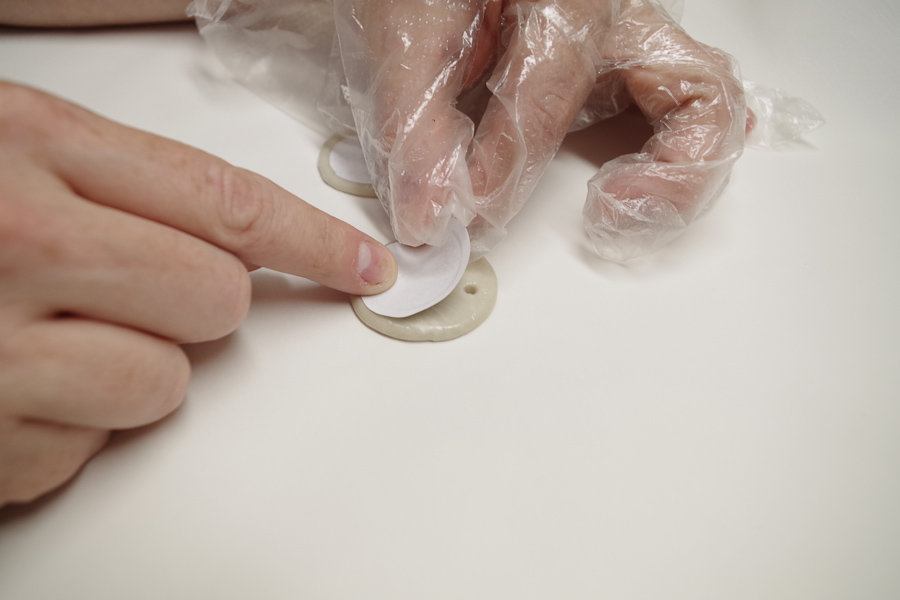
Add the laser printed images to your clay while it is still quite sticky. Press them onto the sticky clay, but don’t press too hard because you don’t want the paper IN the clay.

Clay Pendant Ink Transfer- add image to blue clay while still sticky

Clay Pendant Ink Transfer place laser printed images onto sticky clay

You can use a small tool to decorate the clay if you want to, but this is totally optional.

Clay Pendant Ink Transfer decorate with texture if you want

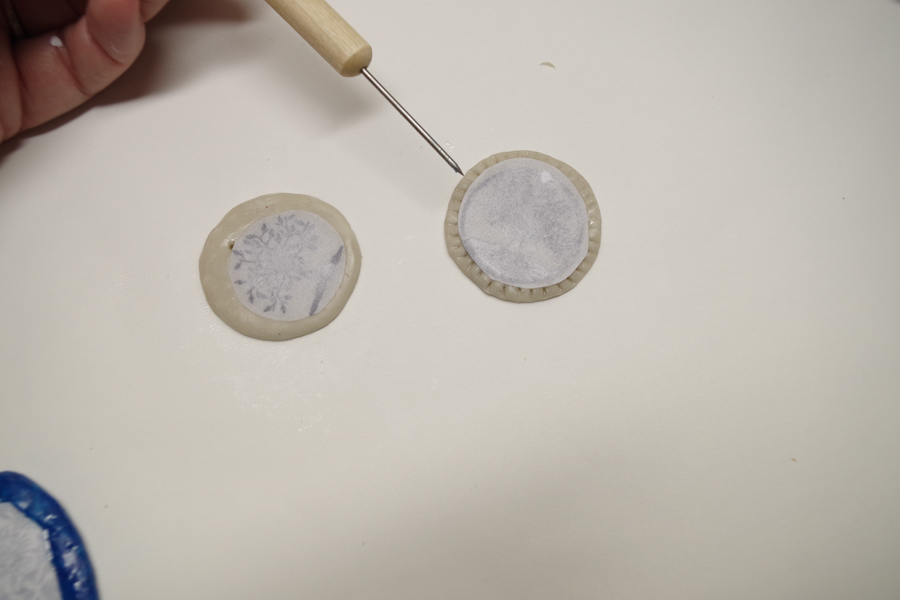
Leave your pendants on the parchment paper for at least 12 hours so that can get a good hard cure.

Clay Pendant Ink Transfer all images are set in clay. leave for 12 hours

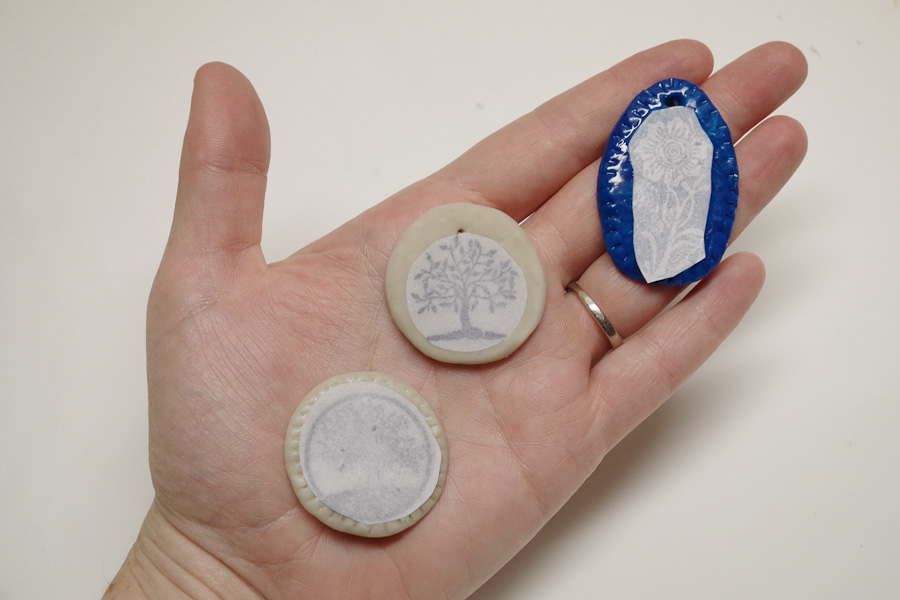
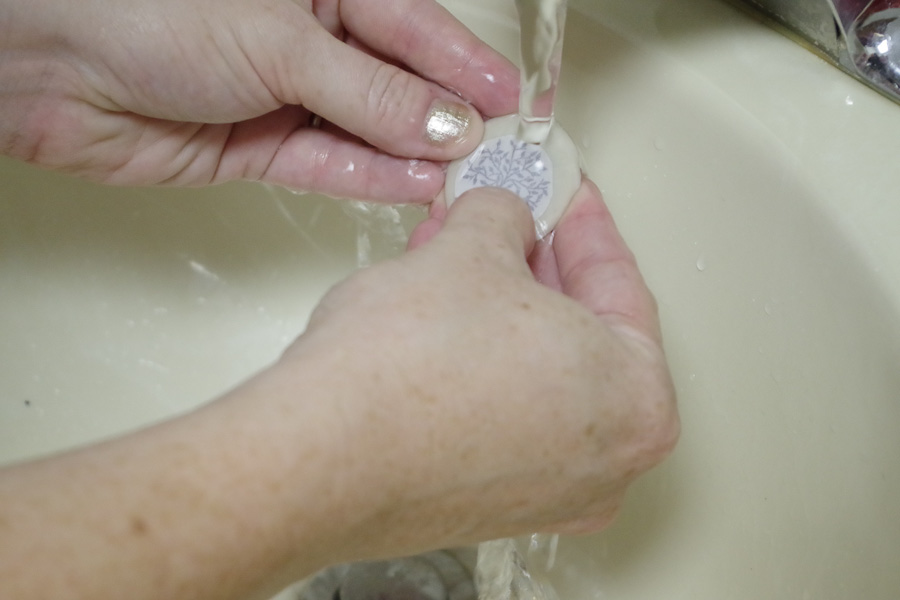
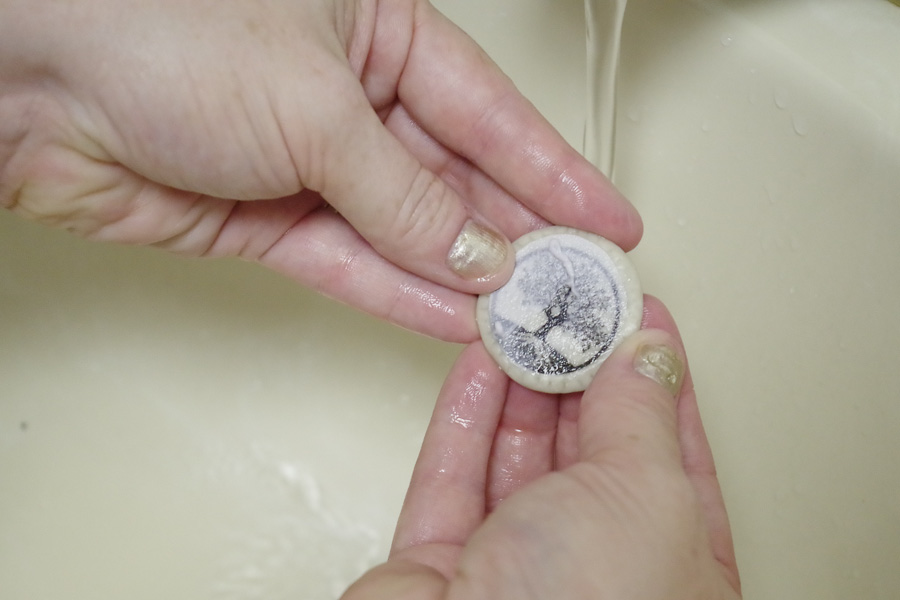
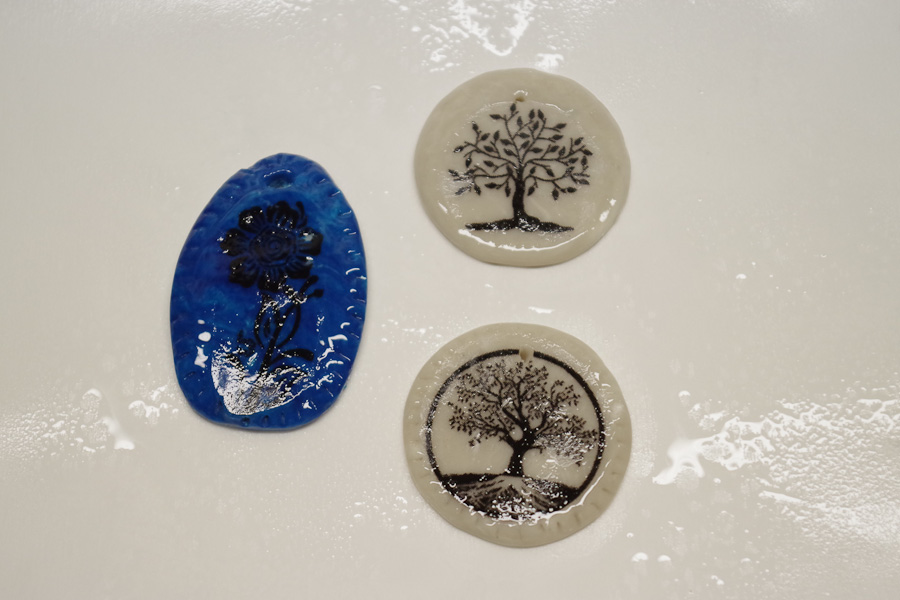
Completing Ink Transfer:

Once the pendants are cured and hard, run them under warm water and slowly rub off the printer paper. The paper will peel off and the ink will remain in the clay. That’s how to do the ink transfer!

Clay Pendant Ink Transfer- run under warm water and peel off the printer paper

Clay Pendant Ink Transfer- run under warm water and peel off the paper

Clay Pendant Ink Transfer- run under warm water and rub the paper off

Clay Pendant Ink Transfer- paper removed, ink remaining

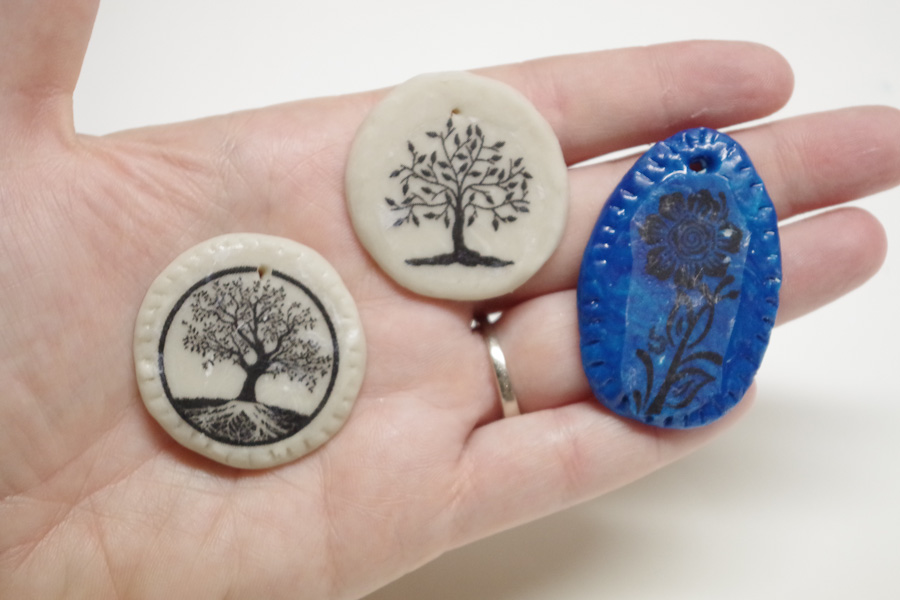
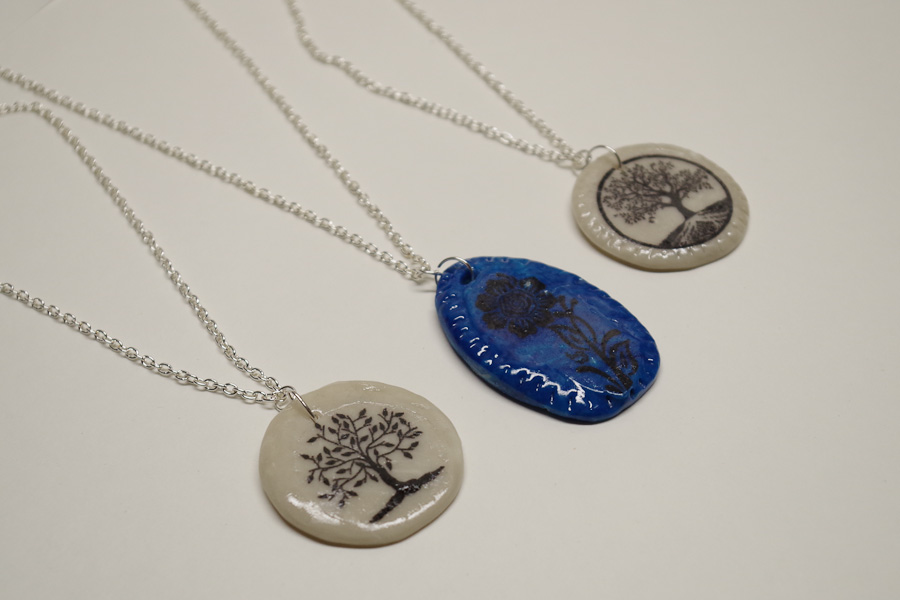
Finished Clay Pendants with Ink Transfer:

The last step is to spray the pendants with Resin Spray. This will give it a nice shiny coat and seal up the pendants.

Clay Pendant Ink Transfer Resin Spray

Let dry, then add jewelry hardware as you prefer!
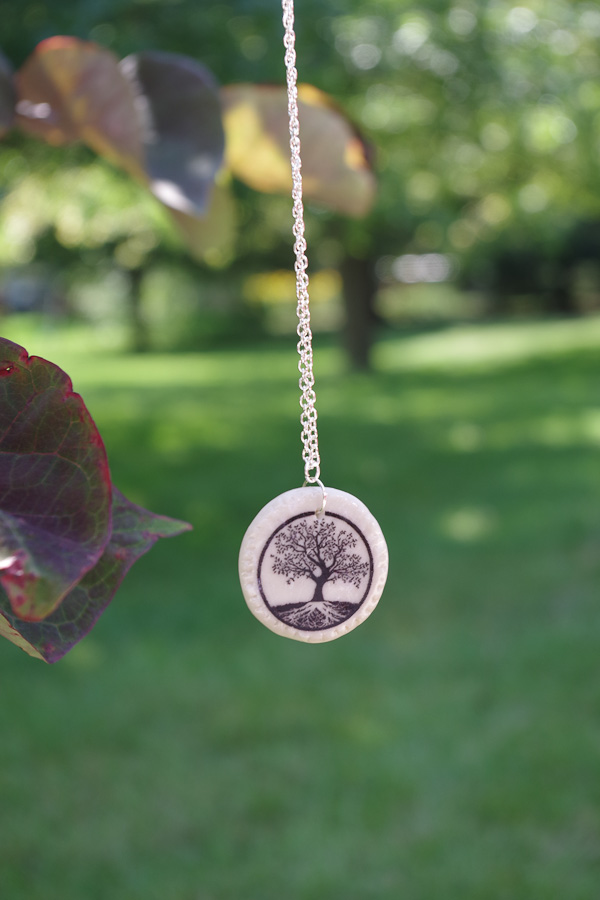
All Finished!!!

clay pendant ink transfer - finished pendants

Clay Pendant Ink Transfer finished blue pendant

Clay Pendant Ink Transfer- finished tree pendant

Clay Pendant Ink Transfer finished circle tree pendant

If you like this project, please share through the social media buttons below!

Comments are much appreciated also! Do you like the project? Have any questions? I’d be happy to answer!

~~Sheri


SaveSave

Sheri
Sheri

Sheri is a Maker and DIY blogger at Hazel + Gold Designs. She is usually in the middle of multiple projects at once and finds great satisfaction and joy in creating something new. She is constantly learning new skills, putting them to the test, and sharing her experience and knowledge with others. Her favorite hobbies are crafting, painting, crocheting and basic woodworking. Her goal is to inspire others to step out of their comfort zone, learn a new skill and have the confidence to make their life a little more beautiful!

Share
Pin596
Tweet
596Shares

If you enjoyed this...

  • Resin Map Pendant using EasyCast
    Resin Map Pendant using EasyCast
  • DIY Leaf Imprint Clay Dish using EasySculpt
    DIY Leaf Imprint Clay Dish using EasySculpt
  • Rolled Paper Resin Pendant DIY
    Rolled Paper Resin Pendant DIY

Filed Under: Clay Projects, Jewelry, Project Type

Previous Post: « 10 Creative DIY Pumpkins To Create This Fall
Next Post: Join the Resin Crafts Influencer Program! »

Reader Interactions

Comments

  1. Jane @SustainMyCraftHabit

    September 9, 2017 at 5:59 am

    Wow! How beautiful are these? I never would have thought to do image transfer onto the EasySculpt. One more thing to try. Thank you for the inspiration!

    Reply
  2. Merri

    January 27, 2022 at 12:59 pm

    Do you use regular old copy paper in the laser printer or does it have to be a special paper?

    Reply
    • Lydi

      February 2, 2022 at 9:34 am

      Hi Merri! Regular copy paper is fine.

      Reply

Leave a Reply Cancel reply

Thank you so much for leaving a comment on Resin Crafts Blog! For technical questions you can email our customer service at: [email protected] or via telephone @ 1-800-368-9323.
Recipe Rating


This site uses Akismet to reduce spam. Learn how your comment data is processed.

Primary Sidebar

upstart evergreen ad
color creator evergreen ad

Pin With Us

Categories

Resin Crafts Blog is a participant in the Amazon Services LLC Associates Program. As an Amazon Associate we earn from qualifying purchases.

Copyright © 2023 Resin Crafts