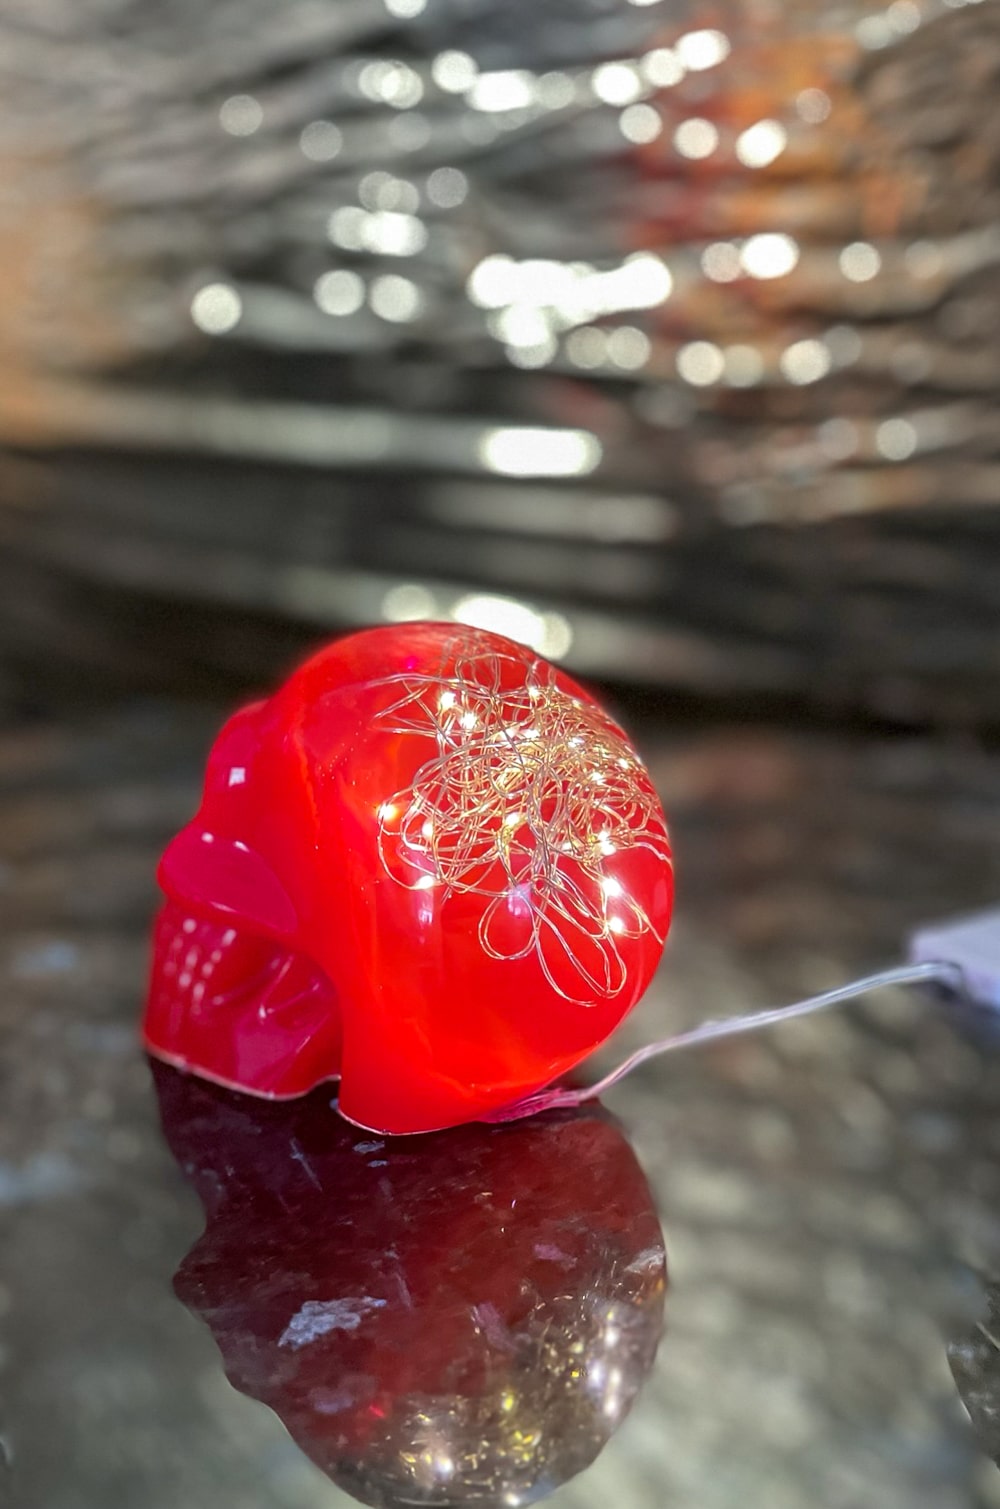
Learn how to put lights in epoxy to create a light up resin skull with Amazing Deep Pour Epoxy!

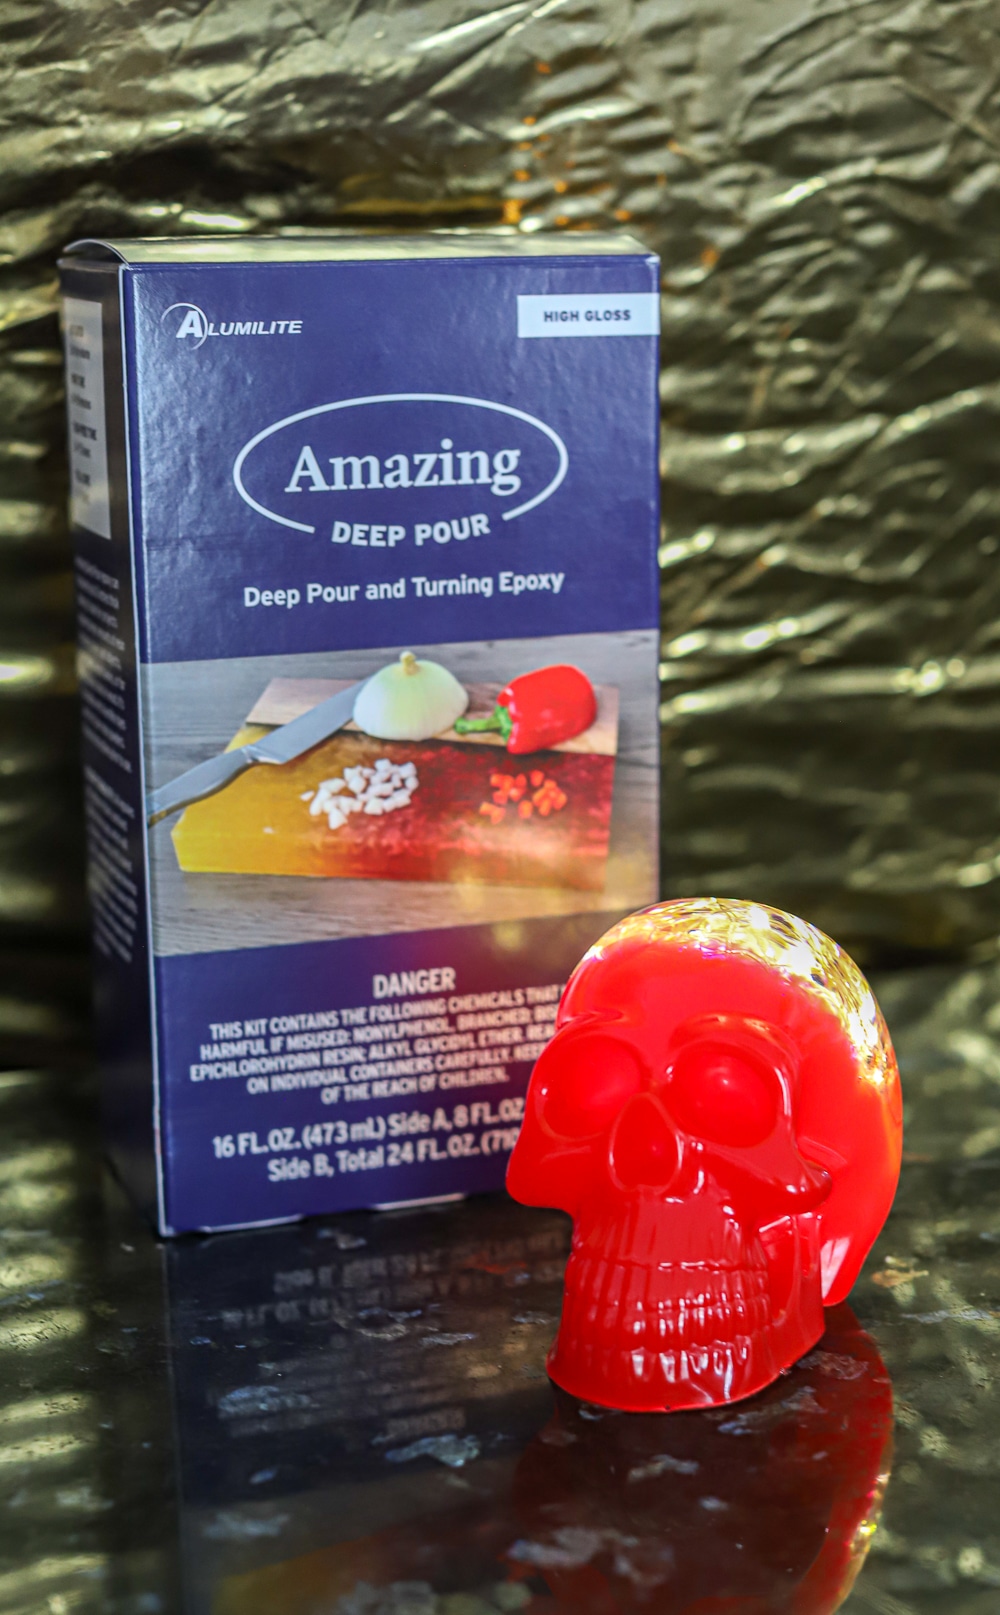
Hey Resin Crafters! Amber Oliver here with another great resin craft. For this project I had the chance to try Amazing Deep Pour Epoxy. I found a spooky silicone mold of a skull that I thought would be perfect for a Halloween decoration! I’ve wanted to try putting lights in resin for a while and just knew this would be the perfect project to try this with! The Amazing Deep Pour Epoxy was necessary because this pour was several inches thick!
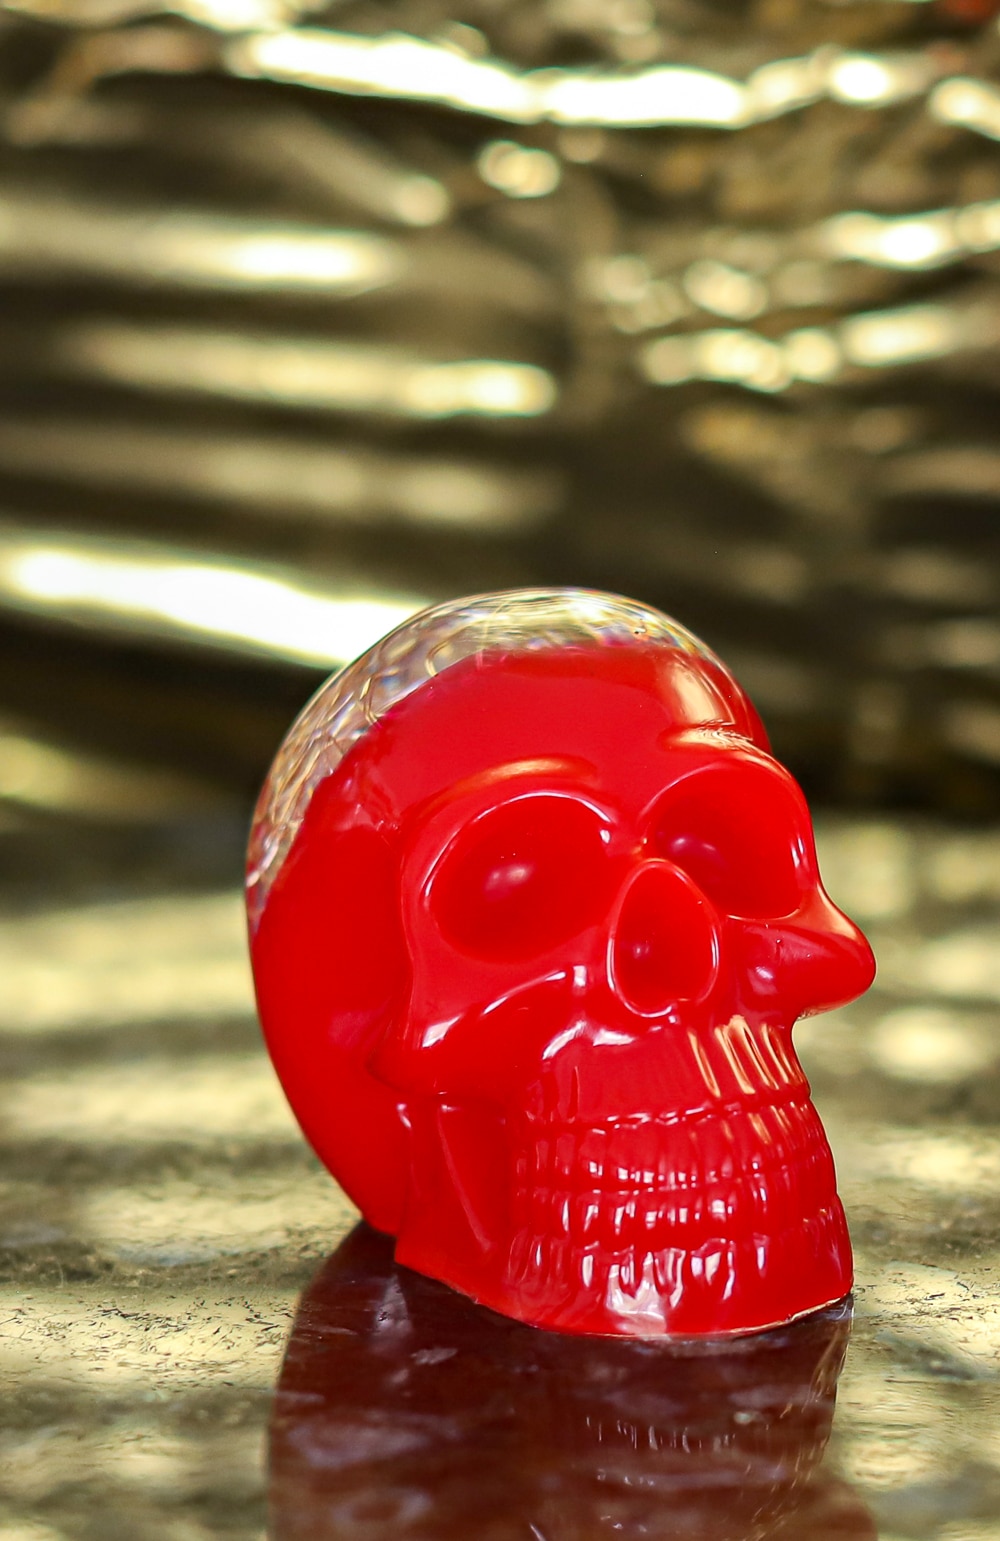
LIGHT UP SKULL MADE WITH RESIN
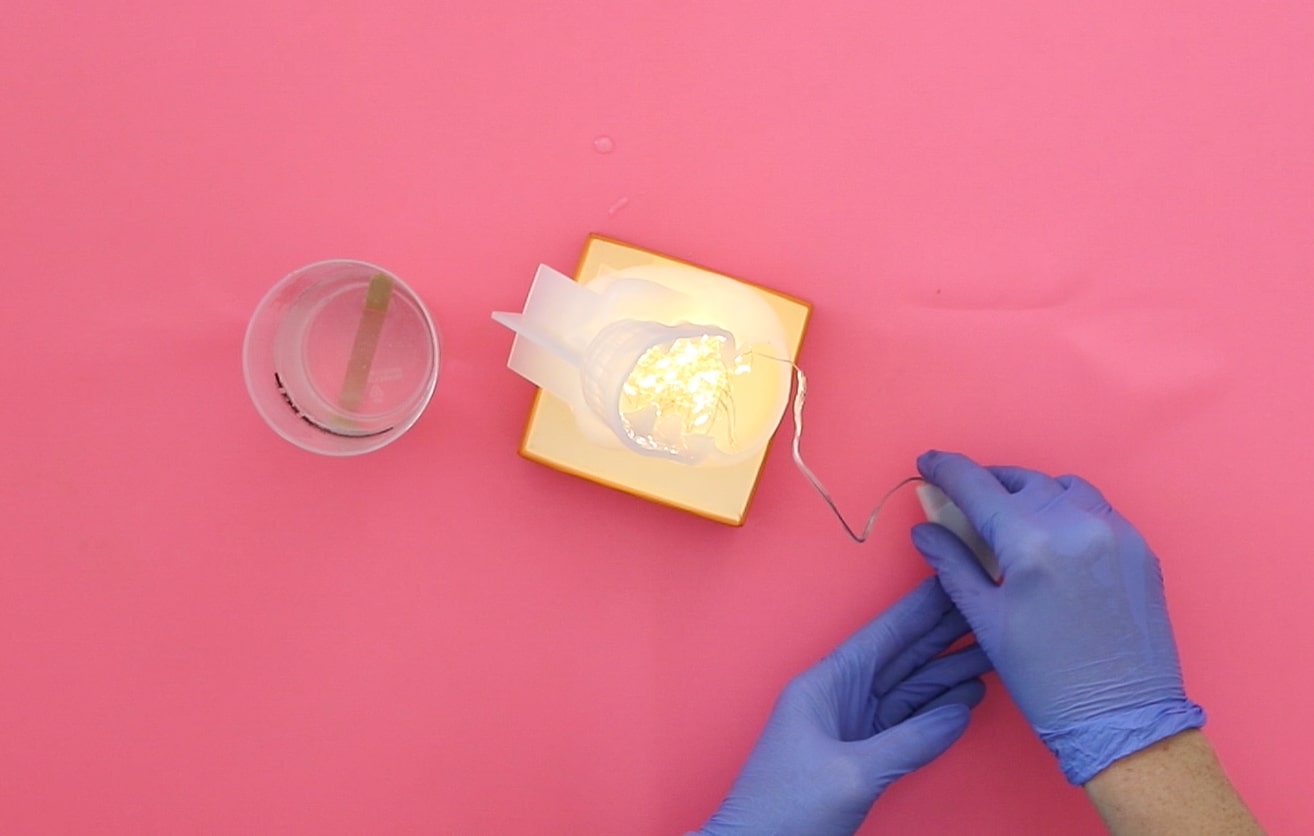
I had to work in sections for this project. I used a strand of lights that had a bit of wire in the string so it kept its form when I crumpled them and put them into the mold. Next, I mixed up the Amazing Deep Pour Epoxy deep pour and after angeling the mold, I poured the epoxy into the cranium part of the skull mold. I wanted the lights to shine brightly so I left the resin clear for this part and I was blown away by how crystal clear this resin is and had NO bubbles!
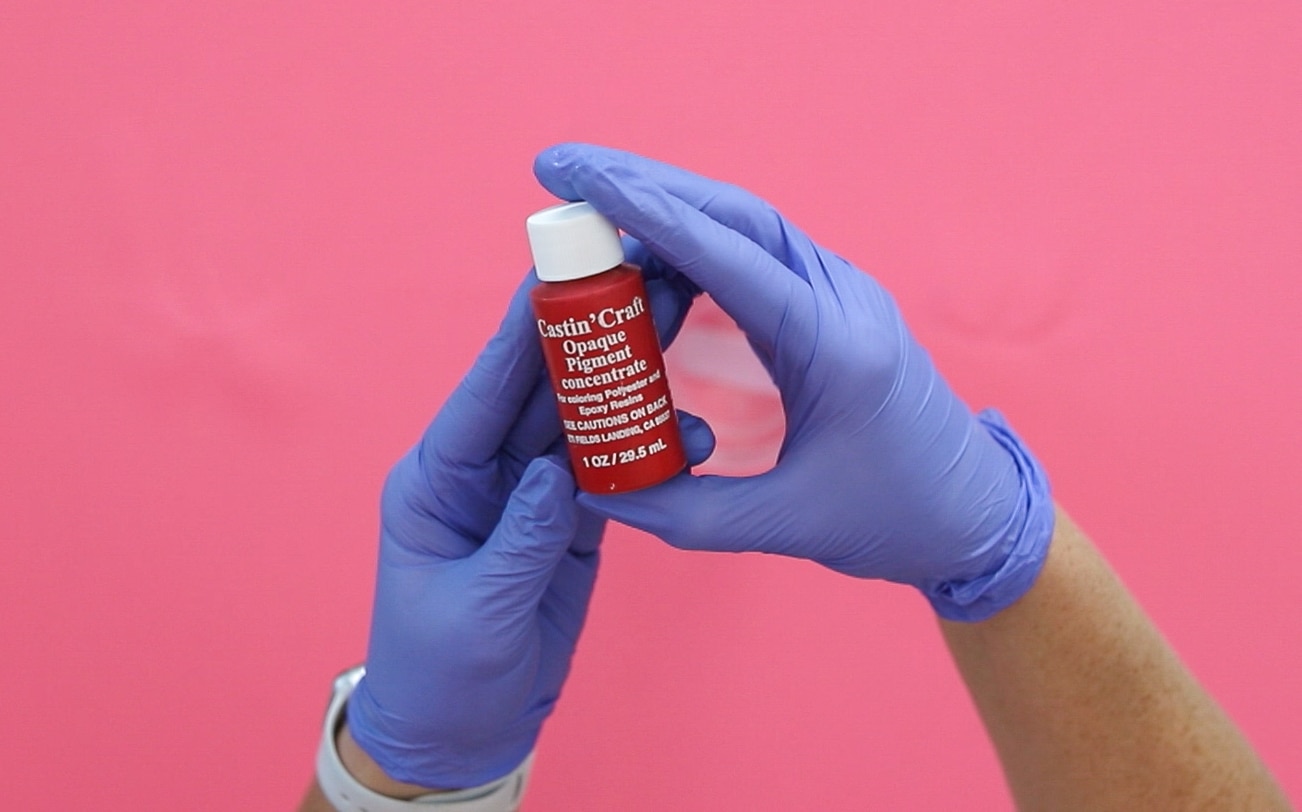
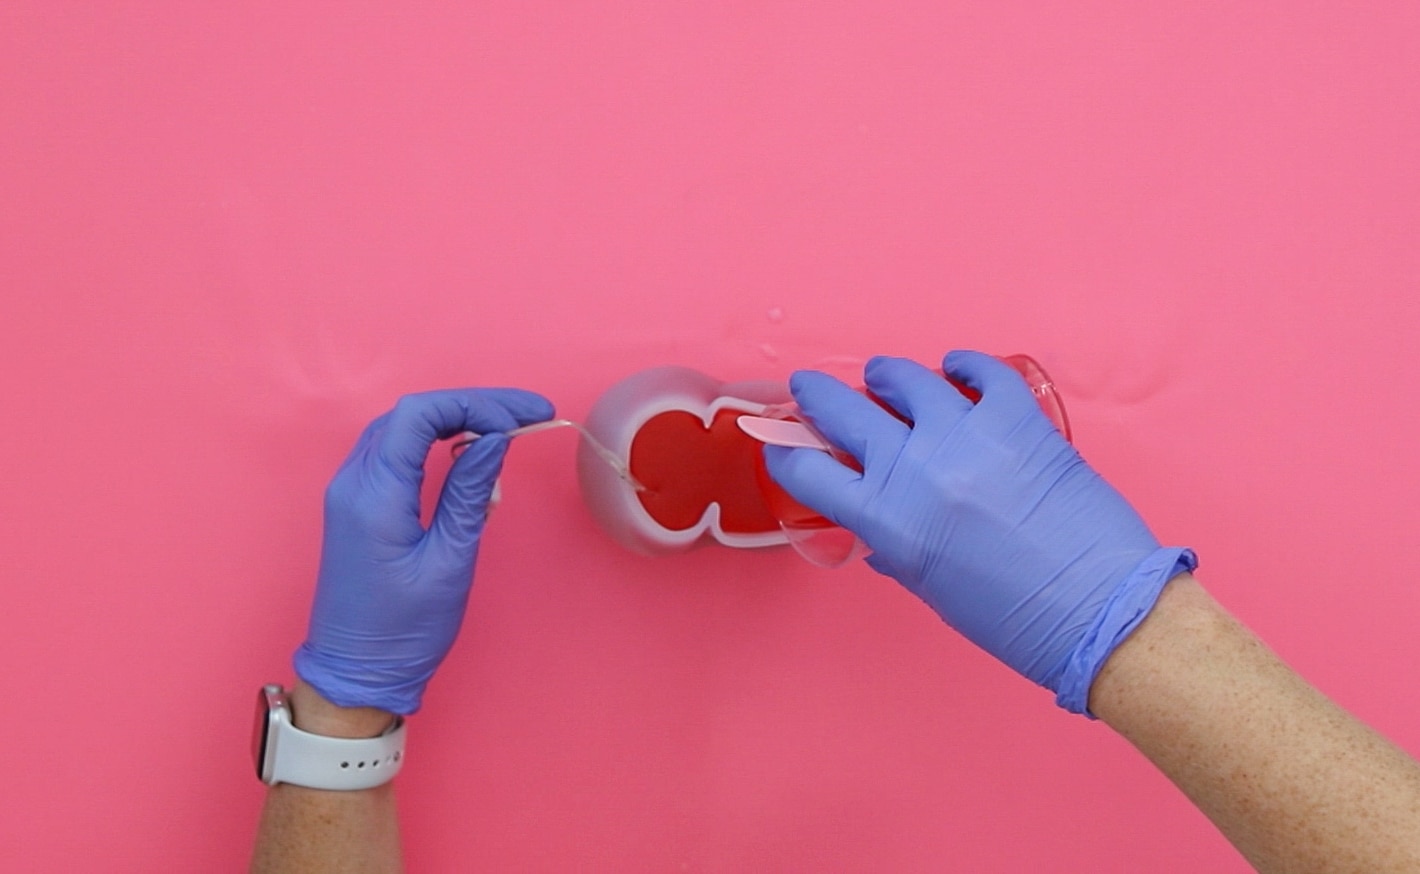
We allowed the resin to set for a little over 24 hours before moving onto the next section. The resin was still very tacky and nowhere near ready to de-mold, but it was solid enough at this point to add in the next layer. I mixed up another batch of Amazing Deep Pour Epoxy and added Red Opaque Pigment and mixed thoroughly. Then I poured into the mold and filled it the rest of the way.
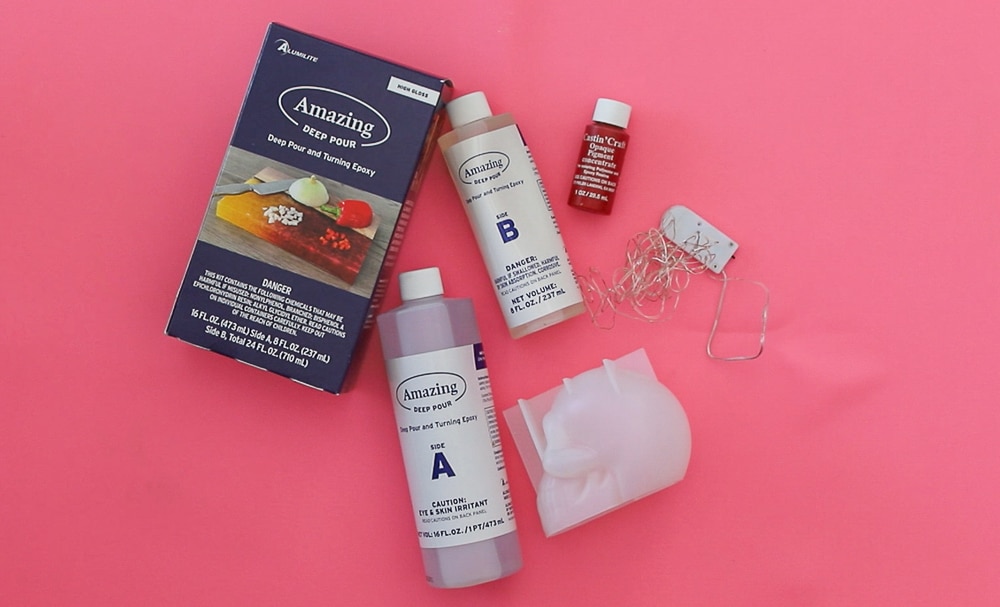
SUPPLIES NEEDED FOR LIGHT UP SKULL
- 15 oz of Alumilite Amazing Deep Pour Epoxy
- Skull mold
- Tiny light strand
- Mixing Cups
- Stir Sticks
- Red Opaque Dye
- Gloves


HOW TO MAKE A LIGHT UP RESIN SKULL
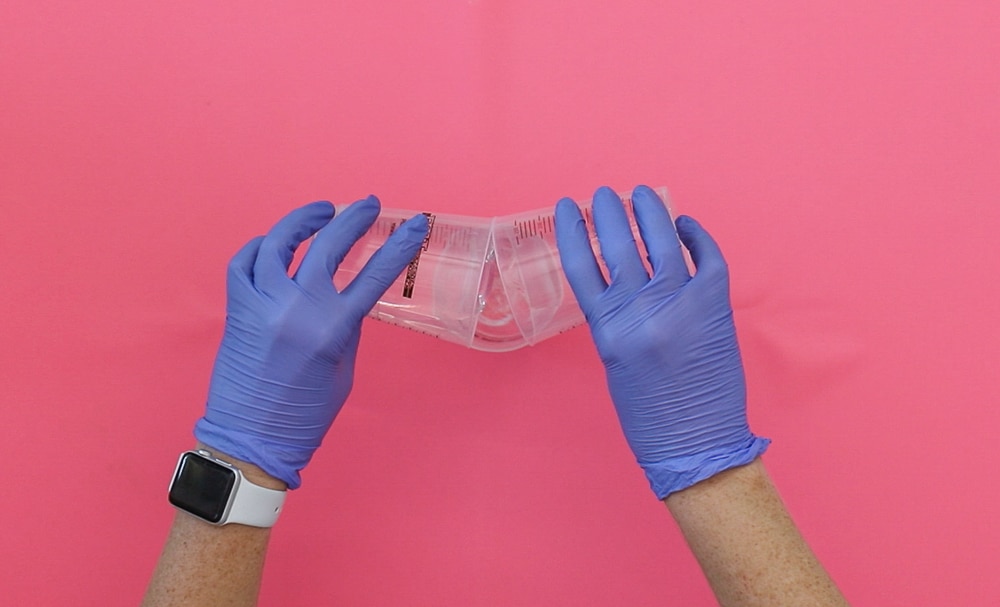
Step 1: First, prepare the Amazing Deep Pour Epoxy. This is a multi-step process so don’t start mixing until you are ready to do the whole process from beginning to end! PLEASE NOTE: this product is NOT a 1 to 1 epoxy, it uses a 2A:1B ratio!
Step 2: Using separate cups, pour 2 parts of A in one cup and 1 part B in another. For example, on my first layer, I used 4 oz of A and 2 oz of B.
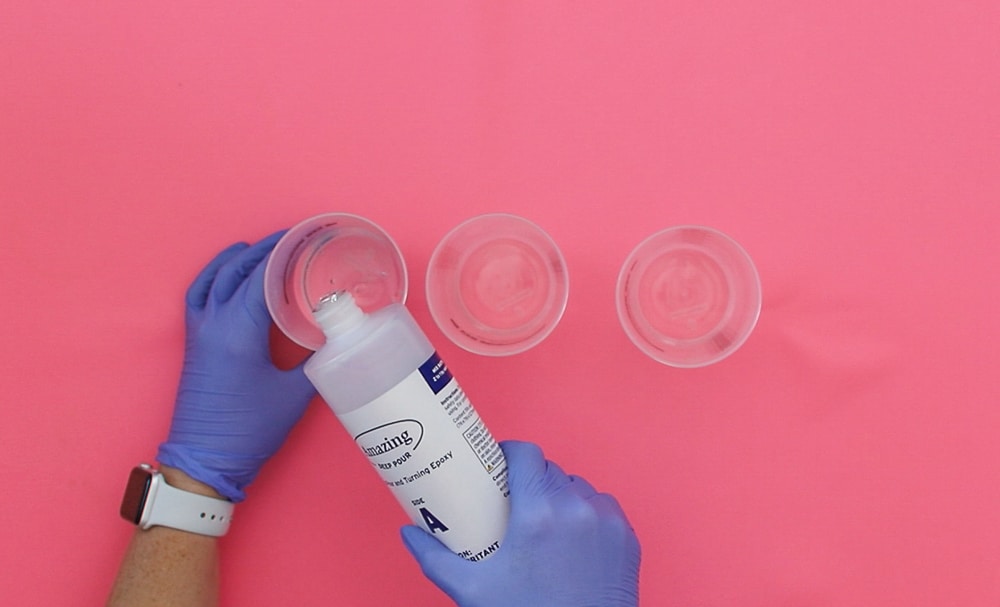
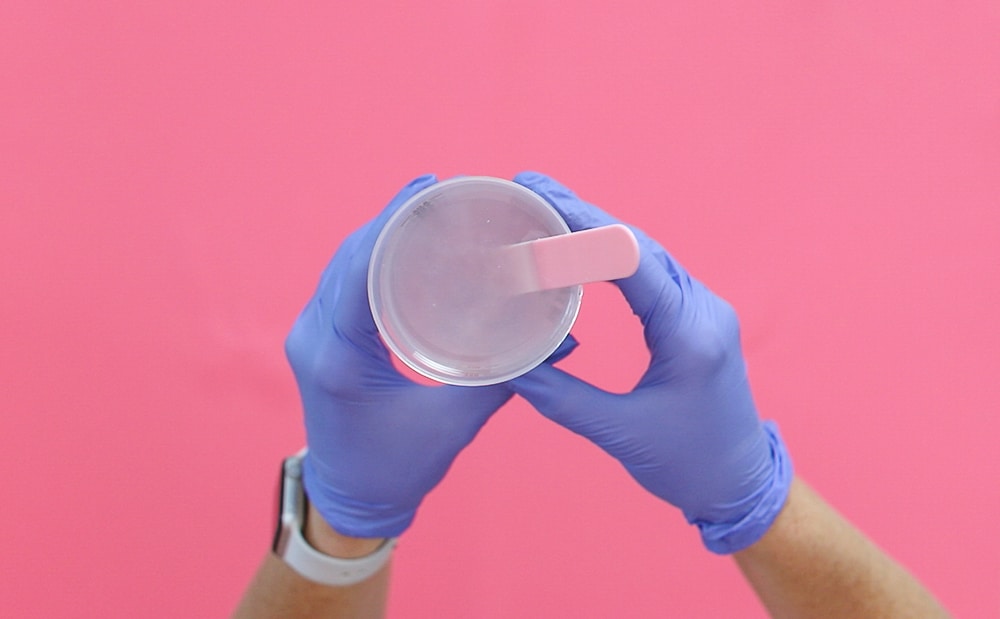
Step 3: Now, pour both parts into a 3rd cup.
Step 4: Gently mix until you don’t see any more swirls and the resin is clear. This takes about 3 minutes. Stir gently and keep your stir stick in the resin to reduce bubbles.
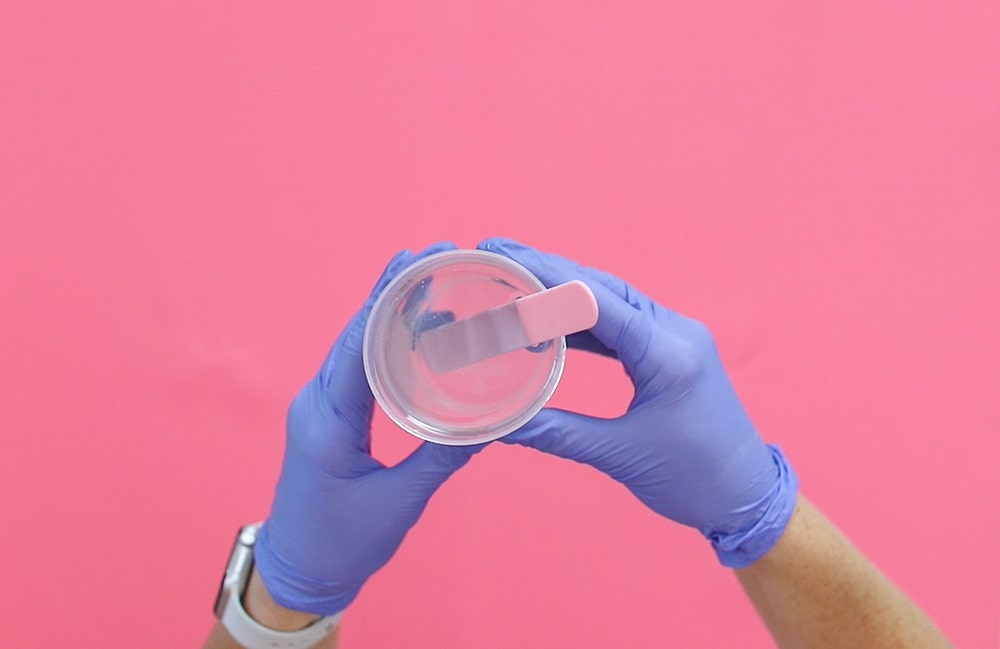
Step 5: When the resin is clear, continue stirring another 3 minutes.
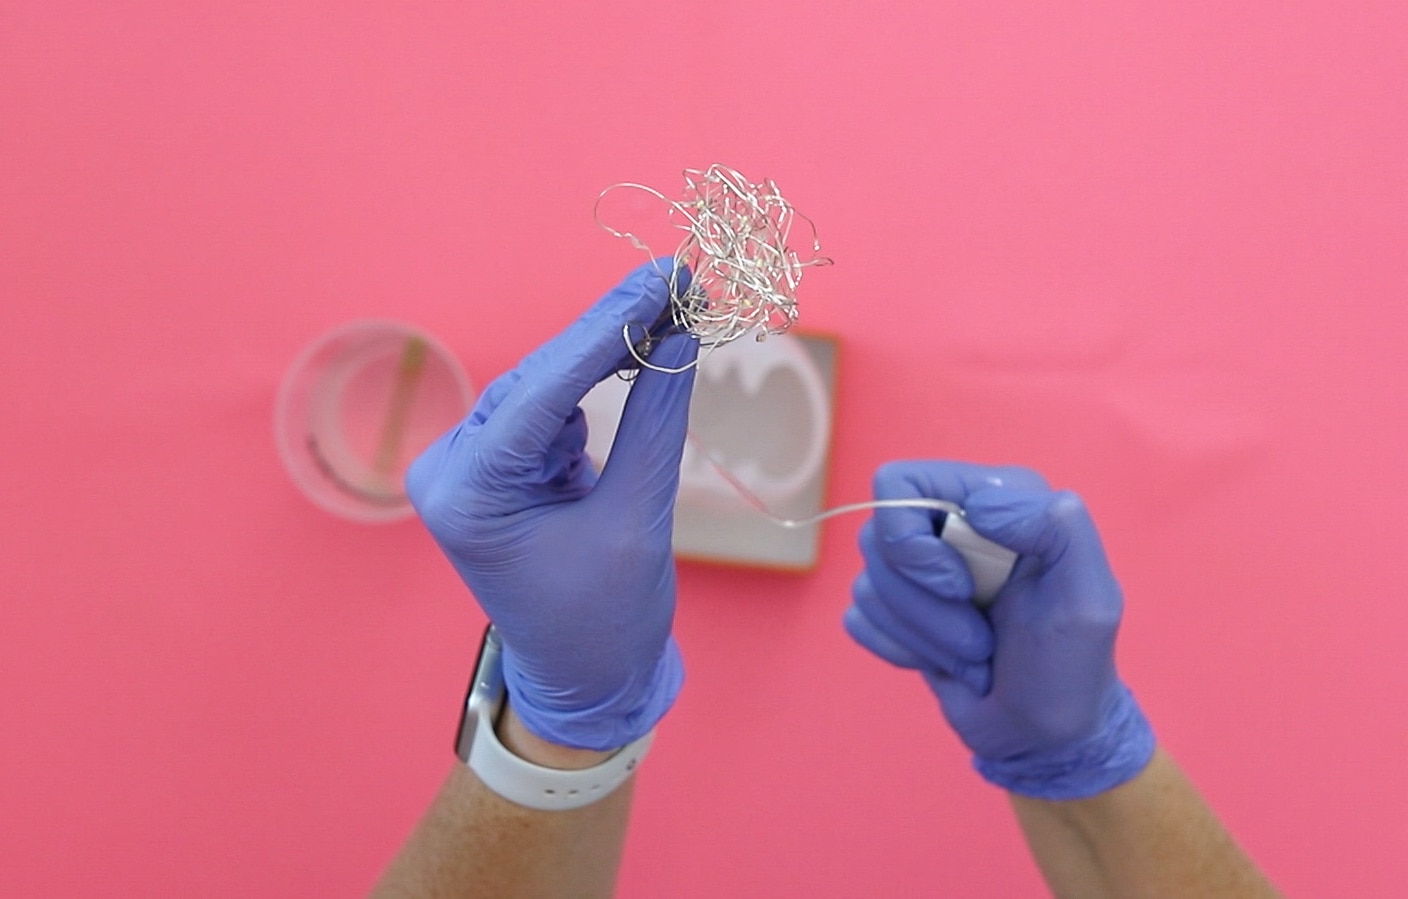
Step 6: Once your resin is ready, stuff your lights into the mold and leave the ON/OFF switch hanging out!
Step 7: Angle the mold and pour resin to fill the cranium or the top part of the skull. Allow the clear section to set long enough to start to gel – this was about 24 hours for me.
Step 8: Once the resin is set enough to pour your next layer, mix up another batch. This time add whatever color you want.
Step 8: Pour resin and fill the remainder of the mold and wait for it to fully cure!
After about 36 hours, I was able to de-mold my skull! I live in a warm climate so my project cured relatively fast!

Amazing Deep Pour Epoxy has a work time of 60-90 minutes, can be de-molded in 24-72 hours, and fully cures in 5-7 days. This is much slower than other crafting resin I’ve used. Be sure to factor that time into your project creation!
What do you think of our light up skull? I hope this project inspires you to try Amazing Deep Pour Epoxy! What project do you have that could use this? Drop a comment below or share your creations with us @resincraftsblogbyeti!
Amber Oliver is a DIY and lifestyle blogger who shares easy DIY tutorials, colorful crafts, and more on her blog, Amber Oliver. She’s a native Oklahoman living “in the loop” in Houston, TX with her husband and dog. She’s an avid reader, world traveler, loves Tex Mex food, and creating everything from woodworking projects to websites. She focuses on budget friendly projects for the home and empowering women to try new things.


Leave a Reply