Make a Resin Colored Pencil Vase DIY
Hi Resin Crafters, it’s Natalie from Doodlecraft, sharing my favorite resin project ever! Casting colored pencils in resin and turning it into a vase is especially unique. This amazing vase was created with 216 colored pencils and resin. Perfect for a back-to-school gift or just to organize those school supplies on the desk. The beauty of this vase is that it is super smooth–a glass like finish! Even the places where the pencil lead broke out of the wood, the resin filled in and made a super smooth coating.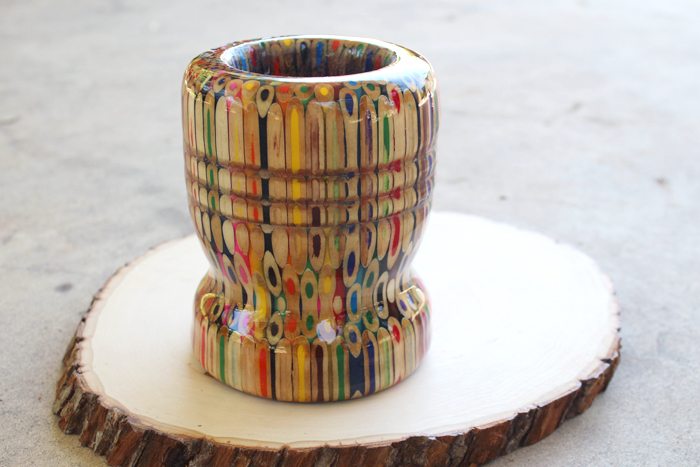
Back-to-School time is a great time to make this because school supplies are at an all time low price. Buy up a bunch of colored pencils and transform them into a work of art. This vase is 5 inches tall and 4 inches across with a 3.25 inch opening. Perfect for pens, pencils and colored pencils!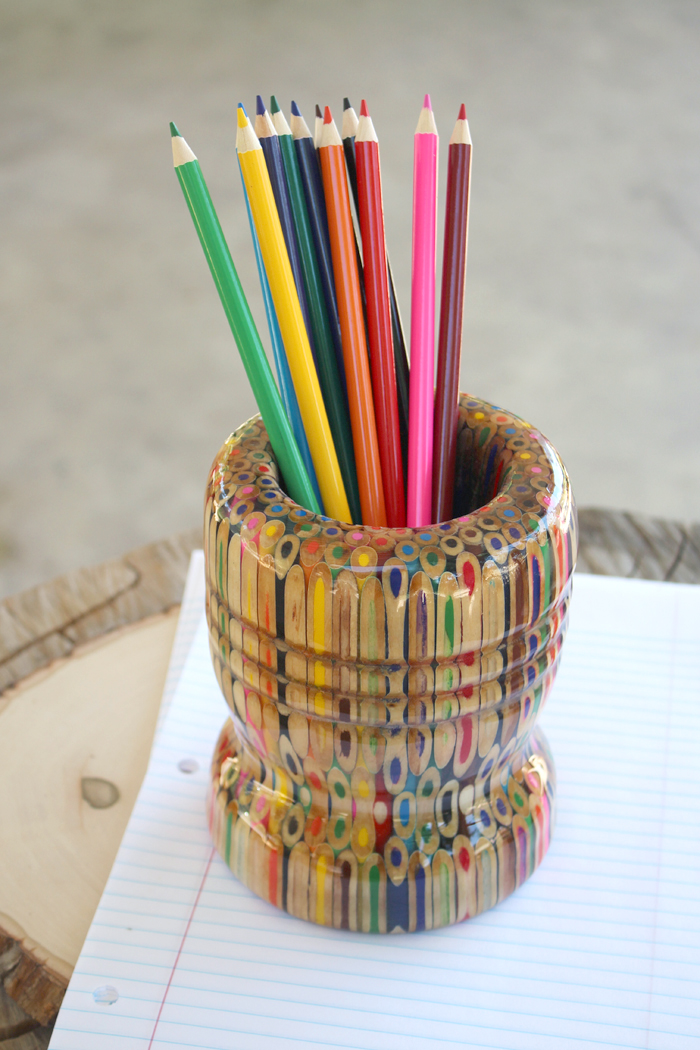
Supplies Needed:
For the Casting:
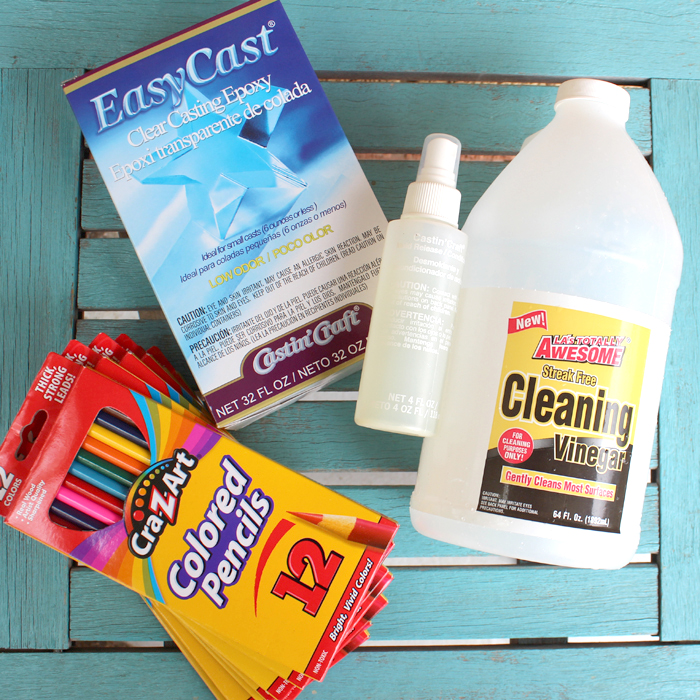
- EasyCast Clear Casting Epoxy
- Mold Release Spray
- Colored Pencils (lots of them)
- Plastic Container for Casting (small vinegar bottle)
- Piece of scrap wood
- Rock or weight
- Empty Box
- Mixing Cups
- Stirring Sticks
- Disposable Gloves and Work surface
- Hobby Knife
- Packing Tape
- Table Saw
- Lathe/Lathe Tools
Start by using whatever comes in the plastic container. I picked some vinegar at the dollar store because the container was the perfect size. Use a hobby knife to cut the top of the container off. Spray the inside of the container with mold release.
Next, fill the container with as many colored pencils as possible. This container held 216 colored pencils. Then use the packing tape to cover the top of the pencils and the edge of the container, extending the top of the mold. Place the container full of pencils in an empty box.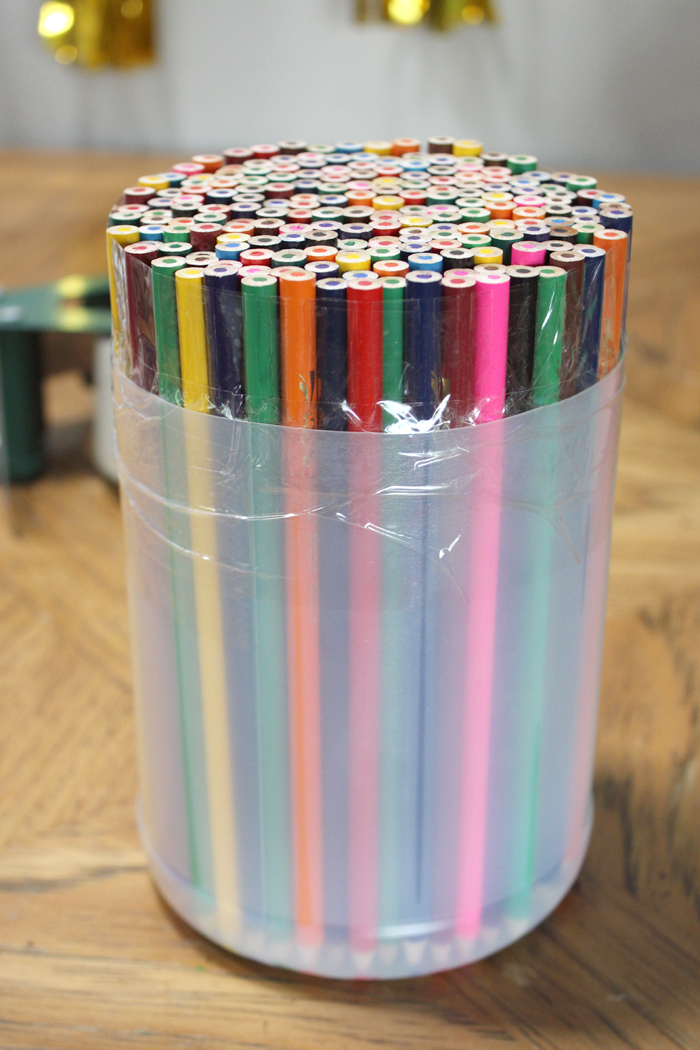
Read the directions for the casting resin carefully. Mix according to the package directions.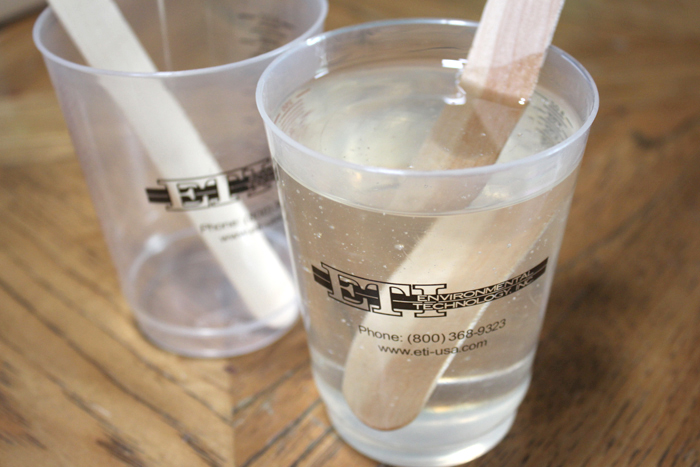
After mixing properly, remove one colored pencil from the container and pour the resin in the container. It’s amazing how much resin is needed to fill the container. I used about 20 ounces of mixed resin. Pour slowly to allow the resin to fill in all the gaps.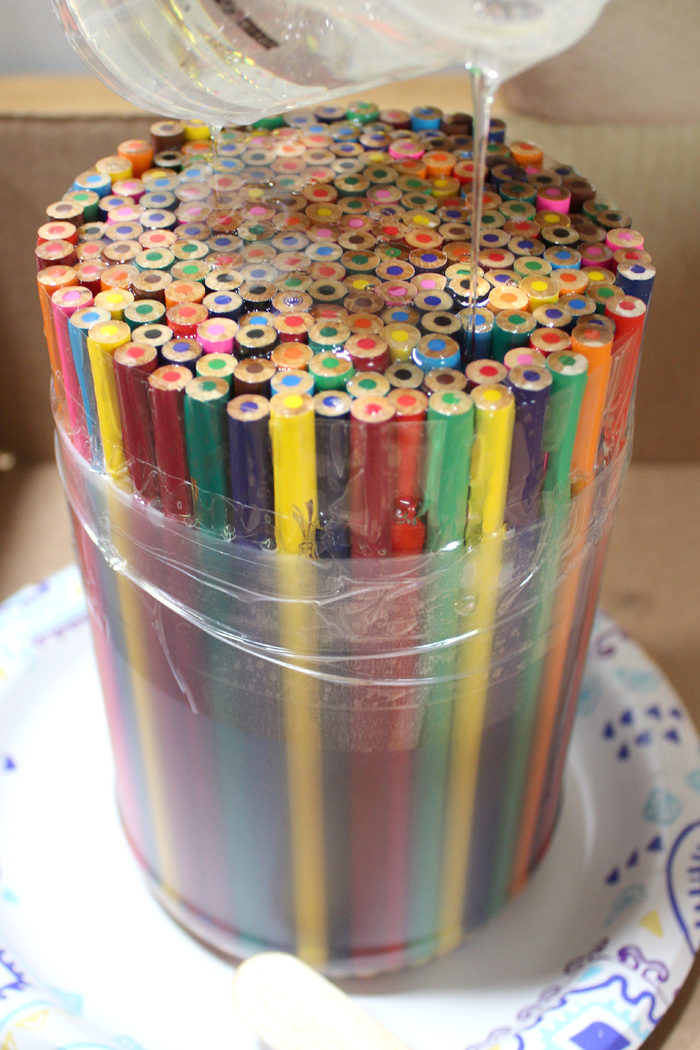
Once the container is full of resin. Place the scrap board on top of the colored pencils and weigh it down with a rock or something heavy. The colored pencils have a tendency to float up. Then leave the container to cure for a couple of days.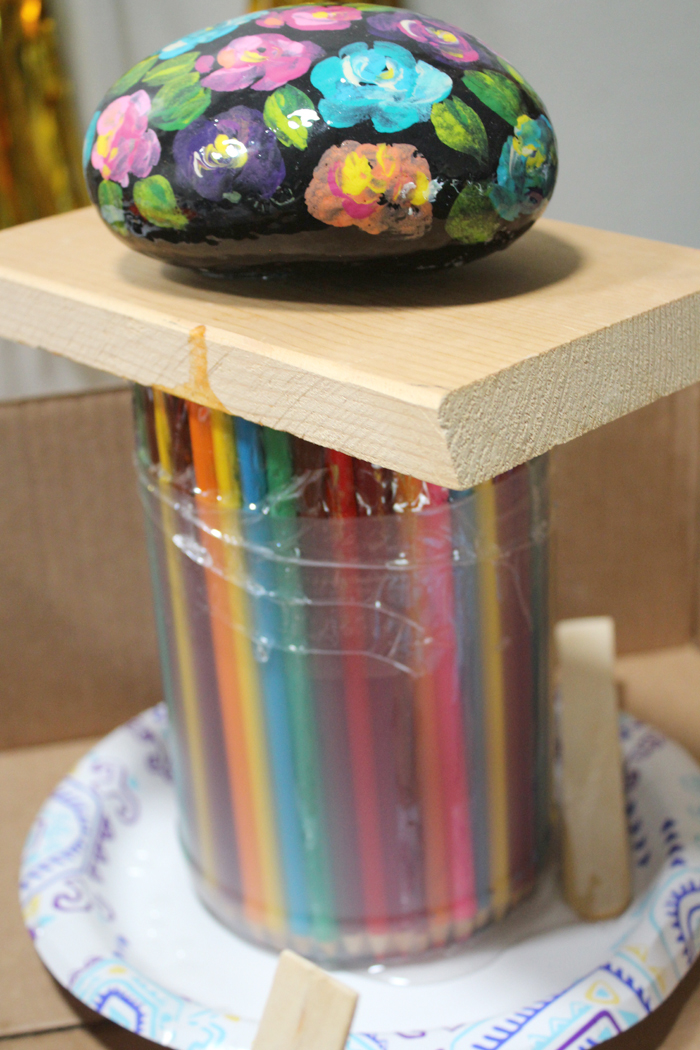
Begin Lathing Process:
After about 48-72 hours, remove the plastic container and the clear packing tape from the casting.
It’s already so much fun to see all those colored pencils welded together. Use a tablesaw to cut off the wood piece completely.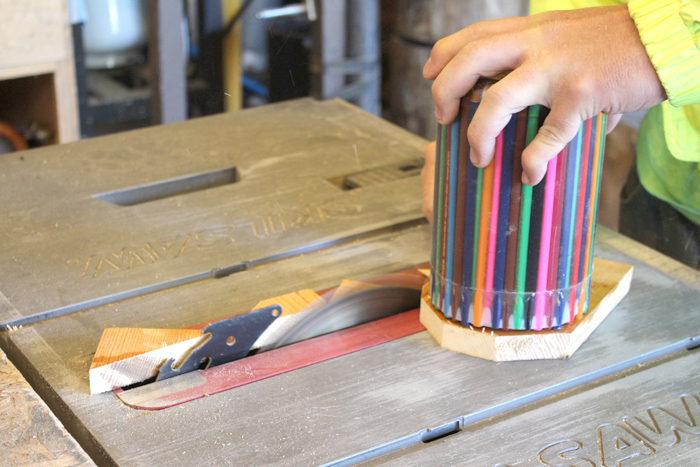
Now the fun part. Connect the colored pencil blank to the lathe. This is just the cheapest lathe that money can buy from the local cheap tool store. Using a lathe is fun, it’s a really awesome tool.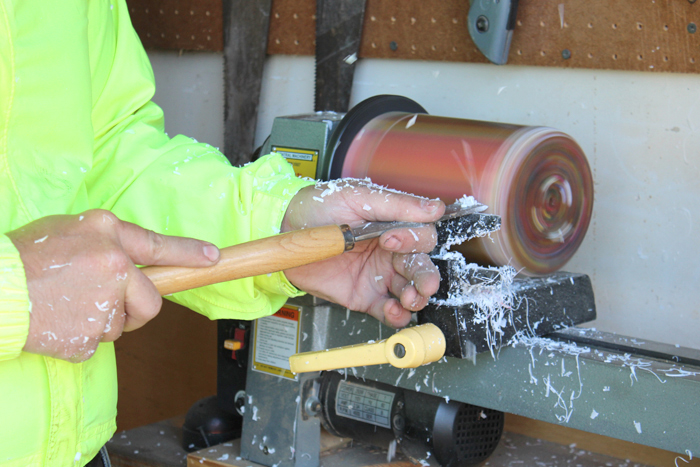
Center the blank as well as you can and then carve down the pencils to make a vase in the shape you desire.
The colored pencil shavings will get everywhere like colorful confetti! Shape the container and then work on hollowing out the center.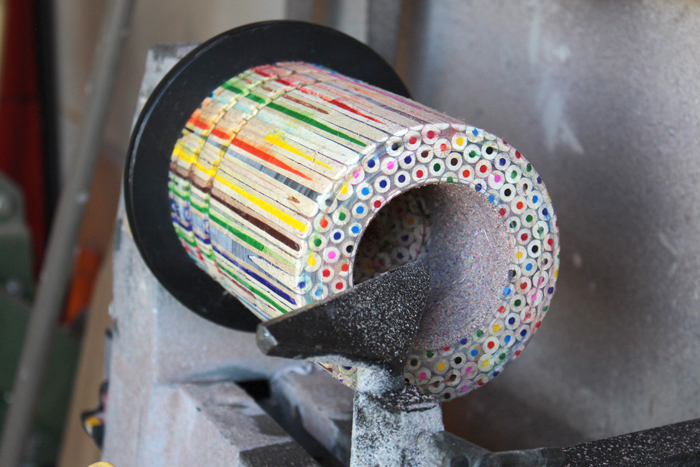
Dig in at least one full colored pencil layer to showcase the depth of the colored pencils. Add any decorative cuts or designs desired.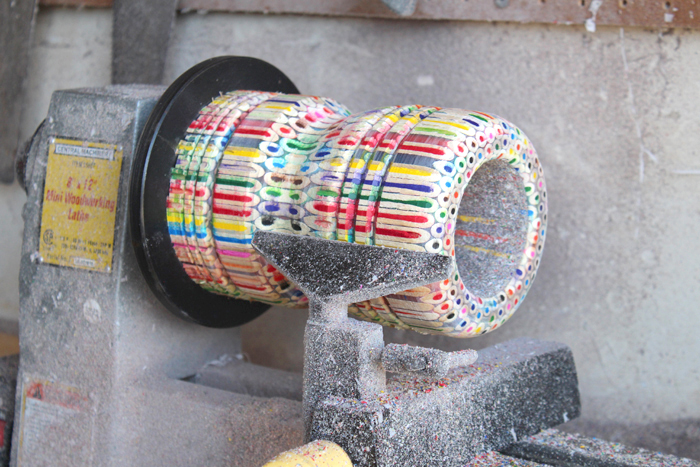
Once the vase is the desired shape, use a straight saw to cut the bottom of the vase flat.
Even the remains on the lathe look amazing!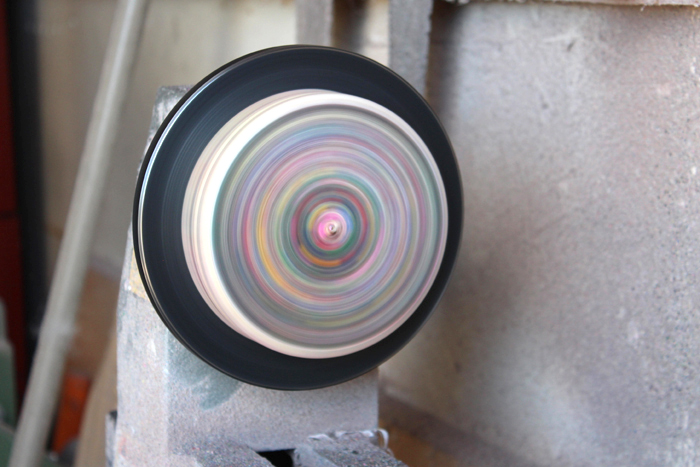
Once removed from the lathe, the vase looks awesome…but has grooves and dents where pieces of colored pencil lead was broken out.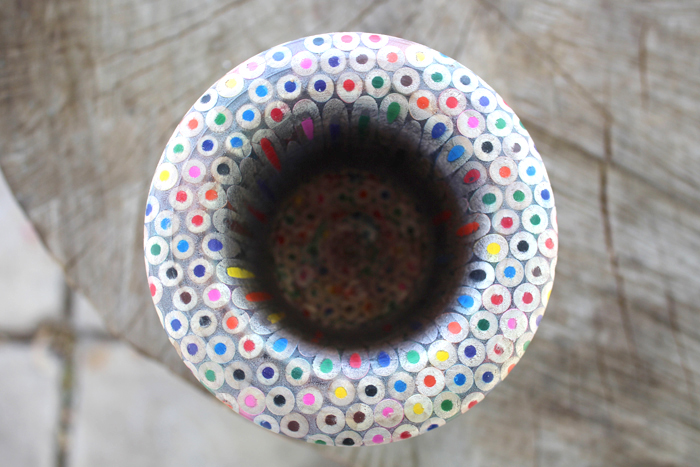
It looks amazing, but it’s not quite finished yet.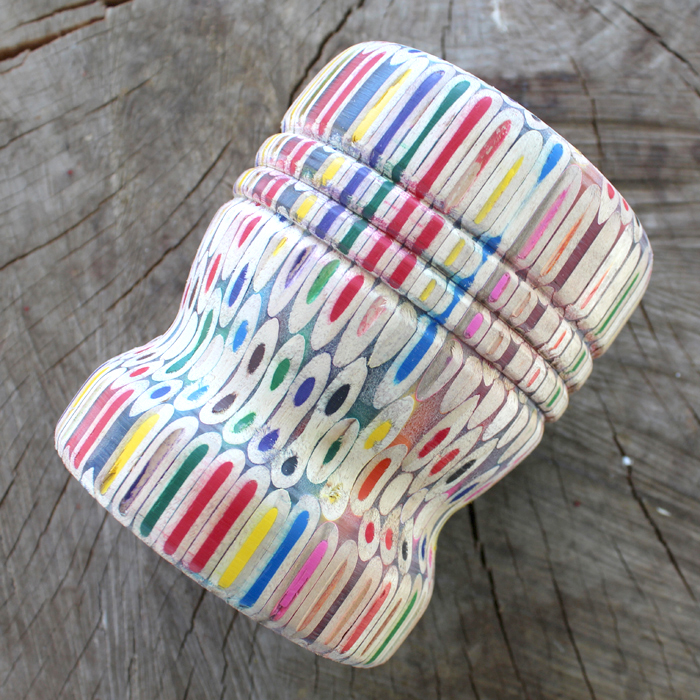
Supplies Needed for the finishing resin work:
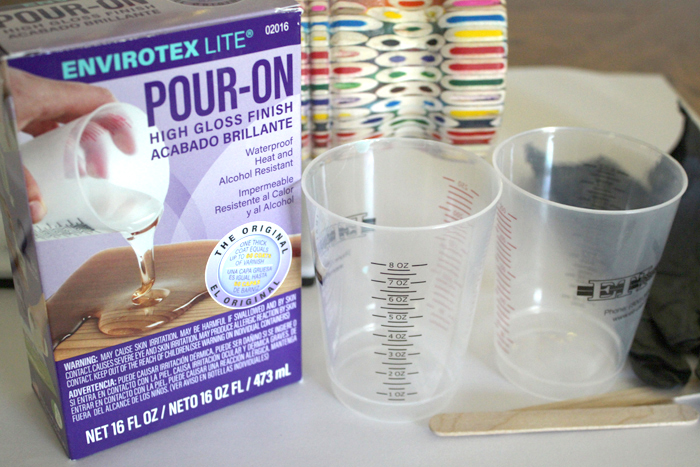
- Envirotex Lite Pour-On High Gloss Finish
- Tumbler Turner
- Mixing cups, Stirring Sticks, Disposable Gloves and Work Surface
Begin by placing the vase on the cup turner. Read the directions for the High Gloss resin and mix up about 1 ounce of resin.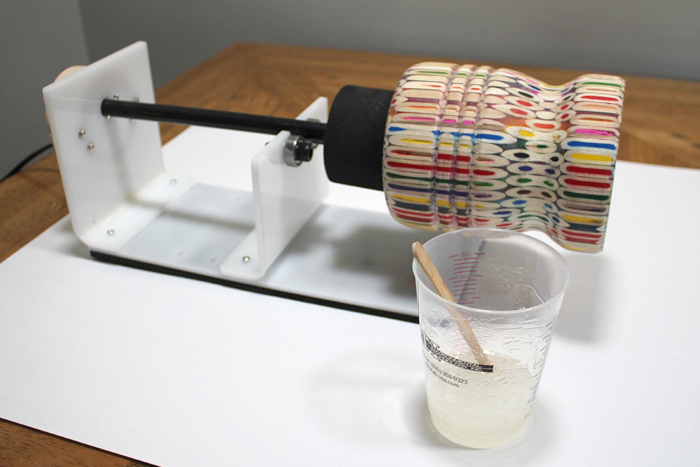
Turn on the cup turner to get the vase rotating. Pour a small amount of resin on the vase and use a gloved hand to rub the resin around on the vase.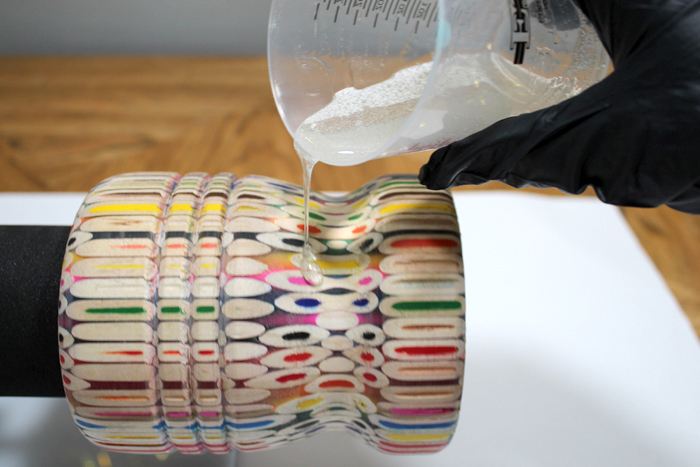
Continue to add small amounts of resin and continue to smooth it all around the vase.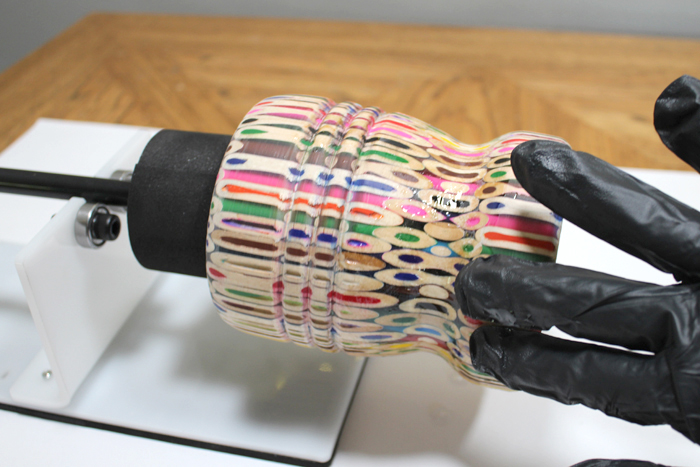
After the vase is covered in resin, keep the turner moving for about 24 hours. Then repeat the resin coating process just like earlier. Once the resin is cured, make one more ounce of high gloss resin and pour it inside the vase. Roll it around in your hands every 20 minutes for a few hours, until it is thick enough that it doesn’t move. Then let it cure overnight.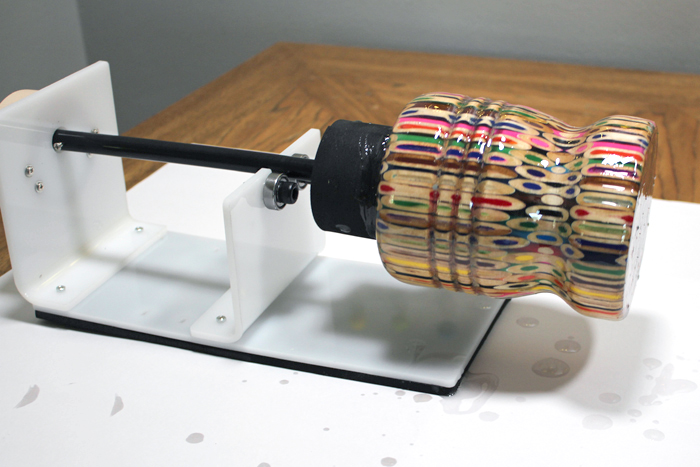
That’s it!
Now that’s an amazing vase that makes the most unique conversation piece!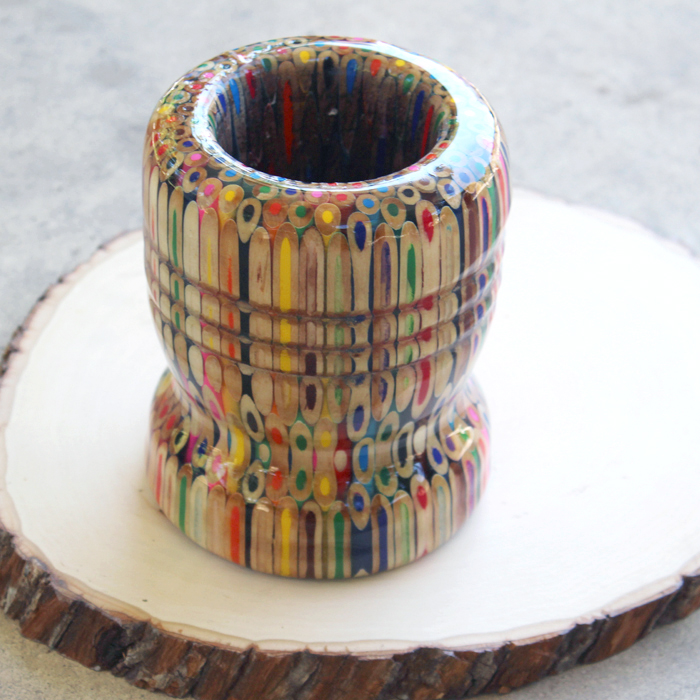
Simply fill with colored pencils, pens or other school supplies for a great desk ornament.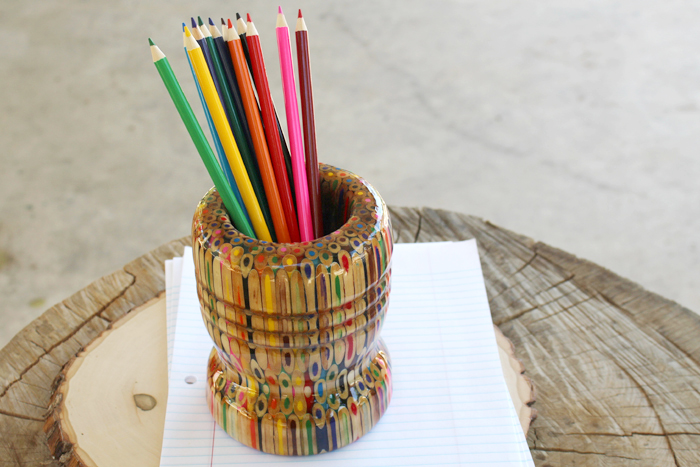
Every part of this vase is incredible to look at, like the base is magical!
The high gloss resin makes everything shine and the casting look so much better. High Gloss resin is the finish that everything needs.
Natalie Shaw is a Craft/DIY blogger at Doodlecraftblog.com. She loves sci-fi, fantasy and video game geekery and that comes out in many of her projects. She posts budget conscious DIY’s, crafts, jewelry, kid friendly projects, upcycled treasures and other fun on her blog 5 days a week.



I can’t believe there are no comments on here!? Absolutely stunning. Wow! Adding lath to my ever growing tool wish list. ????
Thank you!!!
Natalie, you have come up with ANOTHER super idea. This looks labor intensive but you produce such a beautiful piece of art. The colors produced by the pencils are so vivid. TY, Natalie!
Thank you!!!