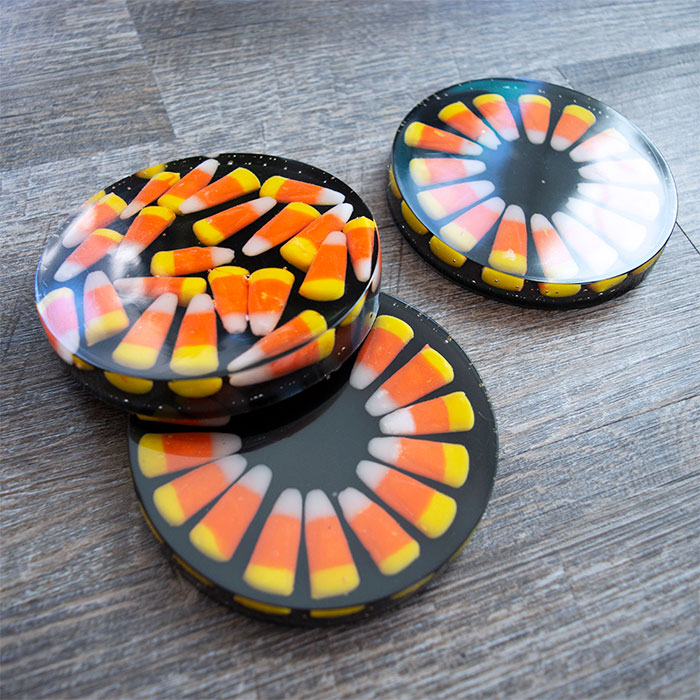
Hello Resin Crafters! It’s Kelli, from the Craft Shack again. Fall arrived almost overnight here, and now that it’s October I’m officially getting ready for Halloween. I’m excited to share a fun Halloween craft with you today! Candy corn is one of my favorite seasonal treats. Whether you love it or hate it, there’s no denying it’s a cute candy. Did you know that you can cast candy in resin? There is a simple little trick to keep the candy looking it’s best so you can make these adorable preserved candy corn coasters for Halloween.
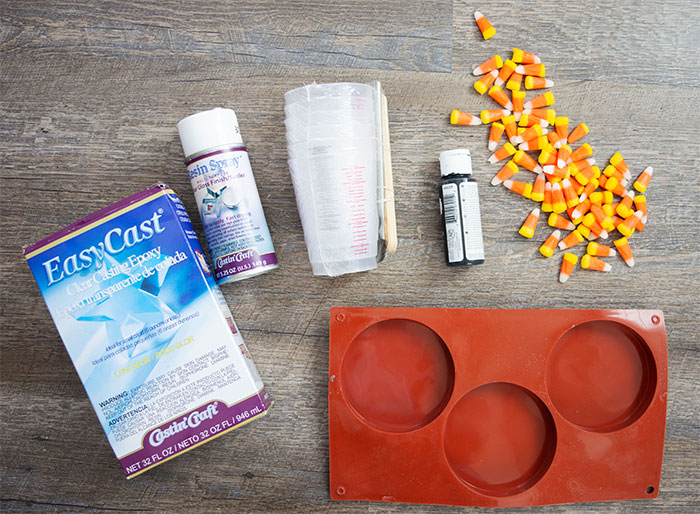
Supplies for making Candy Corn Coasters:
- EasyCast Clear Casting Epoxy
- Castin’ Craft Resin Spray Finish
- Mixing Cups, and Stir Sticks
- Black Paint or Opaque Pigment
- Candy Corn candies
- Coaster mold
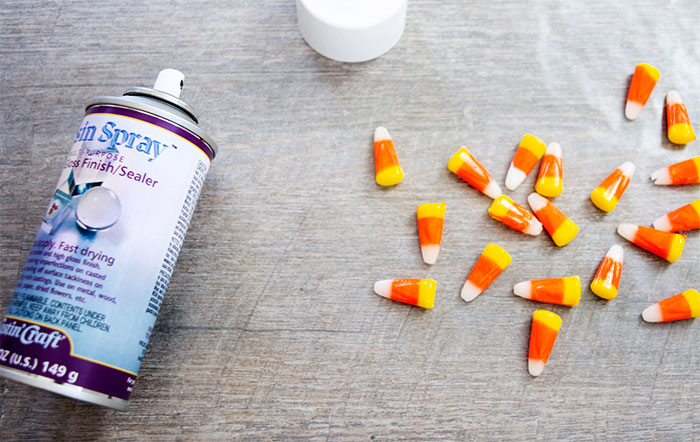
The first step in casting any candy in the resin is to prepare the candy. If you just put the candy in the resin as it is, the candy will dissolve in the resin and that doesn’t look very pretty! To keep the candy intact, with pretty, crisp lines, you have to coat it with Resin Spray Finish first. Spray a light coat of the Resin spray on all sides of the candy corn and allow to dry. They should look shiny now. Please be sure not to eat any candy corn that has been coated in Resin! Now, your candy corn is ready to use. This method also works with most other sugar-based candies.
Now that your candy corn is ready to use, you can start assembling your adorable coasters. First, mix a small amount of resin for a base layer. Follow the instructions on the packaging carefully. Always use the appropriate safety gear. Wear gloves and eye protection. Mix equal parts of the resin and hardener solutions for 2 minutes. Pour into a clean cup, and mix for 1 more minute. I mixed up 1 oz of clear resin for each coaster (3 oz total) to start.
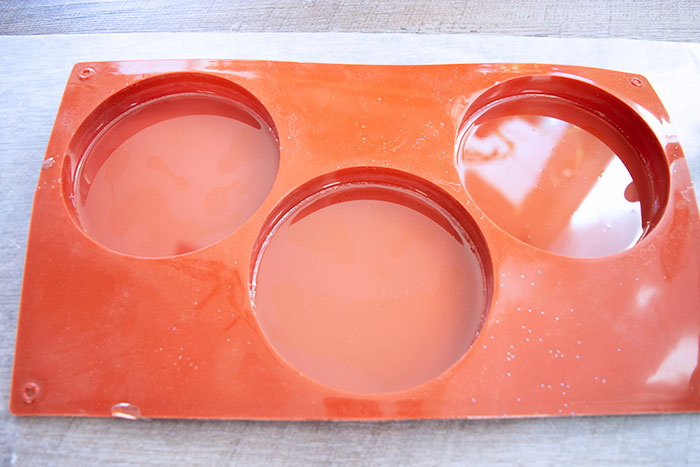
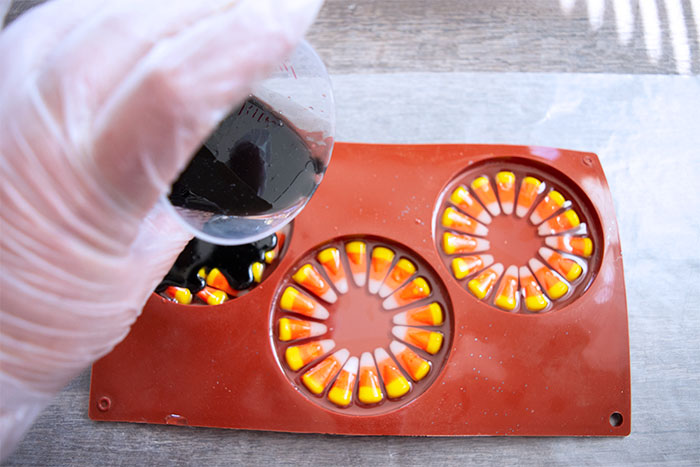
Pour the first layer of resin into the coaster molds. Remove any bubbles that rise to the surface with a heat gun, your warm breath, or a small kitchen torch. Allow this layer to cure for at least 4 hours. It will be mostly set then, but still slightly soft.
Arrange your treated candy corn on the first layer of soft resin. You can lay them in a specific pattern, or simply dump them into the coaster mold. However you lay them in the coaster, be sure that they are only in a single layer.
Mix a second batch of clear resin and pour to cover the candy corn. If there are still a few parts of the candy sticking out of the resin, that is ok. You will cover it with the next step. Remove any bubbles that rise to the surface, and allow this layer to cure completely.
For the final step, mix the last batch of resin. I used 1 oz per mold again, mixing 3 oz total. After you’ve completed your second mixing time in the clean cup, add a small amount of black paint or pigment to the resin, and mix it completely. Pour the black resin over the cured candy corn layers. Remove any bubbles that rise to the surface, cover and allow to cure completely.
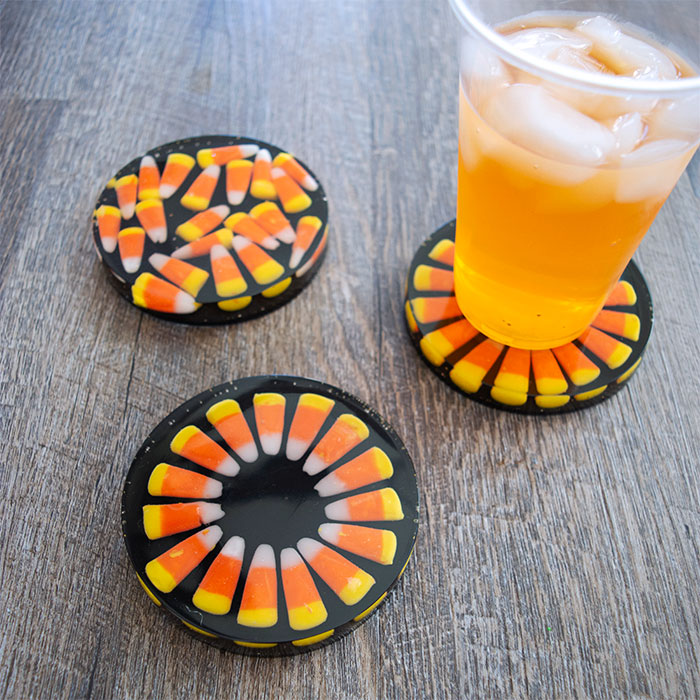
Remove the coasters from the molds, and enjoy your fun new Halloween Candy Corn coasters!
I’m going to make a candy corn tray to match my coasters I think, using the same method! Which candy would you like to preserve in Resin?
After studying Culinary Arts in Portland Oregon, Kelli went back home to the sunny South West where she decided she wanted to do different kinds of Art. This busy mom of three spends all of her available free time creating in her Craft Shack “she shed” where she can be found wood burning, repurposing old stuff, crafting, and painting just about anything she can get her hands on. She loves to learn new craft techniques and frequently finds inspiration in the world around her. Her motto in life is that you should never be too busy to make something pretty!


Have you had any problems with the candy decaying/rotting so far?
No, the resin removes oxygen from around the candy or specimen and gives it immortal life. Amazing, right!?
Oh I’m loving these! Where do you get the coaster mold?
You can find them on Amazon!
Love these, I am thinking of leaving the resin clear in lieu of black back ground… 🙂
Cool idea!
Have you tried painting the edges? Just curious how to seal the paint on the edges of painted?
I’m not sure if she has or not but I’m sure that would look really cool!
Hi I got a beautiful lollipop and I want to preserve it!
Can I just dip it into the resin to coat it without using the spray?
Hi! How fun! You will want to seal it first so that the color stays true. You can use the resin spray ideally, or mod podge.
Hi Lydi!
Can I use something similar to resin spray,? I can’t find it on Amazon !
Hi Mara! You can find it on our website here: https://eti-usa.com/castincraft-resin-spray/
I made these for family members at a weekend getaway a few weeks ago. I did NOT spray the candies and they seem fine. So far there has been zero degradation, so I guess they will stay perfect. It is a great easy project. Now I am looking for Christmas candies I can use. Any suggestions?
Great! Swirly peppermints could be fun!
Good day.. I have been using the Easy cast resin to make picture frames in the shape of hearts..but no matter how hard i try .. ( with the heat gun or torch) i still get micro bubbles.. i have seen where when demolding the coaster or heart is crystal clear.. can you recommend something to assist me please?
Hi Leslie! The most common culprit for bubbles is either the temperature of the resin or the stirring or pouring process. You can check out our tips to prevent/minimize them here: https://resincraftsblog.com/top-6-tips-for-reducing-bubbles-in-your-resin-projects/