
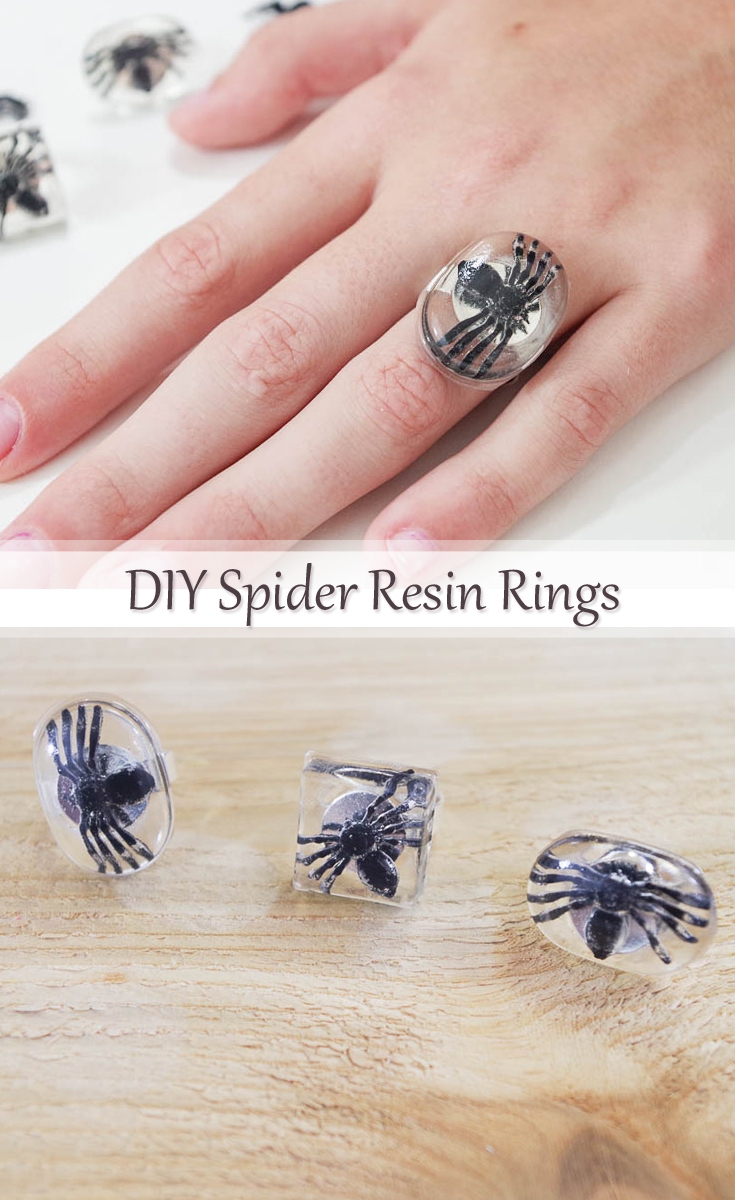
Halloween is one of the best times of the year if you like to celebrate scary or spooky things. These DIY Spider Resin Rings are the perfect addition to your Halloween outfit whether it be for a class, party or costume! Here’s how I made them:
DIY Spider Resin Rings
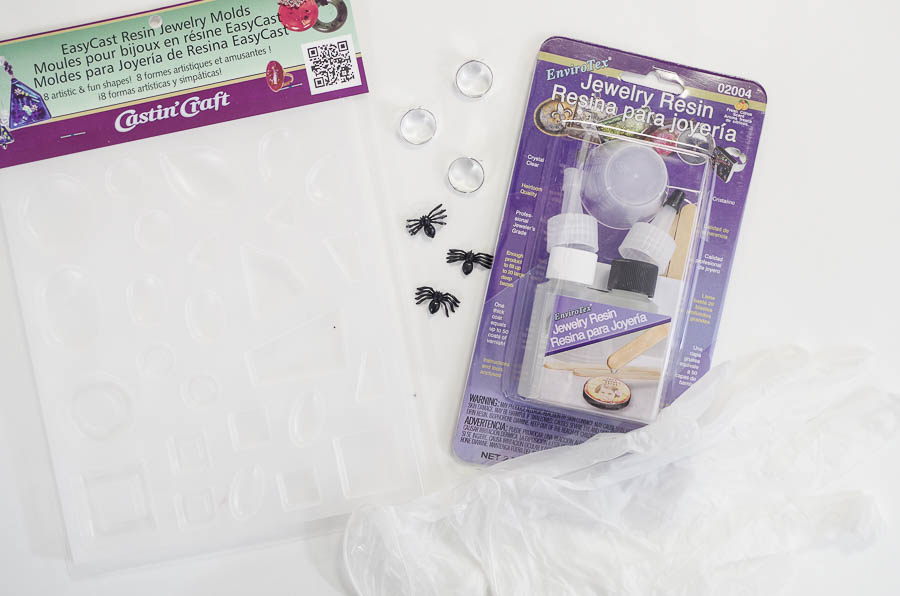
Supplies:
- Envirotex Jewelry Resin Kit
- EasyCast Resin Jewelry Molds
- Mold Release Conditioner Spray
- Ring blanks
- Small Plastic Spiders
- Resin Spray Glossy Finish
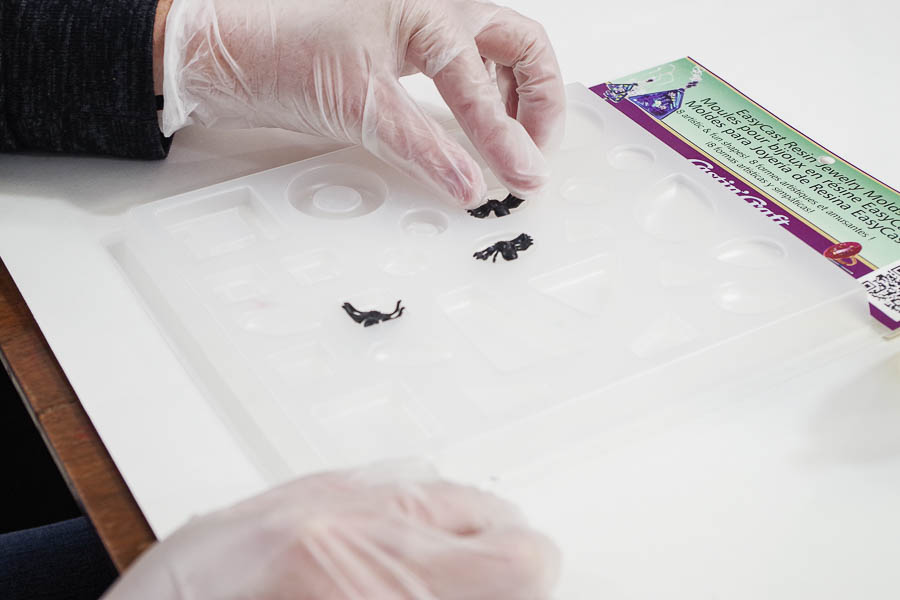
Prep Mold:
Spray your molds with Mold Release Conditioner Spray and let it dry completely. This will make it easier to remove your pieces after they have cured.
Now place your spiders into the mold spaces where they fit best.
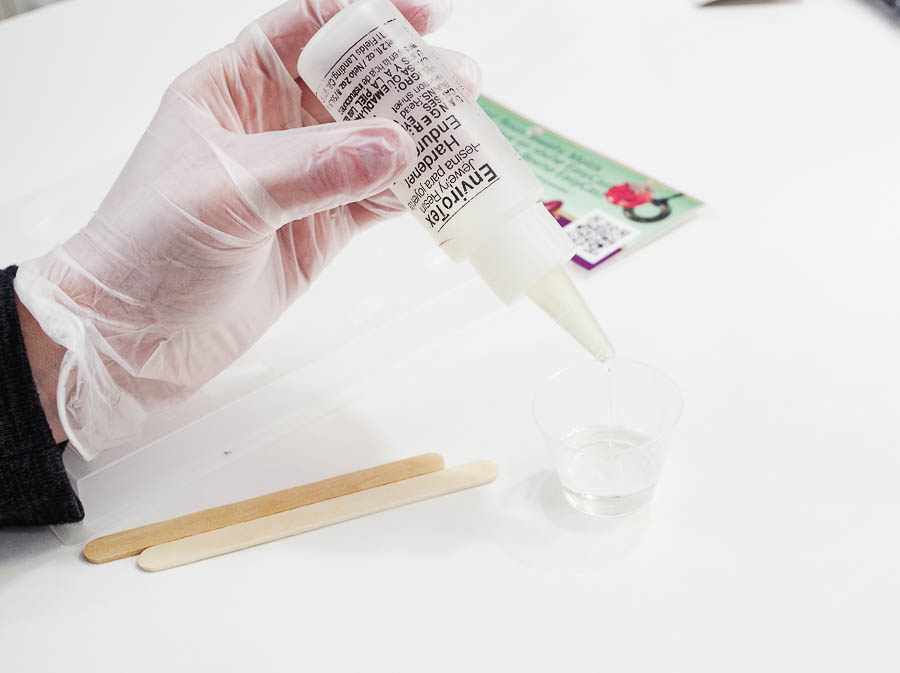
Mix Resin:
First, put on your gloves for protection. You do not want to touch the resin. Pour a small amount of Part A into your mixing cup. 
Pour an equal amount of Part B into the cup and mix thoroughly.
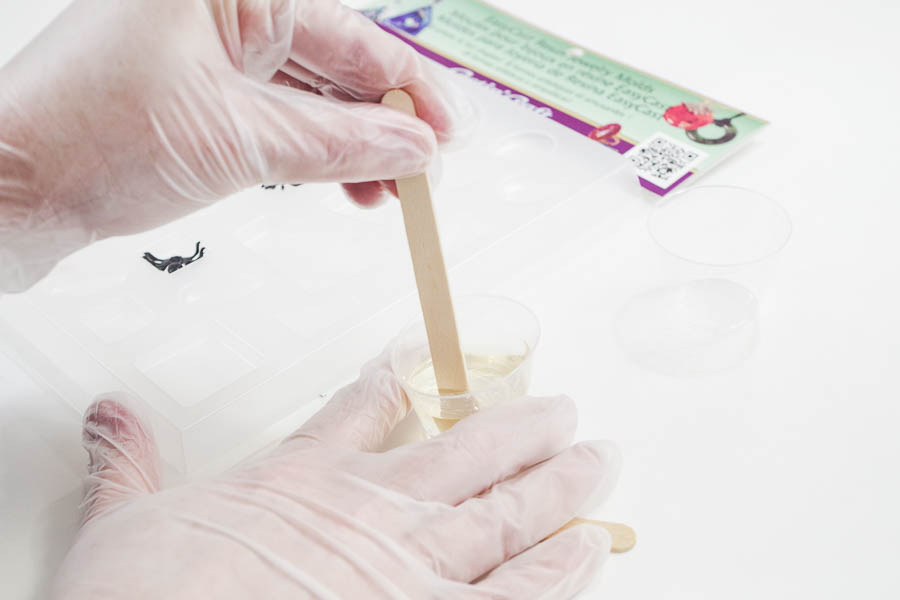
Pour the mixed resin into a second cup. This is the two-cup method and will ensure that all the resin is completely mixed. Stir thoroughly again with a second stir stick.

Pour into Mold:
Now carefully pour the resin into the molds over the spiders.
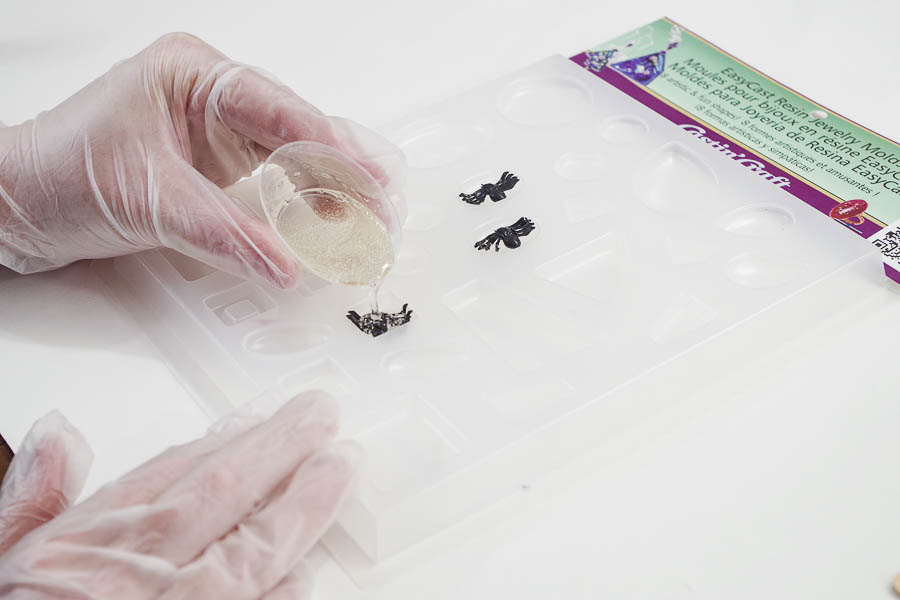
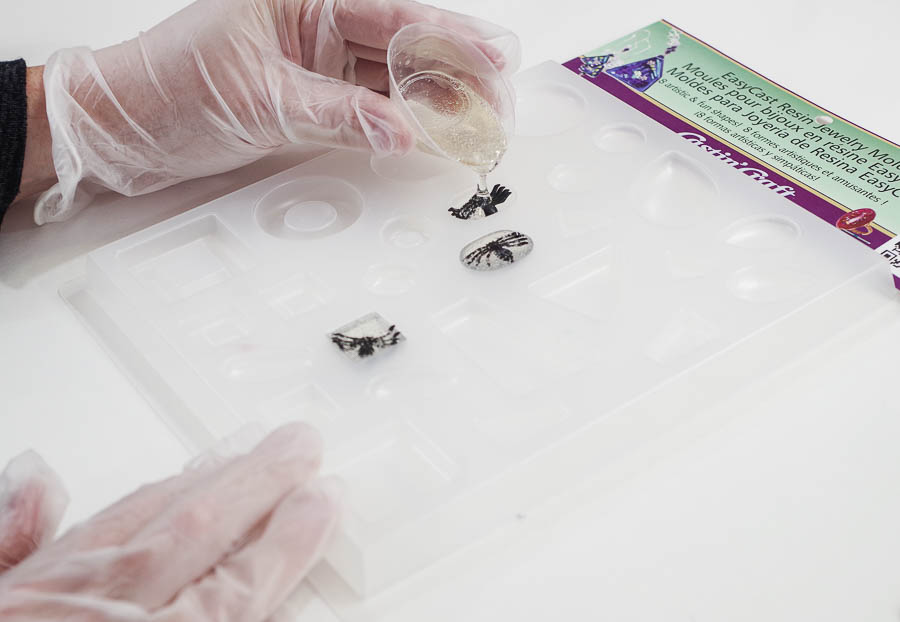
You’ll notice a lot of bubbles. Exhale over the top of the resin pours to pop the bubbles.
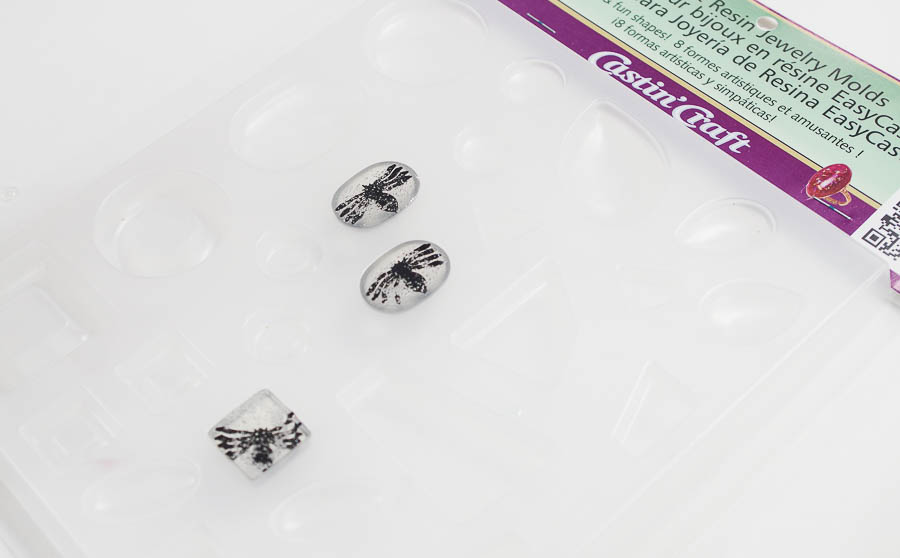
As you see, the bubbles pop and it looks great! Let this cure for about 24 hours in a dust-free area.
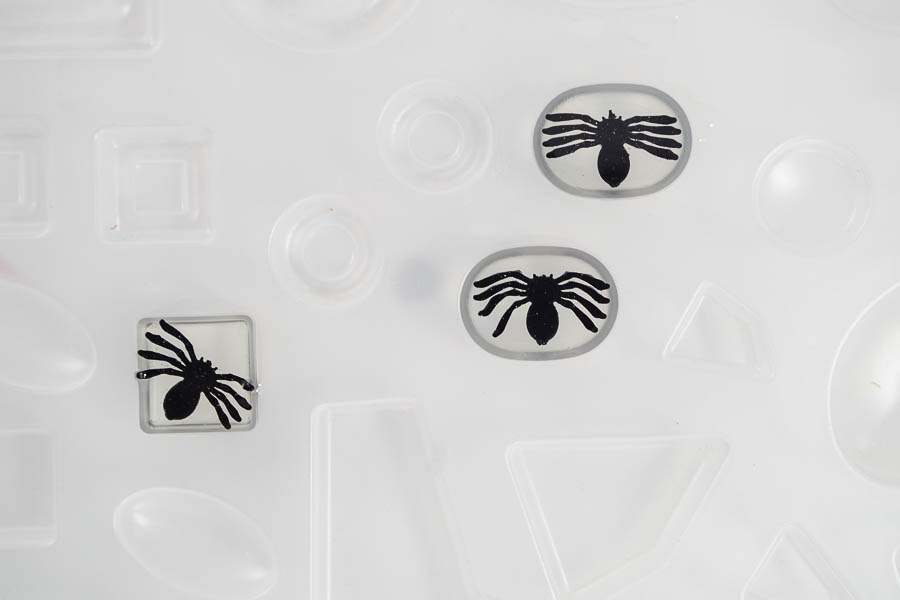
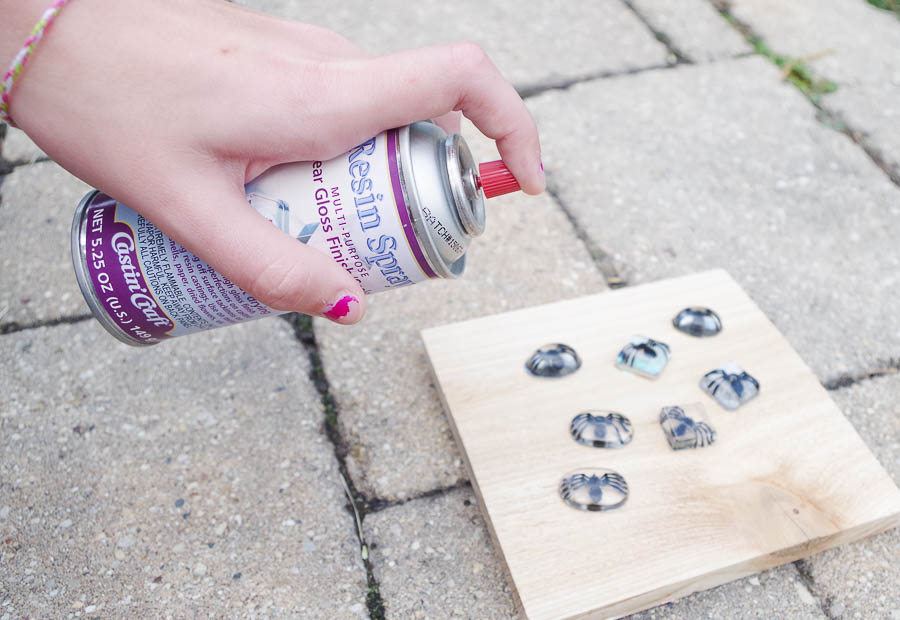
Pop the pieces out of the mold. You’ll notice they have a matte finish from the mold. Spray with Resin Spray to make the tops beautiful and shiny. Be sure to be in a well-ventilated space.
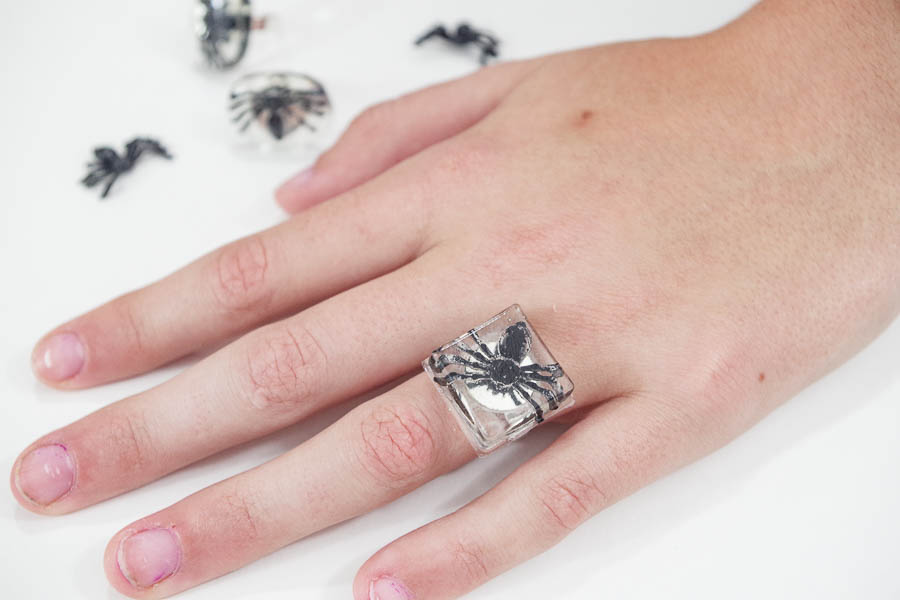
Once dry, glue the resin pieces to the ring blanks.
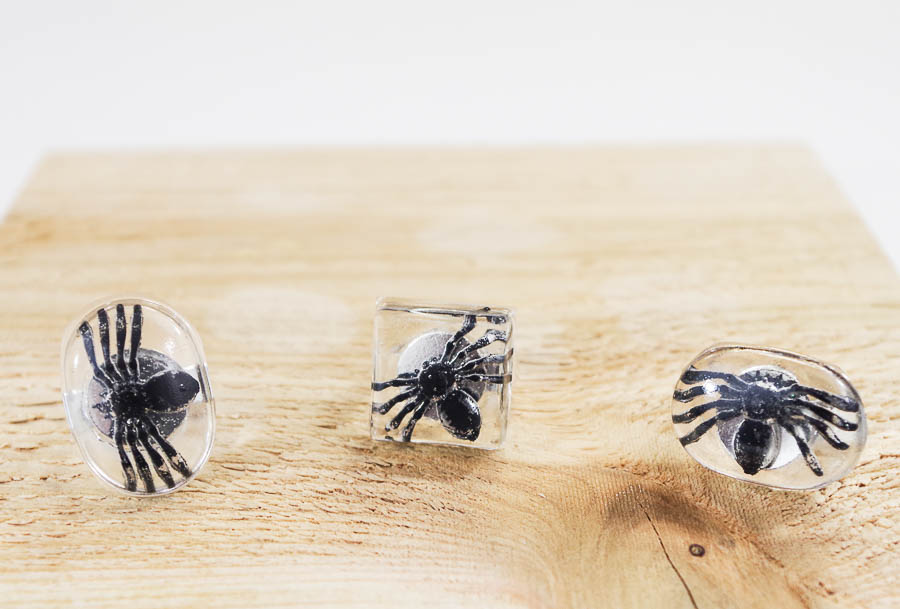
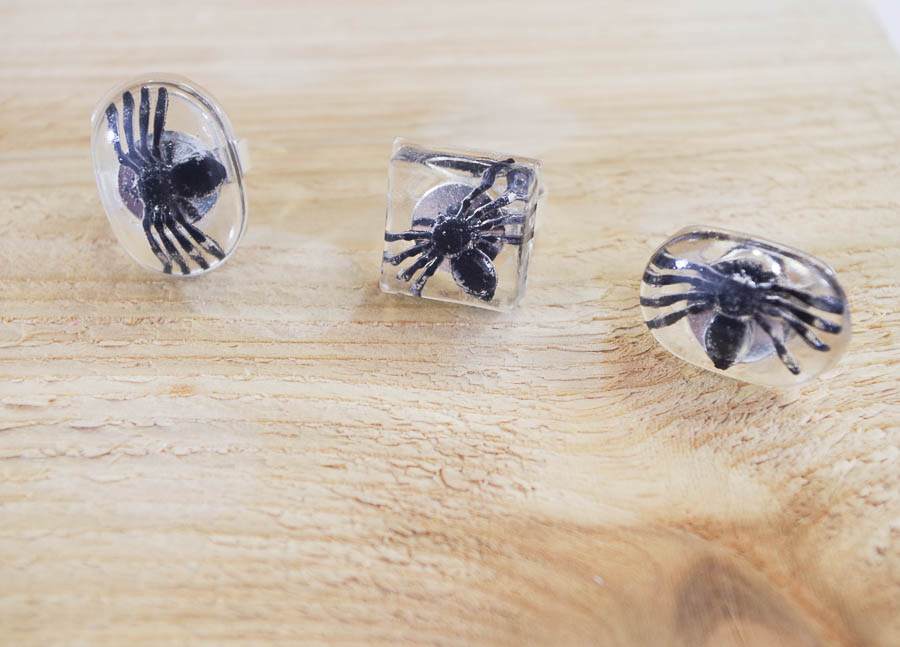
Finished!
Now you have a few awesome and creepy DIY Spider Resin Rings to wear around this holiday season. This would be perfect for any costume or even just fun to wear to work or a party.

I hope you like this project. Let me know in the comments what you think or if you have any questions. Thanks again for reading and good luck with your resin crafting!
Oh, one more thing; if you like this project please save it to Pinterest with this image!
–Sheri
Sheri is a Maker and DIY blogger at Hazel + Gold Designs. She is usually in the middle of multiple projects at once and finds great satisfaction and joy in creating something new. She is constantly learning new skills, putting them to the test, and sharing her experience and knowledge with others. Her favorite hobbies are crafting, painting, crocheting and basic woodworking. Her goal is to inspire others to step out of their comfort zone, learn a new skill and have the confidence to make their life a little more beautiful!


Leave a Reply