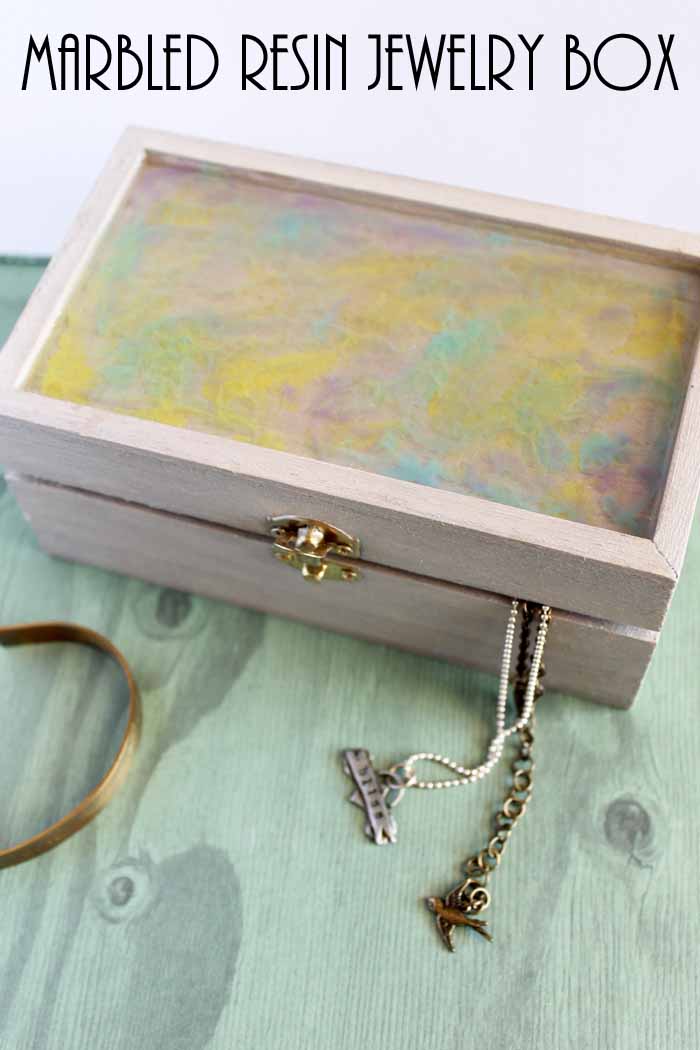
You can make this marbled resin jewelry box in just a few simple steps. Pick colors that work with your decor. This makes a great project to make for yourself or even give as a gift. Giving handmade makes any gift extra special. You might be surprised at just how easy marbleizing resin can be.
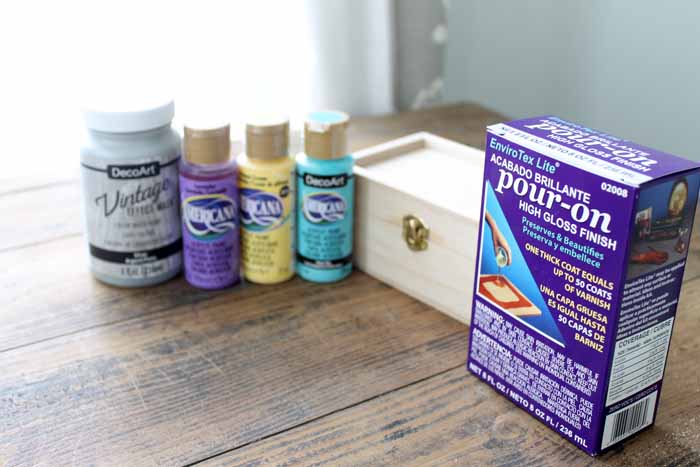
Supplies needed to make your own marbled resin jewelry box:
- Unfinished wood jewelry box with recessed top
- EnviroTex Lite Pour On High Gloss Finish
- Craft paint (in any colors of your choice)
- Vintage wash in two different colors
- Clear adhesive
- Paint brushes
- Measuring cups
- Mixing cups
- Stir sticks
Instructions:
Start by finishing the wood on the jewelry box. I used a vintage wash so that the wood grain would show through. You could also use paint however a wash or stain works well with boxes like these that have hardware. No masking is needed as the wash will wipe right off when wet.
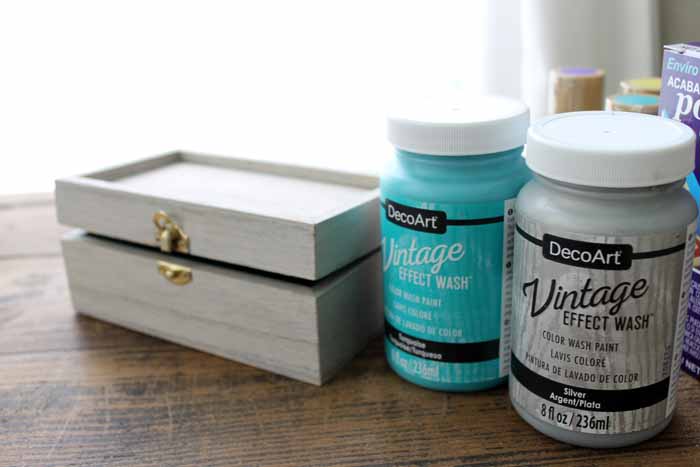
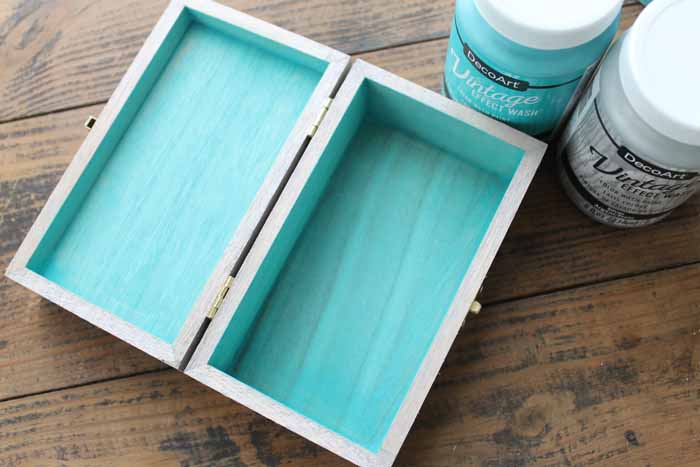
Just brush the wash onto the surface, allow to sit about a minute, then wipe off with a rag. I actually did the inside in another color. I thought the contrast was a fun surprise when you open the lid. Allow any paint that you use to dry completely before continuing.
I personally do not trust that the lip of this jewelry box is completely water tight. I went around the outer edge with a clear adhesive and allowed it to dry. This will ensure that you do not have any drips after pouring your resin.
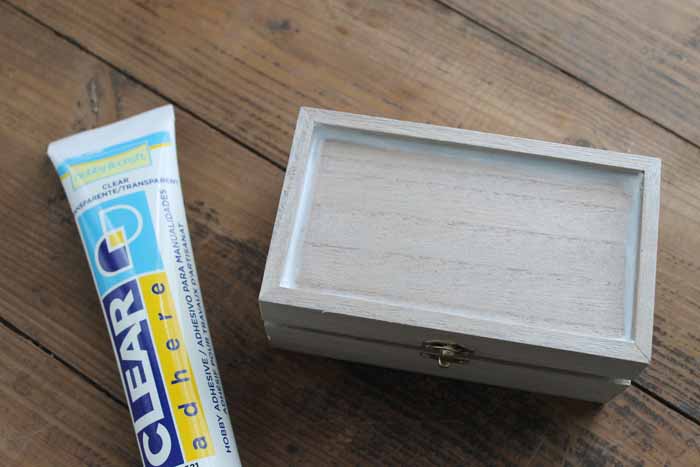
It is now time to mix your resin! Start by mixing about 6 tablespoons total in a measuring cup. Be sure to use the two cup method for mixing as indicated on the directions that come with the product. This will ensure that everything gets mixed well.
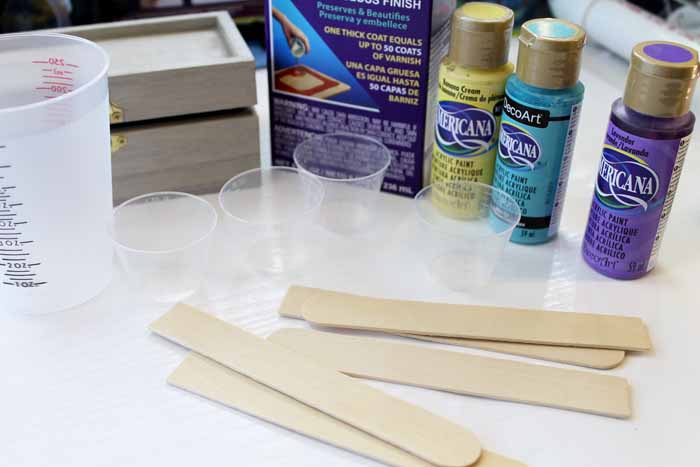
Then pour about 1/2 of a tablespoon of the mixed resin into each of three smaller cups.
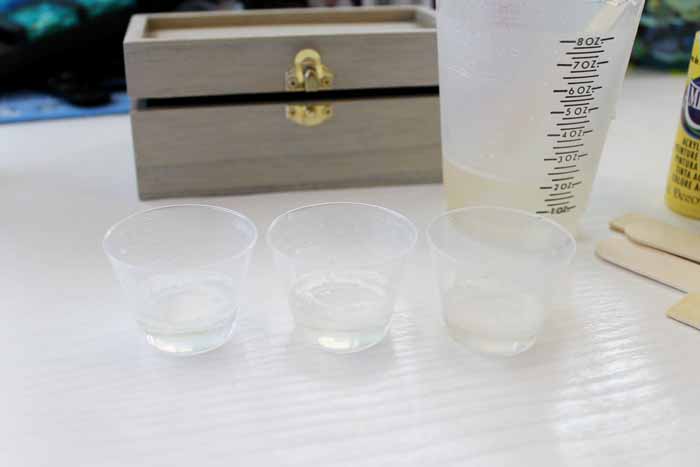
Add one drop of the paint colors of your choice into each cup and mix well with a mixing stick.
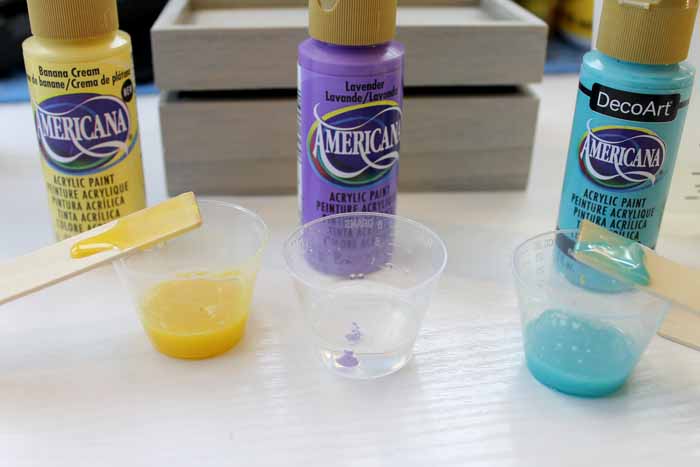
Pour the clear resin that you have left into the recess in your jewelry box first. Be sure it spreads out evenly and into all corners.
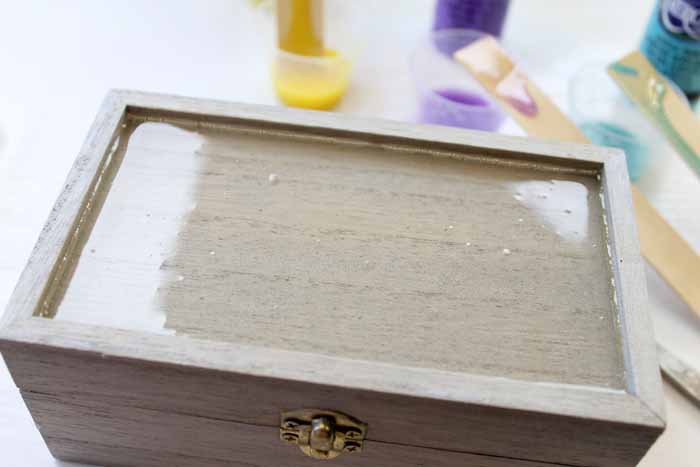
Then start dripping in the colored resins.
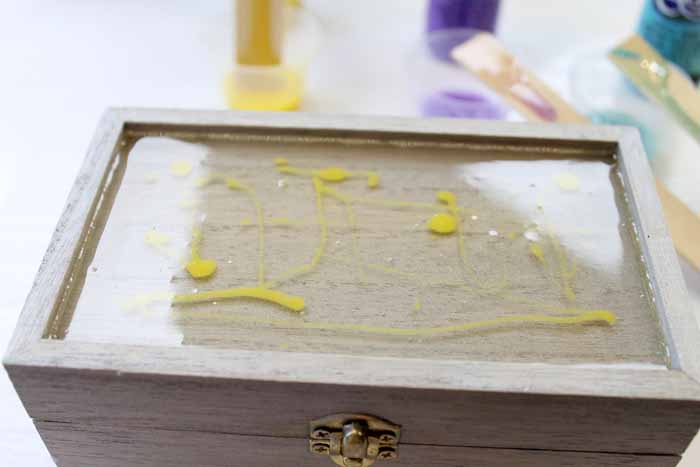
You can add as much or as little of the colors as you wish.
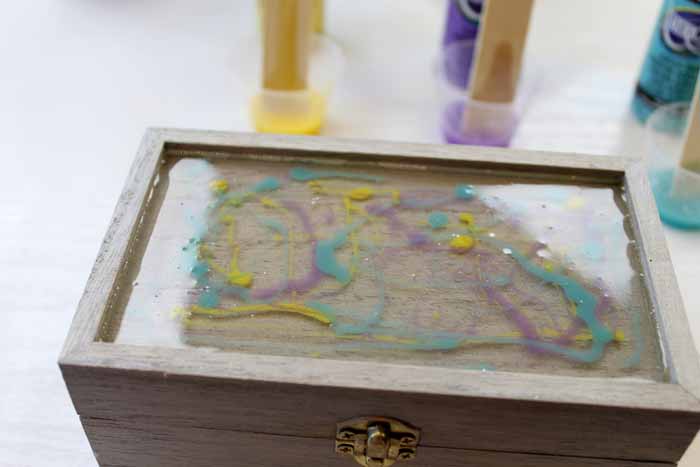
Then use an extra stir stick to run through the resin and give it a marbleized appearance. You can add more color and swirl again if needed. Just keep playing with it until you reach the look desired.
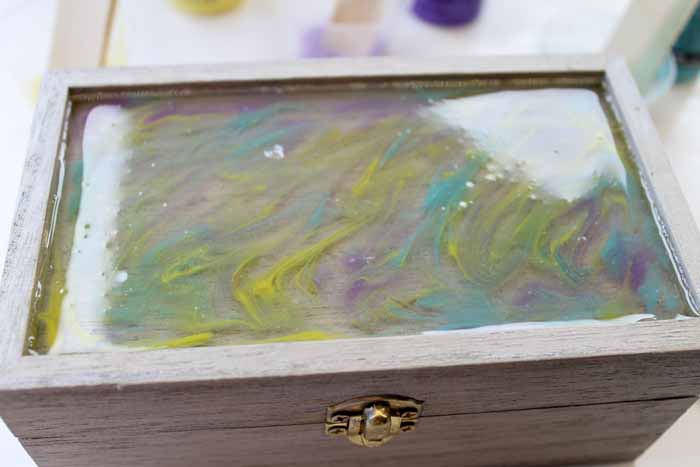
Remove any bubbles in the resin by either exhaling on the surface or using a small kitchen torch. Be sure to follow the directions that come with the product for this step. Finally set on a level surface and allow to cure at least overnight.
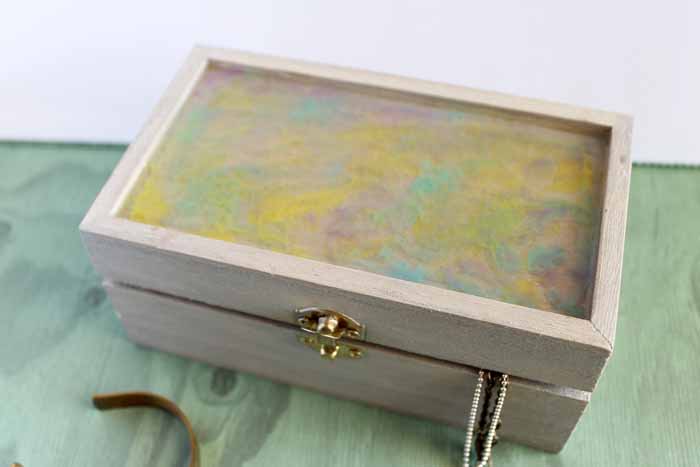
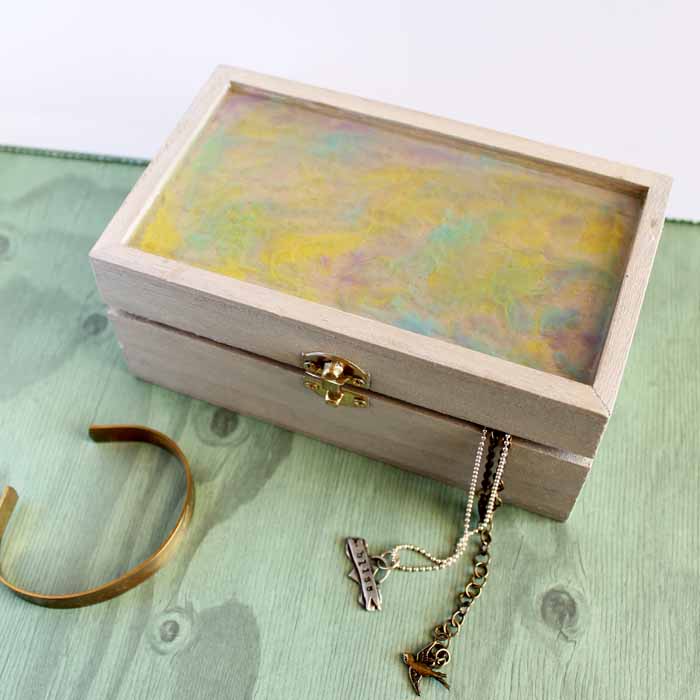
Your marbled resin jewelry is ready for gift giving. Imagine their surprise when they see that gorgeous inside as well.
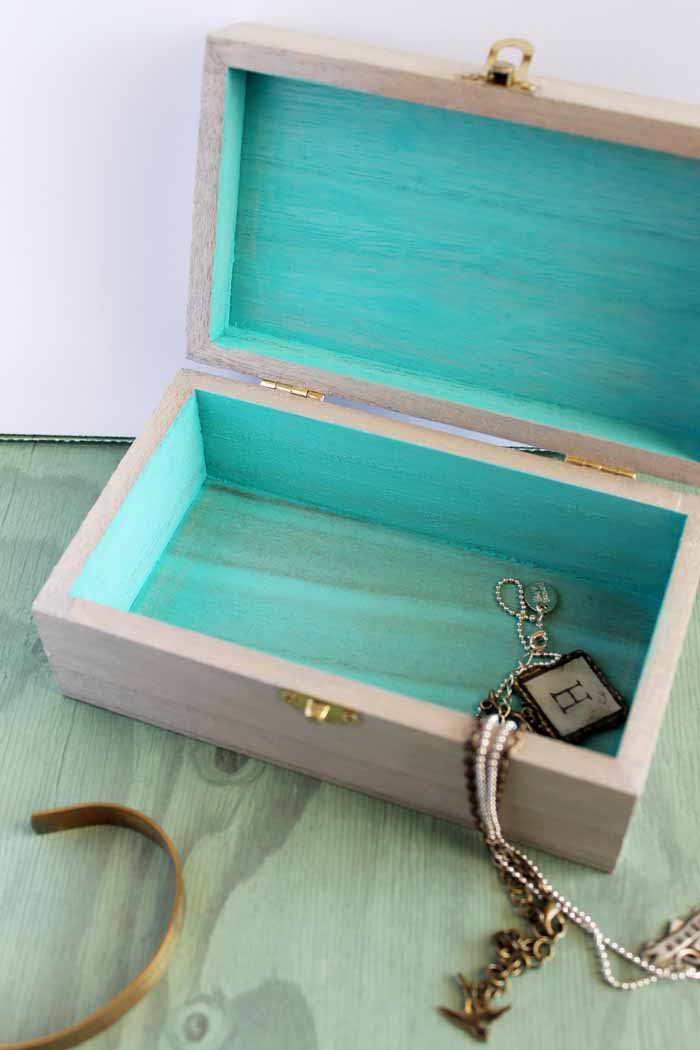
Add this marbled resin jewelry box to your home or give it as a fun gift idea. You will love just how easy this is to make! So who will you make this project for?
Angie has been blogging for over seven years at The Country Chic Cottage where she does a variety of crafts and home decor projects. You can even find a weekly recipe! She lives on a farm in rural Tennessee with her husband and three children. Painting is a favorite of Angie’s because it is a quick and easy way to make a big impact for very little money.


Very pretty. I like the results from the color wash, and the marbling process for the resin is quite interesting and yields an attractive result.
Thanks for sharing at the #InspirationSpotlight party @DearCreatives Pinned & shared.
Everything marble is for me! I have a wooden box like this and I will try it! Thank you for sharing 🙂