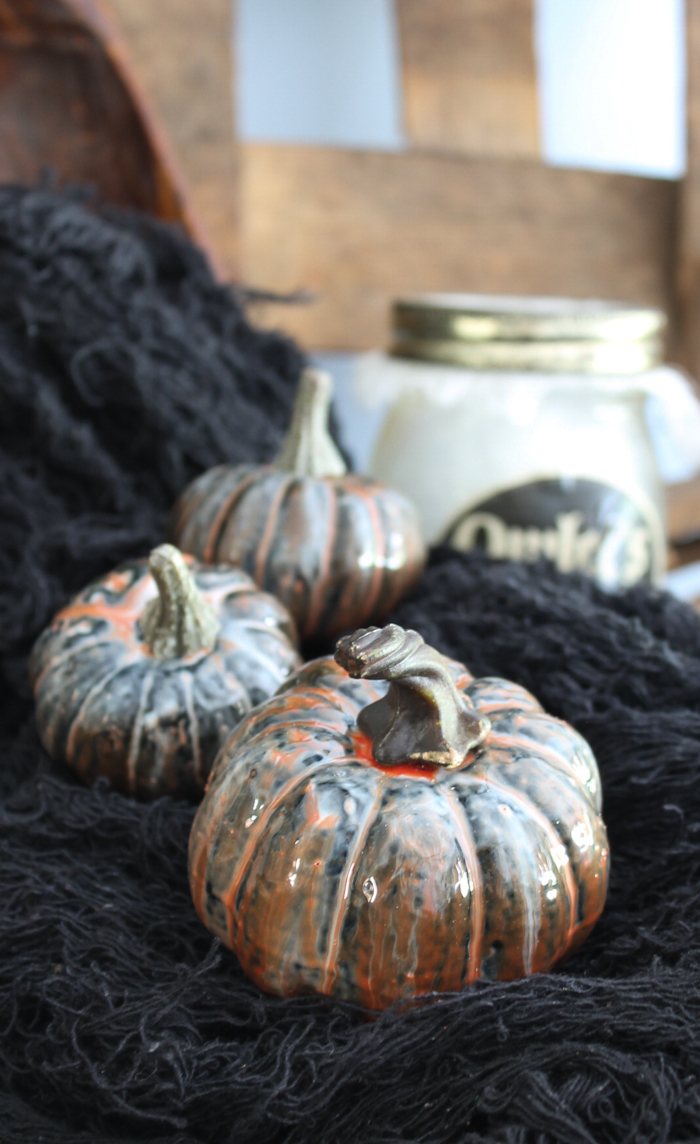
Make a batch of marbled resin pumpkins for your Halloween decor in just minutes. You can add some spook to a mantel with these fun pumpkins. Change up the colors to something more festive to use the same technique for your fall decor. Either way, you are sure to love just how easy these are to make.
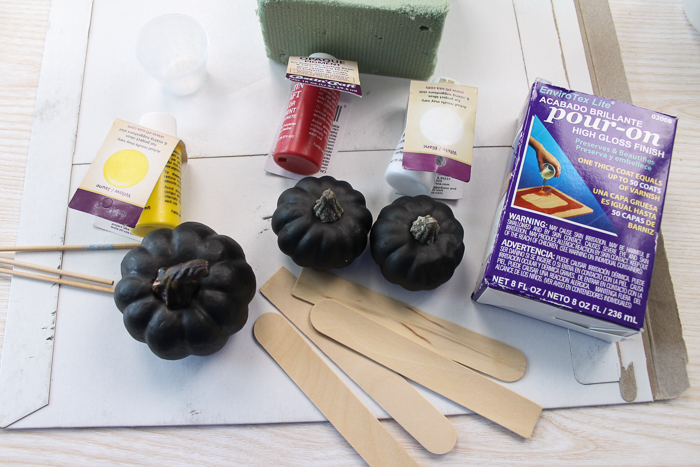
Supplies needed to make these marbled resin pumpkins:
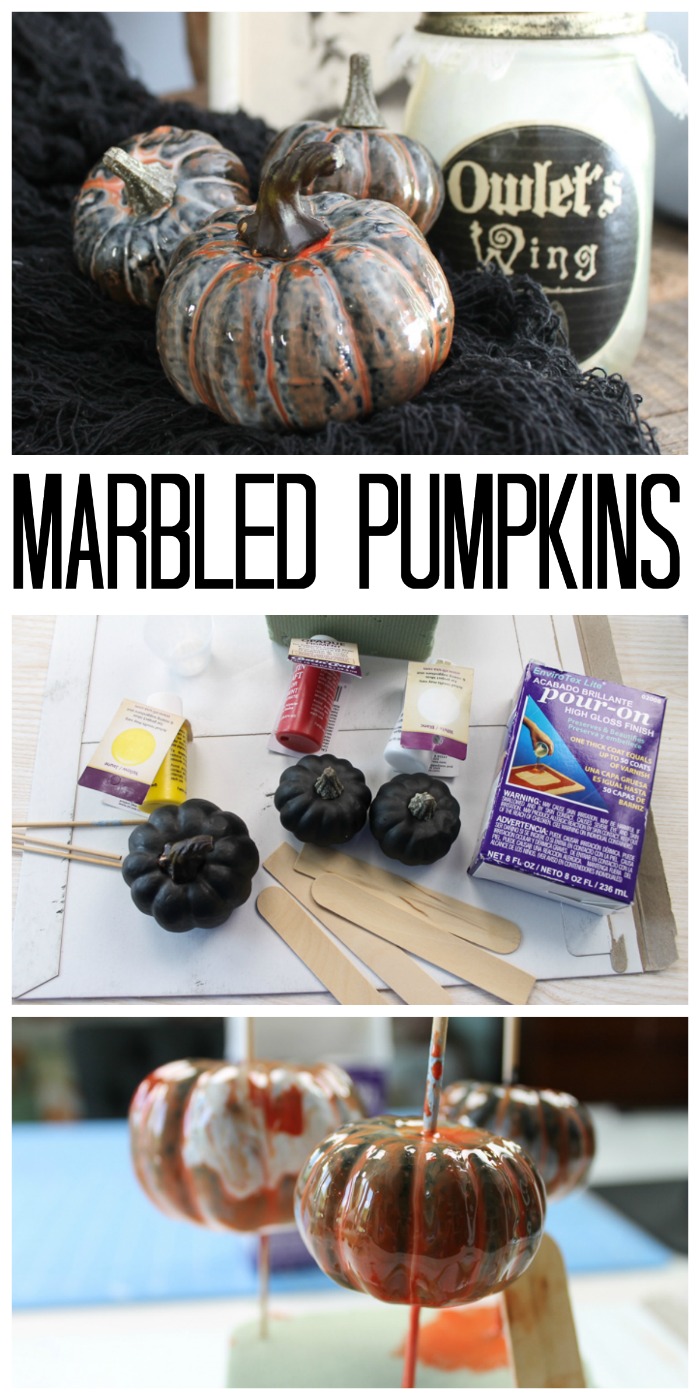
- EnviroTex Lite® Pour On High Gloss Finish
- Plastic Pumpkins (buy black ones or paint existing ones)
- Castin’Craft Opaque Pigments (in the colors of your choice)
- Skewer and Toothpicks
- Foam Block
- Stir Sticks
- Measuring Cups
- Mixing Cups
- Cardboard
- Protective gloves
- Craft knife
Instructions:
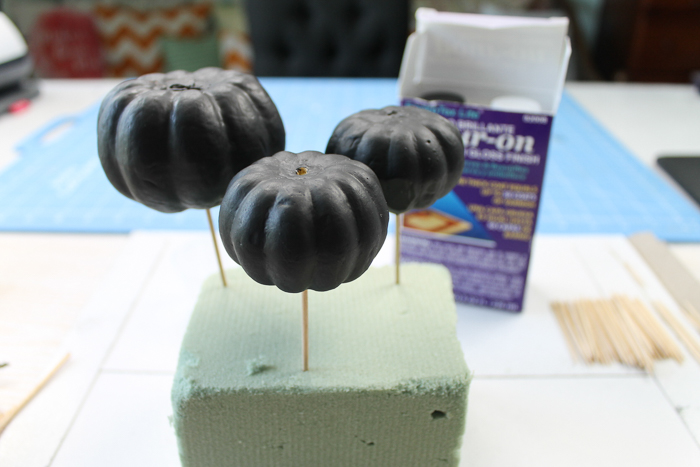
Be sure to protect your work surface with cardboard before beginning. Then remove the stems from the pumpkins and add them onto a skewer or dowel rod. Stick that in a foam block as shown below.
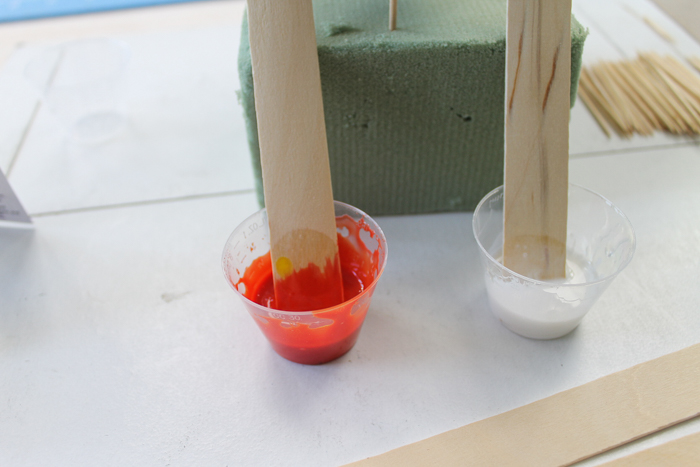
Measure and mix your EnviroTex Lite® Pour On High Gloss Finish according to the package directions. Then divide up into small cups and add Castin’Craft Opaque Pigments to get the desired colors. I mixed yellow and red to get a deep orange and used white. NOTE: Be sure to wear protective gloves when working with resin.
You will also need a skewer or toothpick in the other side of each pumpkin so you can pick up the pumpkins and turn them. Start pouring the resin on each of your pumpkins.
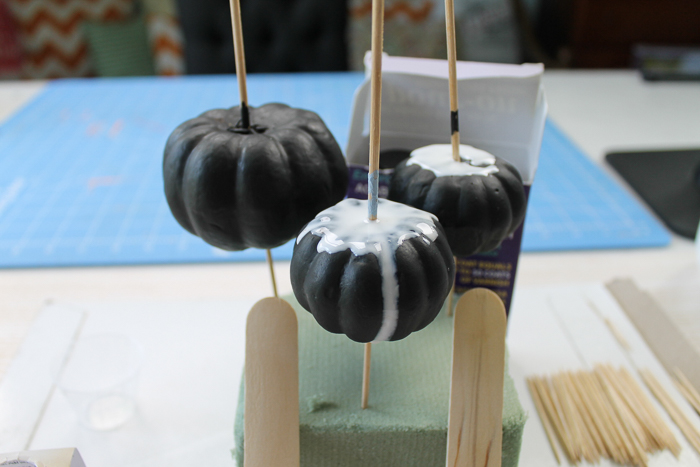
Layer a few colors. I find that dripping the product on using the stir stick is effective and less messy.
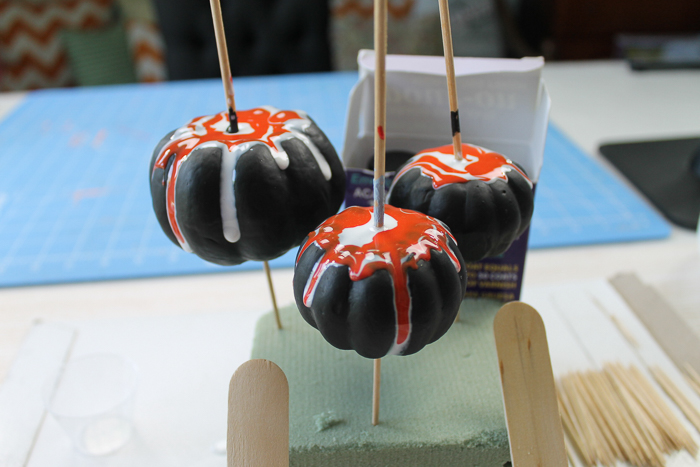
Then start picking up the pumpkins using the two skewers and twisting them to get complete coverage. Add more resin if needed. Continue until you are happy with the look.
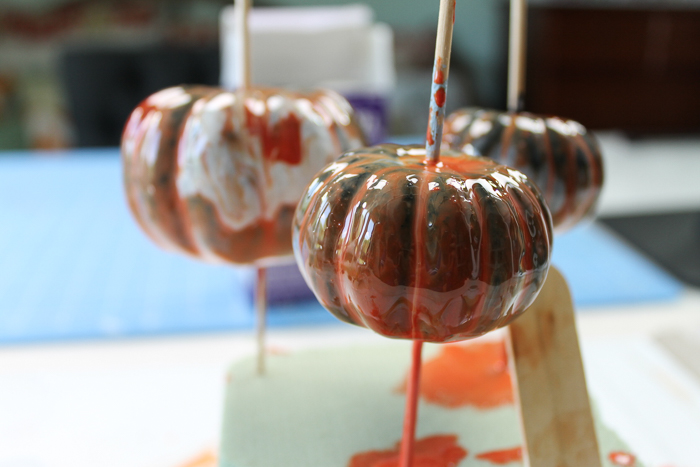
Allow to cure overnight, then remove the two skewers. You may need a craft knife to cut away the cured resin in order to remove. Add your stem back to your pumpkins and they are ready for a fun and spooky display.
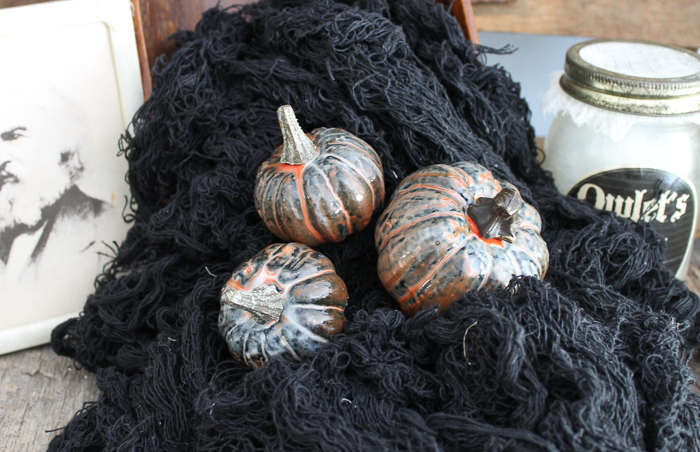
My favorite part about these marbled resin pumpkins is just how glossy they are!
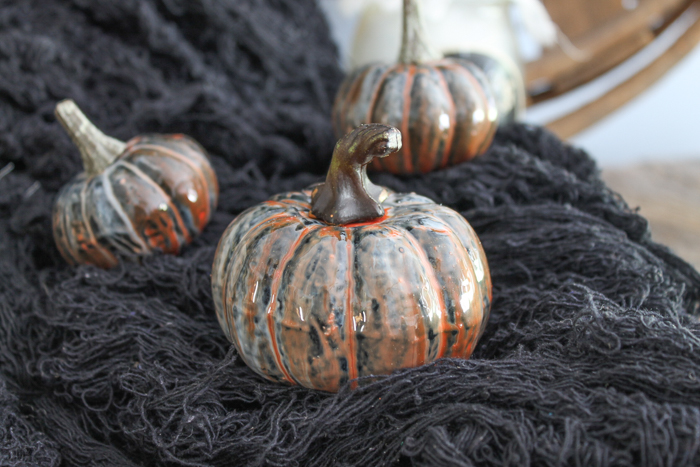
The black pumpkins made the perfect base for Halloween but you can try this same technique on some orange pumpkins. Marble with white and light orange for a fun effect.
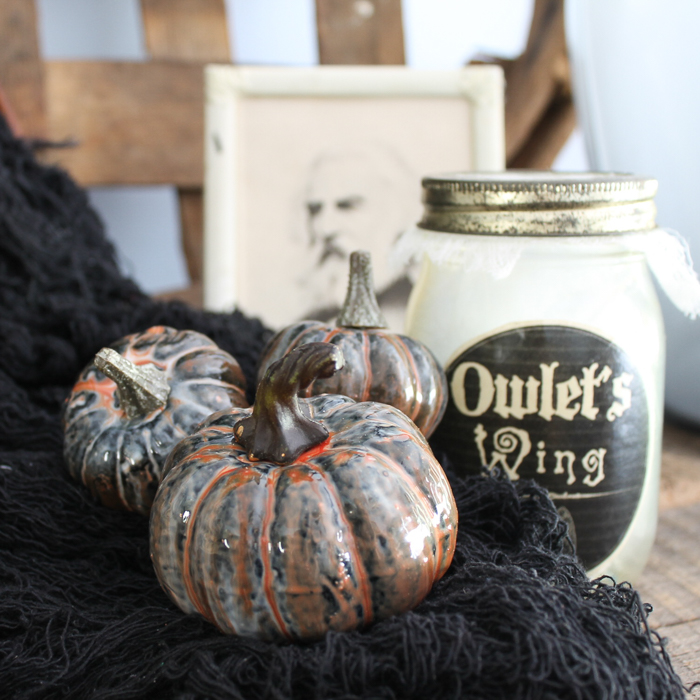
Be sure to try this technique on some pumpkins this season. You are going to love your own marbled resin pumpkins!
Angie has been blogging for over seven years at The Country Chic Cottage where she does a variety of crafts and home decor projects. You can even find a weekly recipe! She lives on a farm in rural Tennessee with her husband and three children. Painting is a favorite of Angie’s because it is a quick and easy way to make a big impact for very little money.

The pumpkins are so pretty. They look like hand blown glass.
These look great, will give them a go #insparationspotlight@_karendennis
I love how these look! Your directions make it look easy! Thank you for sharing at Celebrate it!
Your pumpkins are beautiful! I’m featuring your project tonight for this week’s “Best of the Weekend” party.
Paula