Marbled Resin Round Serving Tray DIY
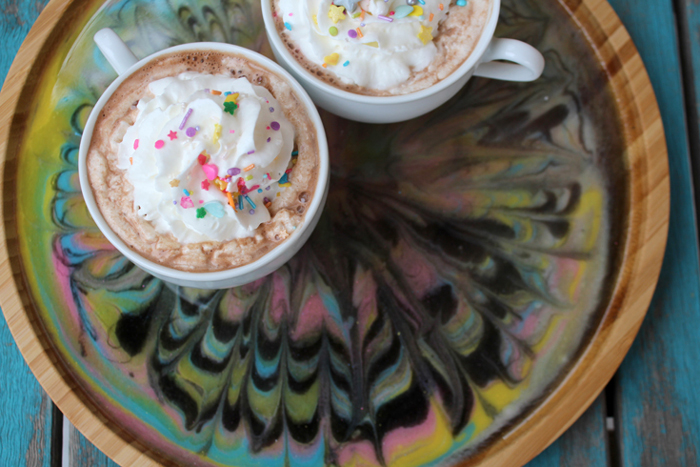
It’s Natalie from Doodlecraft sharing an especially awesome resin craft! This uniquely colorful marbled resin tray is perfect for serving up warm cocoa on a cold day. This fun project would make a great gift also. Let’s get started.
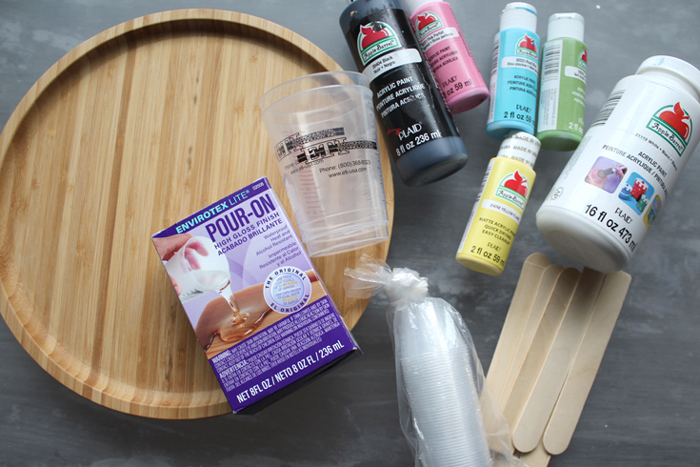
Supplies needed:
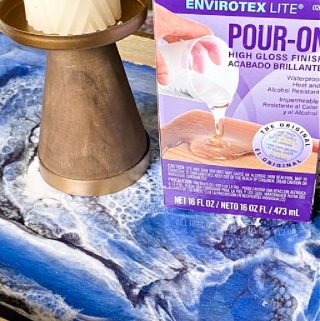
- Envirotex Lite High Gloss Finish
- Round Wood Tray
- Mixing Cups
- Stirring Sticks
- Disposable gloves and work surface
- Variety of acrylic paints
Begin by reading the directions for the Envirotex Lite High Gloss Resin. Mix 1 part resin and 1 part hardener and stir continuously for 2 minutes. Then pour the resin into a second cup and use a new stick to stir for 1 more minute. Next pour a small amount of mixed resin into smaller cups. Add a small blob of acrylic paint to each cup.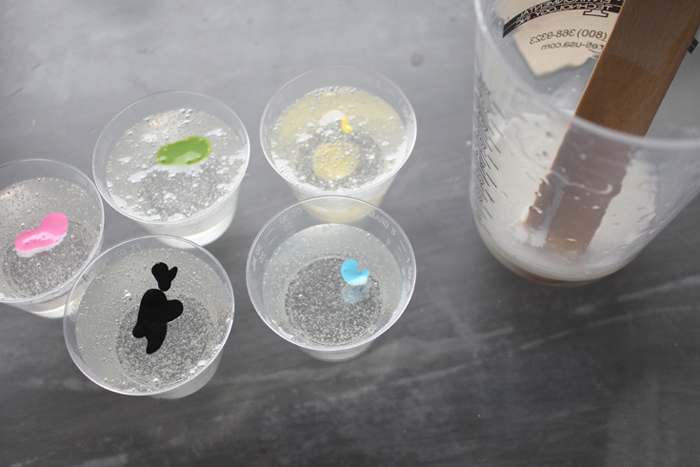
Then stir the paint into the resin until smooth.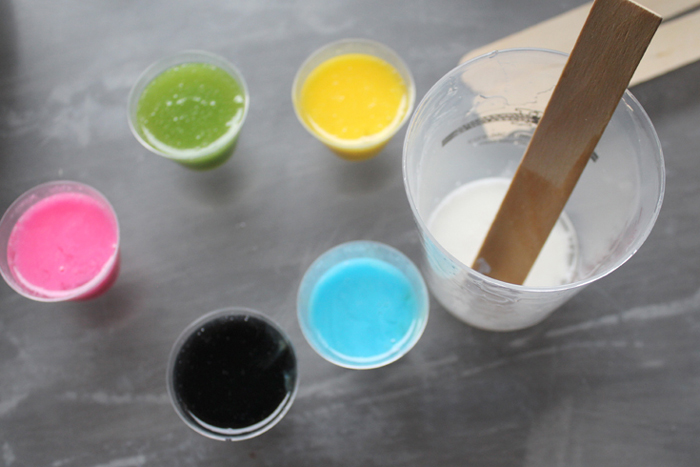
Pour the mixed resin all into one cup in a bulls-eye pattern as pictured below.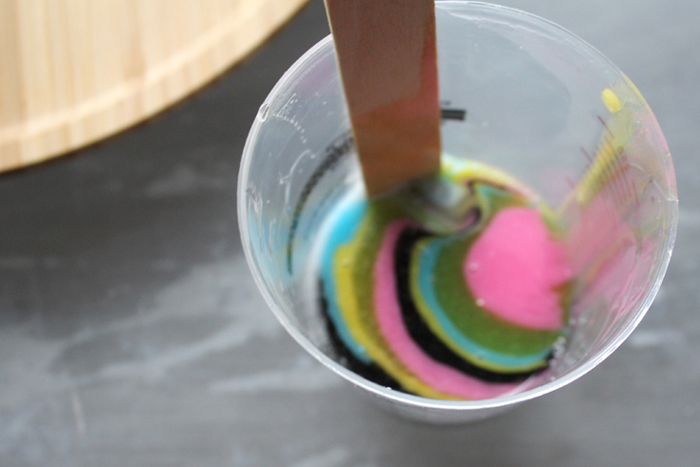
Then pour the entire cup of resin onto the wood serving tray.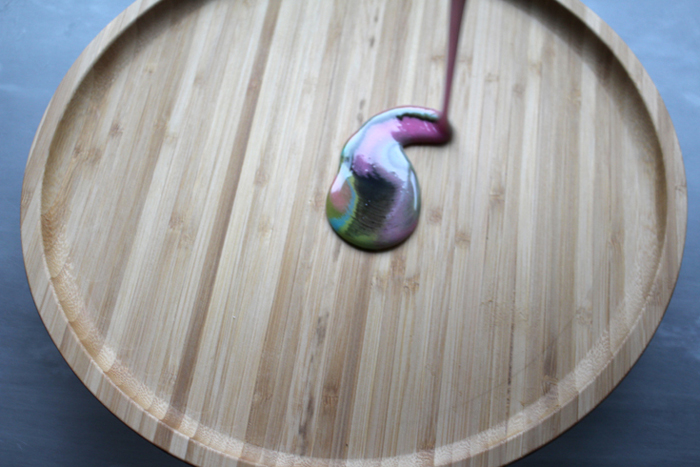
After pouring it all around, tip and tilt the tray until the entire base is covered.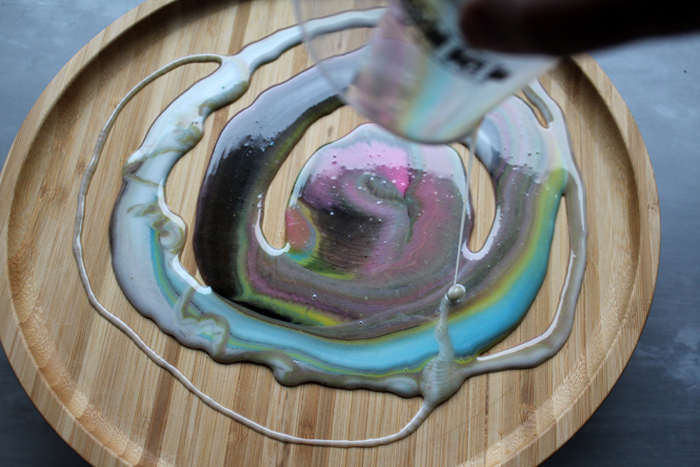
Then pour all the resin remaining in each individual cup in circles on top of the poured resin. 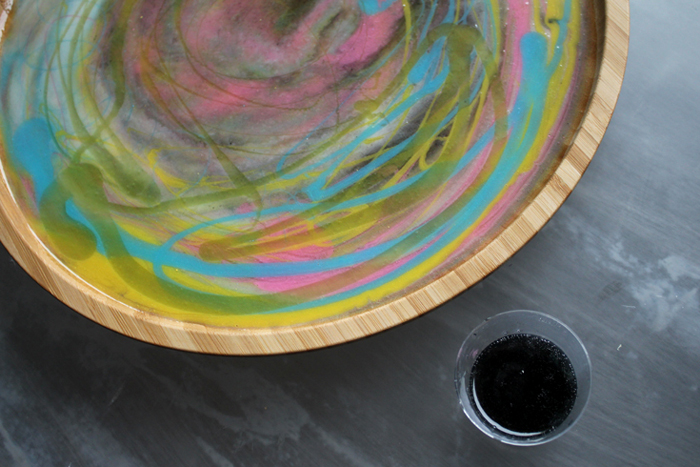
Then use a stirring stick to swirl and pull the resin around. By dragging in towards the center and out toward the edges it creates an almost floral look with the marbling. After 20 minutes, use a mini torch or heat gun to gently pop any bubbles that have formed. Now set it aside to cure and dry for 48 hours.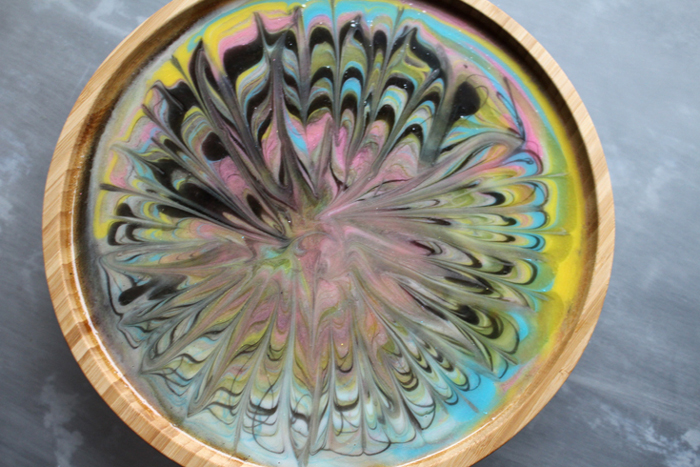
After curing; it is shiny, glossy and ready to use! The flecks of colors, the spirals and movement are just so fun. Marbled resin is an especially fun technique and makes a great statement.
Just add cocoa!

Natalie Shaw is a Craft/DIY blogger at Doodlecraftblog.com. She loves sci-fi, fantasy and video game geekery and that comes out in many of her projects. She posts budget conscious DIY’s, crafts, jewelry, kid friendly projects, upcycled treasures and other fun on her blog 5 days a week.



I would love to do this as an art project for my daughter’s 7th grade class.
about how much resin would I need for a 12″ tray?
Can a hair dryer be used instead of the torch?
Seems easy enough for a group of 12 year olds- I hope.
Do a test run yourself so you know the process before jumping in with a bunch of 12 year olds. Also, a great way to know how much resin to mix is to simply pour water in your tray until the desired height and then pour the water out into a measuring cup. Then mix up that much resin. A hair dryer has blowing power, so it could blow the resin around too much…instead you can blow through a straw near the bubbles to pop them. Good luck!
So cool! Does it have to be a wooden tray?
It doesn’t need to be wood, any tray with an edge will work great!
I want to try this but I dont know where to buy the wooden tray from. Where can I get one?
Mine is from Amazon, but they are not too hard to find.
Nice work! You can also mix your acrylic paint separately, do a dirty pour and allow the work to dry. Then mix your resin, pour over it and allow to dry. I’ve done it before on serving trays as well.
You are right, that’s another great way to do a pour…but 2 steps instead of just one. Both ways the finishes are glossy and shiny!