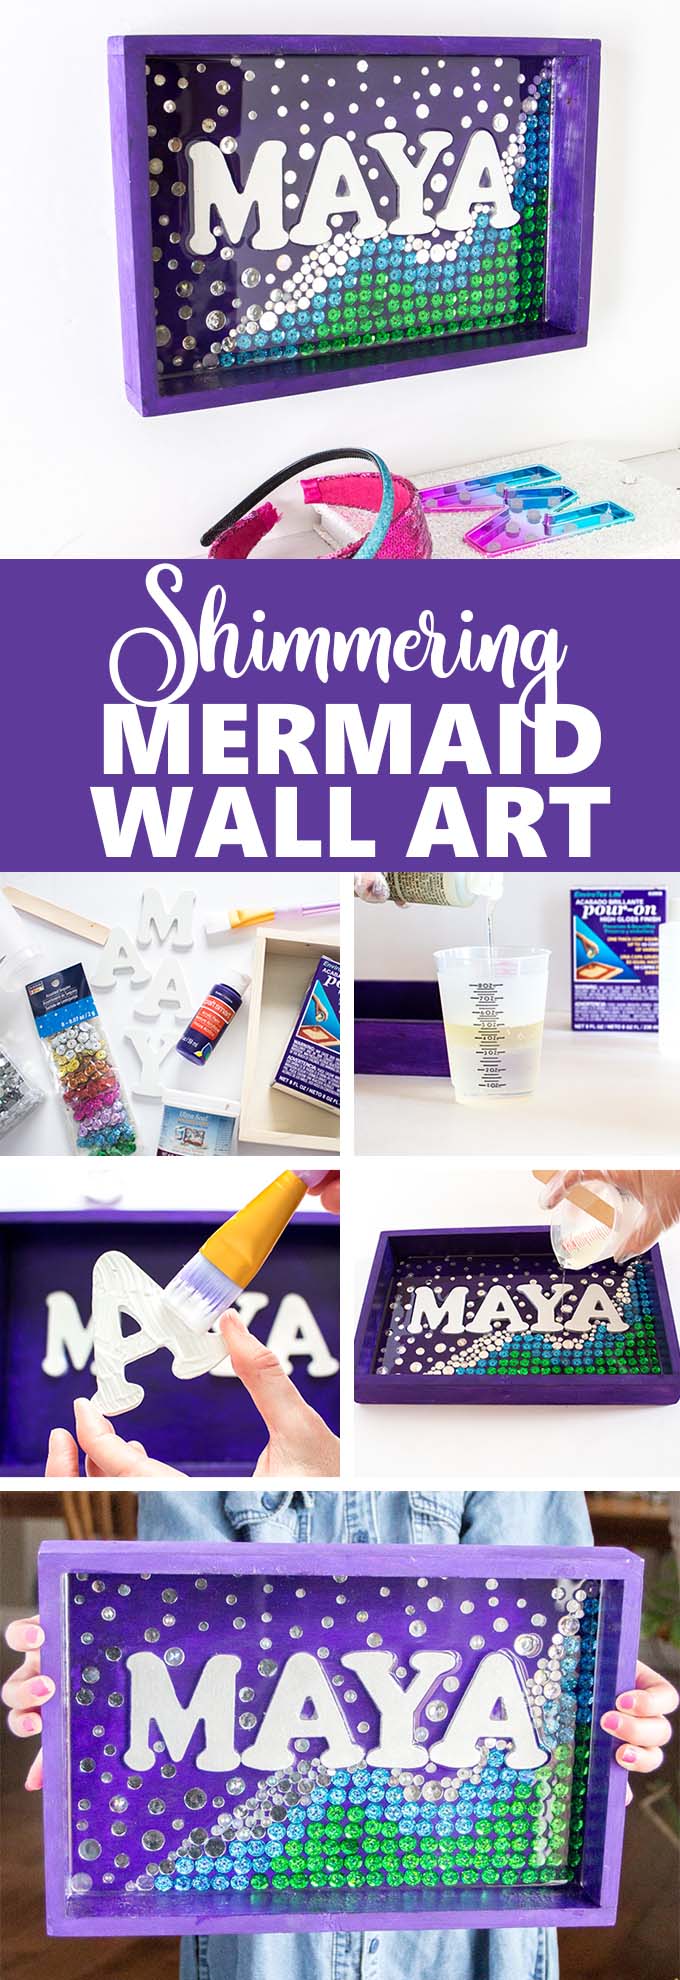
Make a personalized name plate for any mermaid loving little girl in your life. This sparkling mermaid wall art idea could also double as a fun catch-all tray for all their sea treasures.

DIY Mermaid Wall Art with Resin
Hi friends! It’s Jane here from Sustain My Craft Habit. Some months back we shared a mermaid-themed night light shade that I made for my daughter’s bedroom. It apparently put me in a mermaid mood and the idea for this personalized name plate came to mind.
I quite like the versatility of EnviroTex Lite high gloss resin to create a shiny flat finish on projects, like I used for this driftwood tray and this decorative monogram letter. For this project I used sequins and gems but really any type of embellishments and small knick-knacks would do.

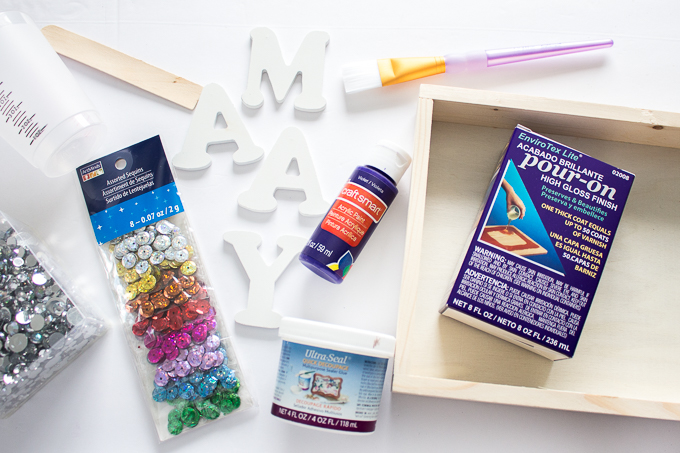
Materials Needed:
- Large Unfinished Wood Plaque by ArtMinds (sized 12” x 8”)
- White Letters by ArtMinds, 2.5” high
- Acrylic Paint by Craft Smart in Violet, 2oz
- Metallic Paint by Craft Smart in Silver, 2 oz (not shown)
- Paint brush by Craft Smart (medium sized)
- Assorted Sequins by ArtMinds in green and blue colors
- Acrylic Gems by Bead Landing in Gray & AB Mix
- Ultra Seal Multi-Purpose Sealer / Glue (or any clear drying craft glue)
- EnviroTex Lite Pour On
- Plastic mixing cup, stick
Instructions for making the mermaid wall art:
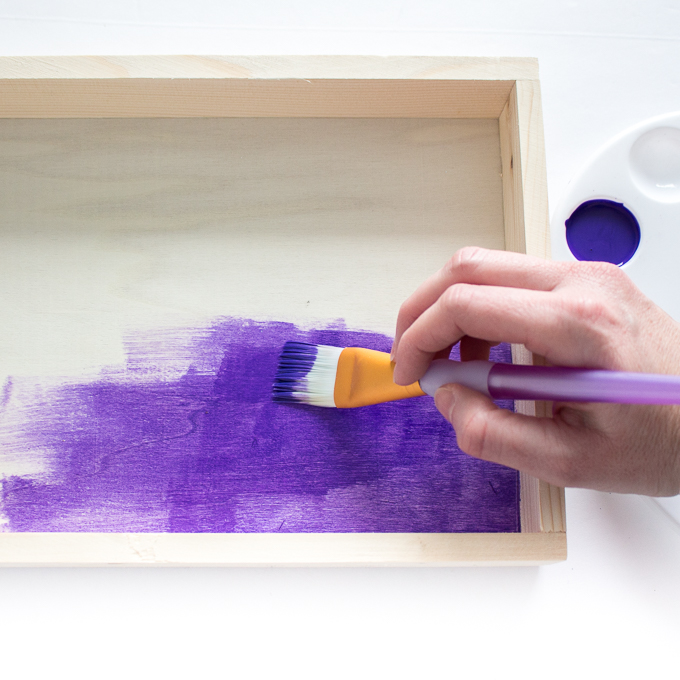
Preparing the materials:
Paint plaque in Violet, all sides. Leave it to dry fully between coats and paint it as many coats as necessary to achieve desired coverage.
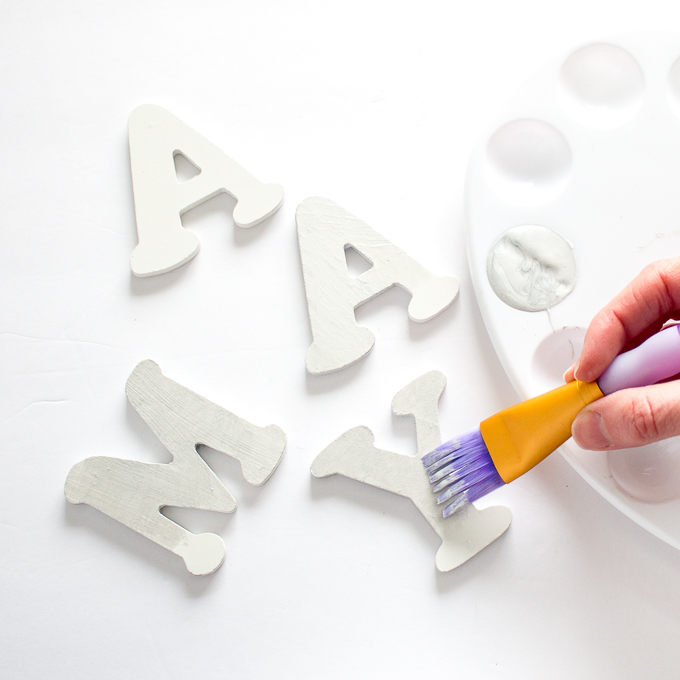
 Paint all sides of the MDF letters in Metallic Silver. Leave it to dry fully between coats and paint them as many coats as necessary to achieve desired coverage.
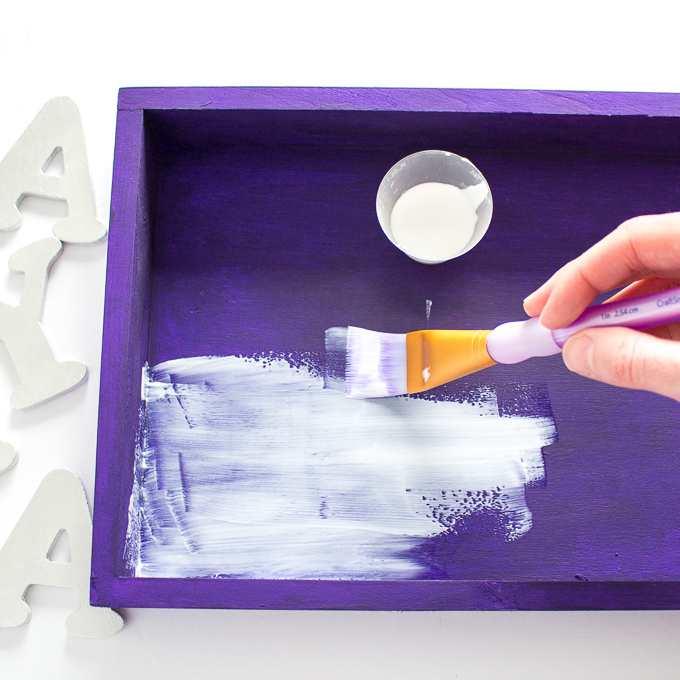
 Apply one generous coat of all-purpose sealer to the inside of your serving tray. Leave it to dry.
 Arrange the letters inside of the plaque and glue letters in place.
 Apply a coat of clear drying sealer to all sides of the painted letters. Put it aside to dry.
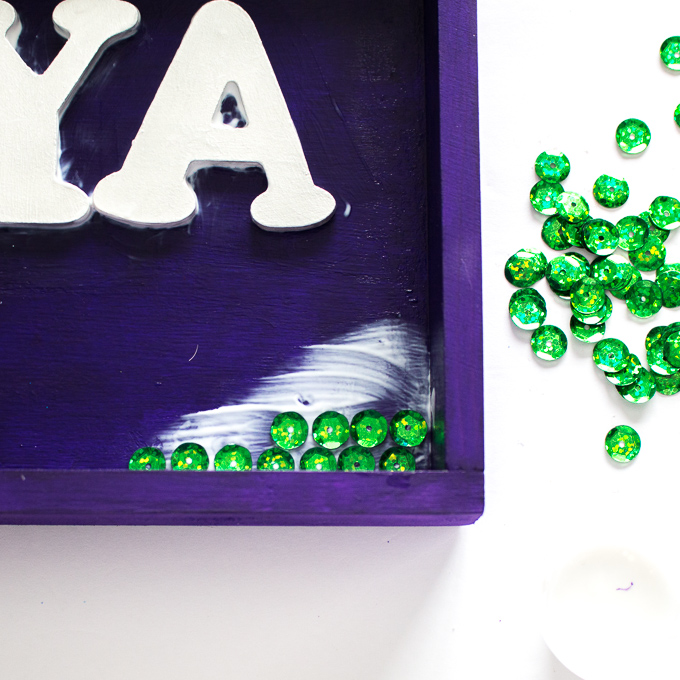
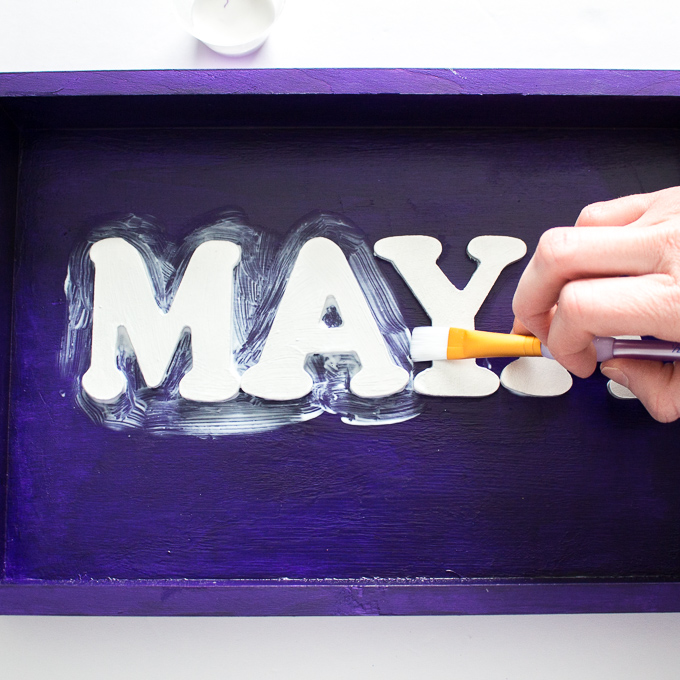 Arrange the embellishments inside as desired and glue in place. If adding any other porous materials, you’ll need to coat with a clear drying sealer. Get creative with the placement and mix a variety of different colors and shapes.

Pouring the Resin:
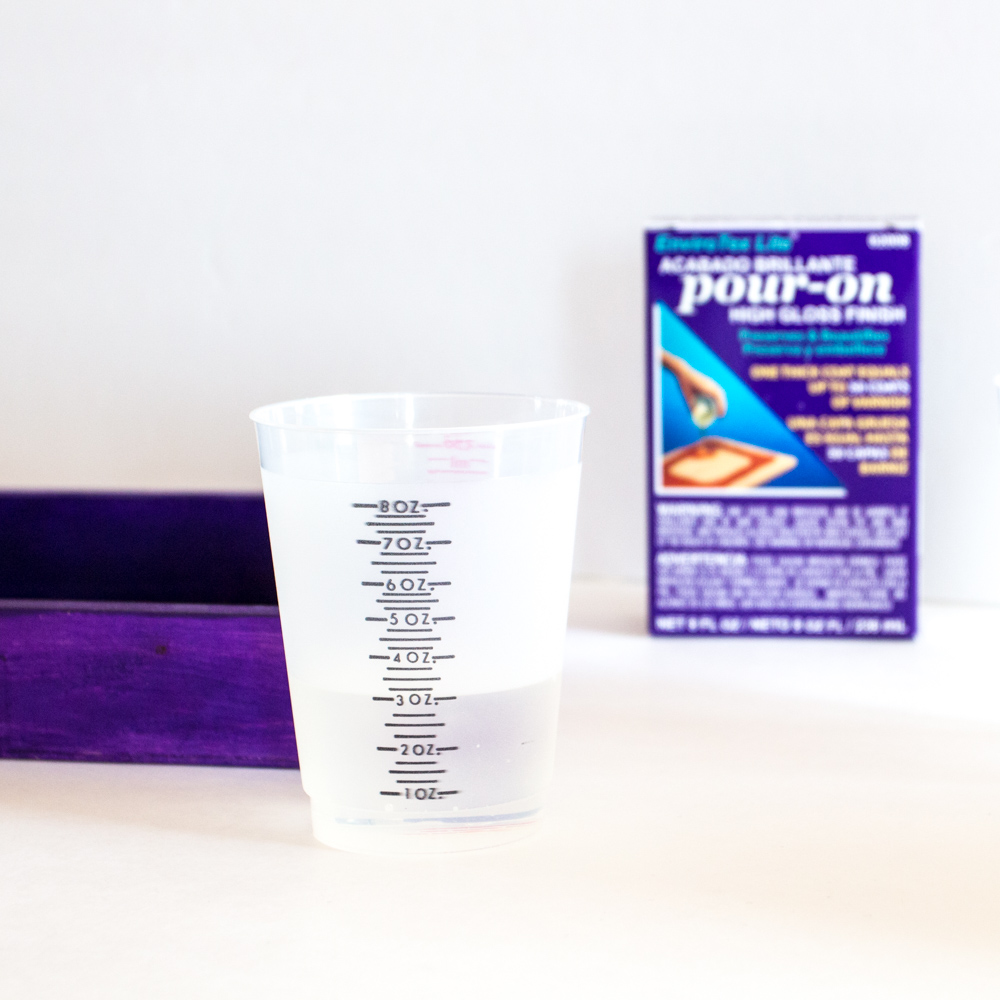
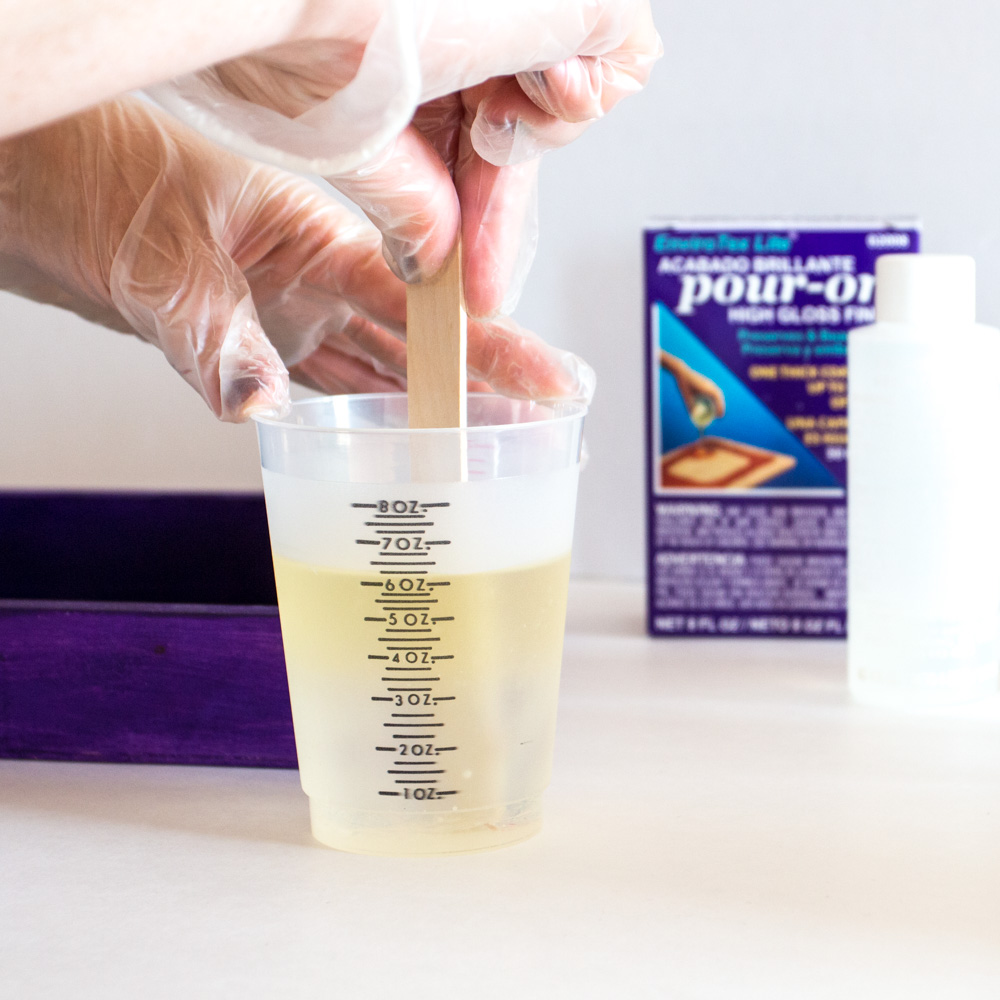
For best results be sure to read the instructions provided in the EnviroTex Lite Pour On packaging. Ensure your resin and hardener are at room temperature or warmer before mixing.
Mix exactly equal amounts of Resin and Hardener into one measuring cup. The size of your piece will determine how much resin you need. In my case, I poured 3oz of the resin and 3oz of the hardener.
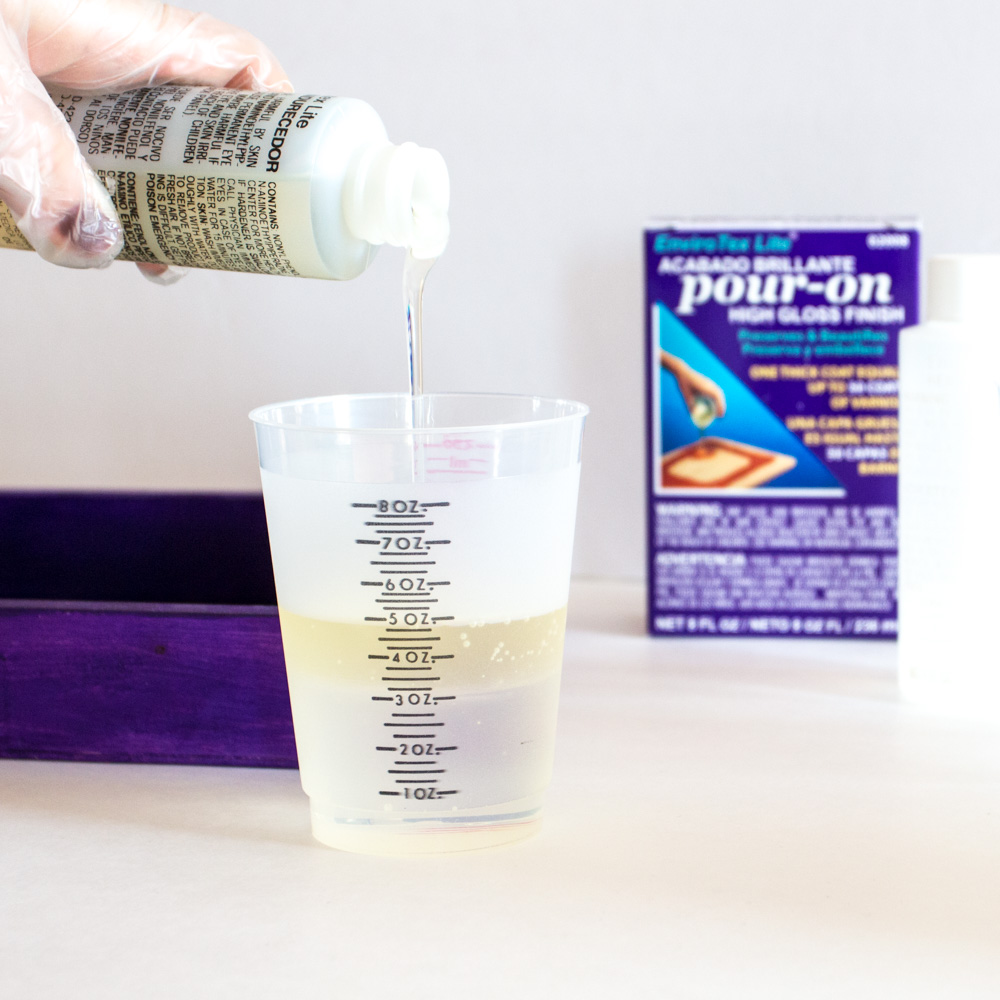
Stir together continuously for 2 minutes, scraping the sides of the container.
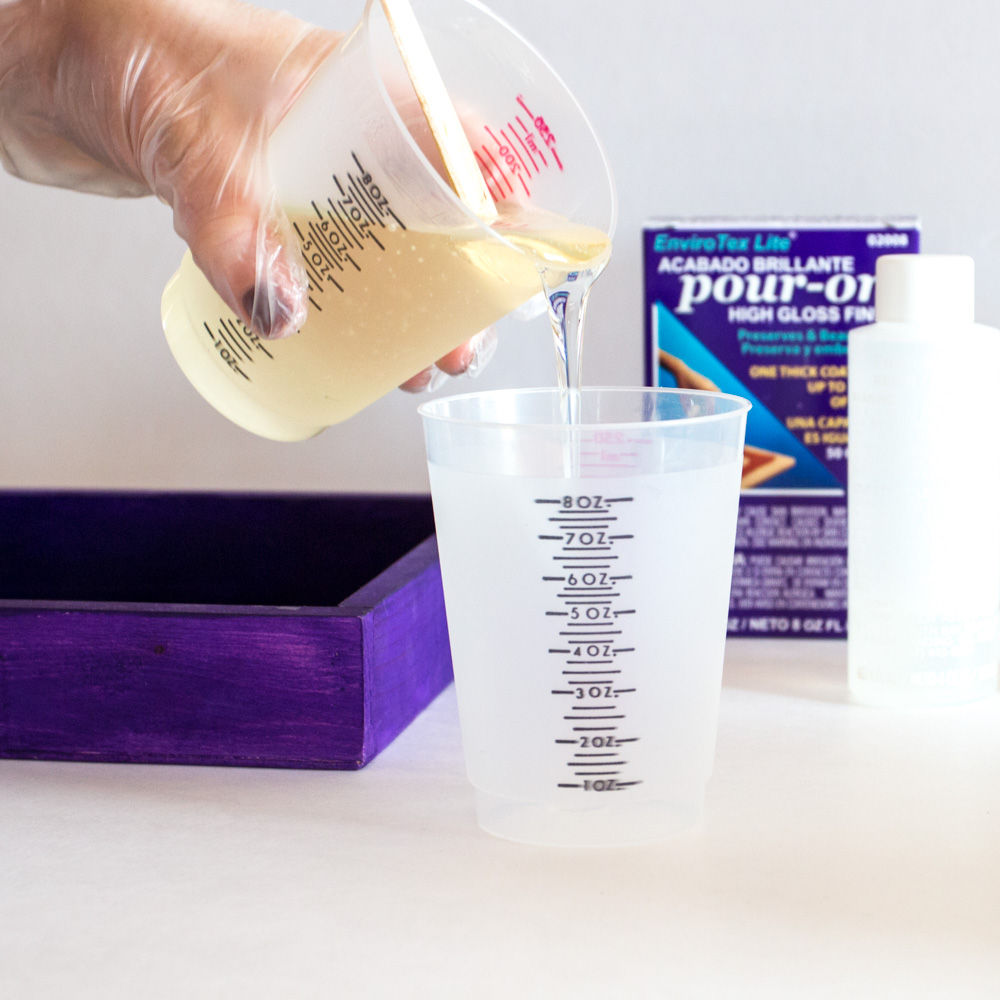
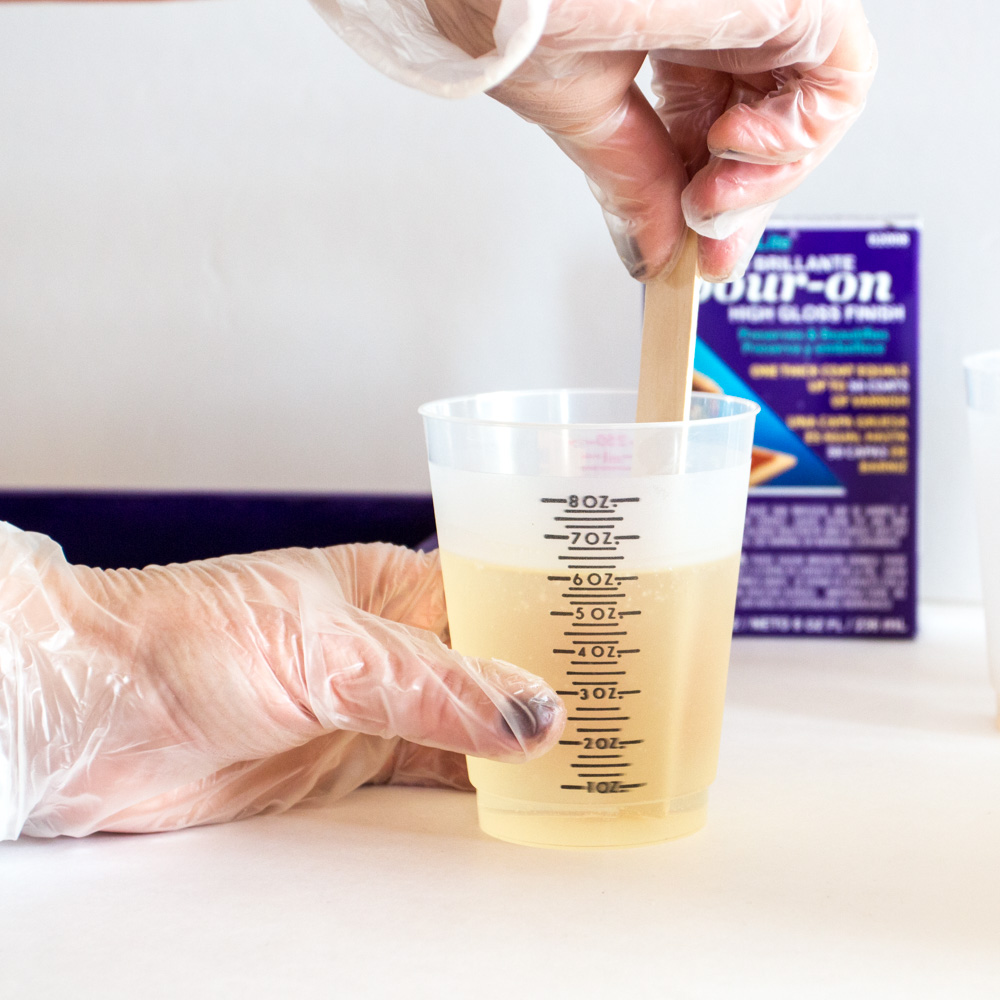
Pour the mixture into a second cup and stir for an additional minute, scraping the sides of the container and stir stick.
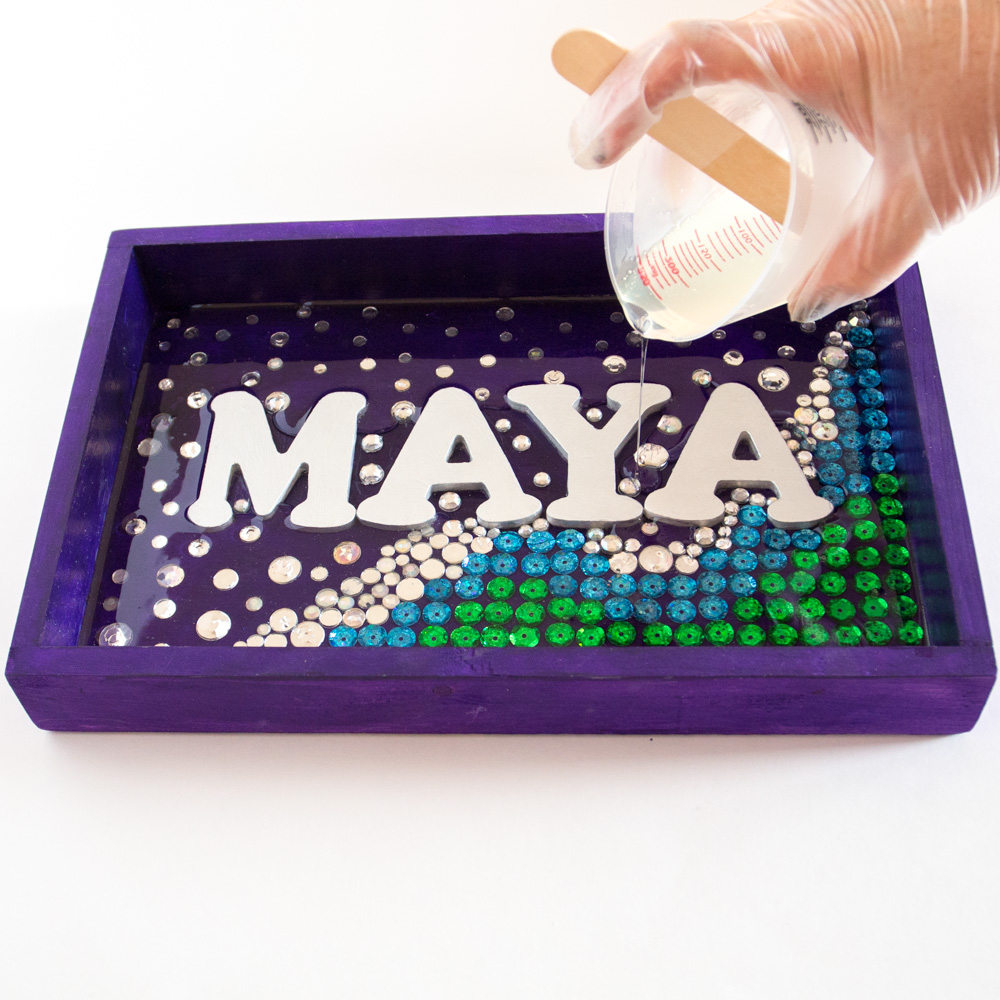
Using the stir stick, dip your stick into the EnviroTex Lite mixture and then begin pouring the resin over top of your piece.
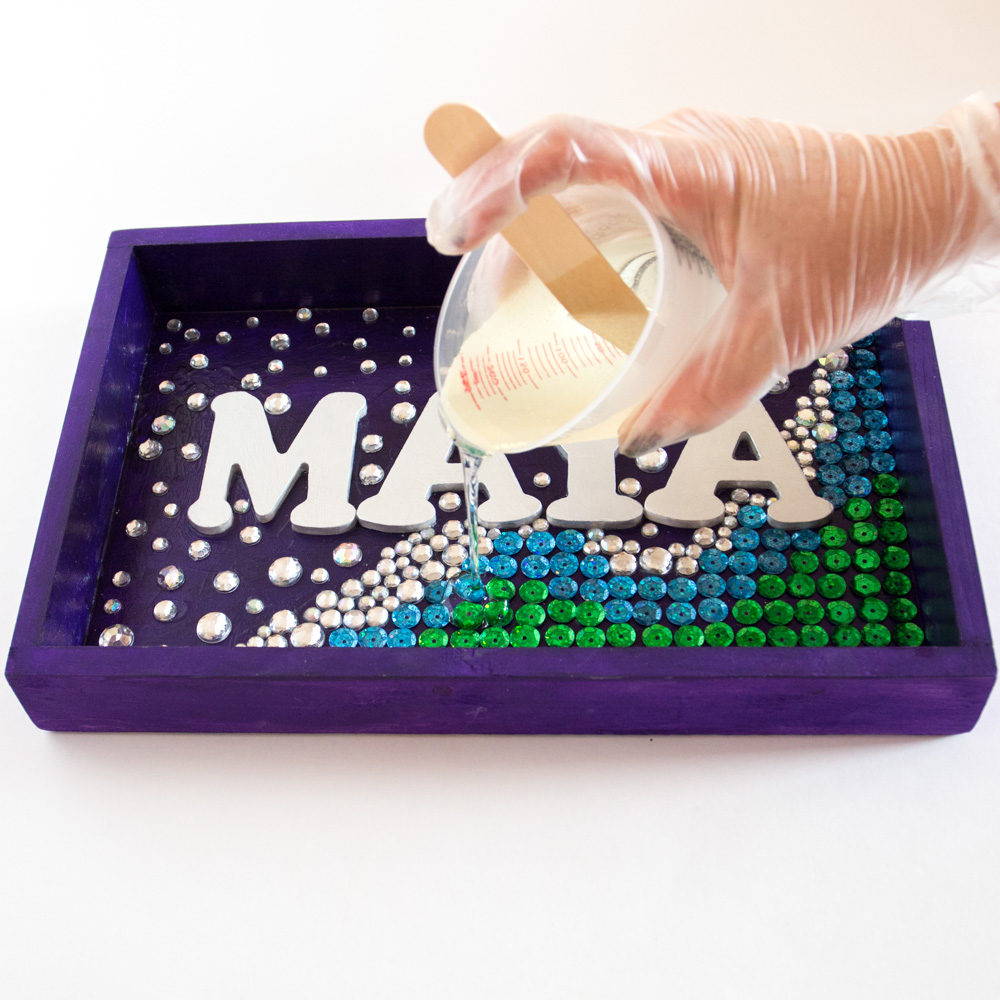
Pour evenly from one side to the next and carefully in between the letters. The resin will settle and level itself out.
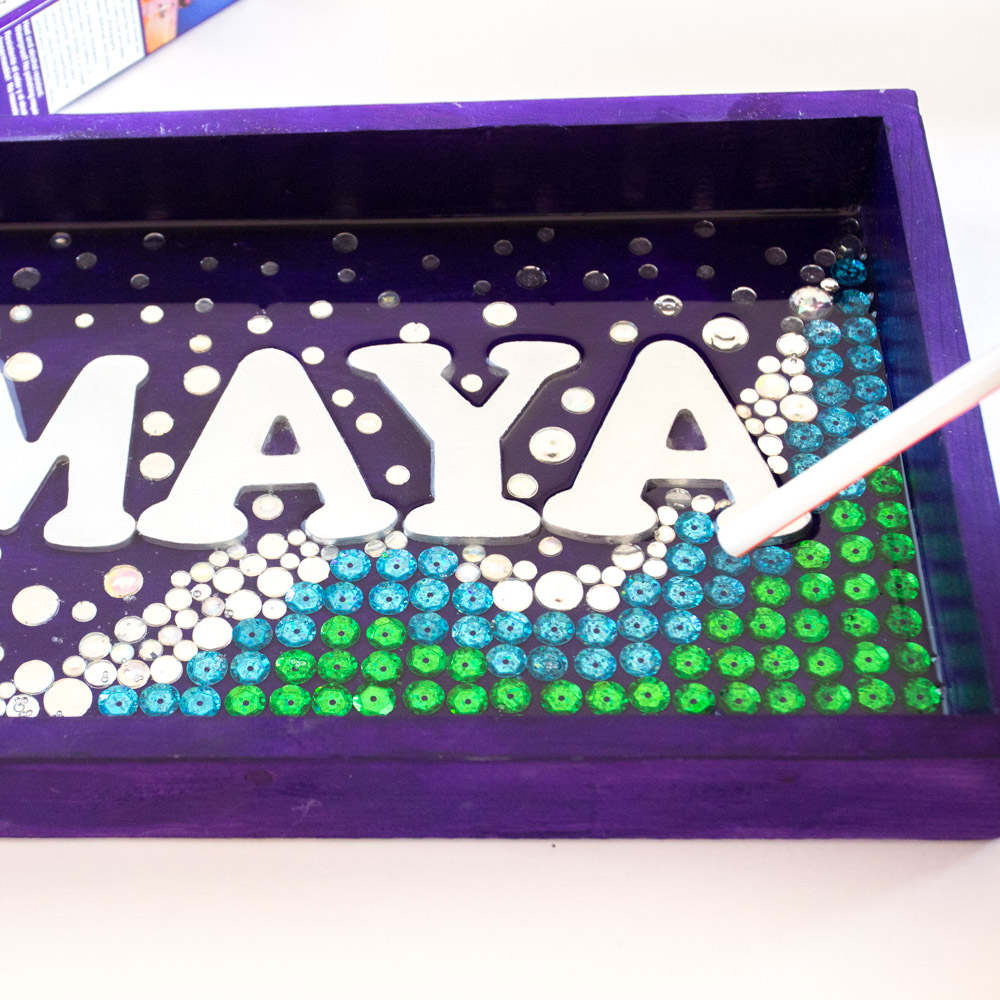
Cover to keep dust from settling in. Ensure your tray is placed on a level surface. After about 15 minutes, remove any bubbles that have risen to the surface by gently blowing over the piece through a straw. Repeat if necessary after another 15 minutes and up to about an hour to ensure no bubbles have formed. Use a clean straw each time to avoid moisture from your breath collecting inside the straw and transferring onto the piece. Use a clean toothpick to release any larger bubbles.
Cover and allow to cure overnight (will fully cure over 72 hours).
It’s funny that we didn’t even realize, until we were pouring the resin that it looks like water! Perfectly fitting for a mermaid. For an extra fun under-the-sea themed project idea, check out these shark painted rocks.
To mount the mermaid name plate art to the wall, attach a D-ring or sawtooth hanger to the back of the piece.
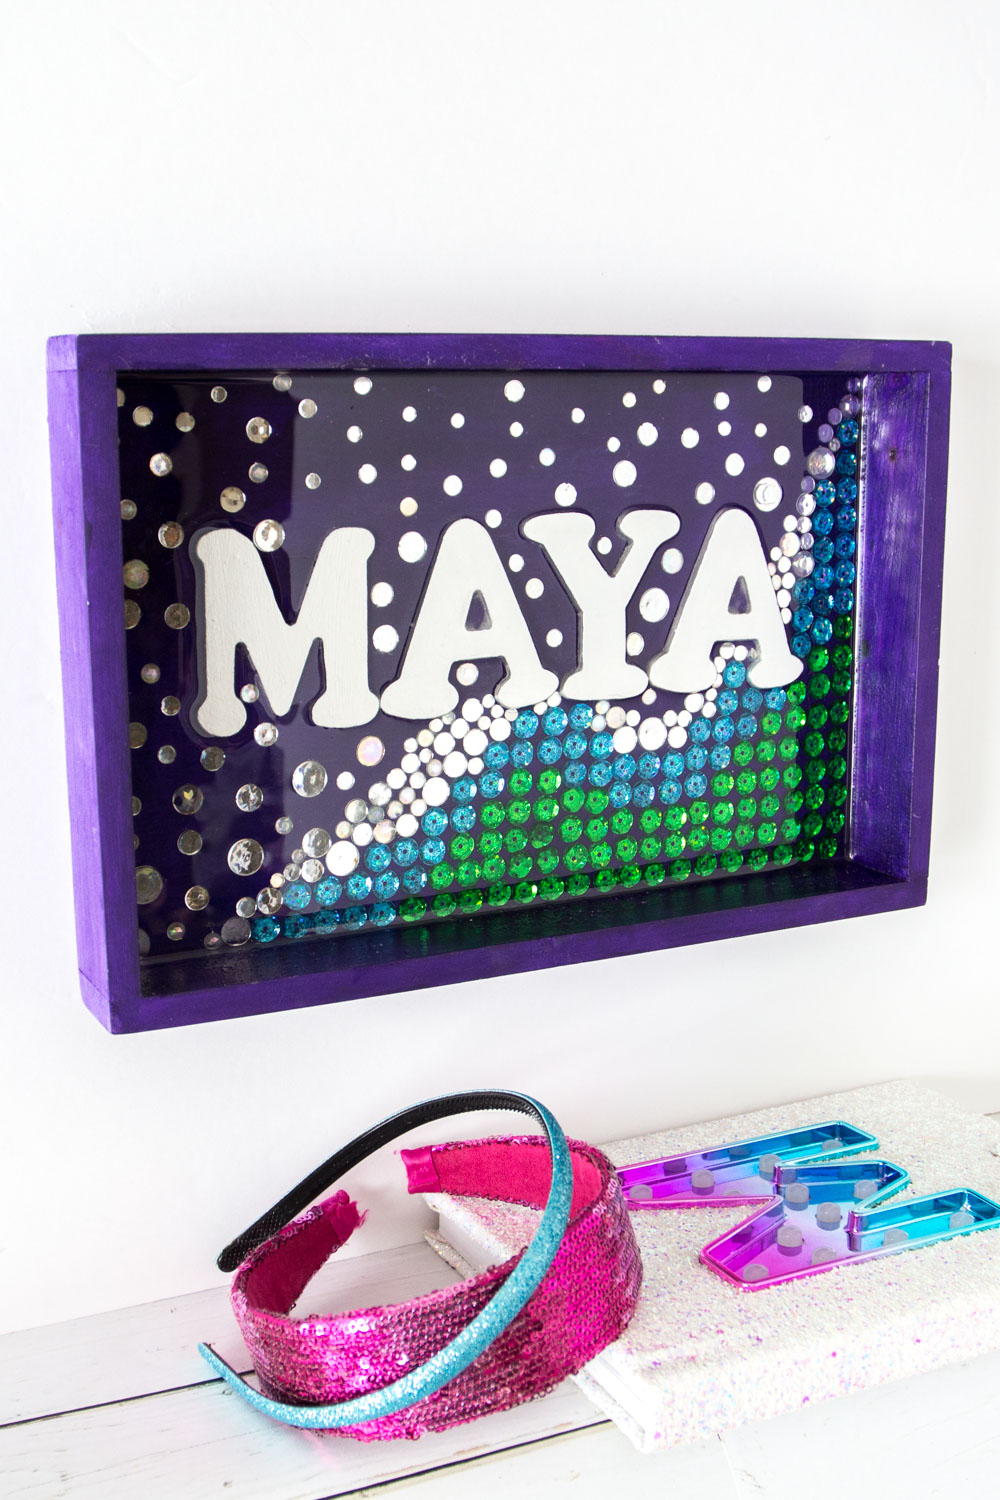
Or you could leave the hardware off and use the piece as a catch-all tray.
This pretty lady is super happy with her new bedroom mermaid wall art!
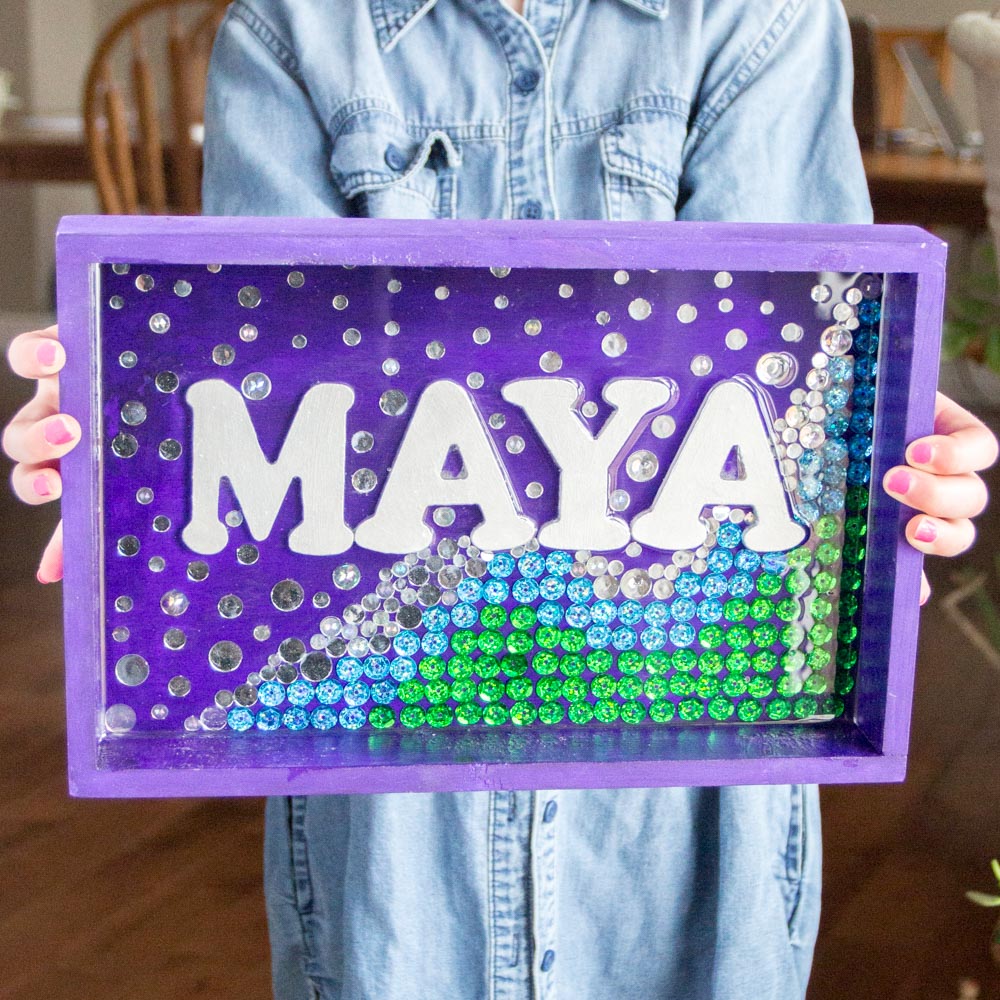
Do you have a mermaid fan at home?
Like it? Pin it for later!
Jane and Sonja are sisters, moms and lifelong craft addicts both living near Toronto, Canada with their families. They share their love of creativity, nature and coastal DIY ideas on their blog Sustain My Craft Habit. They craft and decorate their homes using repurposed and upcycled items and materials found in nature.


Leave a Reply