• About Us
  • FAQ
  • Contact Us
  • Shop Supplies
  • Email
  • Facebook
  • Instagram
  • Pinterest
  • Twitter
  • YouTube
  • Skip to primary navigation
  • Skip to main content
  • Skip to primary sidebar

Resin Crafts Blog

Resin crafting projects and tutorials

  • Home
  • Resin Projects
  • Molds
  • Project Type
    • Jewelry
    • Home Decor
    • Art
    • Gift Ideas
    • Crafts
  • Resin Tips

Resin Covered Vinyl Sign

by Jessica Hill 6 Comments

Share
Pin144
Tweet
144Shares
Make your vinyl signs look polished and professional by coating them with a layer of resin! via @resincraftsblog

I love using vinyl to make signs on wood, but I often worry that the vinyl won’t stand up over time.  When I found an adorable pineapple shaped cutting board, I knew I wanted to make a sign that was both cute and durable.  I have found that the very best way to do that is with resin.  You can seal the vinyl of your sign under a layer of glossy vinyl for a polished, long-lasting finish.  Here is how to make your own beautiful resin-covered vinyl sign.

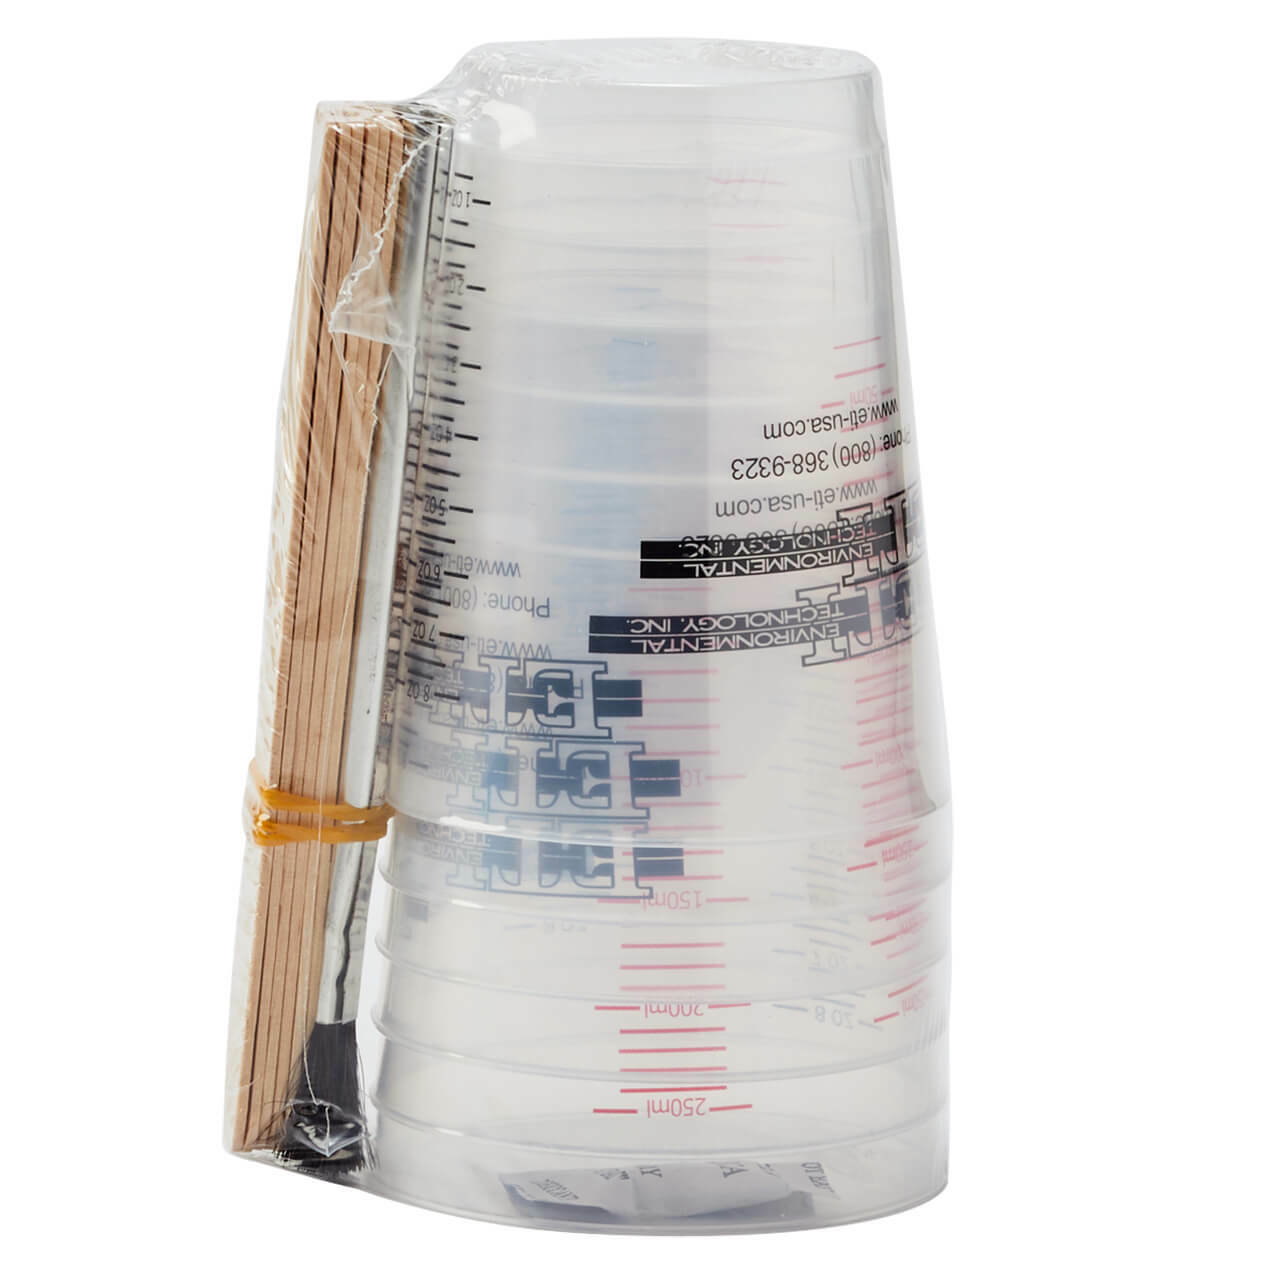
Supplies needed to make the pineapple sign:
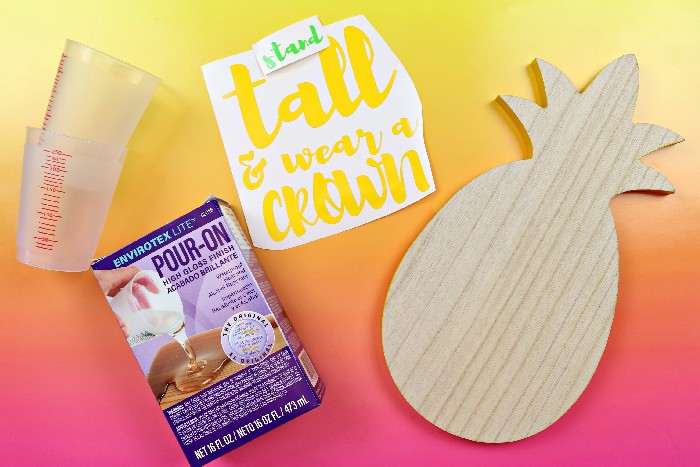
  • EnviroTex Lite
  • Wooden sign or cutting board
  • Adhesive vinyl
  • Transfer tape
  • A digital cutting machine
  • Gloves
  • Two cups
  • Stir sticks
  • Paintbrushes

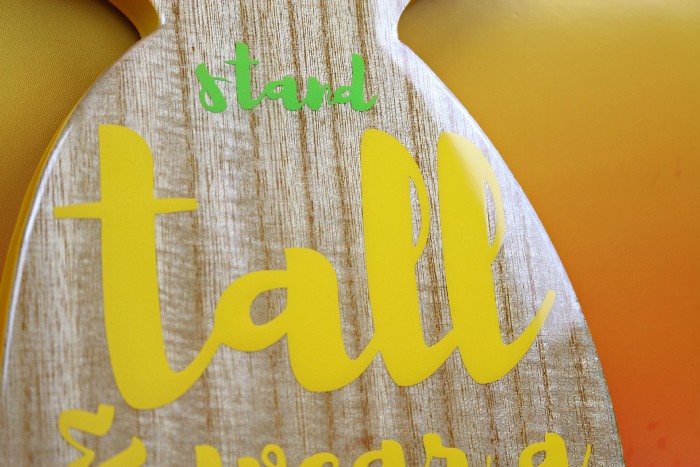
Begin by cutting your design out of adhesive vinyl using a digital cutting machine.  Weed out an excess vinyl and then transfer the design to the cutting board with transfer tape.

Make sure to run your finger over the entire design to ensure it is fully adhered to the cutting board.

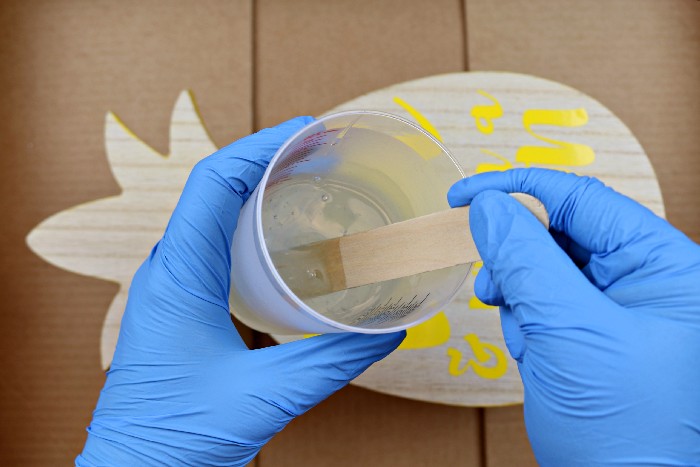
Now it’s time for the fun part!  Carefully mix 4 ounces of EnviroTex Lite together, using the two-cup method.  Add 2 ounces each of resin and hardener to a cup, and stir it well for two minutes.  Carefully pour the mixture into a second cup, and stir for an additional minute.  While you are stirring, be sure to scrape down the sides of the cup too.

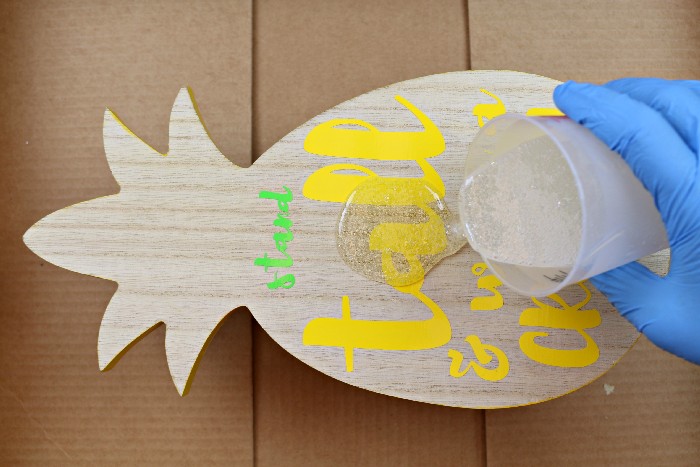
Elevate the cutting board on a block inside of a cardboard box.  There will be resin run-off, so you need to protect your work surface.  Then slowly pour the resin mixture all over the cutting board.  You can use the stir stick to guide the flow of resin, if you need to.

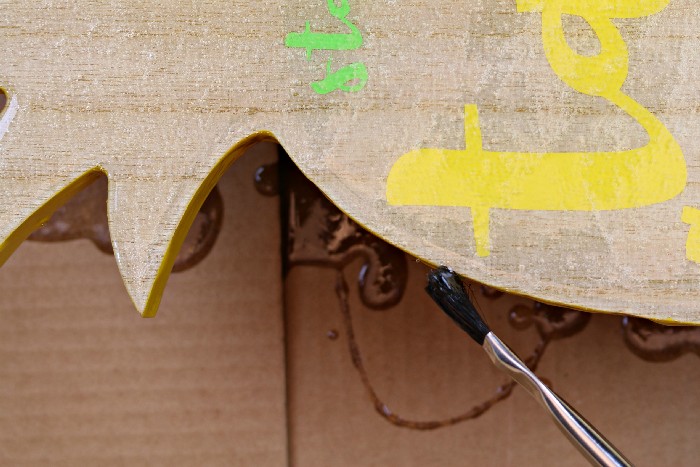
As the resin begins to flow over the sides of the cutting board, you can use a paintbrush to remove excess drips on the edges.

After you pour the resin, you will notice bubbles in the resin.  You can pop them by blowing on them or by applying the heat from a hand-held propane torch.  Hold the flame about 6 inches away from the resin and the bubbles will pop from the heat.  Cover the project and let it sit for 20 minutes.  After 20 minutes have passed, check on your project again.  If there are remaining bubbles in the resin, repeat the same process you used earlier to pop the bubbles.  Cover and let the project cure for 6-8 hours or overnight.

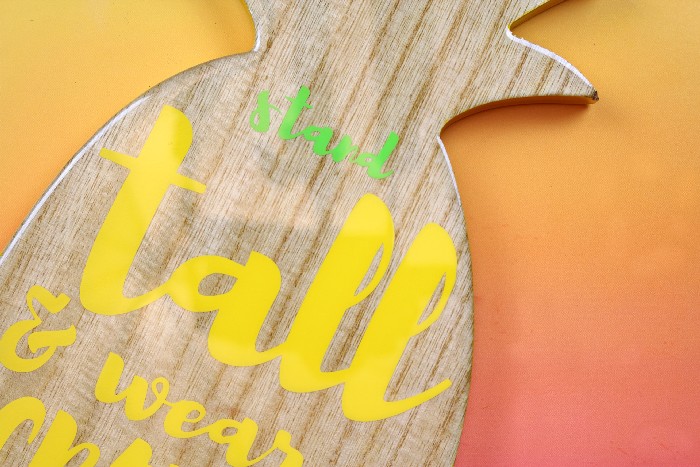
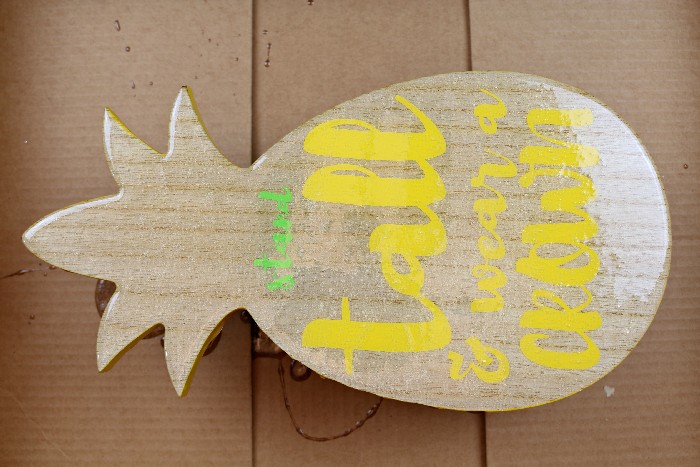
When the resin has cured you will have a perfect shiny protective surface sealing your vinyl saying in place!

It was difficult for me to photograph just what an amazing shine the EnviroTex Lite gives the sign.  It’s like the wooden cutting board now has a glassy surface.  This is an incredible way to make your homemade projects look polished and professional.

mold release
Mixing Cup S
Jessica Hill
Jessica Hill

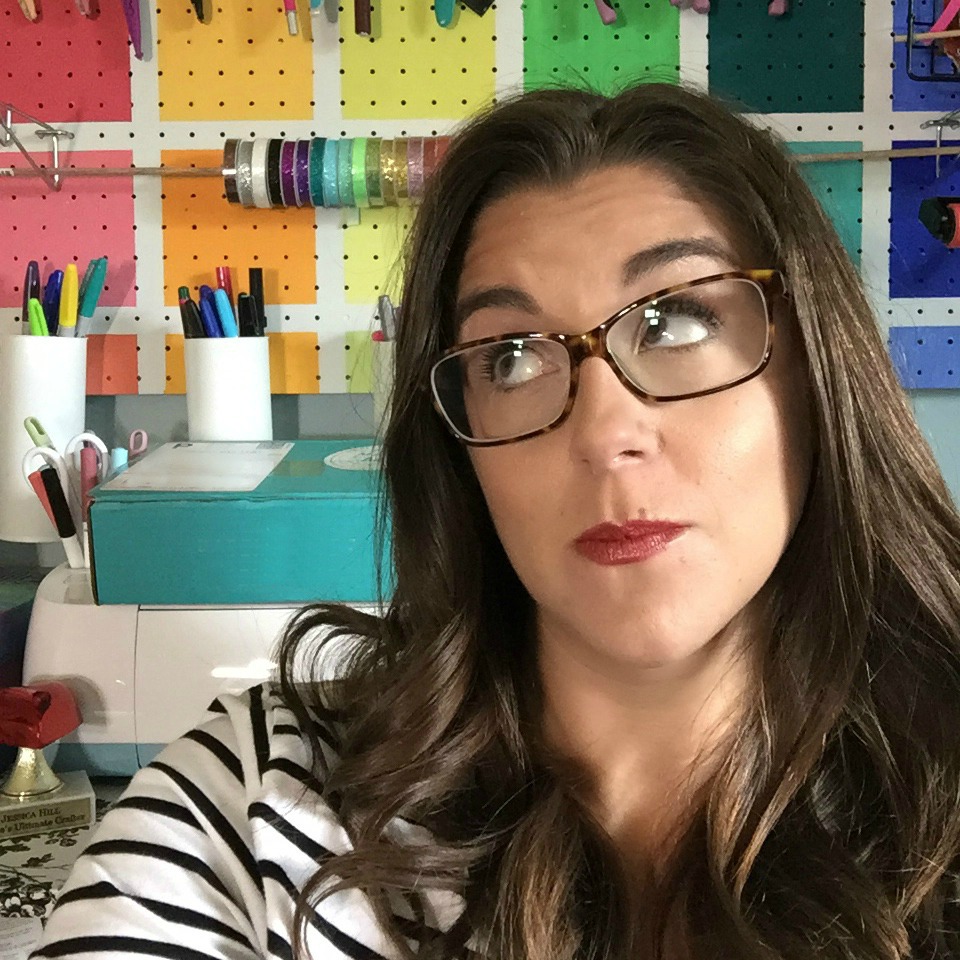
Jessica Hill is the creative mind behind the blog, Mad in Crafts.  For nearly 9 years, Jessica has shared crazy good creativity from her Mad House to yours.  When she’s not creating, Jessica loves the Detroit Tigers, craft beer, and spending time with her family and rescue dog.

Share
Pin144
Tweet
144Shares

If you enjoyed this...

  • DIY Glossy Photo Transfer Wood Slice
    DIY Glossy Photo Transfer Wood Slice
  • High-Gloss Charcoal Gray Bar Top Makeover with EnviroTex Lite
    High-Gloss Charcoal Gray Bar Top Makeover with EnviroTex…
  • Amazing DIY Wood Signs
    Amazing DIY Wood Signs

Filed Under: Home Decor, Project Type, Resin Projects

Previous Post: « Shimmering Mermaid Wall Art with Resin
Next Post: Amazing Garden Ideas To Try This Summer »

Reader Interactions

Comments

  1. Connie Gomez

    December 18, 2021 at 3:10 pm

    How do I trouble shoot when my vinyl lifts under my resin?

    Reply
  2. Lydi

    December 21, 2021 at 9:28 am

    Next time you’ll want to add some more sealer to it (bottom and top).

    Reply

Trackbacks

  1. SUMMERY PINEAPPLE SIGN - Mad in Crafts says:
    June 2, 2018 at 5:08 pm

    […] Memorial Day is past.  The kids are almost out of school.  The weather is warming up.  That must mean summer is finally on its way!  Ready to add some summery decor into your home?  This summery pineapple sign will do the trick.  I am sharing the tutorial for this Stand Tall & Wear a Crown sign on the Resin Crafts blog.  Head over for the full DIY. […]

    Reply
  2. PERSONALIZED PINEAPPLE SIGN USING VINYL AND RESIN - Mad in Crafts says:
    August 1, 2018 at 7:00 am

    […] This post originally appeared on the Resin Crafts Blog […]

    Reply
  3. Cricut Resin Projects to Inspire You - Makers Gonna Learn says:
    July 30, 2020 at 1:01 pm

    […] RESIN COVERED PINEAPPLE SIGN From Resin Crafts >>>Make any kind of sign you want and protect it with resin! […]

    Reply
  4. DIY Resin Craft Projects - A Little Craft In Your Day says:
    September 4, 2021 at 3:15 pm

    […] RESIN COVERED VINYL SIGN From Resin Crafts […]

    Reply

Leave a Reply Cancel reply

Thank you so much for leaving a comment on Resin Crafts Blog! For technical questions you can email our customer service at: [email protected] or via telephone @ 1-800-368-9323.
Recipe Rating


This site uses Akismet to reduce spam. Learn how your comment data is processed.

Primary Sidebar

mas evergreen ad
upstart evergreen ad
color creator evergreen ad
promise epoxy new year new home

Pin With Us

Categories

Resin Crafts Blog is a participant in the Amazon Services LLC Associates Program. As an Amazon Associate we earn from qualifying purchases.

Copyright © 2023 Resin Crafts

We use cookies to ensure that we give you the best experience on our website. If you continue to use this site we will assume that you are happy with it.OkNo