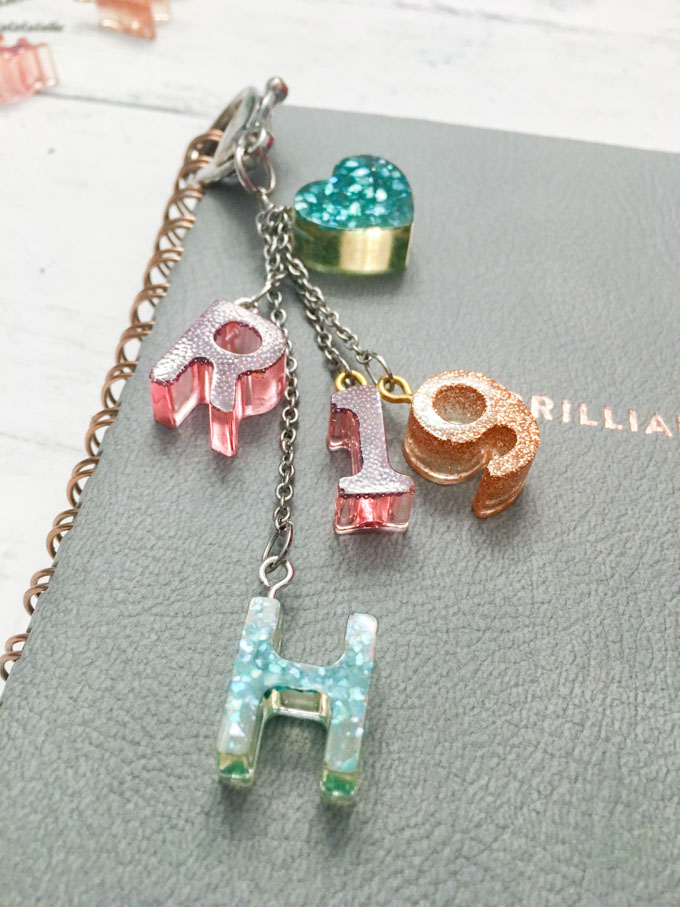
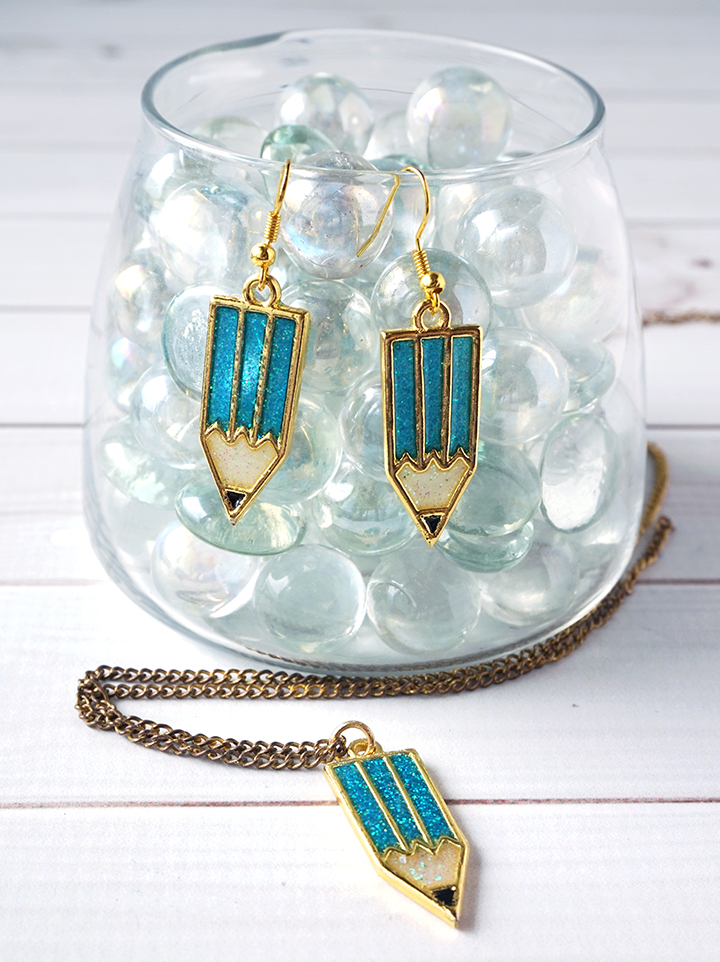
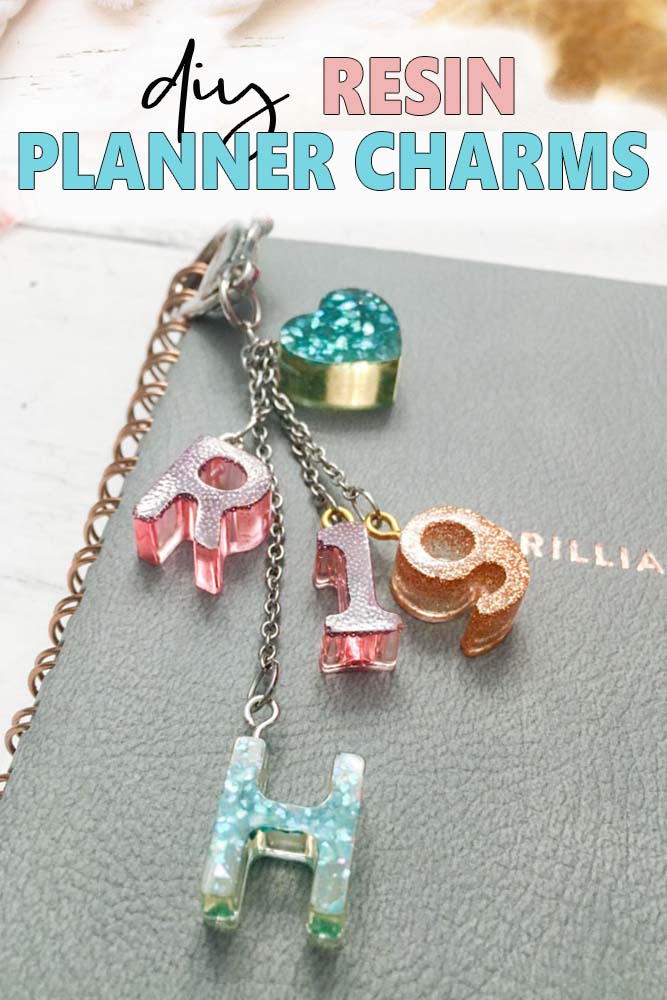
Back to school is just around the corner! Add a special touch to pencil cases, backpacks or day planners with these colorful DIY resin monogram charms.
It’s less than three weeks till my four kiddos head back to school. It’s been an absolutely glorious summer and none of them are all too excited about it ending. So I decided to make something a little special to help us get into the school spirit.
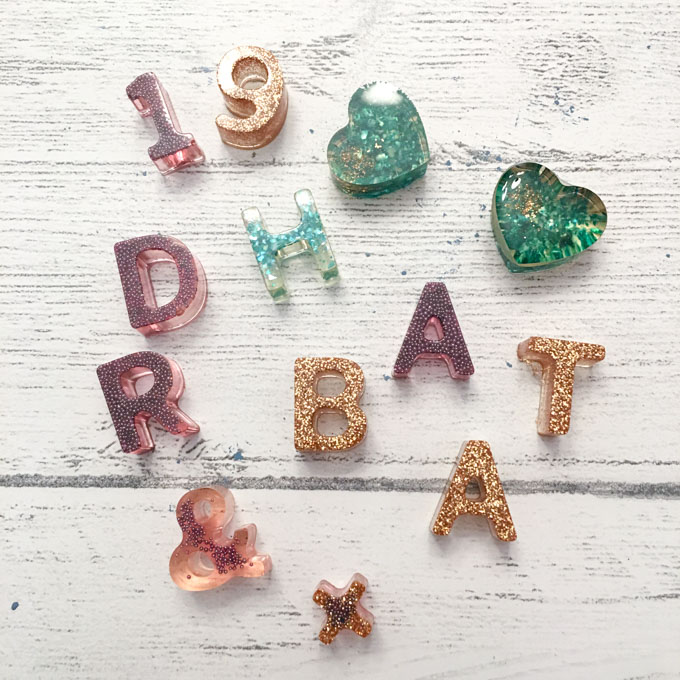
I was originally planning to use small pressed flowers in this project. But when the kids brought home a bunch of colorful small beads, glitter and metallic flakes from the thrift store, I had to use them! (They’re actually little embellishments from a nail art kit).
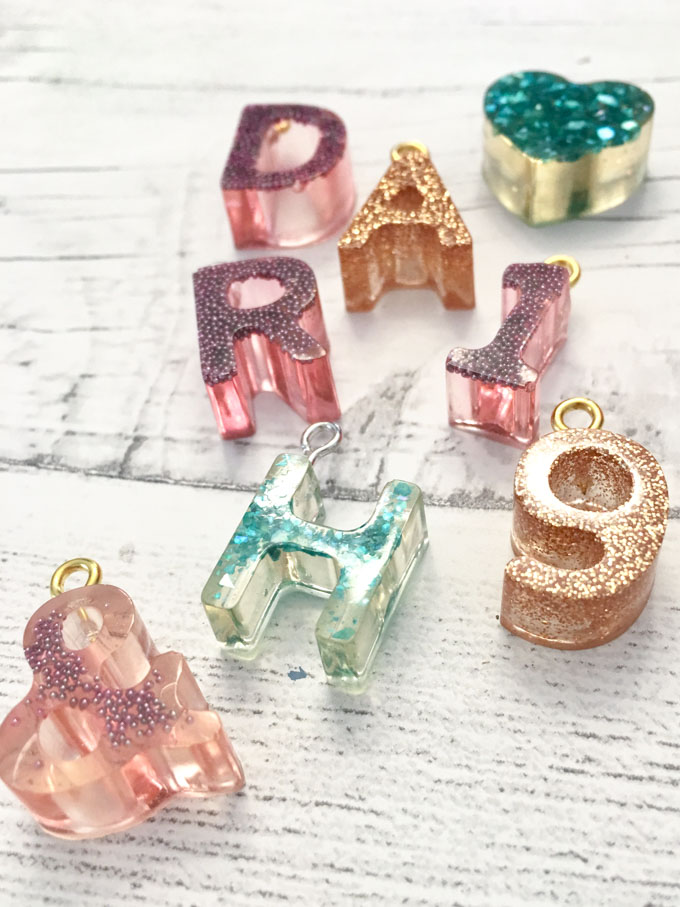
The resin monogram charms turned out so sweet, I plan to make another set for me!
A small amount of resin will go a long way for this project. So mix up a larger batch at the same time make some of these additional back-to-school resin projects.
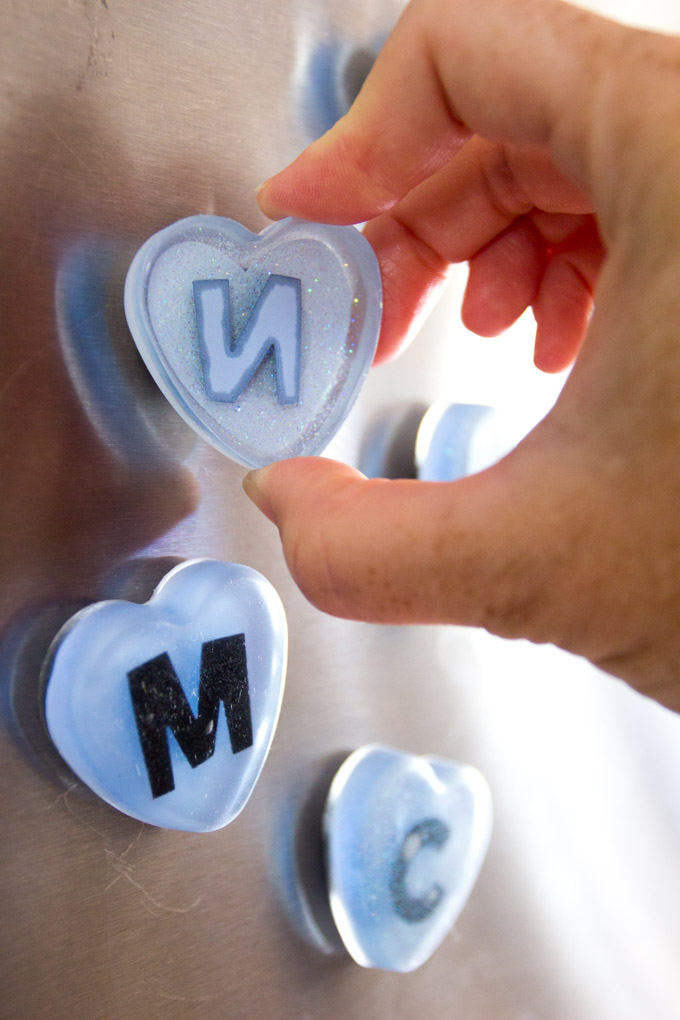
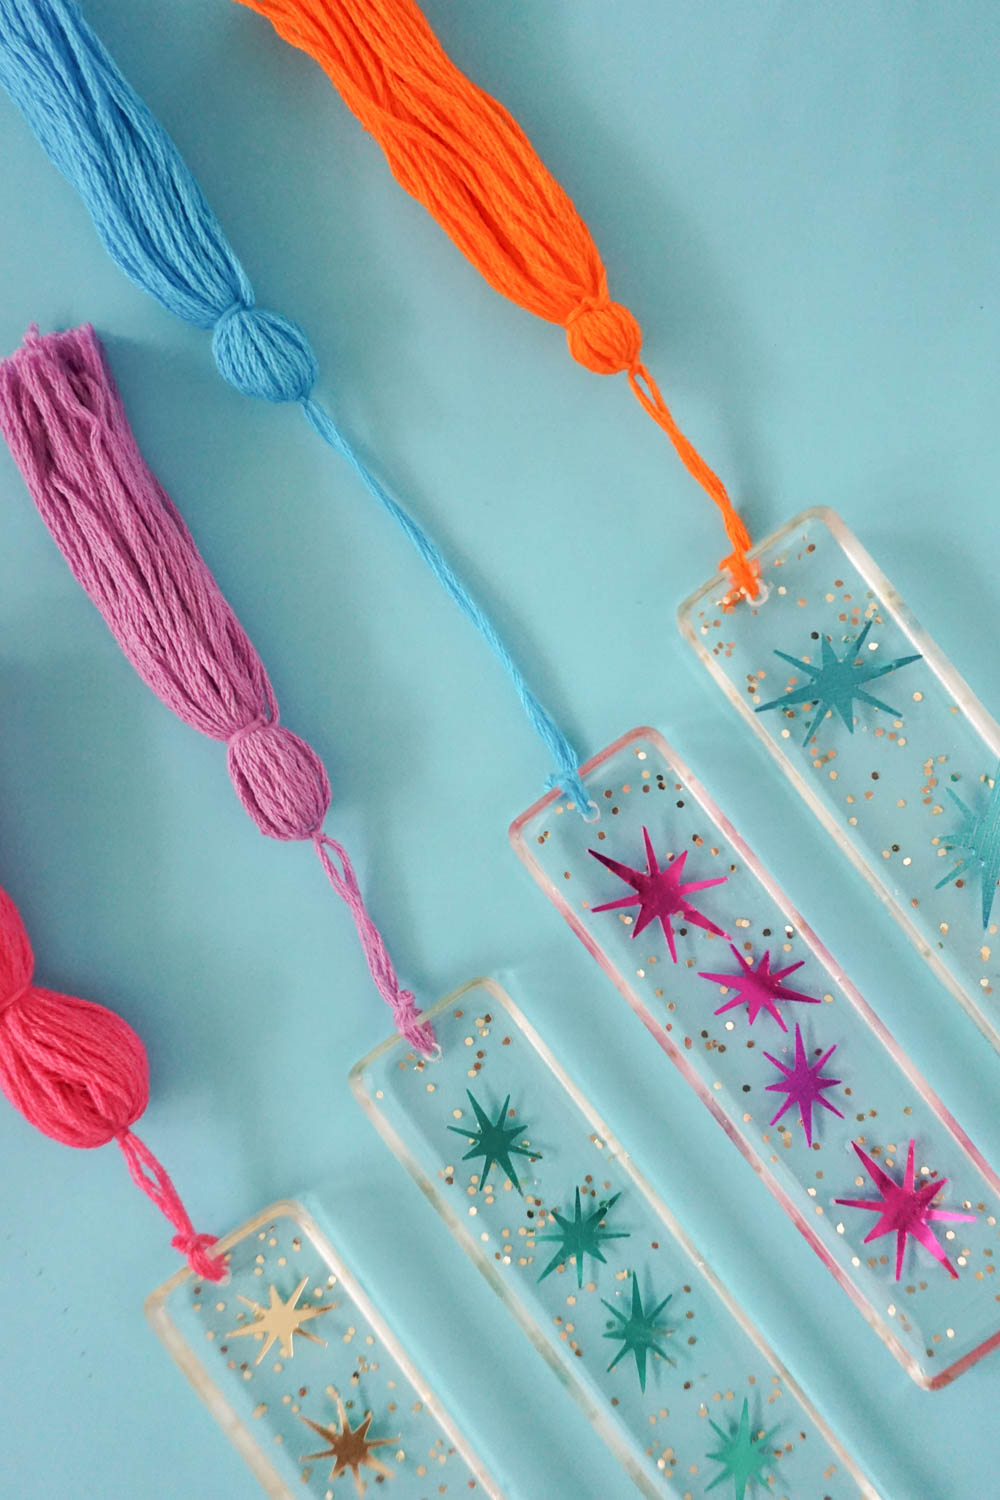

We have a number of additional back to school craft ideas on our blog including:
- Personalized Binders with the Cricut Maker
- Upcycled Pencil Case with Duck Tape
- Handlettered Wood Slice DIY Key Chains
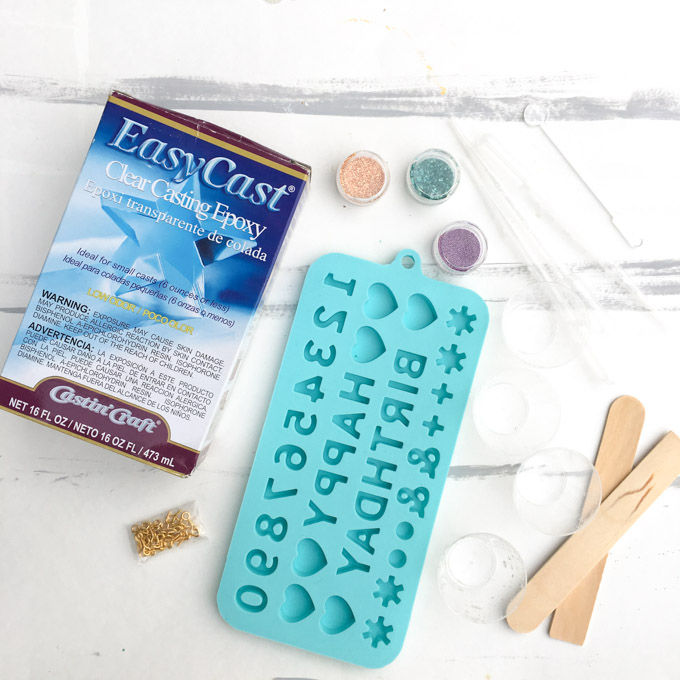
Supplies Needed for this DIY Back to School Project:
- EasyCast Clear Casting Epoxy
- Silicone alphabet mold (I used a Happy Birthday one from our local craft store as it included the letters I needed)
- Measuring cups, wooden craft sticks, gloves, straw, paper towels
- Small nail art embellishments
- Jewelry eyelet, small chain, jump rings, lobster clip
How to make Resin Monogram Charms
Always read the instructions for your resin project. Protect your work surface and work in a well ventilated area.
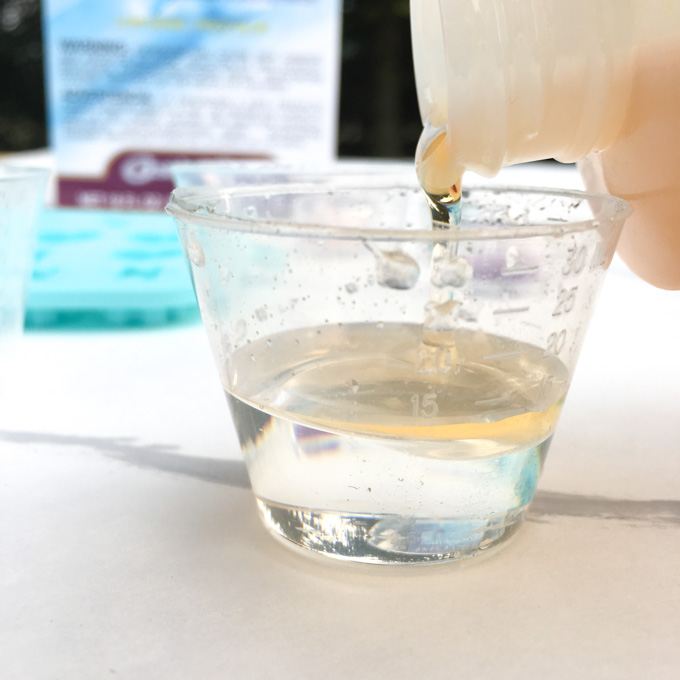
Start by mixing equal parts of EasyCast Clear Casting Epoxy and hardener in a small mixing cup.
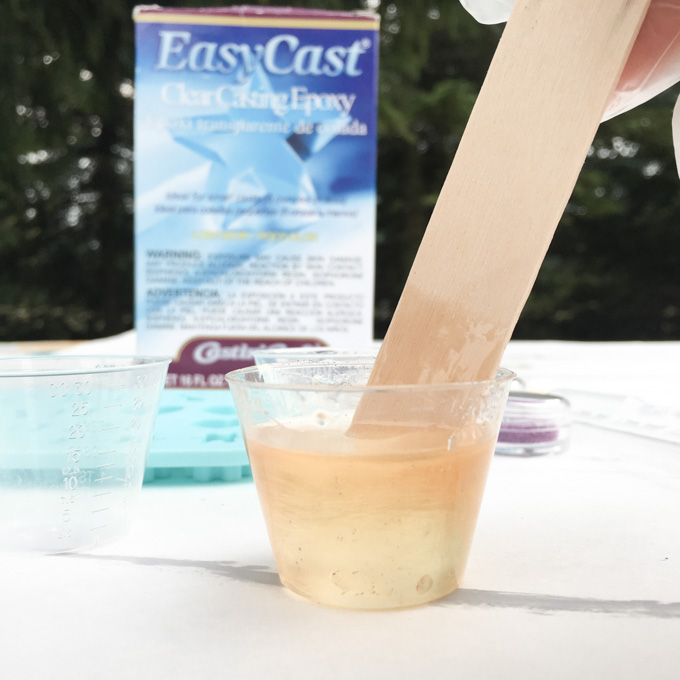
Mix for a full two minutes with a wooden craft stick. Then pour the mixture into a 2nd cup and continue stirring for an additional minute.

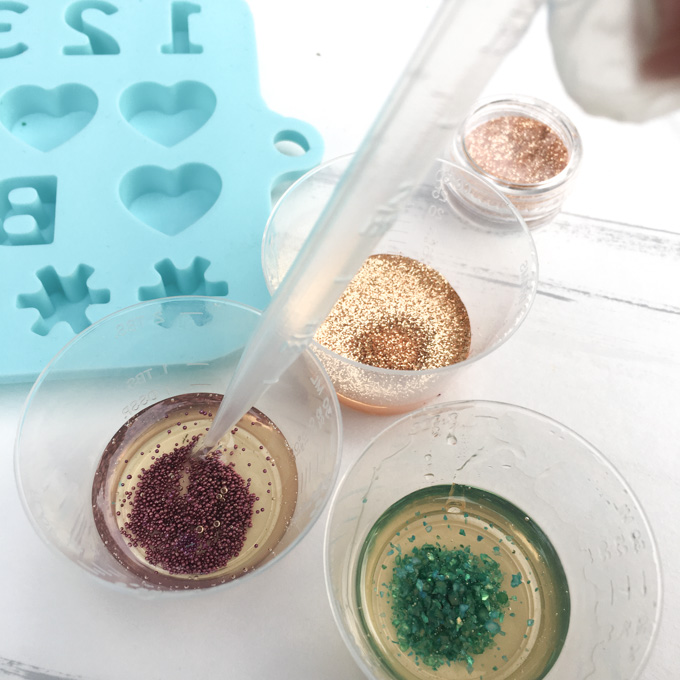
Evenly divide the resin into two additional cups.
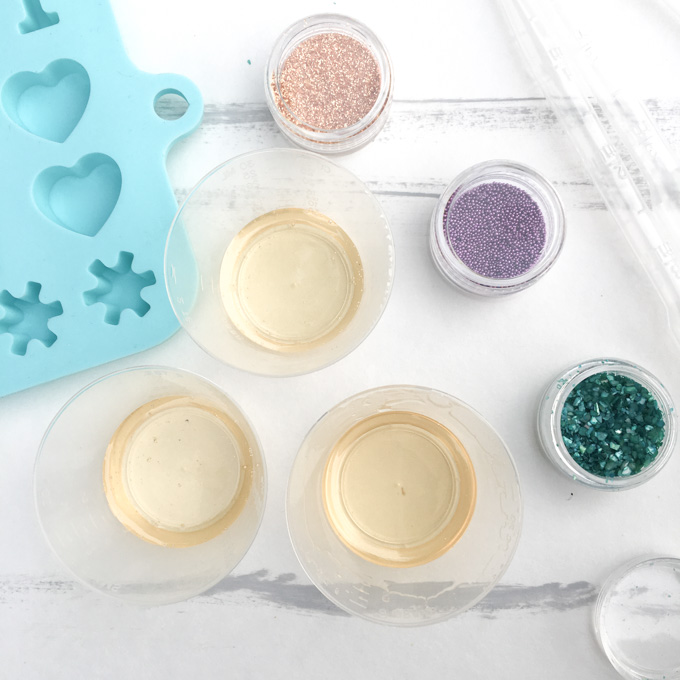
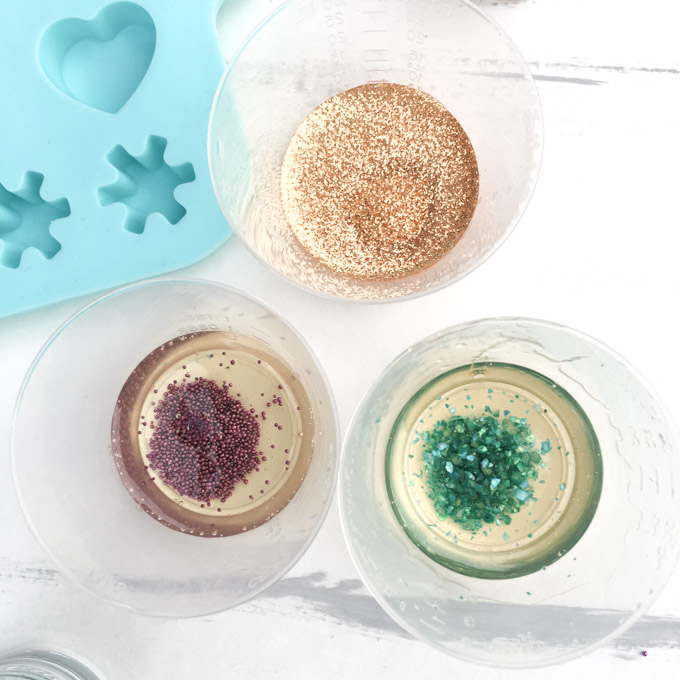
Add different small embellishments such as glitter and beads into each of the three cups. Stir.

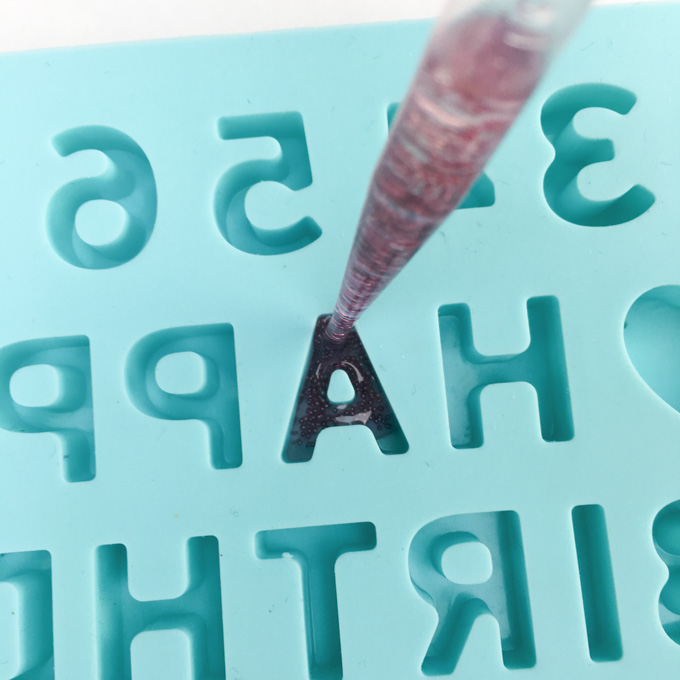
Use pipettes to fill the resin molds with the different colors of resin.
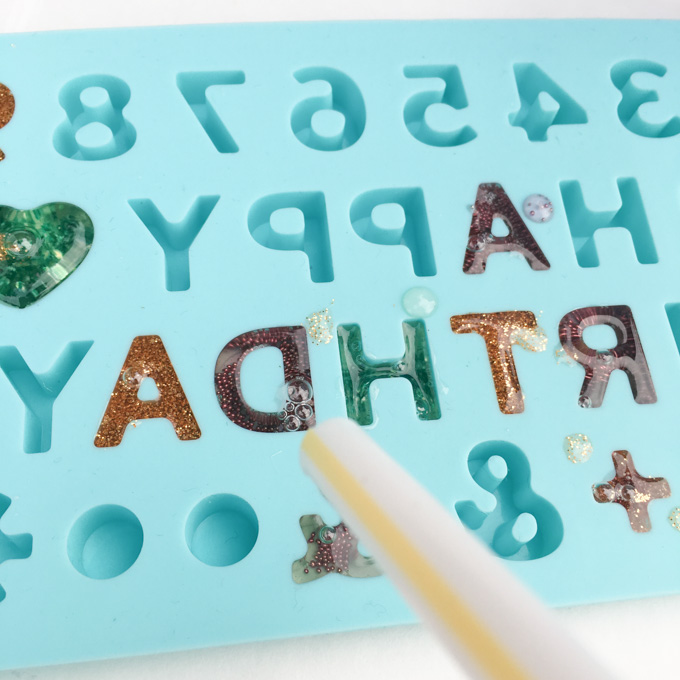
After about 15 minutes use a small kitchen torch or straw to blow off any air bubbles that arise to the surface.
Cover and let cure overnight.
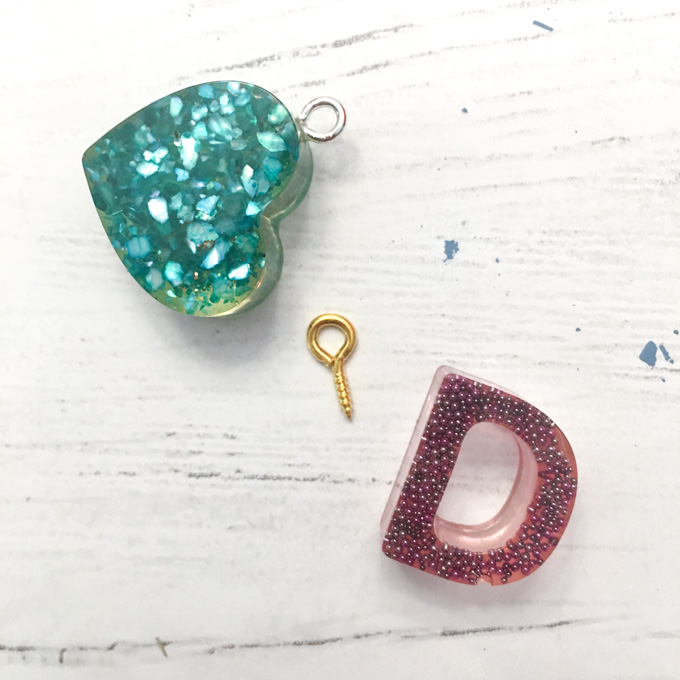
Remove the alphabet charms from the molds.
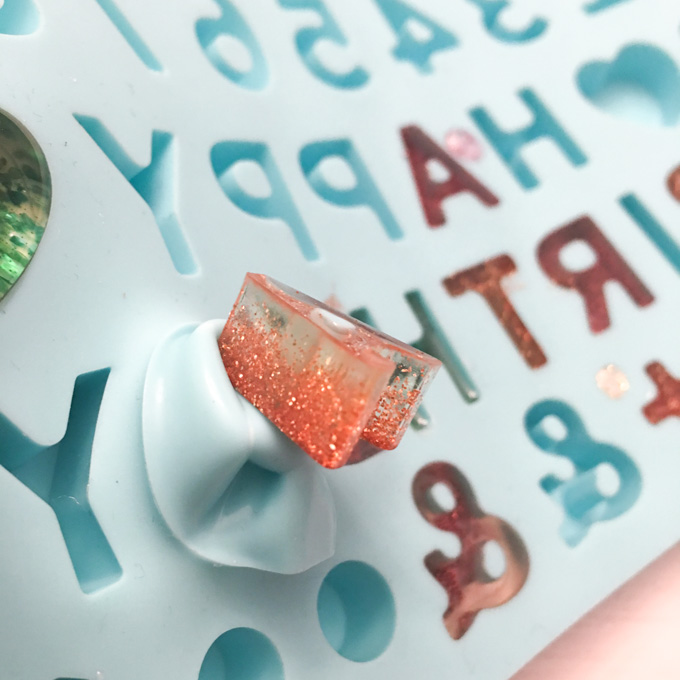
Attach small silver or gold eyelets to the top of each letter.
Add each letter to different lengths of a small chain.
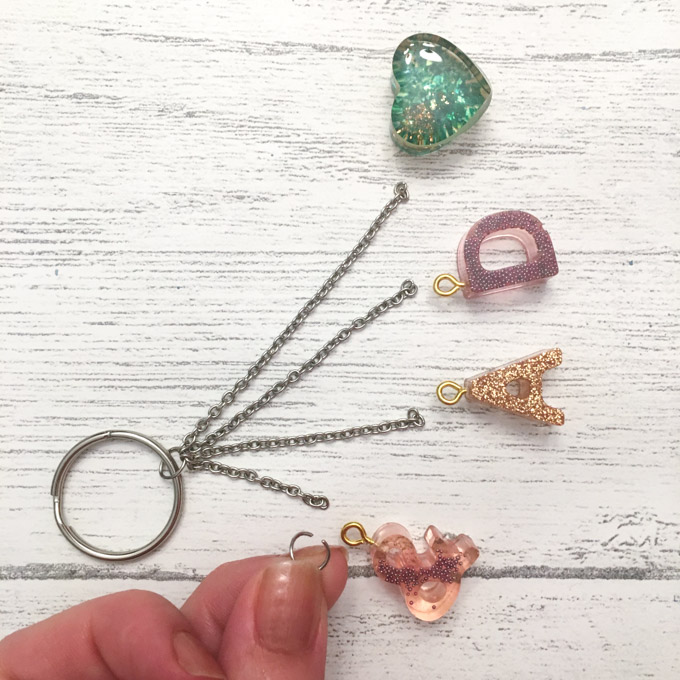
Attach all the links of chain to a small lobster clip.
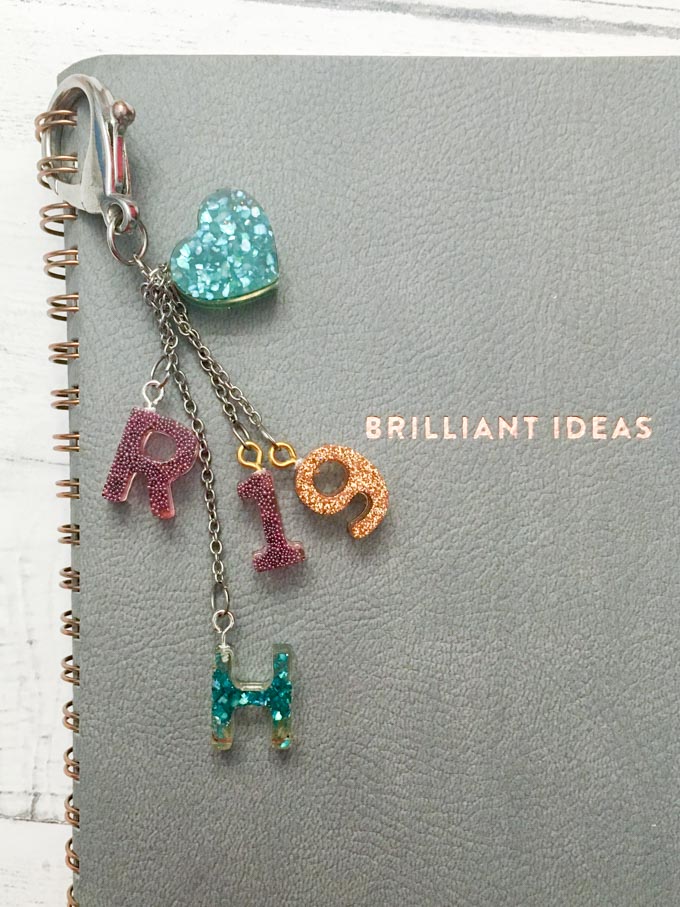
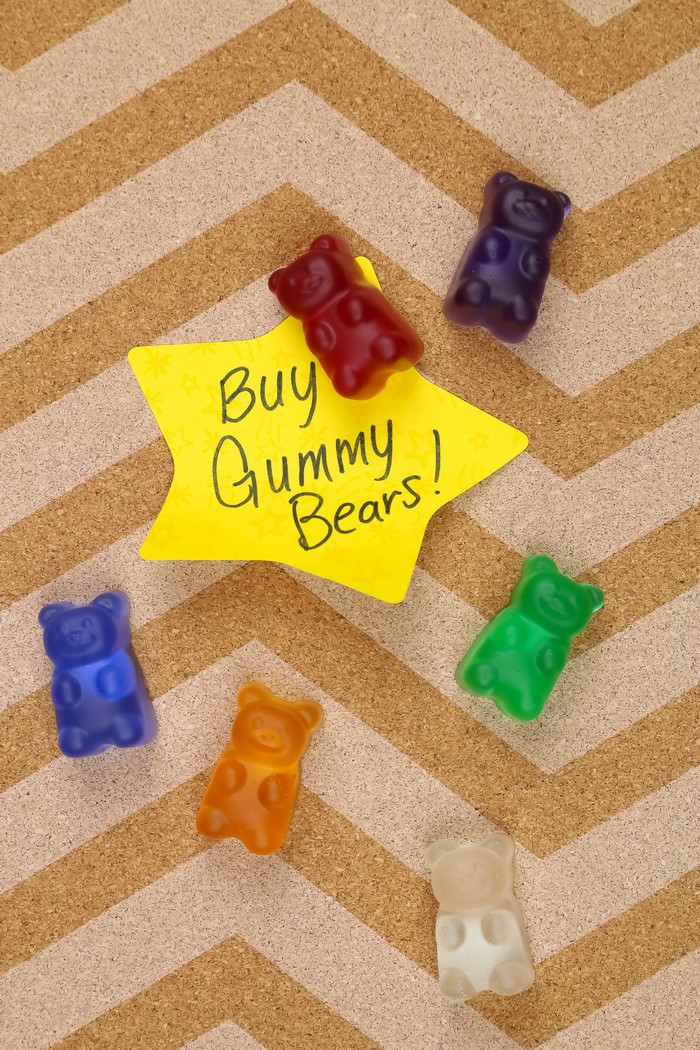
I’m so happy with how these little resin charms turned out. They almost look like candies but definitely don’t try to eat them. These would also make really fun gifts or personalized party favors.
Is it back-to-school season in your home?
Like it? Pin it for later!
Jane and Sonja are sisters, moms and lifelong craft addicts both living near Toronto, Canada with their families. They share their love of creativity, nature and coastal DIY ideas on their blog Sustain My Craft Habit. They craft and decorate their homes using repurposed and upcycled items and materials found in nature.


What a fun idea! How did you insert the eyelets? Did you drill a pilot hole? Did you just screw the eyelets in?
Thank you Cindy!
It was a bit tricky because the pieces are so small. I actually used a sharp awl I have at home to make a small divot where I wanted to eyelet to go in. It was just enough for the tip of the eyelet to not slide around. Then I was able to slowly screw it in by hand. I’ll add a picture to the post when I have a chance.
Hope this helps!
Jane
Hi, Where can I purchase the Mold for the lettering?
Thanks
Hi Geoffrey,
I bought this one at Michaels – it’s actually a Happy Birthday mold, but it had the letters I needed. Amazon also has all sorts if you search “alphabet silicone mold”.
Have a great day!
Jane