![]()
Ombre Resin Seashell Soap Dish DIY
It’s Natalie from Doodlecraft, sharing an especially fun resin craft DIY with you today. Bathrooms are frequently decorated with beach decor as a fun oasis in the home. This ombre resin seashell becomes the centerpiece of the sink, the perfect cradle for a bar of soap. The inspiration comes from this bright blue geyser from Yellowstone. (photo source)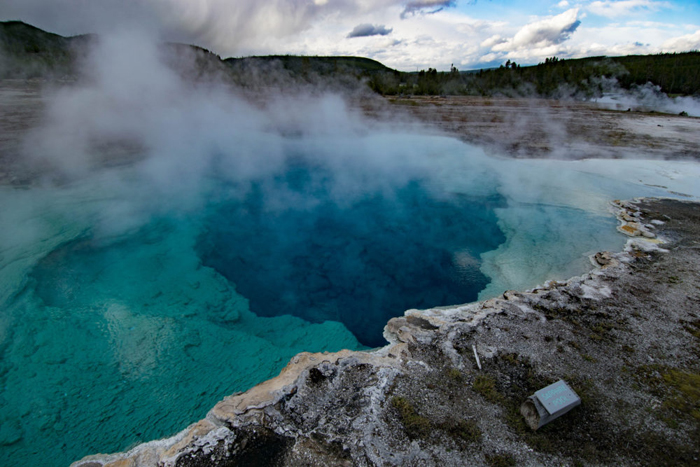 Each particular layer creates depth and a natural ombre effect with rich, varying blues. The natural layers are easy to recreate with EasyCast Resin and a fabulous seashell.
![]()
Supplies Needed:
EasyCast Clear Casting Epoxy Resin
Large Seashell
Disposable work surface, gloves, mixing cups, stirring sticks
![]()
Begin by reading the directions for the Easy Cast and prepare supplies. Pour one part of the resin and one part hardener in a small mixing cup, to equal about 1 ounce. Stir for 2 minutes, then pour into a second cup and stir with a new stick for 1 minute. Add 3 drops of green dye and 5 drops of blue. ![]() Stir gently to mix colors and pour in seashell.
Stir gently to mix colors and pour in seashell.![]()
Next, tilt and tip the shell around to coat the entire surface of the shell with resin. However, the resin will eventually re-settle and pool at the lowest part of the shell. ![]() Let the resin dry and cure overnight.
Let the resin dry and cure overnight.![]() Repeat the process in like manner the next day.
Repeat the process in like manner the next day.![]() For this second layer, make about 1 ounce of properly mixed resin and add 2 drops of green and 1 drop of blue dyes.
For this second layer, make about 1 ounce of properly mixed resin and add 2 drops of green and 1 drop of blue dyes.![]() Stir gently, as before, to mix the color.
Stir gently, as before, to mix the color.![]() Then pour the resin into the center of the seashell. Repeat the process by tilting and tipping the shell to coat the entire surface with resin.
Then pour the resin into the center of the seashell. Repeat the process by tilting and tipping the shell to coat the entire surface with resin.
![]()
Next, use a heat gun or mini torch to pop any bubbles that form in the resin. Let the resin cure overnight similarly to before.![]()
In the same way as before, mix up one ounce of EasyCast Resin according to package directions. This time however, do not add any dye. This will keep the resin clear and glossy. Pour in the center of the shell, then tip around to coat the shell. Then prop up the shell so the resin will remain level as it cures. Let it cure overnight.![]()
Once the resin has cured, it is finally ready for use in a beach themed bathroom or other tropical oasis! This is such a fun technique and looks stunning.![]()
It definitely looks like a unique geyser lake from Yellowstone with natural ombre layers.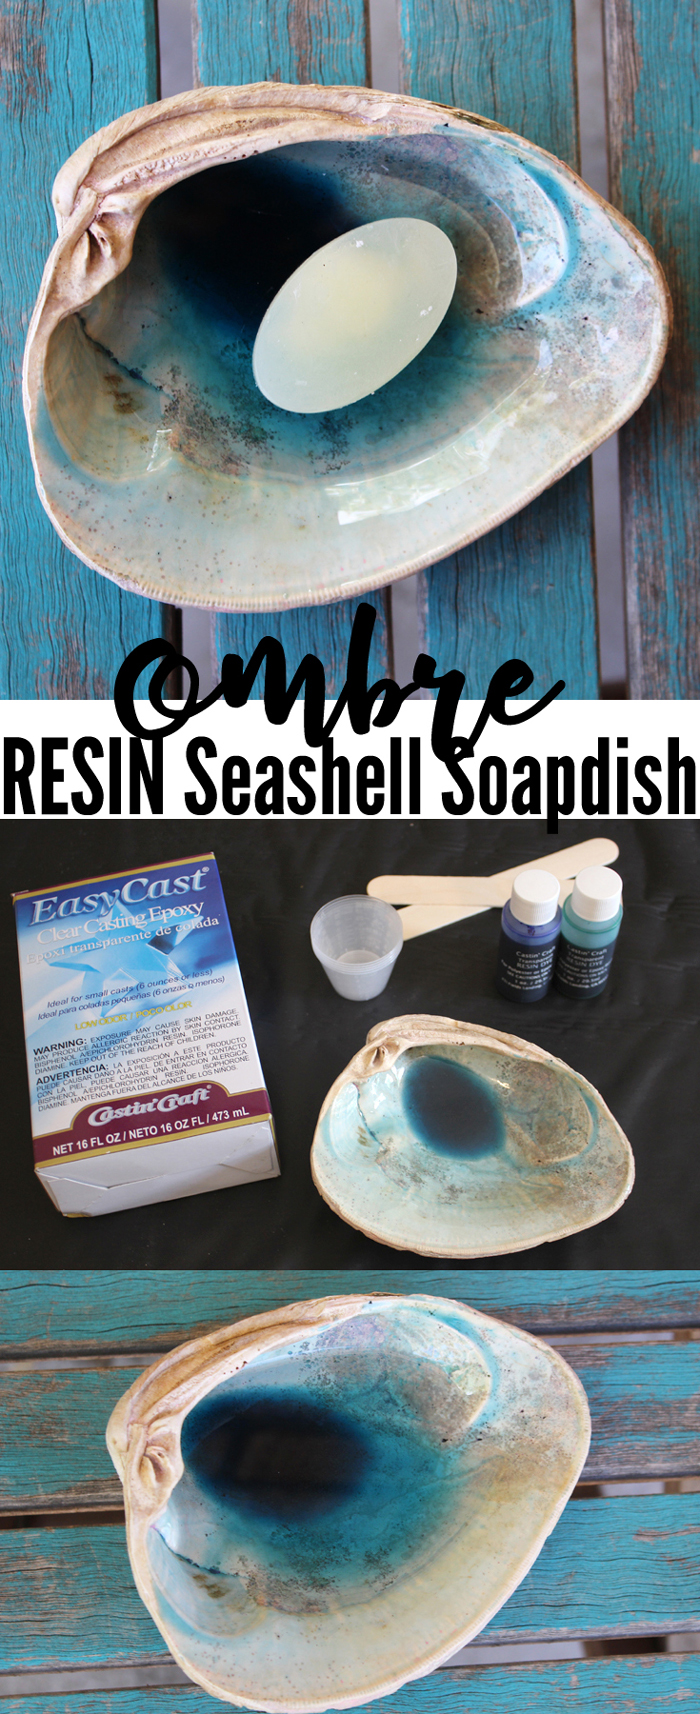
Natalie Shaw is a Craft/DIY blogger at Doodlecraftblog.com. She loves sci-fi, fantasy and video game geekery and that comes out in many of her projects. She posts budget conscious DIY’s, crafts, jewelry, kid friendly projects, upcycled treasures and other fun on her blog 5 days a week.


Leave a Reply