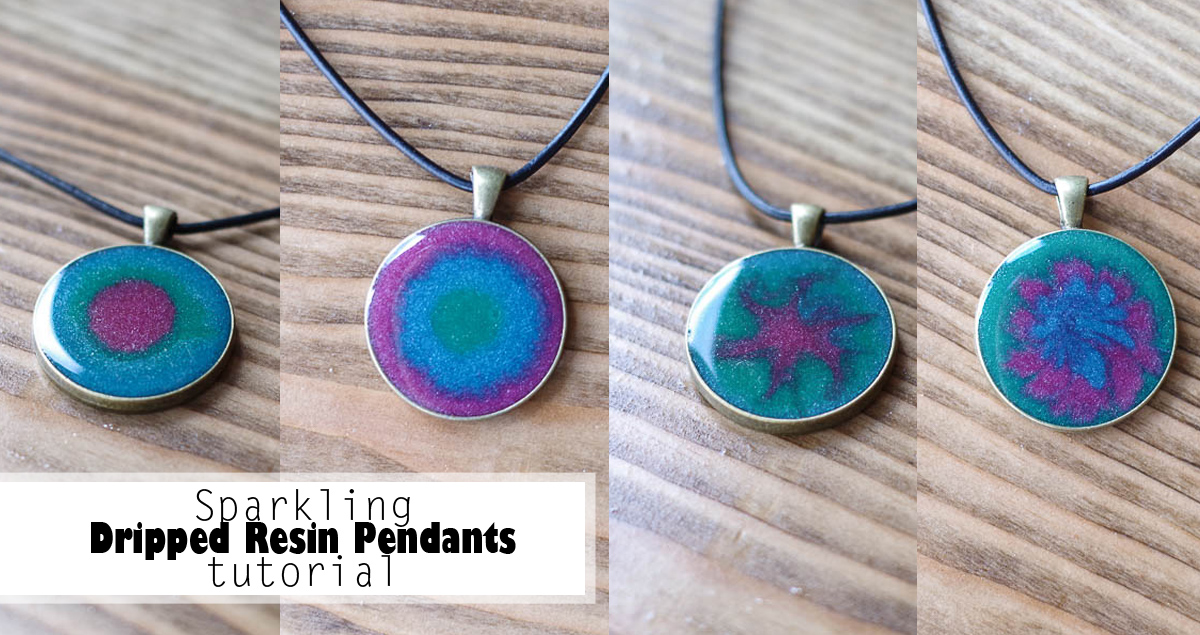
Hello resin crafters! It’s Sheri from Hazel + Gold Designs here again, and I’m excited to share this tutorial on how to make Sparkling Dripped Resin Pendants. These resin necklaces are quick and easy to make, and each one is completely unique because you never know exactly how the resin will settle with each drip. I hope you learn a lot and if you make one, please share photos with us!
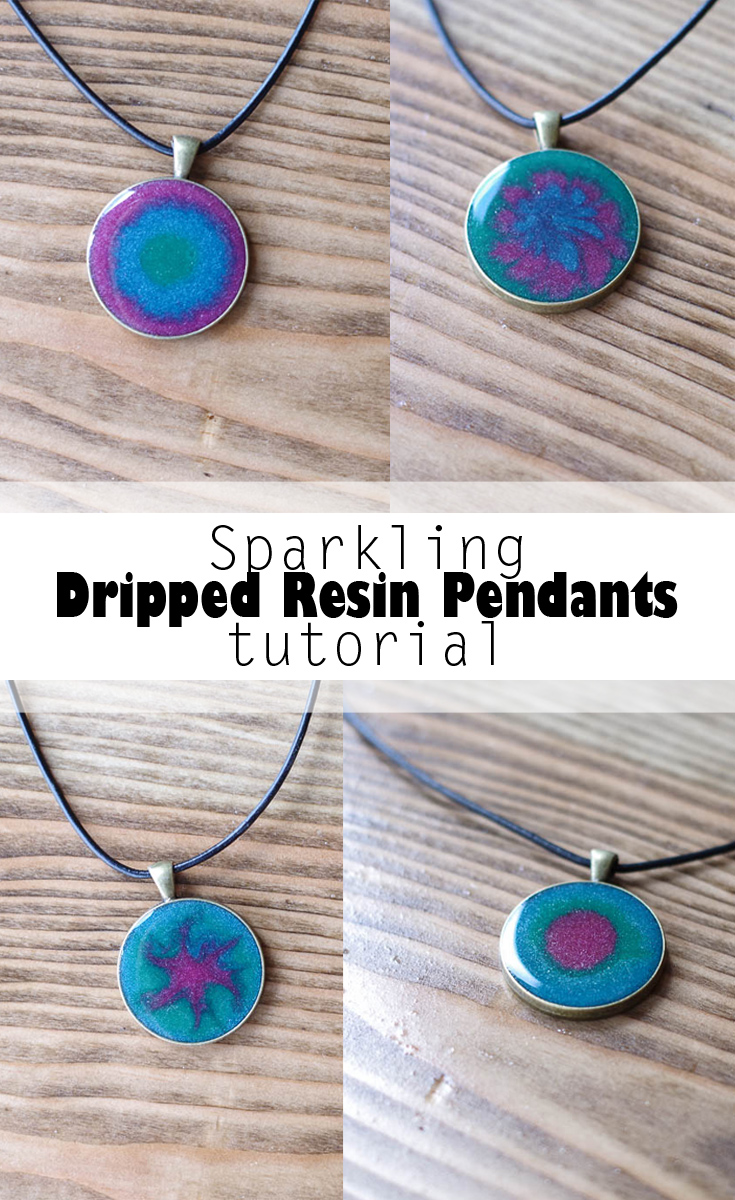
Sparkling Dripped Resin Pendants
Supplies:
- Envirotex Jewelry Resin Kit
- Extra Small Disposable Measuring Cups (as pictured)
- Extra Stir Sticks
- Disposable work surface (cardstock paper)
- DecoArt Metallic Paints
- Pendant Bezel Blanks
- Micro Butane Torch
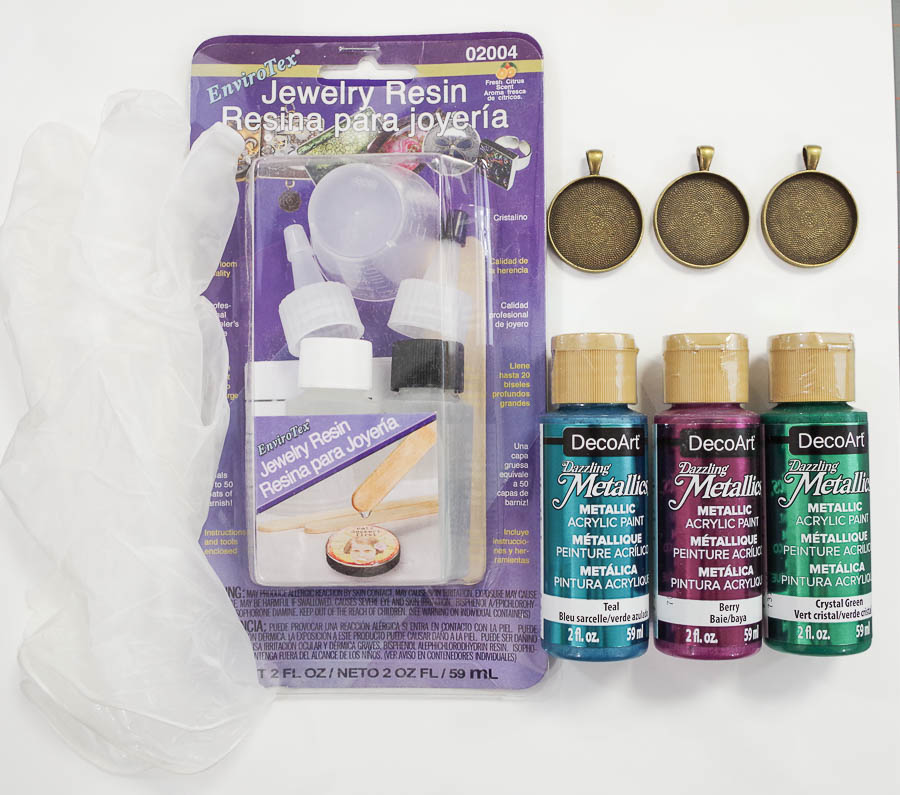
Pull the Envirotex Jewelry Resin kit out of the box. It should be as pictured here (the bezels are NOT included in the kit.) Please read through the instructions to make sure you understand all the details on working with resin and what to do and not do. It’s not difficult, but you do need to be aware of a few details.
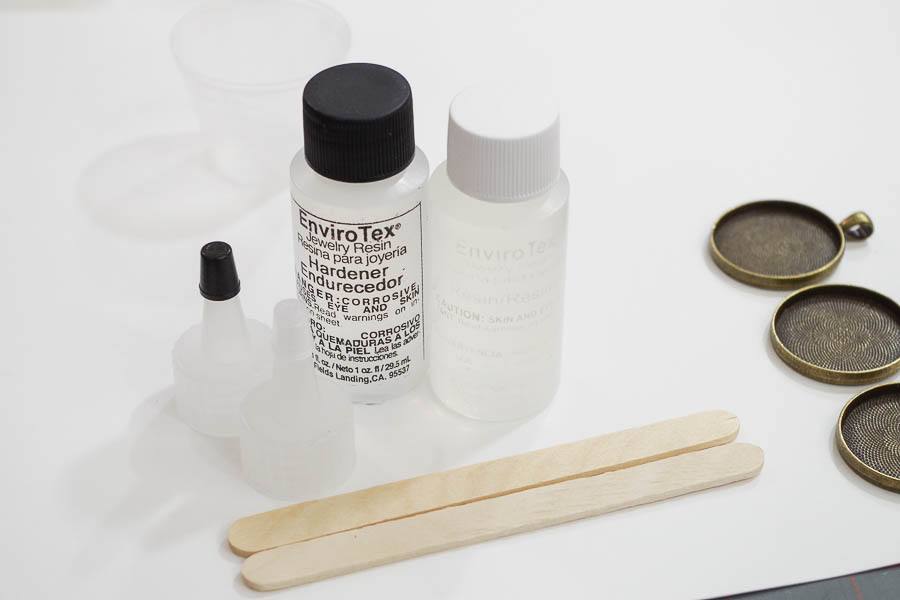
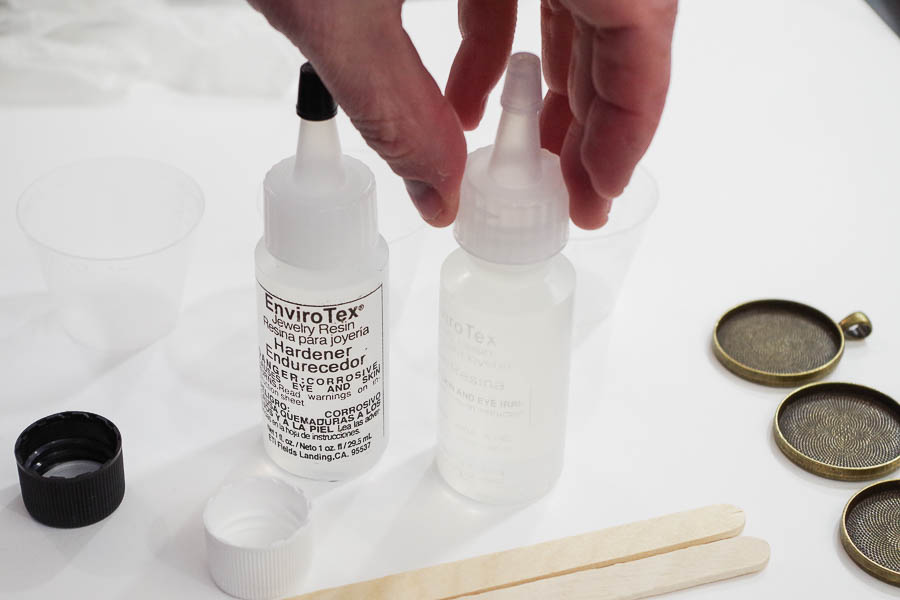
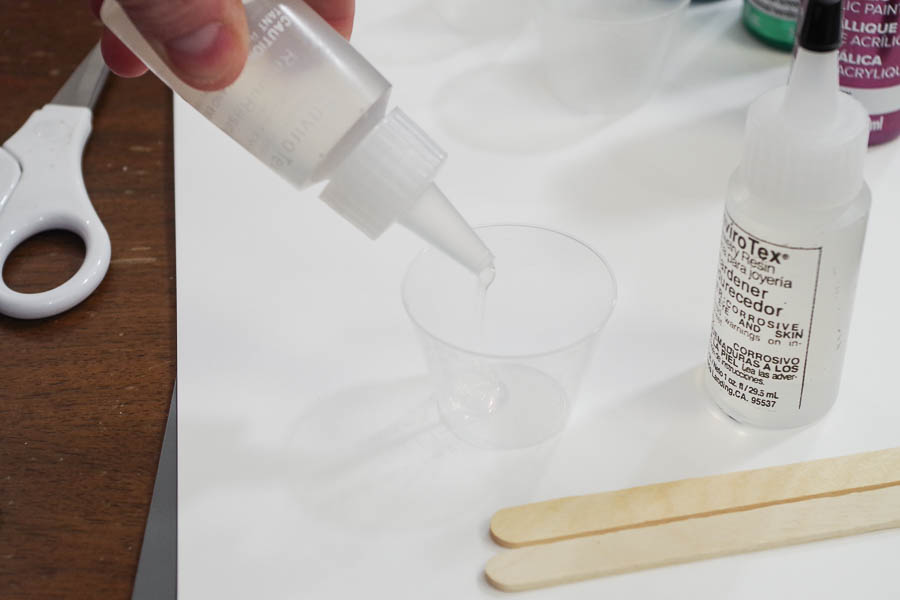
Take the lids off the resin bottles and put these pour caps on. You’ll need to pull the tiny lids off of them and cut off the ends so the resin can pour through. Don’t forget your gloves! I did for the first pour step but remembered before I stirred and risked touching the resin.
Pour your preferred amount of part A into the cup. I used 10 ml of each part, which was enough for five pendants.
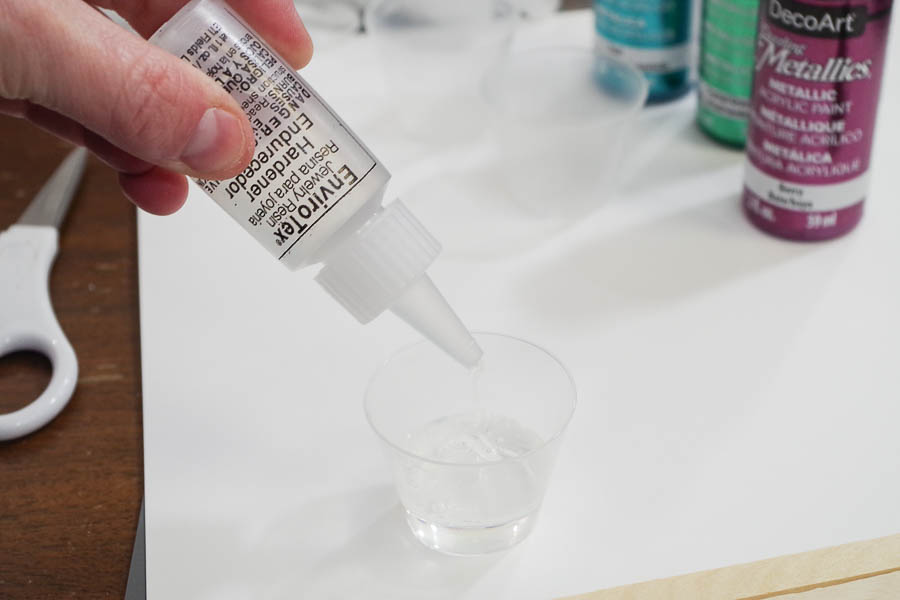
Now pour an equal amount of Part B (again I used 10ml).
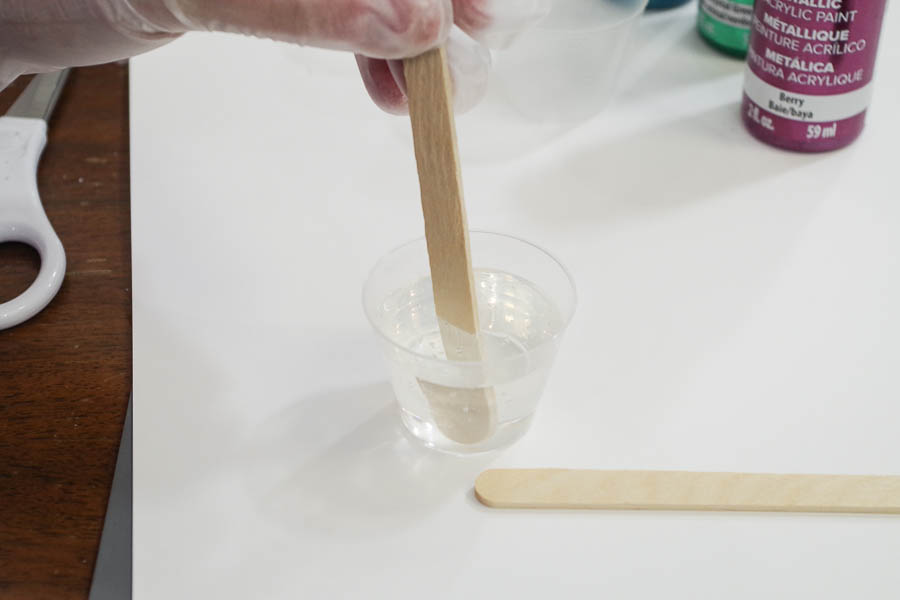
Stir the mixture thoroughly until it is completely clear.
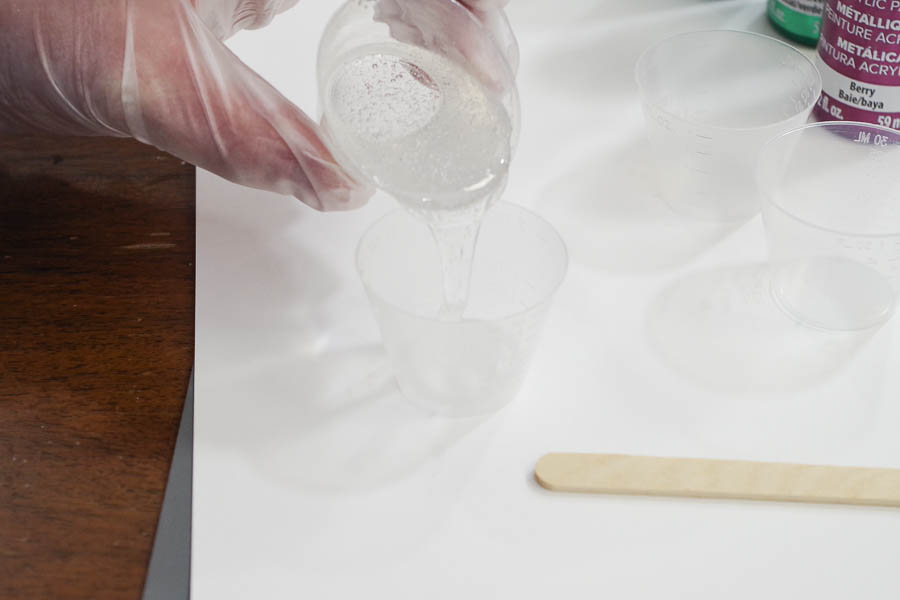
Pour your resin into three new cups. I chose three because I was going to do three colors, you can do more or fewer.
Add a couple drops of your metallic paints to your cups. You really don’t want to use a lot because it will effect the curing process, but a couple drops seemed to be enough color.
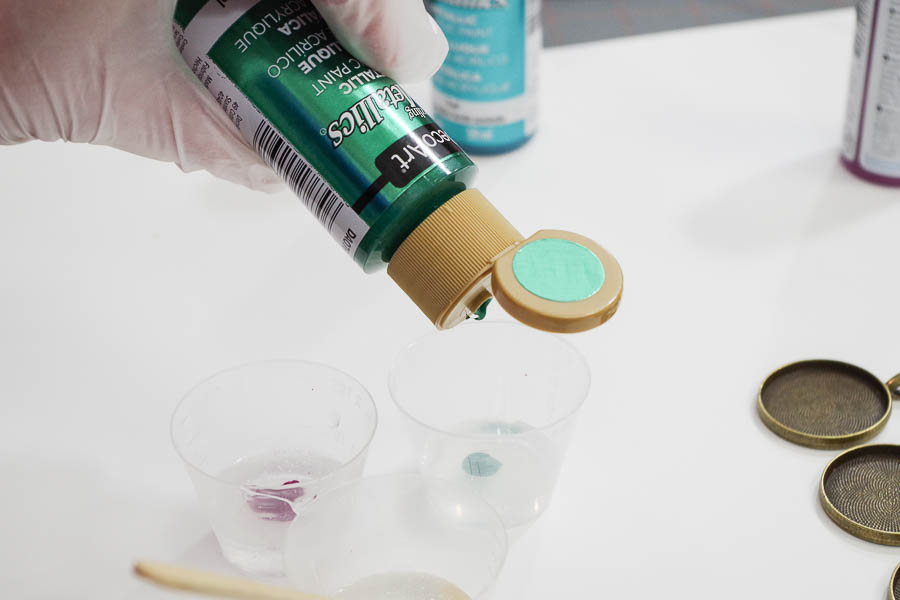
Stir all your colors into the resin thoroughly.
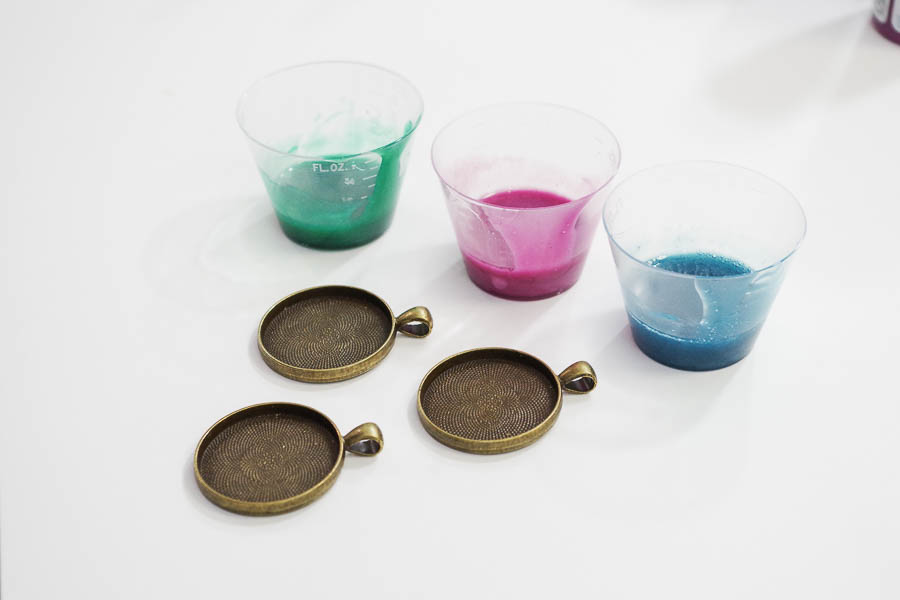
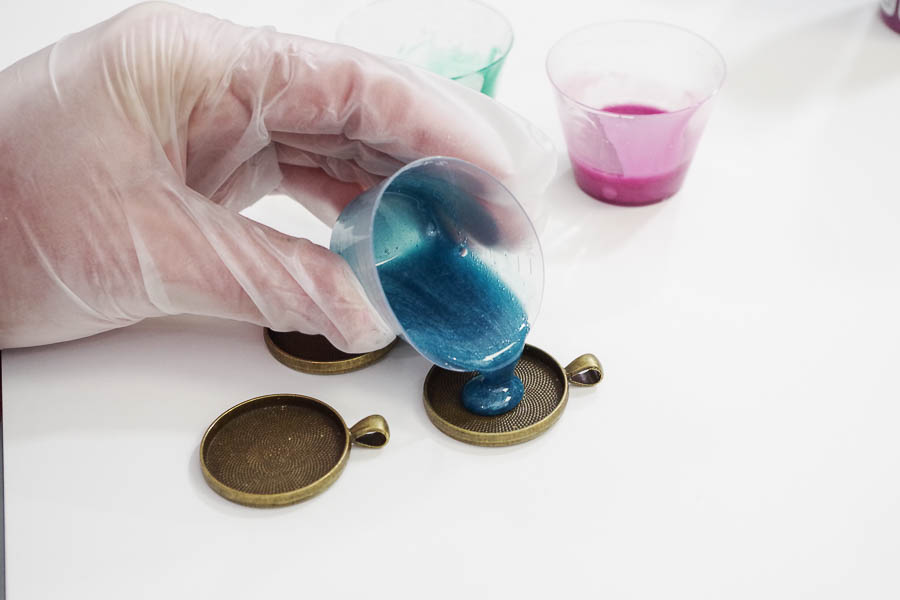
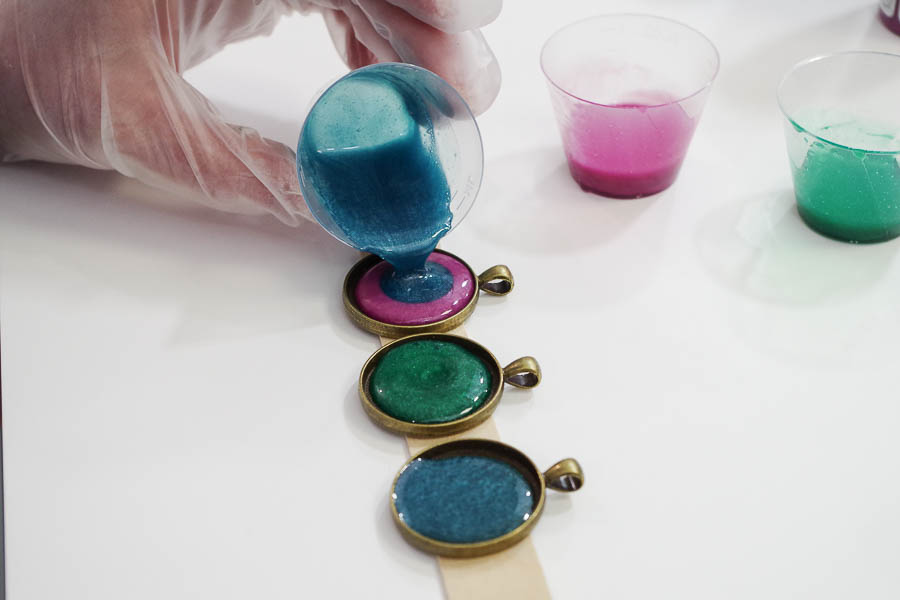
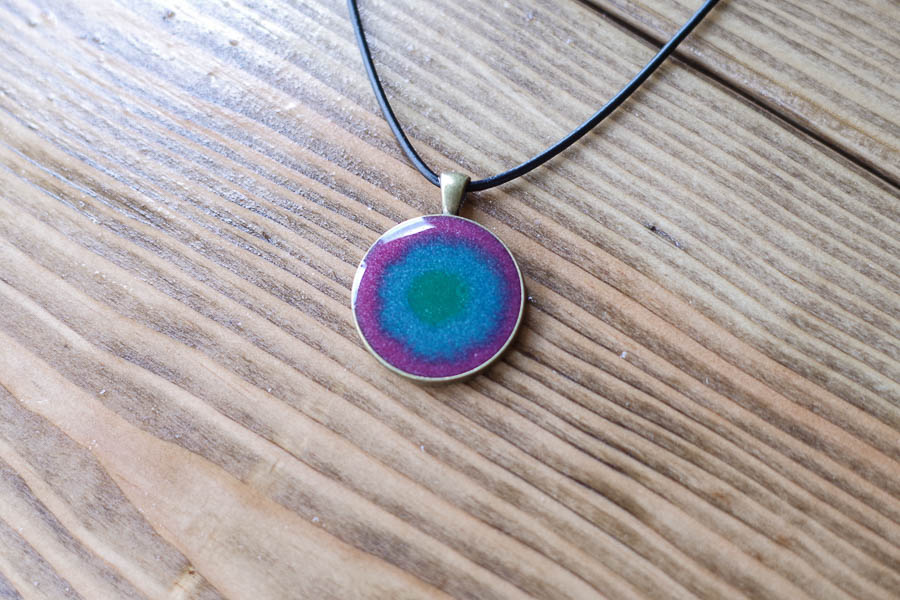
Begin pouring your first color into each bezel. Keep in mind that with this method, the color you pour first will end up on the outer rim. You want to pour more of this color than the other colors.
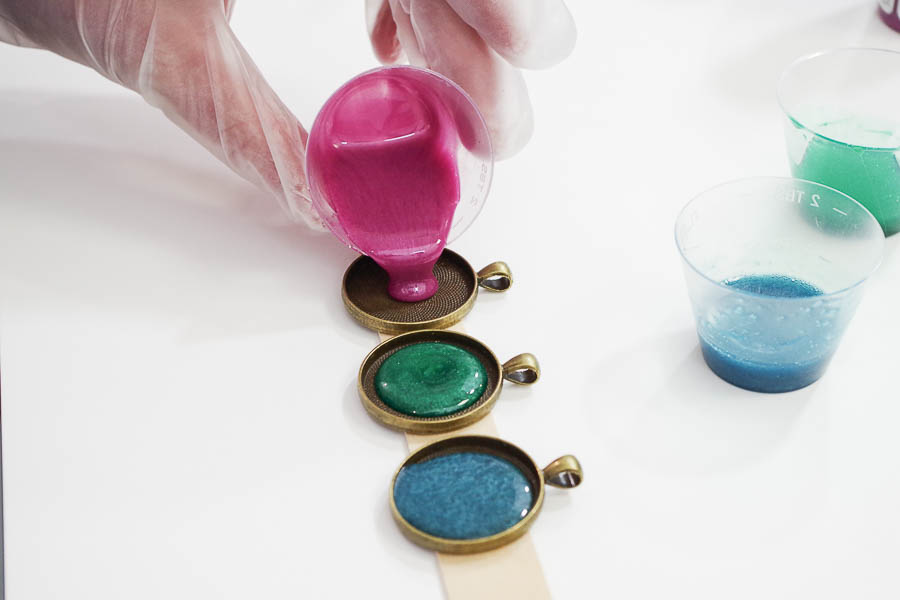
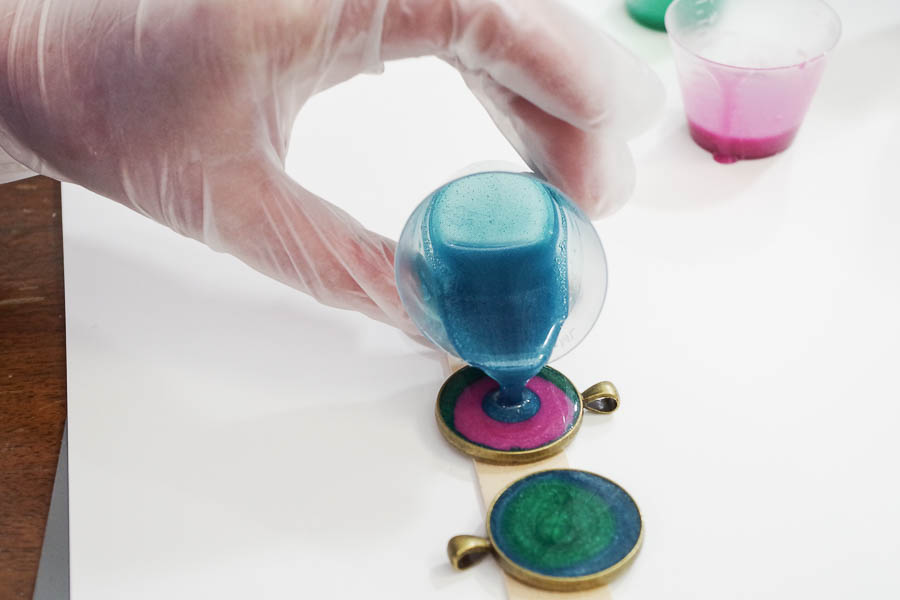
Pour the second color into the center, go slowly so you don’t overpour.
Then pour the third color into the center as well. You can really make any design you want, but this is how I chose to do it.
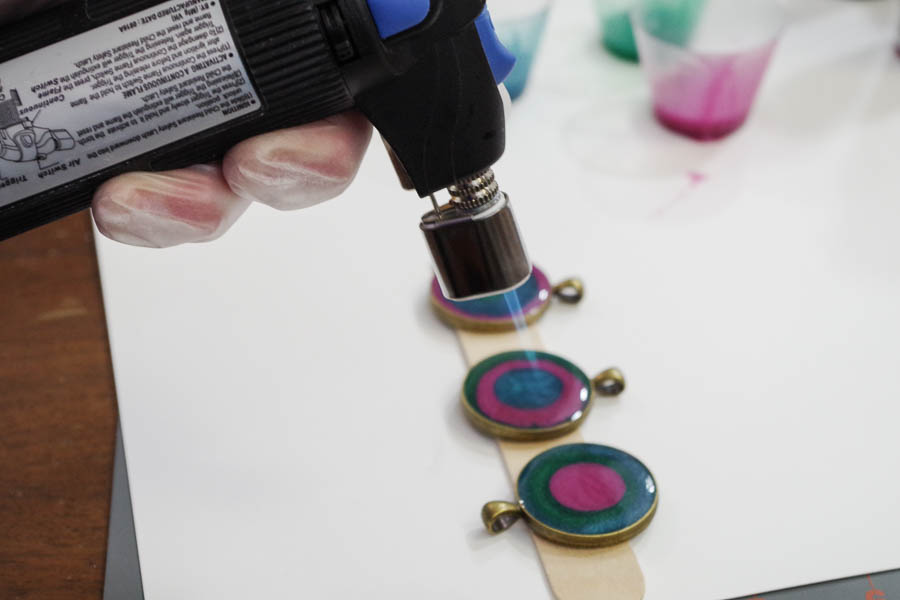
Use the micro-butane torch to pop the bubbles. You can always just exhale over them as well and the carbon dioxide you emit will pop the bubbles. I just happened to have my torch on hand since I work with resin frequently.
Now let your resin cure! It only took 24 hours for mine to cure, but curing time can vary depending on room temperature so check the instructions for more information.
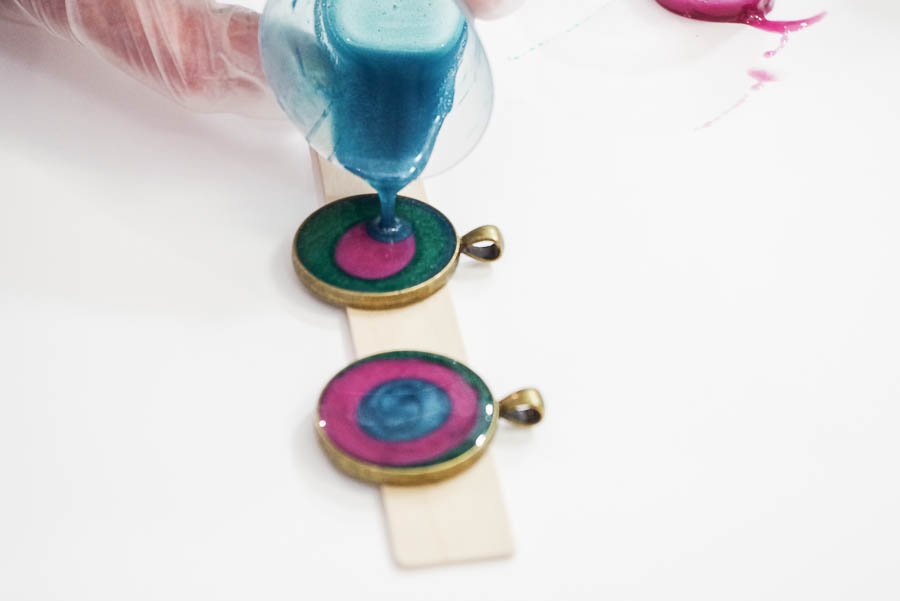
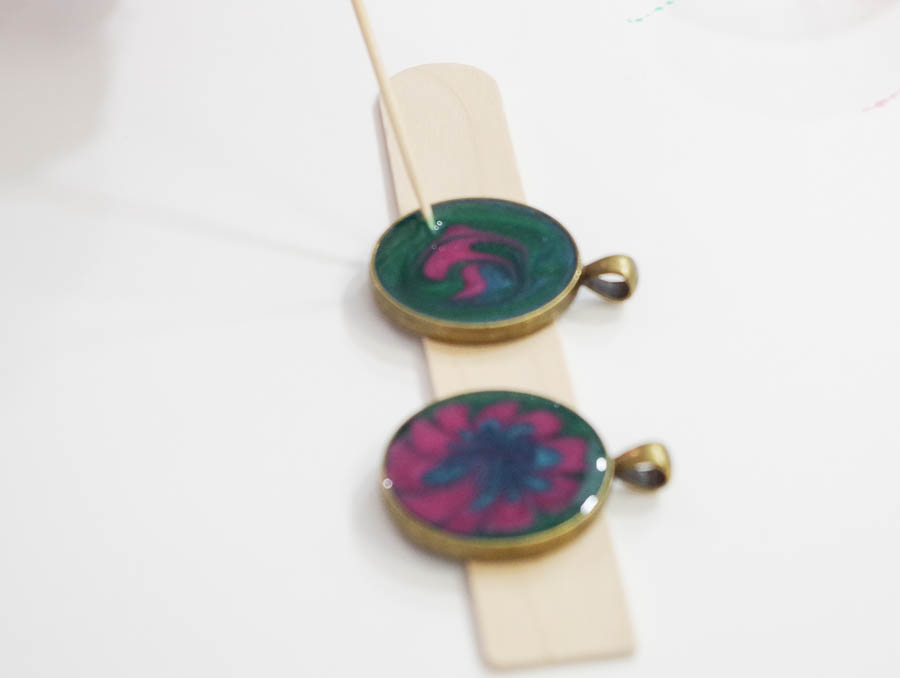
I wanted to try another style, so I poured two more bezels and used a toothpick to make some designs. It worked well.
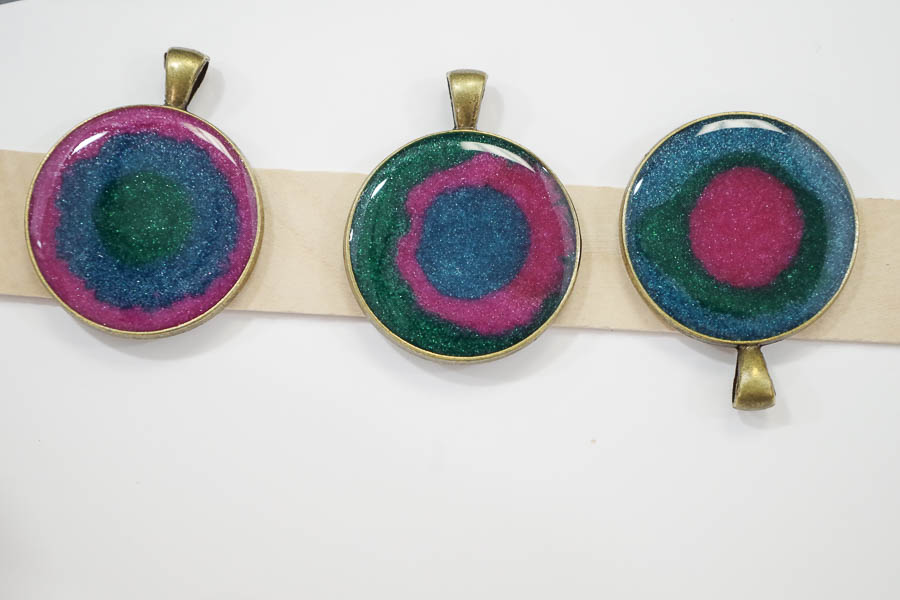
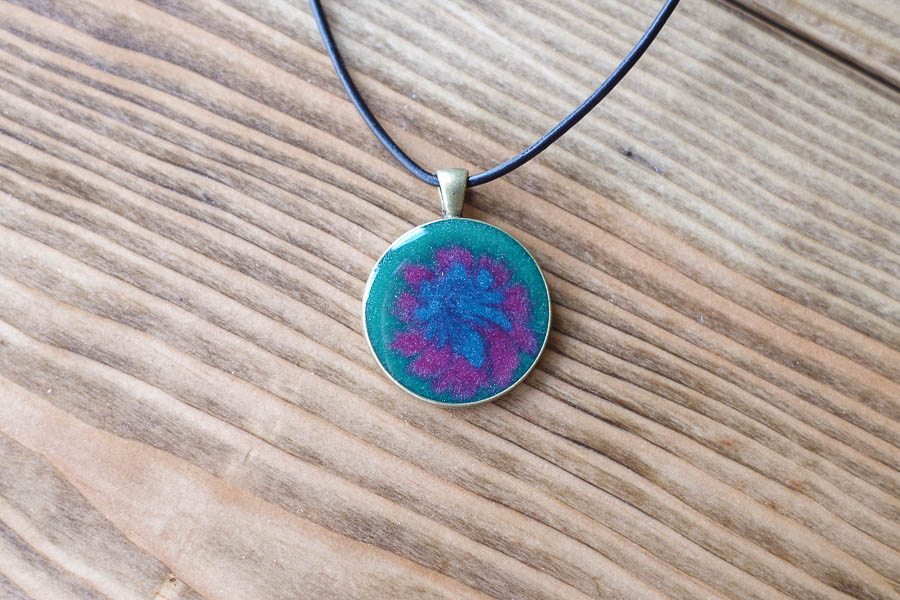
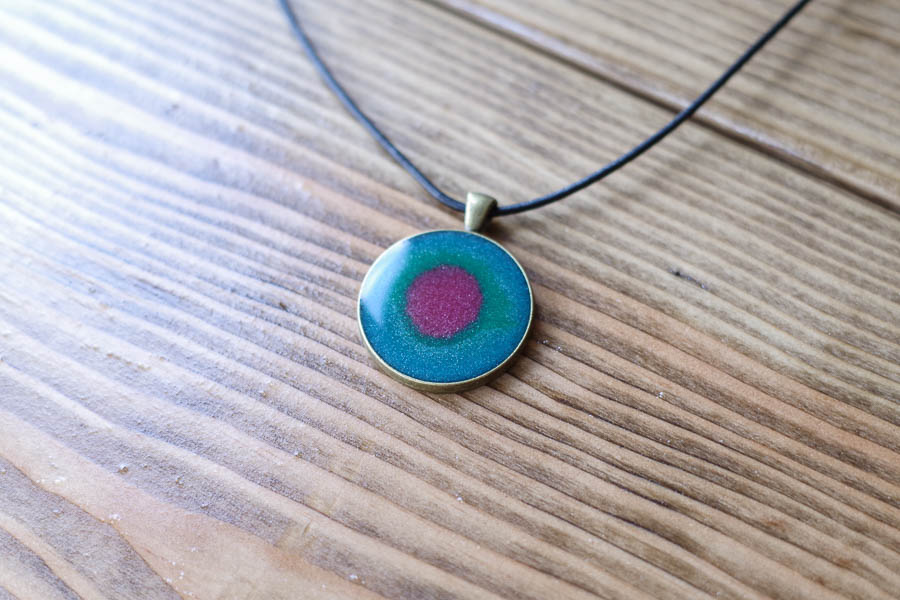
 Finished!
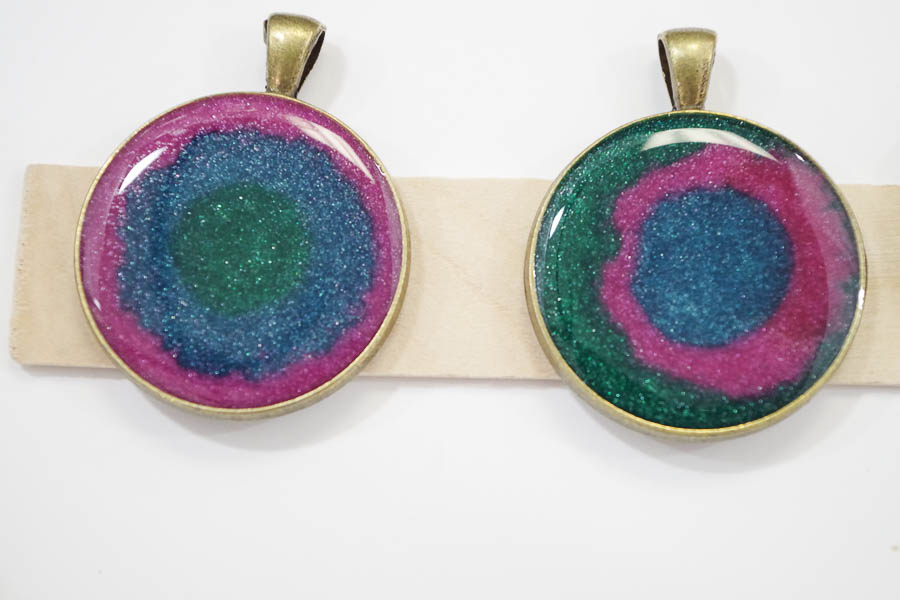
Here are some closeup shots so you can see how great they look and how sparkly the metallic paints make it.

What do you think? Do you like them? What colors would you try?

Please share this post with the social media buttons to the left! Pin this image to Pinterest to save this idea for later!
Sheri is a Maker and DIY blogger at Hazel + Gold Designs. She is usually in the middle of multiple projects at once and finds great satisfaction and joy in creating something new. She is constantly learning new skills, putting them to the test, and sharing her experience and knowledge with others. Her favorite hobbies are crafting, painting, crocheting and basic woodworking. Her goal is to inspire others to step out of their comfort zone, learn a new skill and have the confidence to make their life a little more beautiful!


Hi, I keep getting white specks in my resin when firing it and when after it’s cured. Little tiny white flakes throughout. I’ve tried switching paints but I am using acrylics. Do you think it’s from the acrylic paints? I also tried using white ink as a replacement when mixing, I ended up adding the acrylic because the ink seemed transparent. What is the best kind of paint to use with resin? I am completely new to this and I love it! ????
I am not sure what the specks would be from. It could be the paints. It could also be dust in the room that settles on the resin while it’s curing. Perhaps try a different acrylic paint and try covering it while it cures. I always use acrylics, most often DecoArt brand.
Wow those turned out really pretty. Love the easy to follow directions too!
Thank you for sharing ????
Thank you!
Hi. I just signed up! I have been wanting to do some resin art projects & I make a variety of jewelry, so when I saw the ad for this, I had to take a peek at it. They all came out nice & I love the colors you picked to use together. I would pick some purple & mix with green , because I have always loved those colors together. Resin is new to me- & I am looking forward to your emails.
Thank you! The color options are endless which is part of what makes it so fun! Hope you give this a try and enjoy the process!