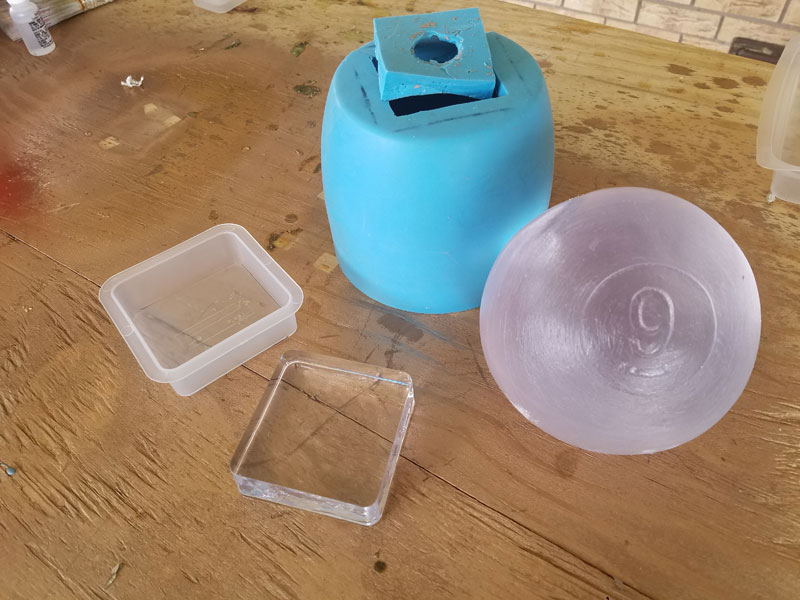
Hi guys, it’s Whitney of Whitney J Décor, and I’m so excited to show you this fun project I made for my bookcase. I’ve had this really cool oversized, wood-carved pool ball for a while now and have always looked for more. I dreamed of having a set of like five or seven acrylic ones just like this for a really large bowl, so I made a mold out of the oversized ball with EasyMold Silicone Rubber so that I can replicate it.
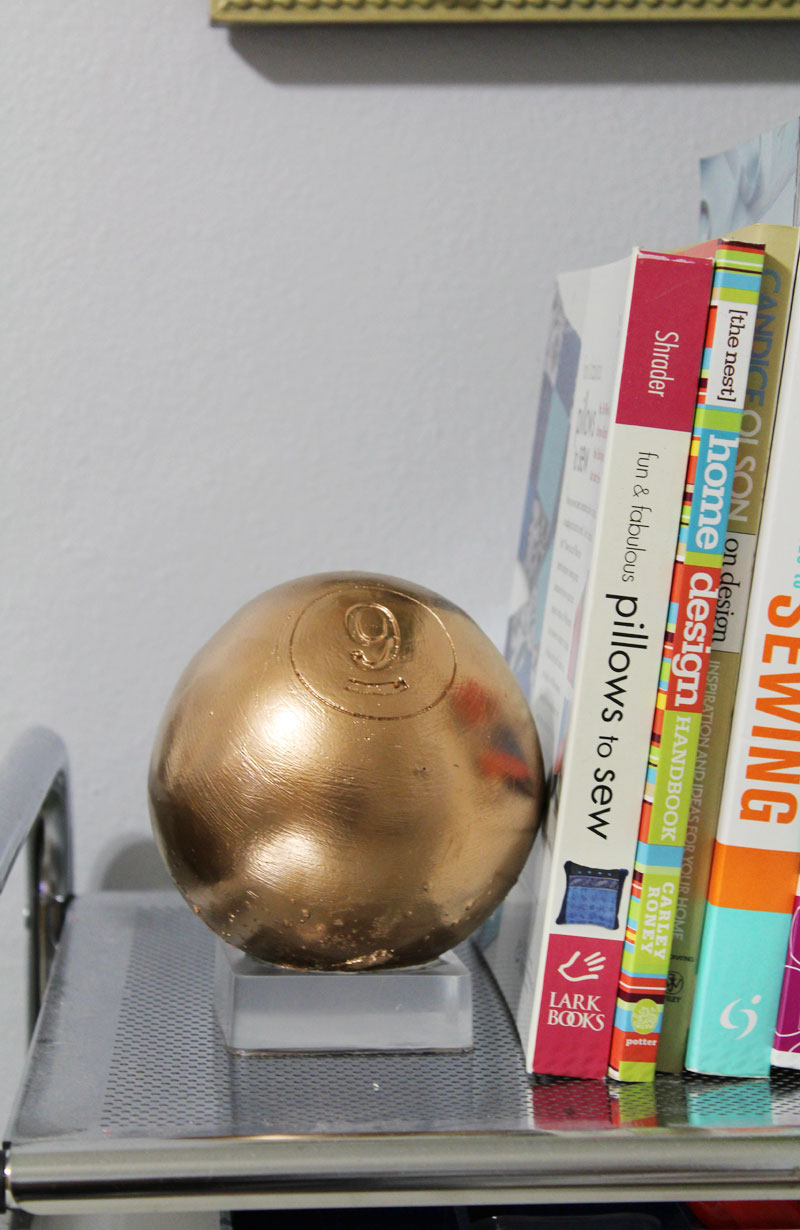
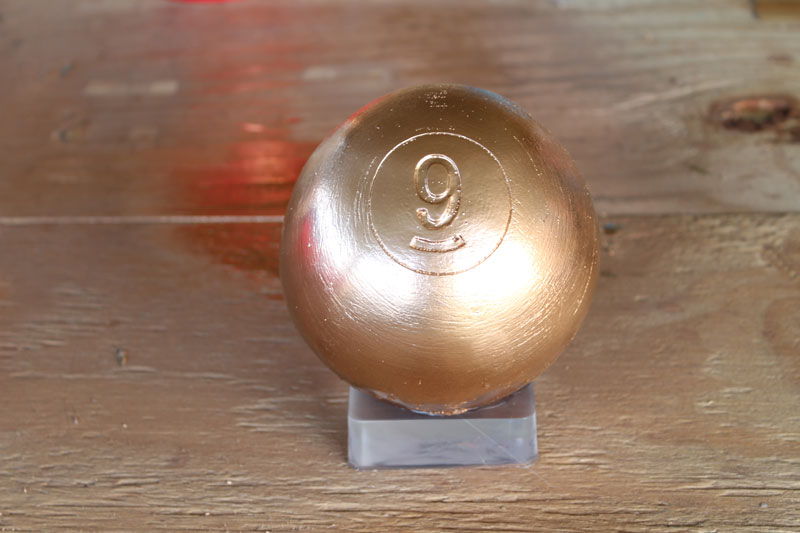
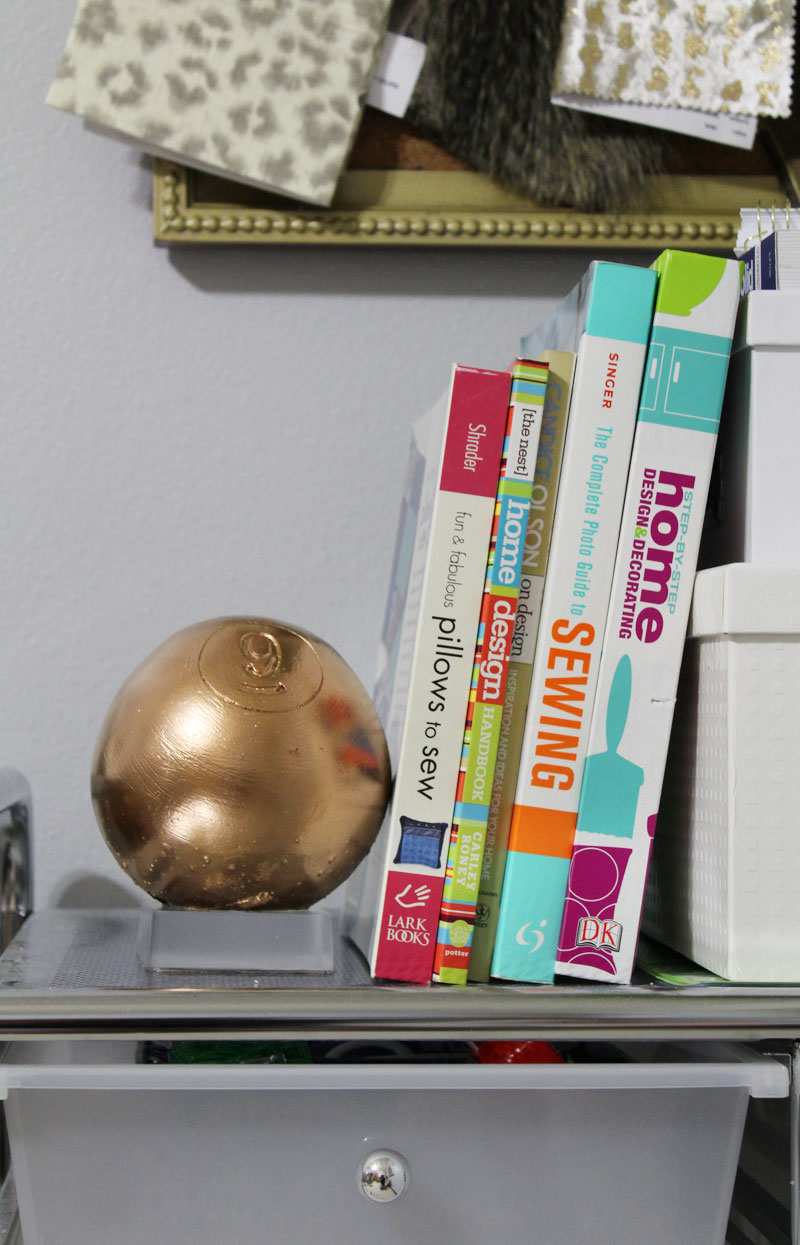
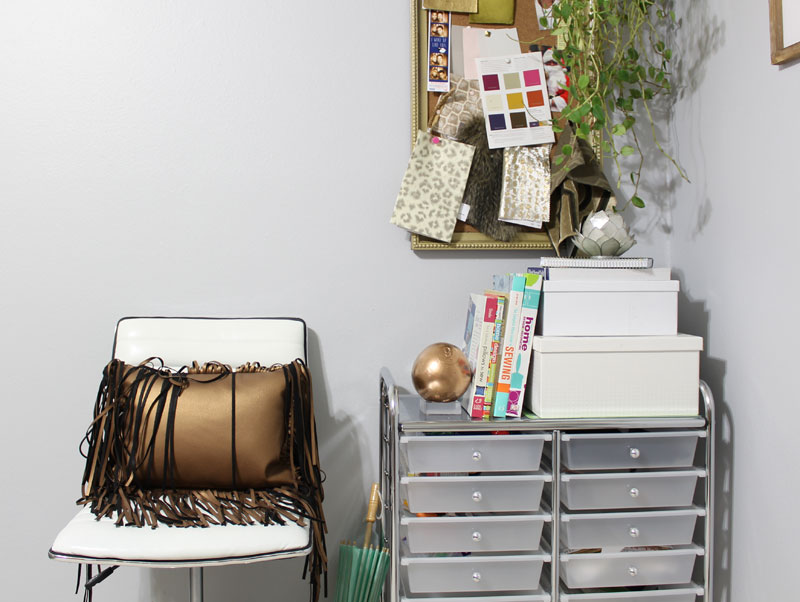
After casting a new ball with Castin’ Craft Clear Polyester Casting Resin, I made the decision to actually cast a small square mold with the Clear Polyester Casting Resin so that the ball can sit on and become a lucite inspired bookend. I really wanted the look of acrylic, or Lucite, because I’m loving that look in home décor! Right now, it sits in my office, but eventually it’ll make its way to my living room bookcase to corral my smaller books. It turned out so great! Here’s how I made it.
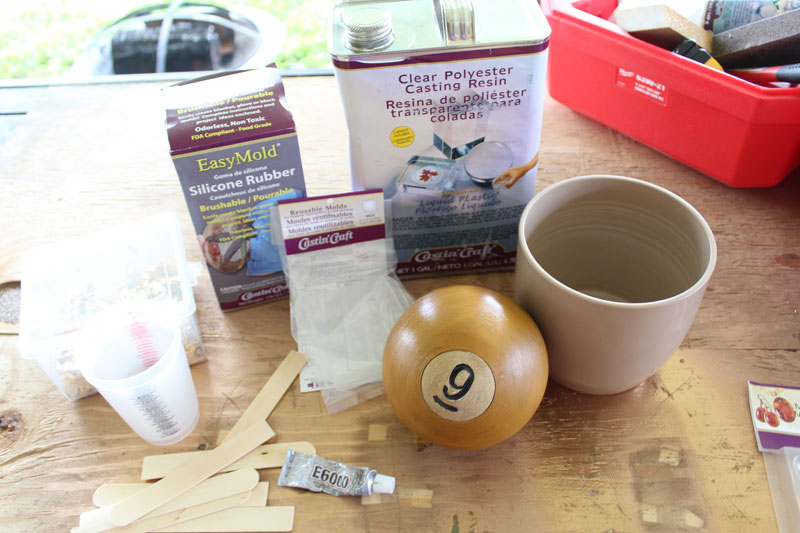
Supplies Needed:
- Castin’ Craft Clear Polyester Casting Resin
- EasyMold Silicone Rubber
- Round Object
- Container (large enough to cover the round object)
- Mixing Cups
- Wood Stir Sticks
- E6000 (or hot glue)
- Mold Release
- Square plastic mold (optional – if you want to make round object into bookend)
- Spray Paint (optional)
Making the Mold:
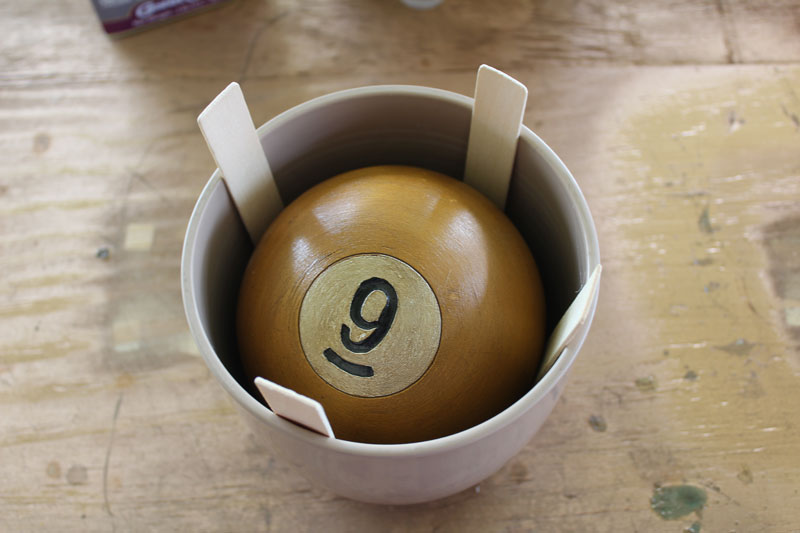
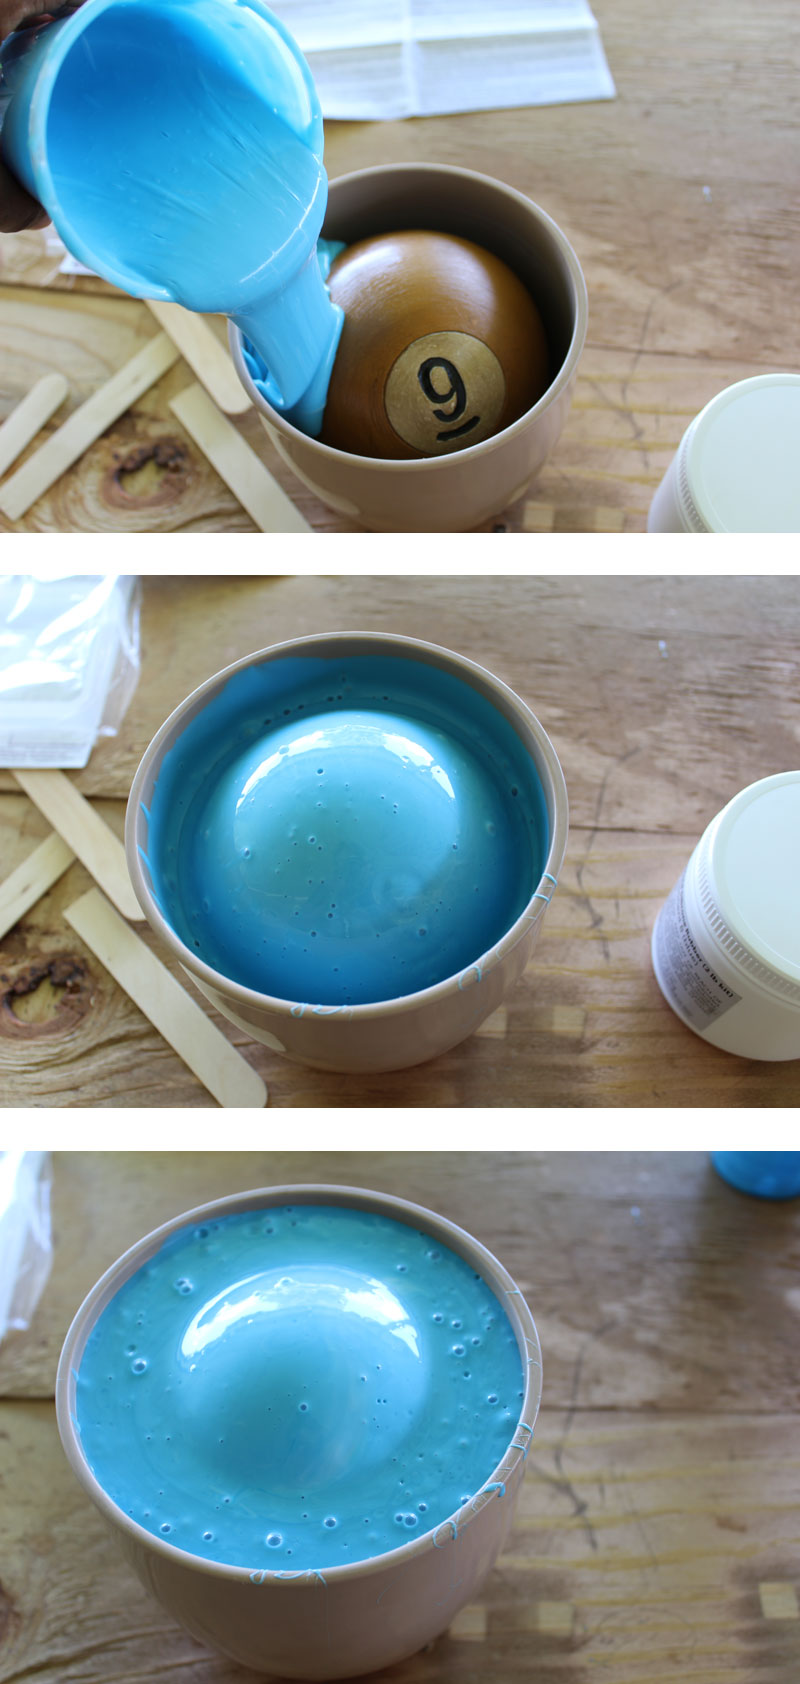
- Grab your container to place your round object inside of it. The container needs to be large enough to cover the round object and there should be enough room on all sides to be able to pour the EasyMold Silicone Rubber around it. You can use a plastic container, a glass container, or you can use a ceramic planter, like I did. Just keep in mind that if you use anything other than plastic, you might have to break your container apart in order to get the mold and object out of the container.
- Secure and seal your round object to the bottom of the container. Use E6000 or a hot glue gun to glue your round object to the bottom of the container. Hot glue dries faster and would be easier to remove, but the E6000 is a bit more secure. So, I opted for the latter. Make sure that you place enough glue so that there’s no chance of the silicone rubber leaking under the object when you pour it. Let your glue dry for the best chance of a good seal. I also used some of the wood stir sticks to keep the round pool cue in place while the glue dried.
- Use rice to measure how much EasyMold Silicone Rubber you’ll need. Pour rice into all around and on top of your round object in your container to see how much silicone rubber you’ll need. I measured 36oz of rice.
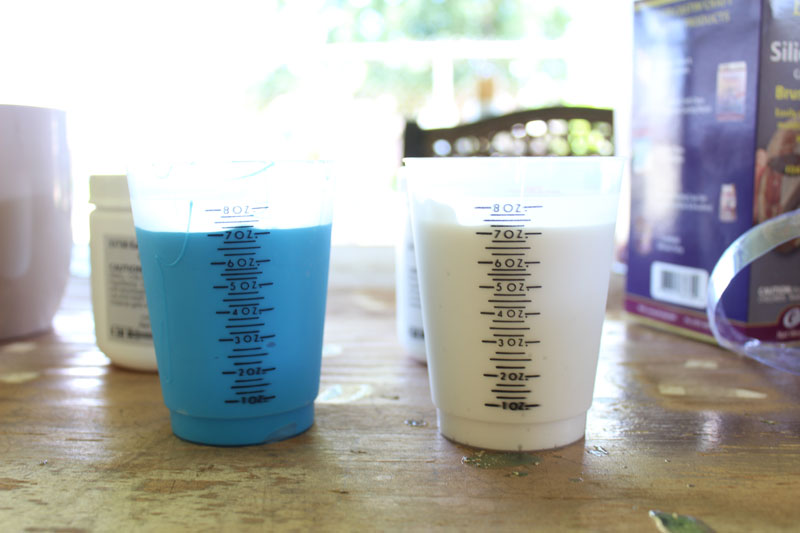
- Measure and mix EasyMold Silicone Rubber. To use EasyMold Silicone Rubber, you need to measure and thoroughly mix equal volumes of both the blue and white components of the EasyMold Silicone Rubber. Since I needed 36oz total to cover my pool ball, I measured 18 oz of each. You need to thoroughly mix the components until your mix is a uniform color.
- Pour your mixture around and over your round object. I slowly poured the silicone rubber mixture around and over my pool ball and waited about a minute for it to settle to the bottom. Then, I poured the rest over the pool ball.
- Let cure for 24 hours.
Removing the round object from the mold:
Removing the round object is going to seem hard, but it’s not, trust me.
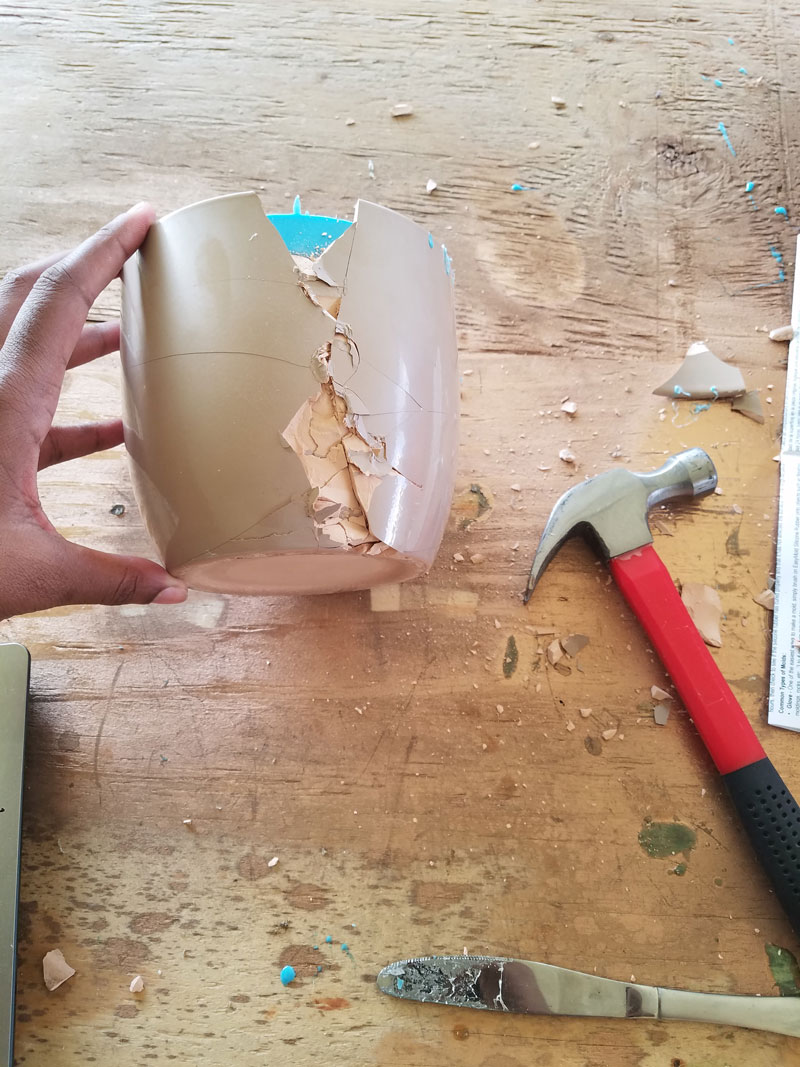
- First, I removed the mold and object from the ceramic pot by breaking it with a hammer.
-
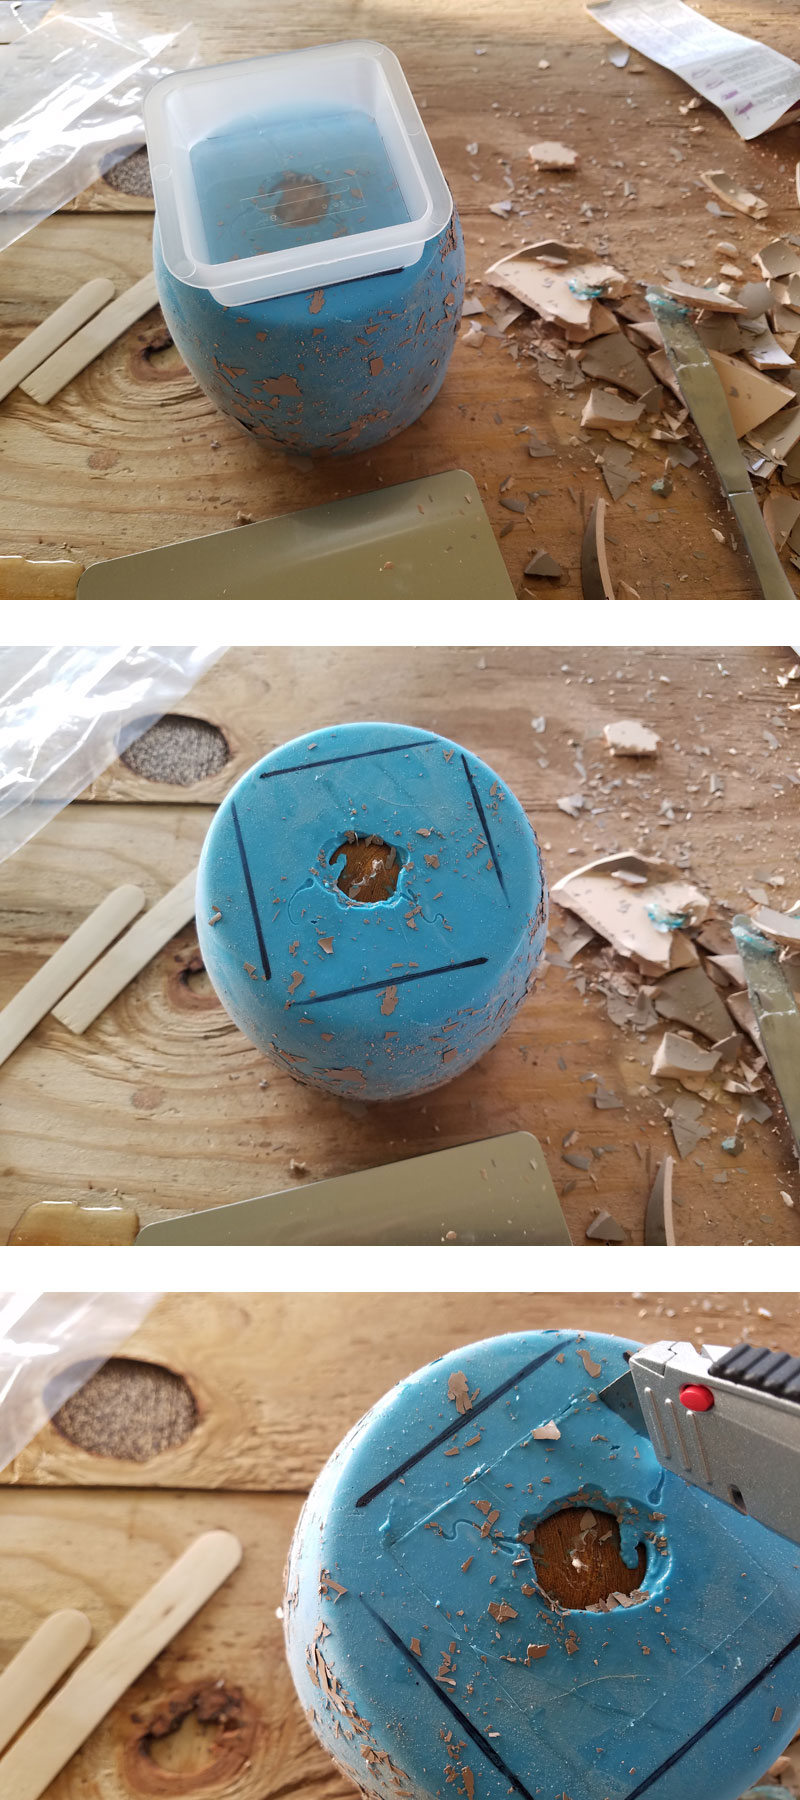
- Then, I flipped the mold upside down to find a small hole in the mold from where I glued the pool ball to the bottom of the container.
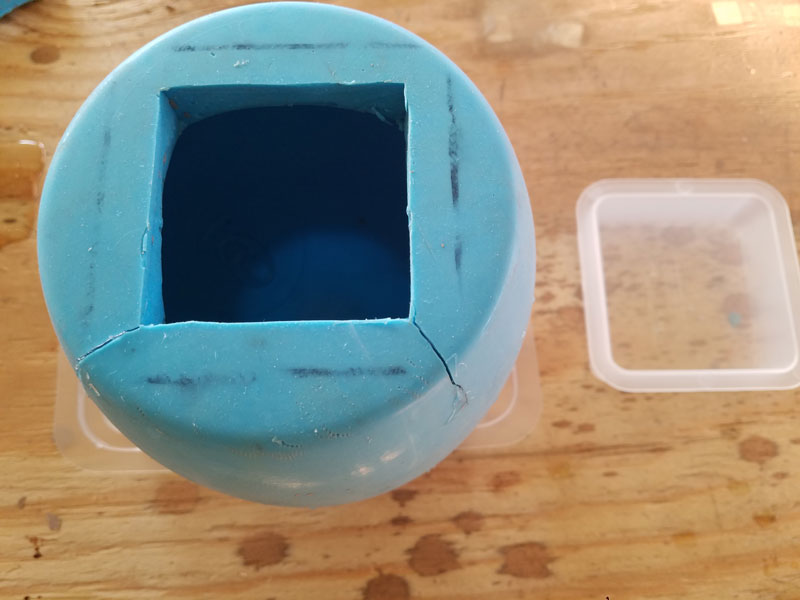
- I used the square plastic mold (that I’m using as the bottom of the bookend) to sketch the guidelines of the size/shape of the mold, then I roughly cut out a square smaller than where I marked.
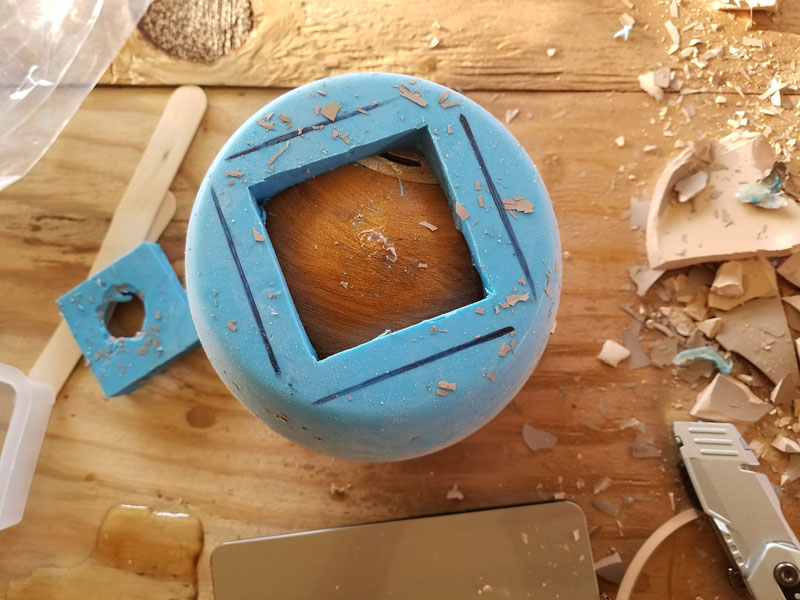
- Next, I cut two slits along two corners of the mold to make removing the pool ball easier. You can actually cut slits along ALL four corners if you’d rather.
- Then, I simply slid the pool ball out the mold.
Casting a new round object:
I used the Clear Polyester Casting Resin to make both the round ball AND the small square block that the round ball would sit on top of. DISCLAIMER: Make sure when you’re working with the Clear Polyester Casting Resin, that you’re doing it in a well-ventilated area. I did this project outside on my patio.
- Using the rice measuring method from above, measure the amount of Clear Polyester Casting Resin you’ll need for casting your new round object.
- Measure your resin in mixing cups and apply the correct amount of drops of catalyst (hardener) per ounce of resin. The catalyst comes with the Clear Polyester Resin. You should refer to the instructions for how many drops of catalyst you should use per ounce of resin. The instructions note how much resin you need for layers up to 1” deep, but since my round object would be much deeper than 1”, I guessed. I tried 1 drop of catalyst per ounce of resin and it worked out perfectly!
- Mix the catalyst and resin thoroughly for at least one minute. Use your wood stir sticks and remember to scrape the sides and bottom of your mixing cup while mixing.
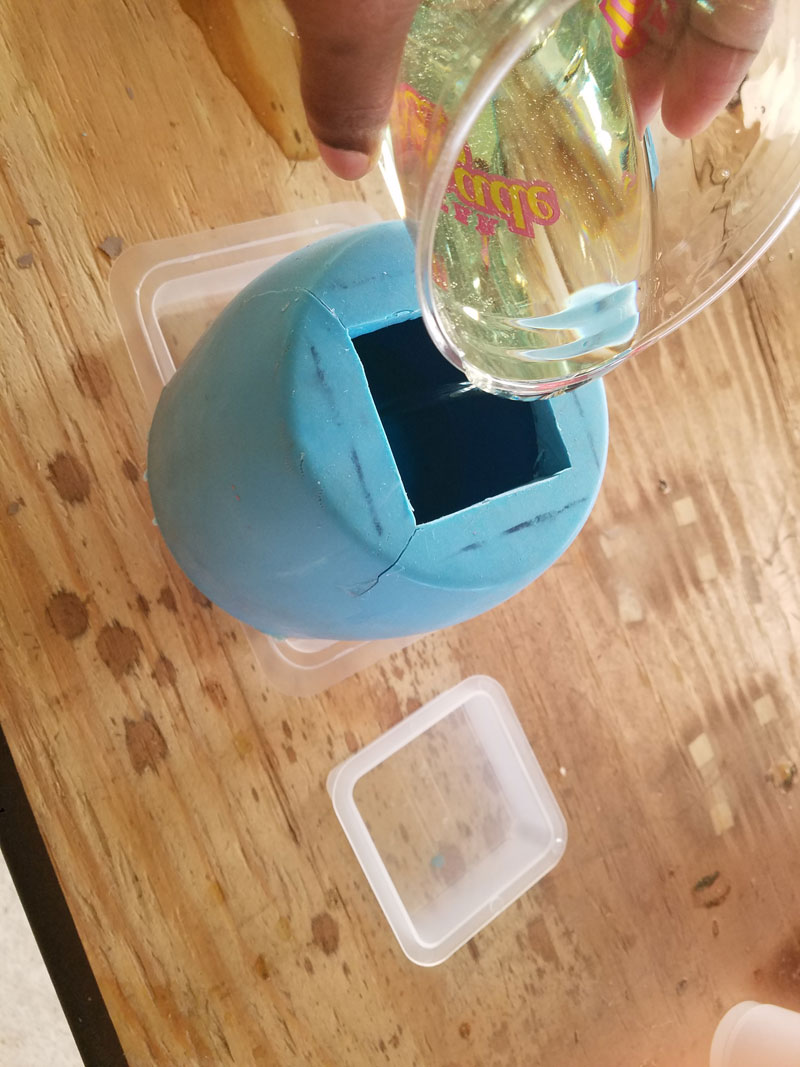
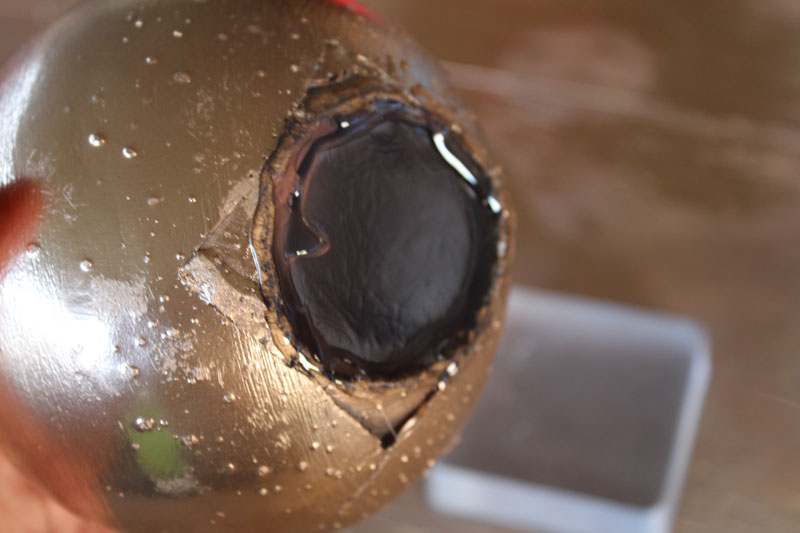
- Pour resin mixture into mold. I first prepared my mold by gluing the cut slits back together with the E6000. Remember the slits I made earlier? I needed to make sure to seal them again with glue, so that I had a perfectly rounded shape and so the resin mixture didn’t leak out. Make sure the mold is clean and dry before pouring. I sat my mold inside of another plastic mold container, so that it was level, since the bottom of the rubber mold was rounded.
- Let cure. The time of curing could vary between 1-24 hours. You can check to see if it’s cured by tapping on the casting with a clean stir stick. If it “clicks hard” without sticking to the casting, then it should be cure. I let mine cure for 6 hours and it was hard as a rock.
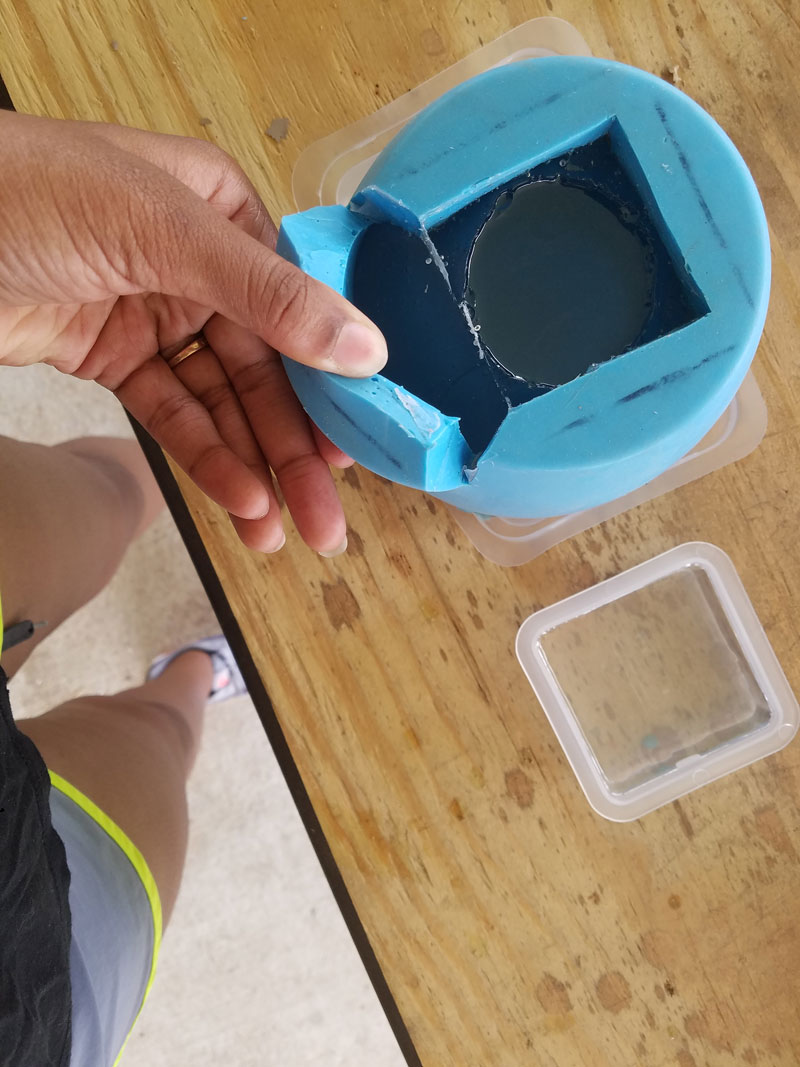
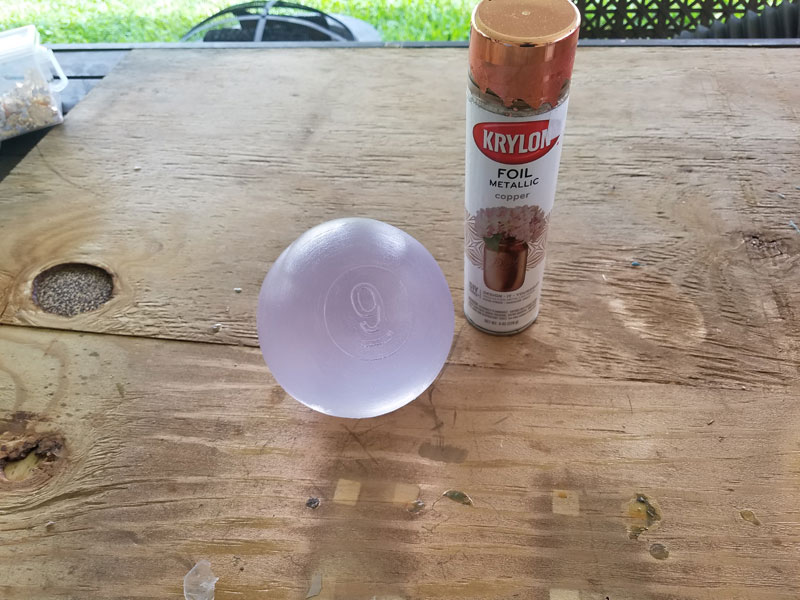
- Remove from mold. First, I pulled apart the slits again, which was pretty easy, even though they’d been glued together. Then, I pulled the newly casted round shape out of the rubber mold. Easy peasy.
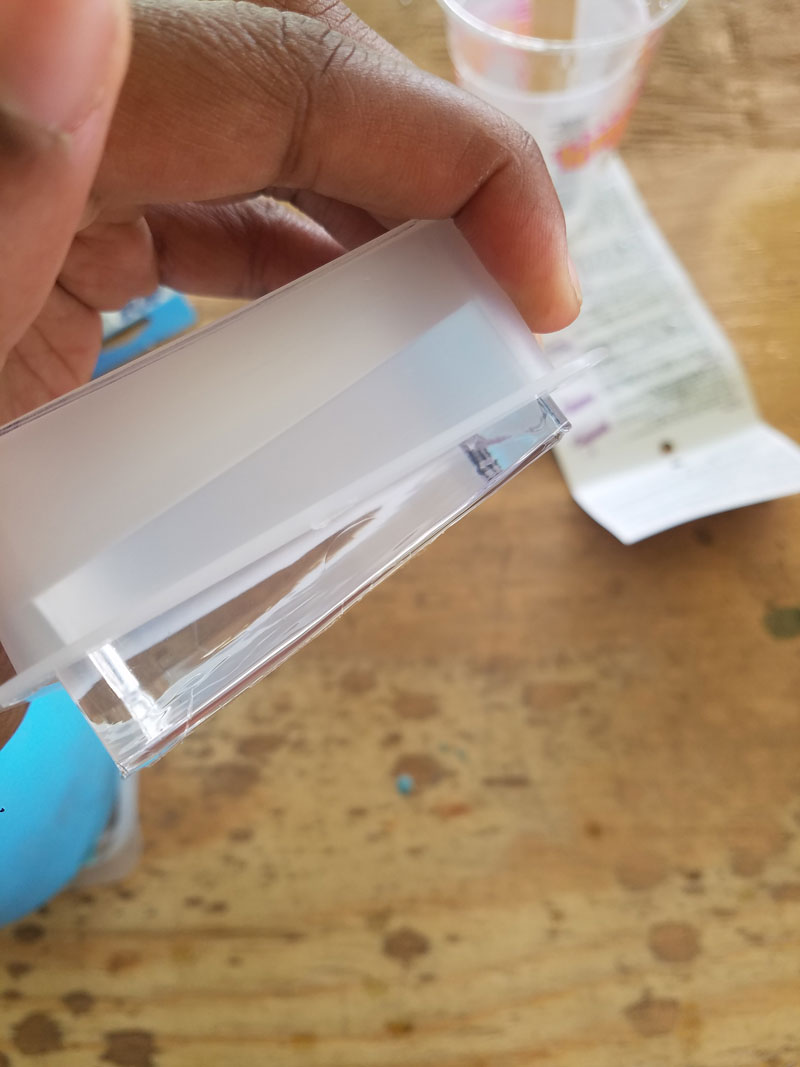
- Repeat steps for the small square mold. If you decide you want to put your newly cast round object onto a square block (so it won’t roll around), just repeat the same steps above. Since this was a 1” deep mold, I used 4 drops of catalyst per ounce of resin. I used 4 ounces of resin total for the small square mold. Make sure to use the Mold Release for the plastic square mold and let it dry before pouring the resin mixture!!
Using as a bookend:
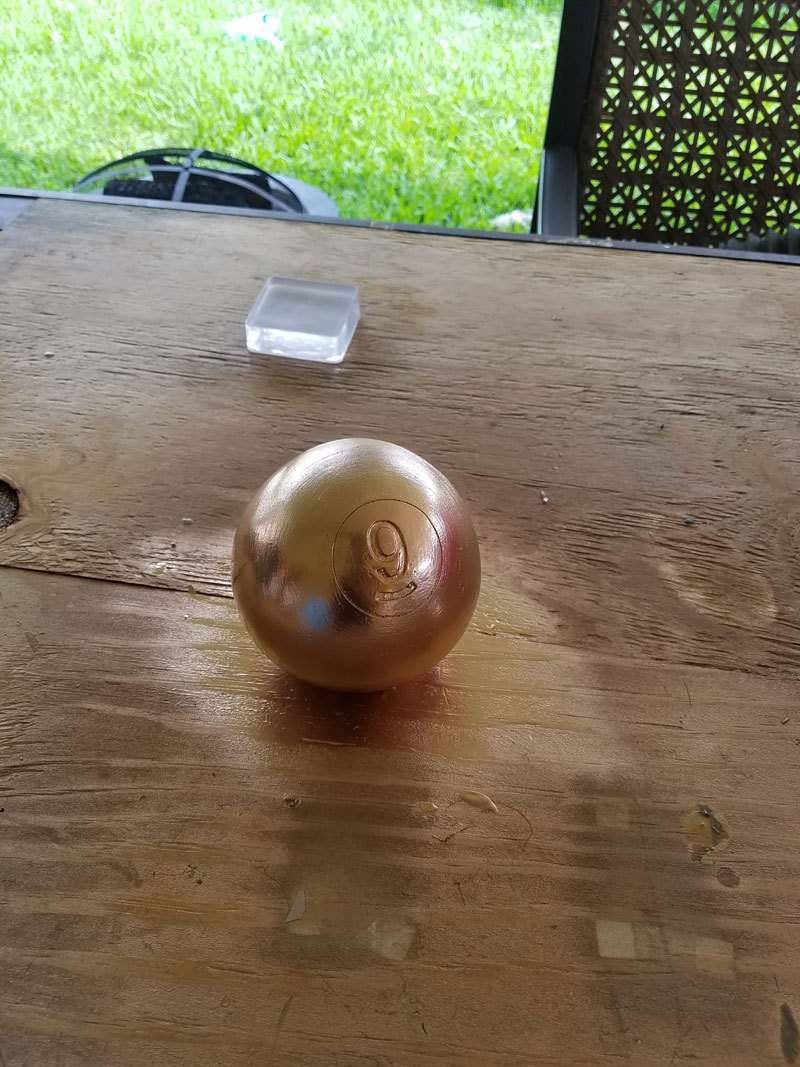
I initially had intentions on keeping both parts (the round object and the square blog) clear, but then I decided to spray paint the round ball copper. I’m so glad I did, because it looks amazing! You could choose to leave them clear, spray paint both parts, or just one of the other, like I did.
To finish the look, I simply used the E6000 to glue the round ball to the square block. I made sure to match up the flat part of the round ball to the top of the square block.
It looks GREAT!
This was such a fun project and now that I’ve got this mold made, these are going to be super fun gifts for my family around the holidays. They love playing pool and the silicone rubber perfectly captured the detail of my initial piece. I’m thinking about casting the next few pool balls in Fast Cast Urethane Resin and personalizing them with my family member’s names!
So, what do you think? Do you have any objects that you could replicate for gifts or to turn into lucite inspired bookends?
Whitney is a New Orleans based decorator blogging about all things home. She loves to sew and create fabulous pillows and other furnishings. When Whitney’s not working on design projects, she’s reading sci-fi novels, working in her garden, or making updates in her new home.
Nice job Whitney!