
Paper Mosaic Tile High Gloss Resin Wood Frame DIY
Make today awesome with an especially fun resin craft! Hi friends, it’s Natalie from Doodlecraft, sharing another fun project. This paper mosaic frame is a cinch to make and can be as simple or complicated as you want to make it! Finish it off to a professional shine using Envirotex Lite High Gloss Resin.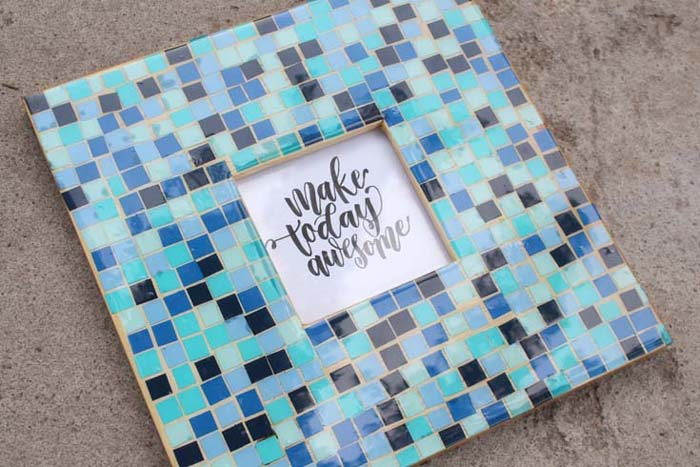
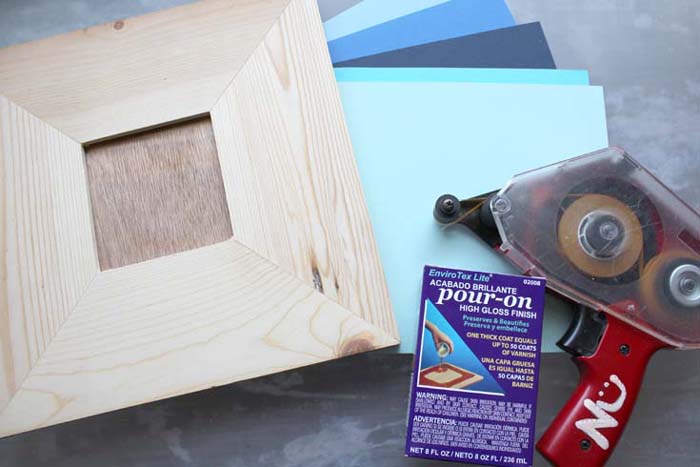
Supplies Needed:
- Chunky wood frame
- Variety of colored cardstock paper cut into 1/2 inch squares
- Tape runner adhesive
- Ultra Seal or other clear drying adhesive
- Paintbrush
- Envirotex Lite High Gloss Resin
- Disposable work surface, gloves, stirring sticks, mixing cups, extra cups for height, painters tape
Paper Piecing!
First, begin by lightly wiping off the wooden frame to remove any dust.

Next, adhere a line of adhesive tape across the edge of the inside of the frame. Then press the cut paper squares on the tape, leaving a little gap between the papers, like a grout line.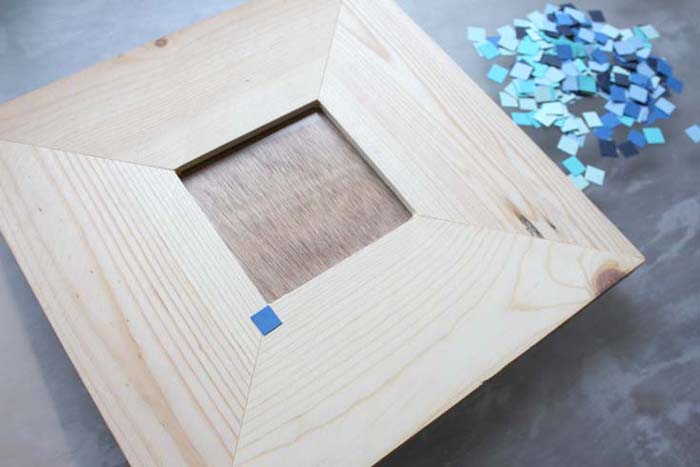
The tape line is not covered completely by the paper squares, but will be covered with the resin later. Continue building row by row of paper squares. Create a unique pattern or image…or just randomly place squares. Do not worry about cutting some pieces smaller to fit. 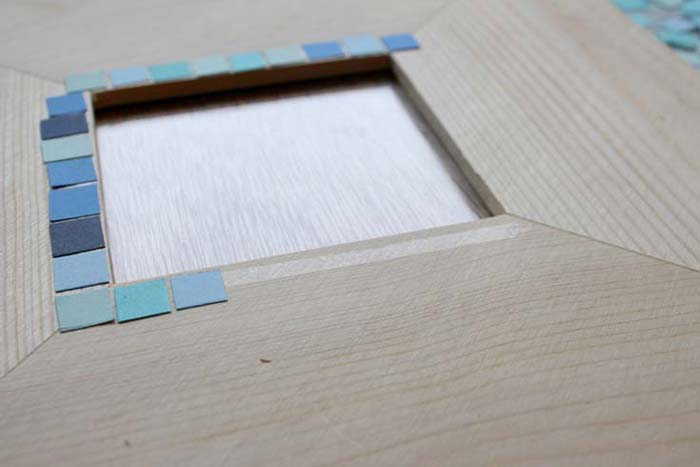
Continue adding paper squares as seen pictured below.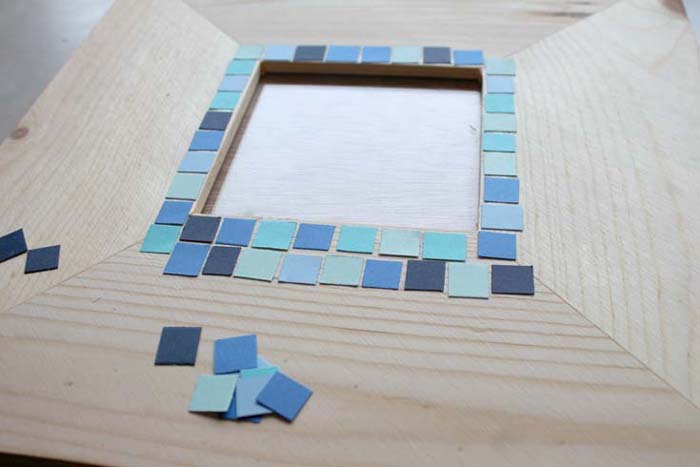
In essence, fill the entire wood frame with little bits of paper. These don’t have to be square, they could be cut in all sorts of shapes and sizes.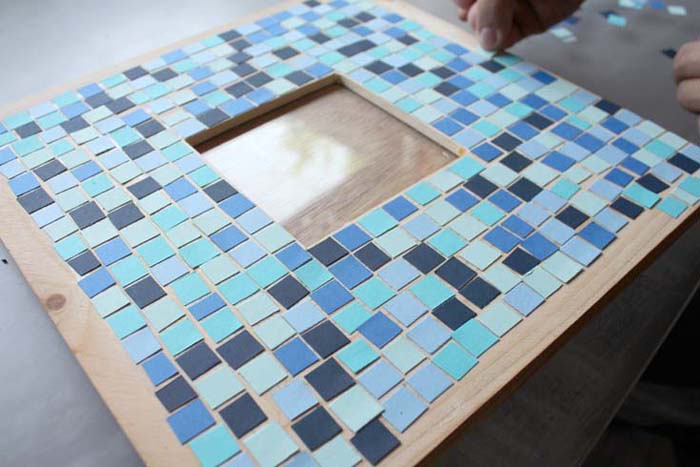
Paper Sealing!
Once the paper is secure, the next step is to coat the entire top with Ultra Seal. This will seal in the paper and keep edges from lifting.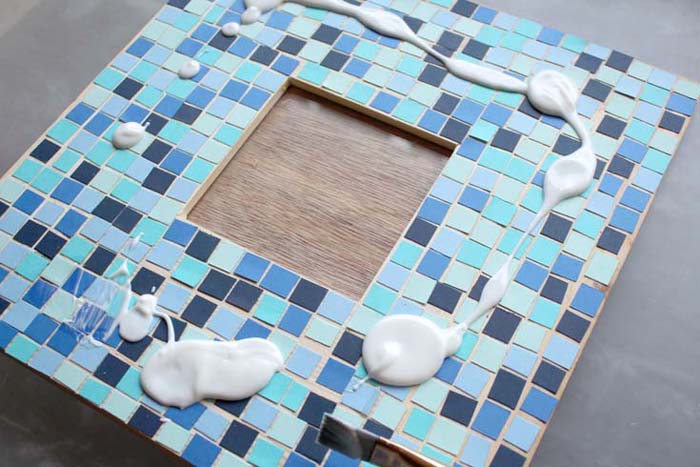
Let the Ultra Seal dry completely.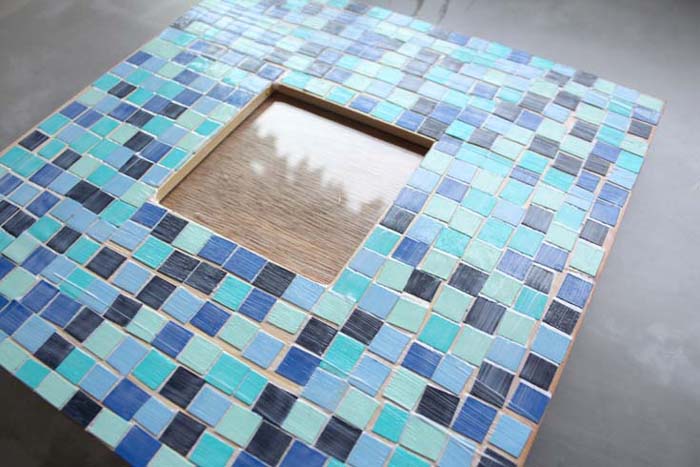
Next, position a piece of painters tape all along the outside edges of the bottom of the frame.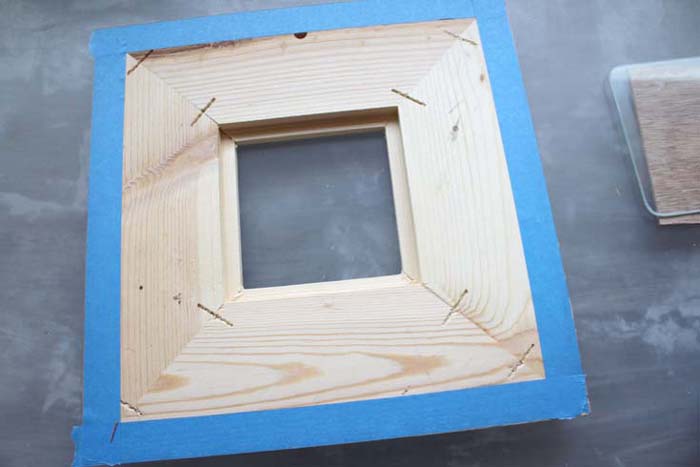
High Glossing!
Next get the Envirotex Lite High Gloss Resin. This finish takes the project from a kids craft to a professional glassy looking tile project! Just 8 ounces of mixed resin covers 1 foot square, so this small package was plenty for this craft frame. 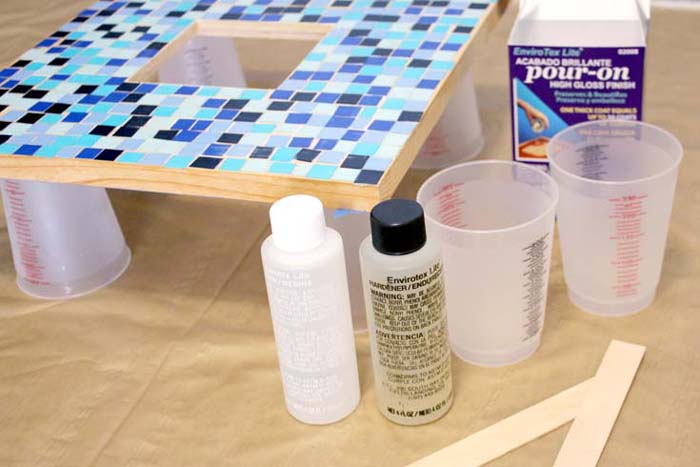
Mix the resin according to package directions. Stir equal parts of resin and hardener for 2 minutes. Then pour into another cup and stir again for one more minute.
Set the frame up on extra cups as risers and then immediately pour the mixed resin over the top of the frame. Use a stirring stick to smooth the resin to the edges of the frame. It will self level as it dries. Cover with a big box so that dust does not settle on it during the drying process. Use a mini torch to pop any bubbles that surface after about 10 minutes.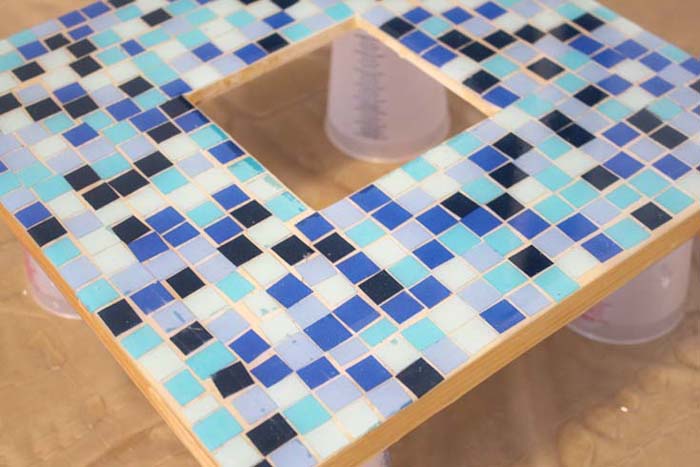
After 24 hours it is ready to display! Looks amazing, like real tile!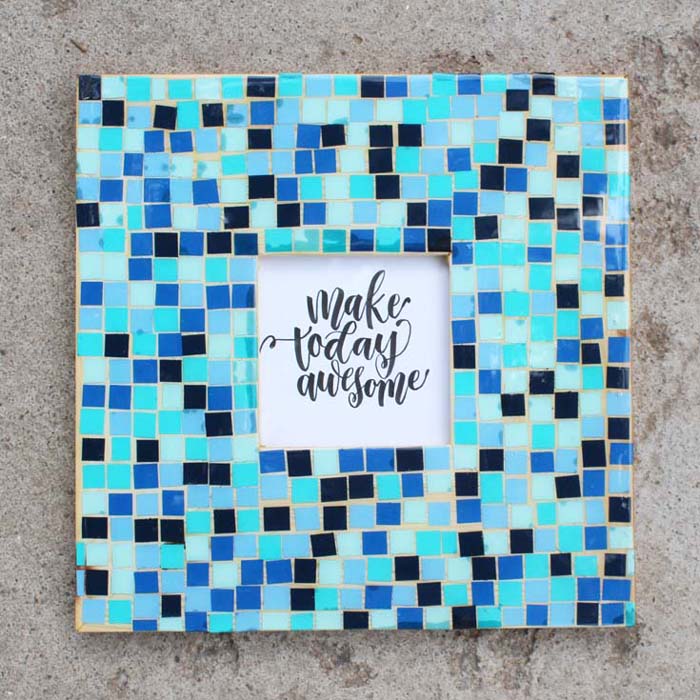
Up close it’s obviously paper on wood, but the high gloss gives it such a glossy shine that it’s hard to tell.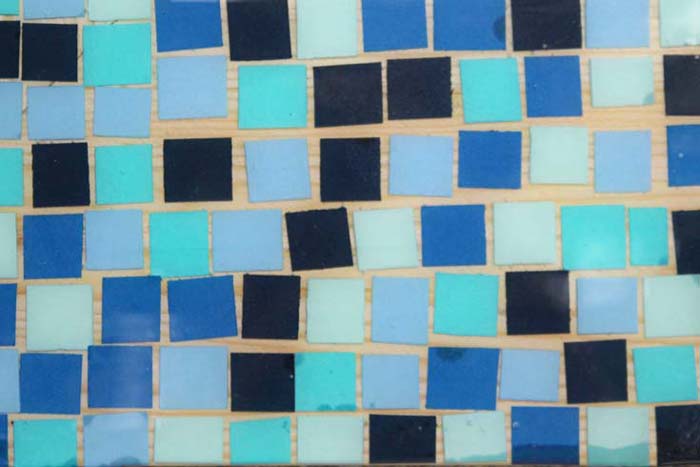
Would you make a organized pattern or random for your mosaic tile frame? 
Check out this fun Mosaic Project too!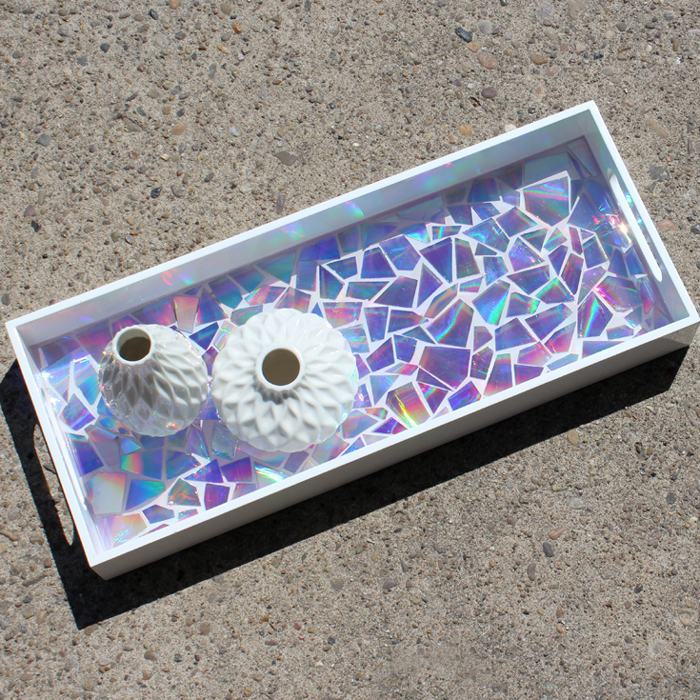
Natalie Shaw is a Craft/DIY blogger at Doodlecraftblog.com. She loves sci-fi, fantasy and video game geekery and that comes out in many of her projects. She posts budget conscious DIY’s, crafts, jewelry, kid friendly projects, upcycled treasures and other fun on her blog 5 days a week.


I made this project and had LOTS of places where the resin seeped under the paper and discolored it. I redid the project and used mod podge to seal the paper down instead of tape and then used mod podge as a sealer on top – didn’t have any Ultra Seal. I didn’t have as much of an issue with the paper discoloring when I poured the resin, but did have some. Is there anyway to avoid this issue?
There is some discoloration in the posted project as well. Definitely sealing it helps, I think mod podge and ultra seal would have about the same effect though. I’m not sure about how to avoid it completely though.