Preserve pressed flowers in Amazing Clear Cast Epoxy for a beautiful way to display them in your home.
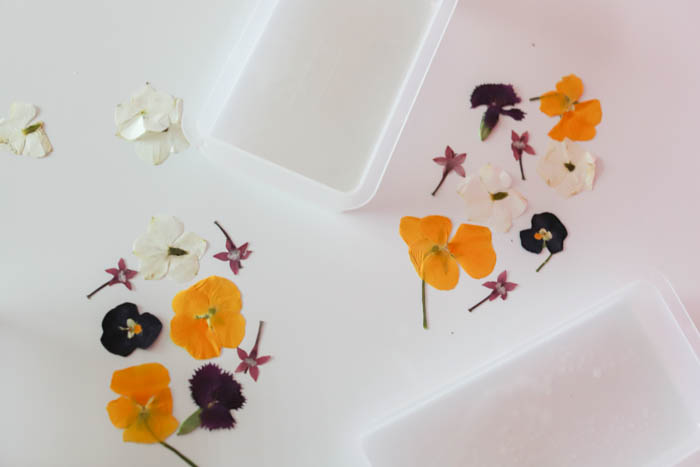
Hey Resin Crafters! Amber Oliver here with another great resin craft. Spring has definetly sprung here in south Texas and my gardens are overflowing with blooms. I took a few minutes to gather a few of these and tried something I hadn’t done since I was a kid: I made pressed flowers. After letting the blooms dry out for a few weeks, I decided to preserve them in resin and create a beautiful display for my home. The most important part of this project is planning – you’ve got to let those flowers dry out for a few weeks before starting this project! Lay out your design before mixing up your resin so you are ready to go!
SUPPLIES NEEDED FOR PRESSED FLOWERS IN RESIN:
- Amazing Clear Cast Epoxy
- Square or rectangle molds
- Mold Release & Conditioner
- Pressed Flowers
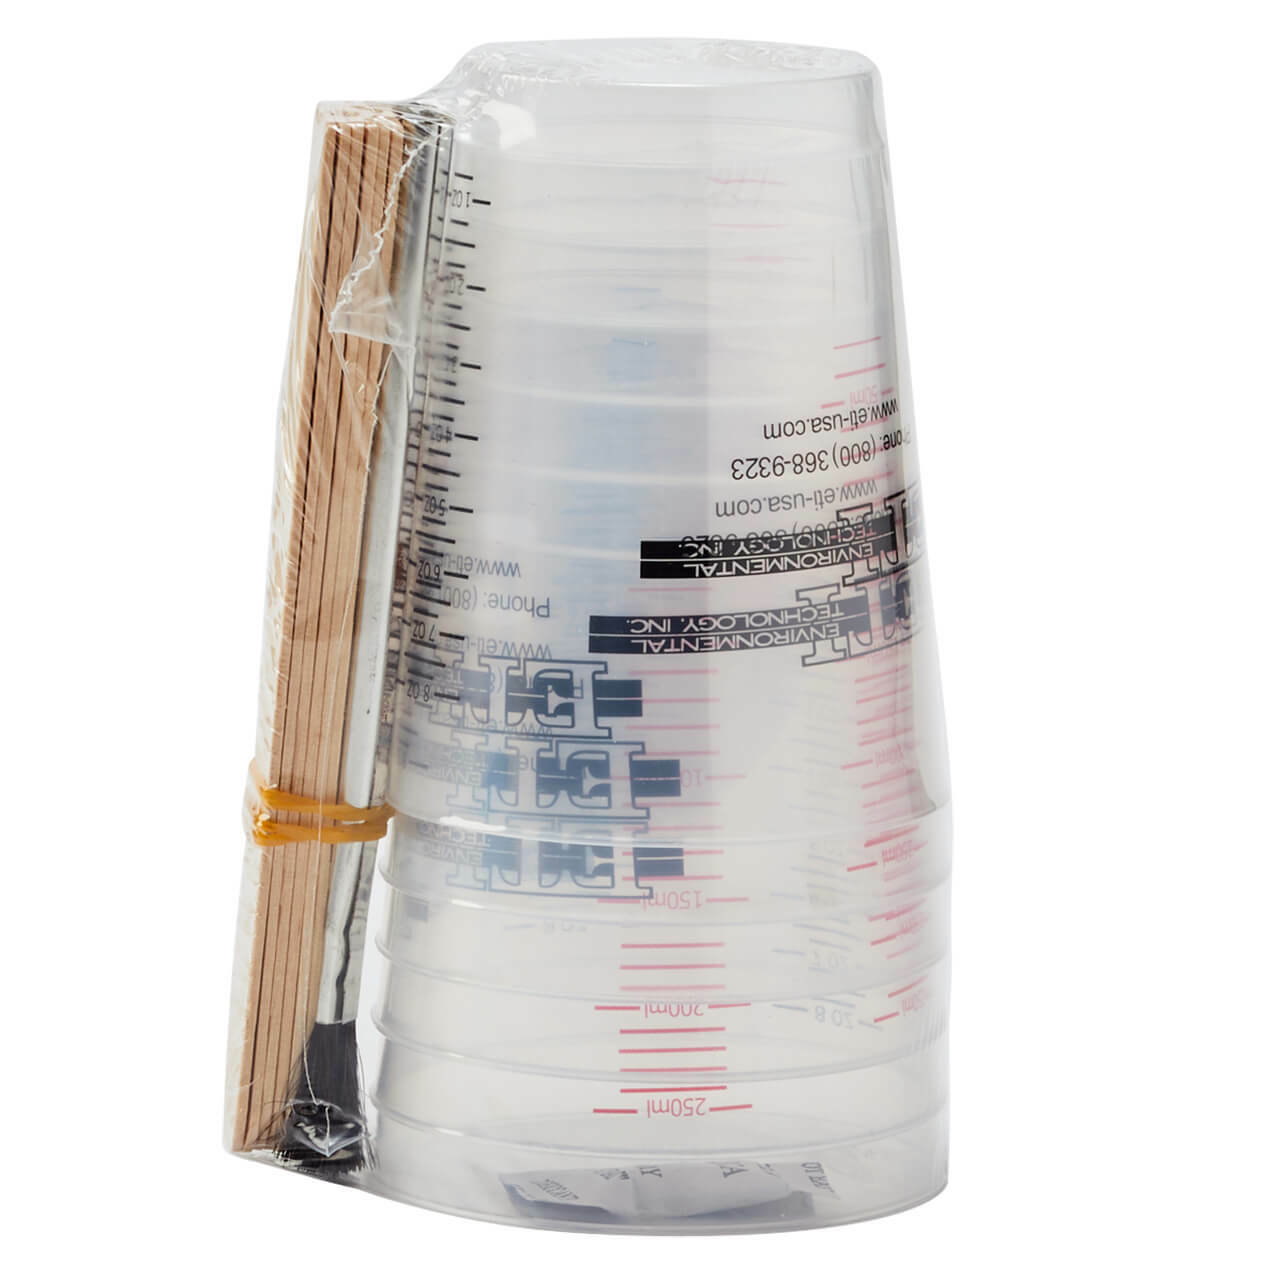
- Mixing Cups
- Stir Sticks
- Gloves
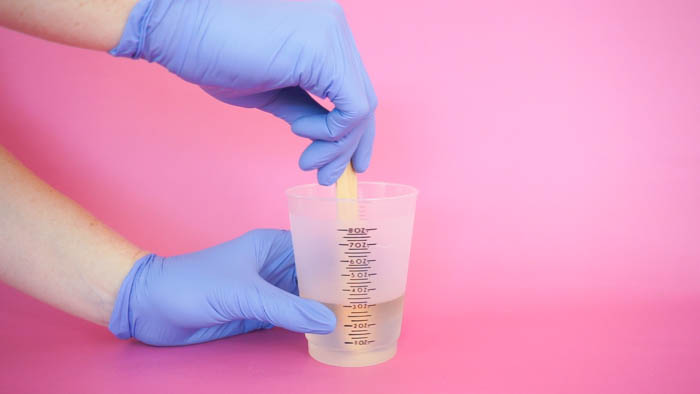
Step 1: First, prepare the Amazing Clear Cast Epoxy. This is a multi-step process so don’t start mixing until you are ready to do the whole process from beginning to end! Start by mixing EQUAL parts of the Hardener and the Resin.
Stir for two minutes (be sure to scrape the bottoms and sides) then pour from the first cup into a second and mix with a new stir stick for another minute.
Step 2: Treat mold with Mold Release spray. Once your resin in ready, pour a small amount into your mold.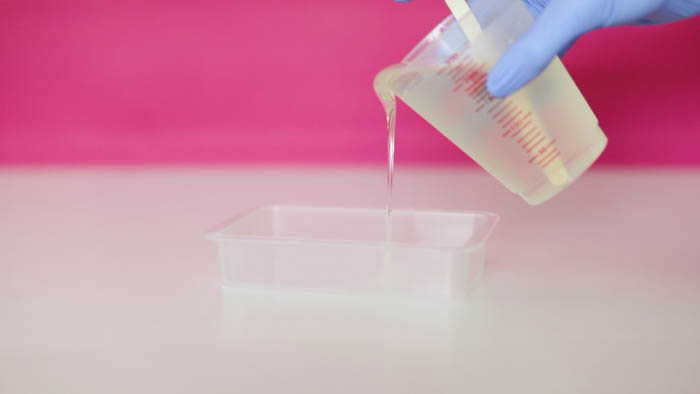
Step 3: Pick up your pressed flowers and place them gently onto the resin.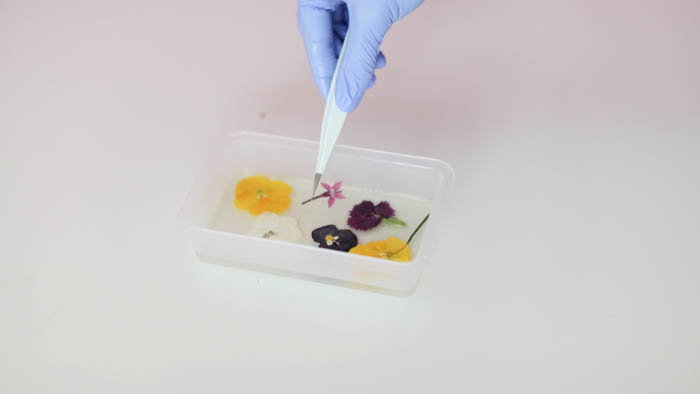
Step 4: Once the flowers are set, pour a bit more resin over them and make sure they are completely covered. After about 20 minutes, you’ll want to pop any bubbles you see on the surface by simply blowing on them with a straw!
Step 5: After you’ve allowed enough time for the resin to cure, you can remove from the molds!
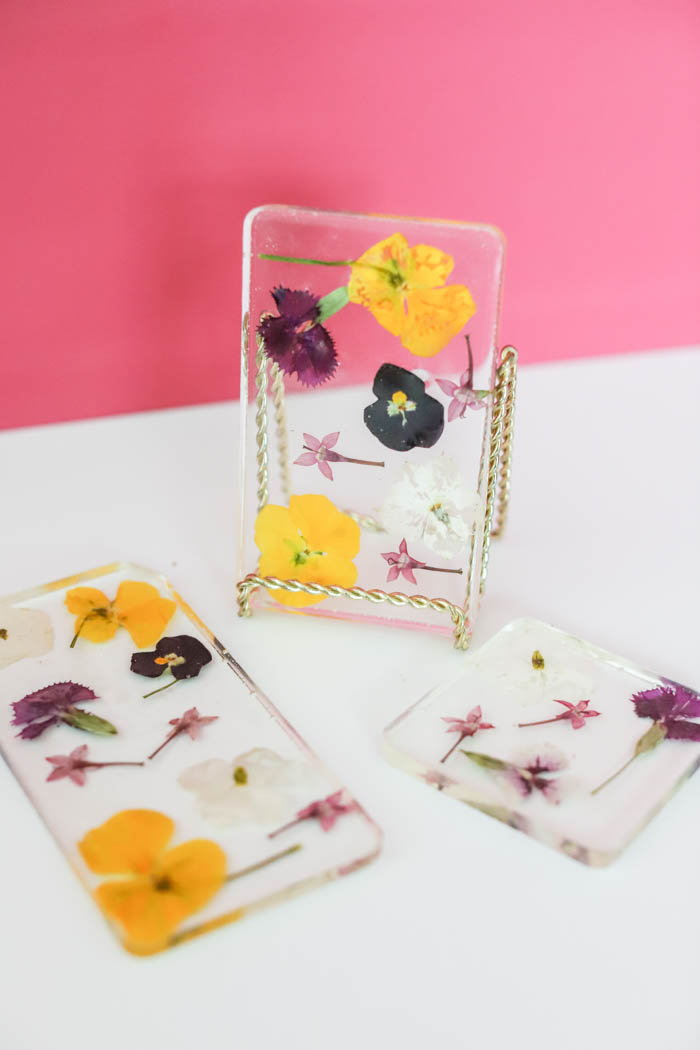
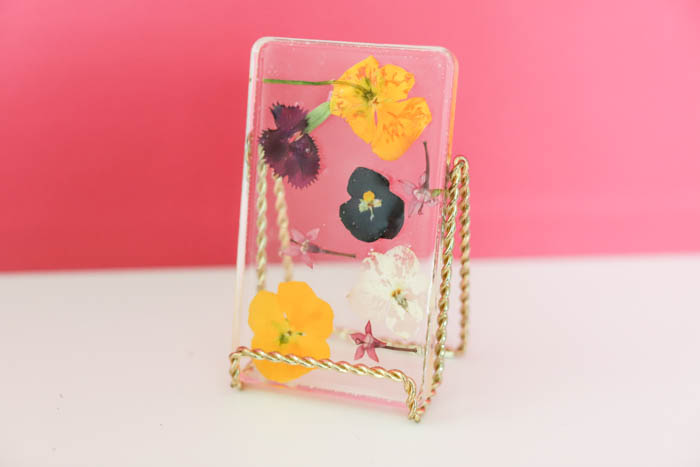 You can display these in your home with picture stands like I did, or drill a hole and hang them up! What a pretty way to keep those spring blooms all season long!

Amber Oliver is a DIY and lifestyle blogger who shares easy DIY tutorials, colorful crafts, and more on her blog, Amber Oliver. She’s a native Oklahoman living “in the loop” in Houston, TX with her husband and dog. She’s an avid reader, world traveler, loves Tex Mex food, and creating everything from woodworking projects to websites. She focuses on budget friendly projects for the home and empowering women to try new things.


I would like to use resin as a medium for pine-needle basket starts. The baskets are coated with wax when they are finished. Then the basket is placed onto a cookie sheet and baked for ten minutes, or so, at 170 degrees. Would the resin melt at that temperature?
It would change the makeup of the resin so we wouldn’t suggest putting it in the oven.
Beautiful idea so we an admire our flowers throughout the year.
Thanks, Cindy!!
I love this! This would be such a nice way to preserve some flowers from a wedding bouquet also
I love that!!
Love, love this, just found this site. My question: Do we have to use any mold release in this molds?
Hi! I’ve never had trouble with these shallow pours in these molds. But, if you have the spray, go ahead and use it! Can’t hurt 😉
Hi!! How do you work with metal frames. My resin part comes out of the frame after drying. Also what material do you use to stick the earing backs on resin. Thanks!
Hi! I’ve never worked with metal frames. For the earring back, I’ve used E6000.
Thank you for this useful trick.
You’re welcome! Good luck with your project 🙂