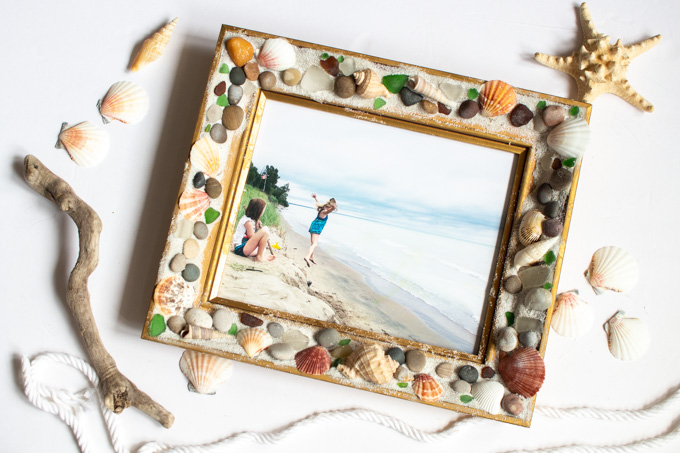
Display those summer memories in an upcycled photo frame adorned in shells, sea glass, pebbles and sand!

Beach-Themed Upcycled Photo Frame
Hello creative friends! This is Jane from Sustain My Craft Habit, a DIY and craft blog I co-write with my sister Sonja.
We are fortunate to have a cottage on the lake where we spend a lot of time together with our kids in the summer. I was recently flipping through the photos on my phone from last summer and realize that it was high time to print them out and put them on display.
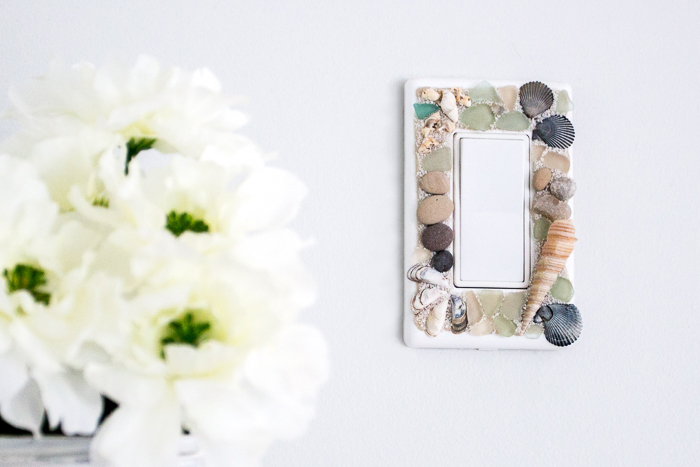
I have a number of photo frames that I picked up for a dollar at the thrift store. This particular upcycling project was inspired by our beachy switch plate idea using a EasySculpt Clay. I came across my switch plate recently and even after two years later it’s holding up like brand new. I think my new photo frames will look great in our beach-themed bedroom at the cottage or even in our coastal-style bathroom.
The great thing about the EasySculpt Clay is that you can mold it in any shape. So even if you have completely different shapes and sizes of frames you can you can make them look consistent using this technique.
Supplies Needed
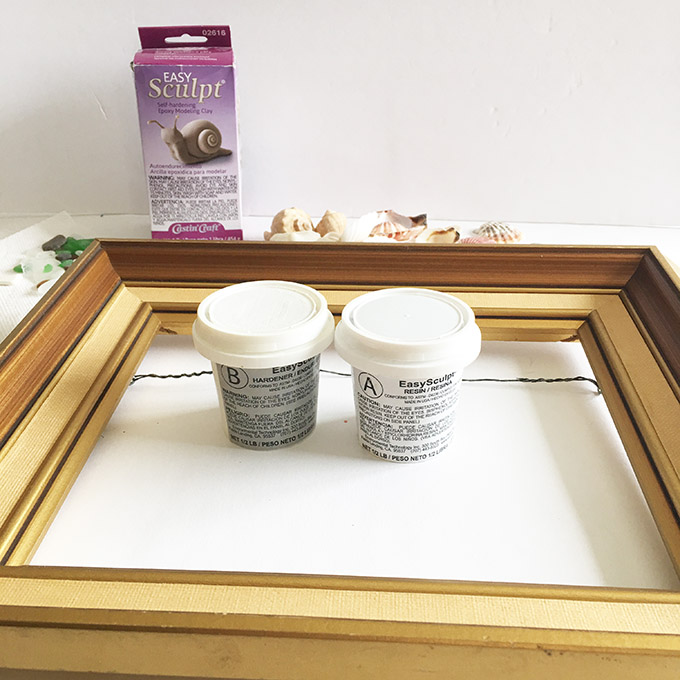
- EasySculpt Epoxy Modeling Clay
- Gold 8×10 photo frame (our size and finish of your choice)
- Embellishments such as sea glass, shells, pebbles and white sand
- A release agent such as vegetable oil, olive oil or Castin’ Craft Mold Release and Conditioner
- Gloves, wooden craft sticks
Instructions
Protect your working surface with a sheet of material such as a paper bag or wax paper. Be sure to read all the instructions in the box prior to starting working with the EasySculpt.
Work in a well ventilated area wearing gloves.
1. Disassemble and thoroughly clean the photo frame and glass, and all the beachy embellishments. Let dry completely.
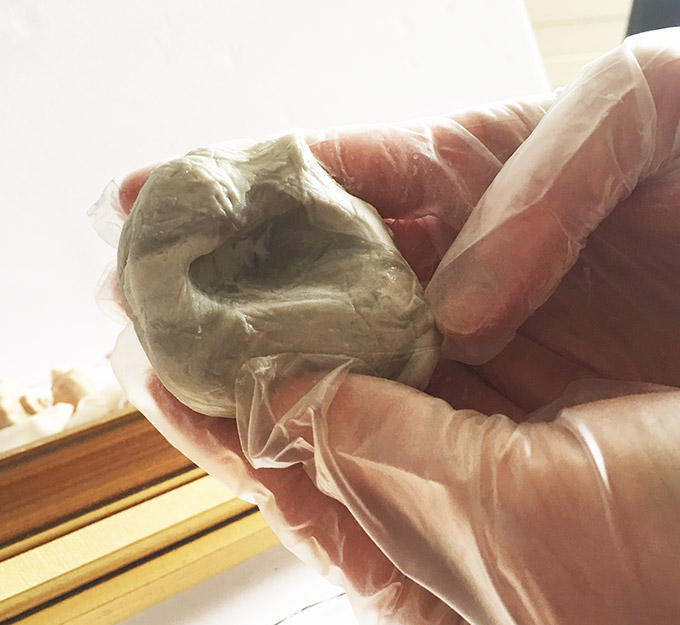
2. To mix the EasySculpt, scoop out equal parts of the two components using two wooden sticks (avoid cross-mixing the materials in the containers).
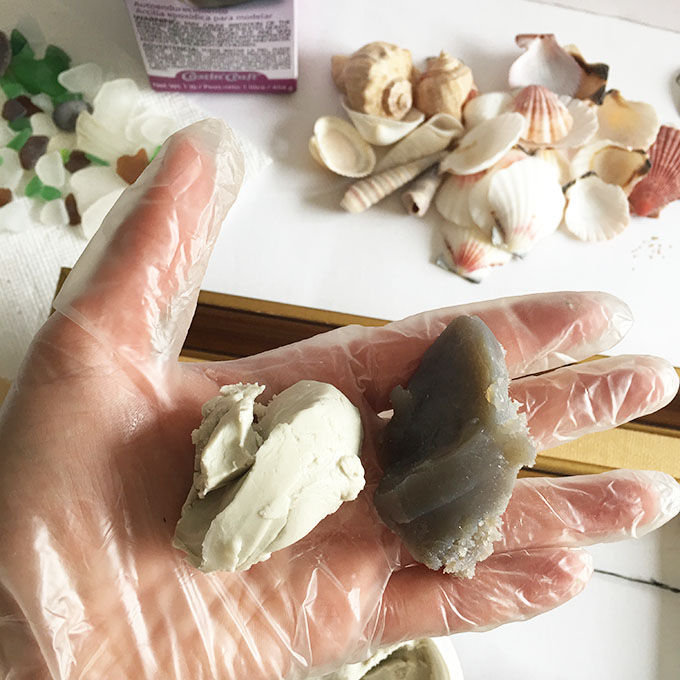
3. Spread a bit of the release agent on your gloves to keep the keep the clay from sticking to them. Completely blend the two components together until a consistent colour is achieved (no ribbons or marbling; about 1-2 minutes). Depending on the size of your frame, you may want to work in small batches – I mixed up three separate batches for my photo frame.
4. Separate the clay into four small balls and place them on different sections of the frame.
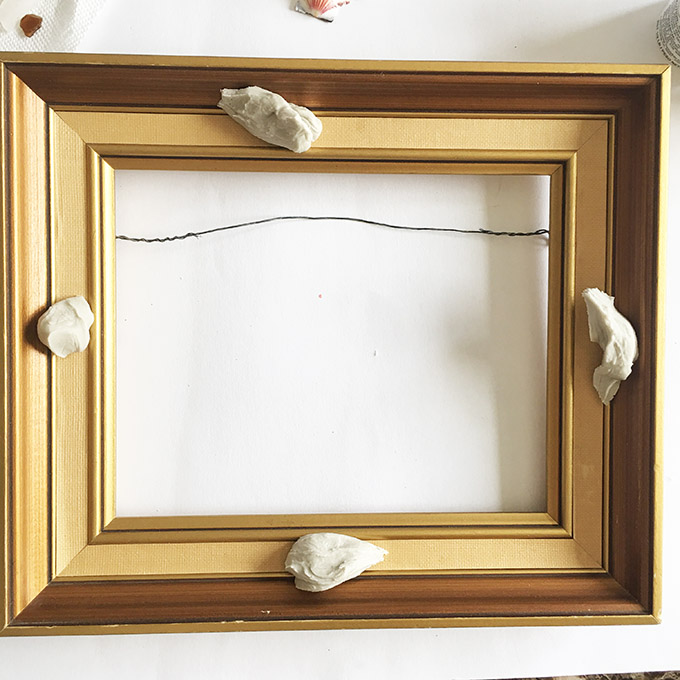
5. Push the clay around to cover the surface of the frame as much as possible. Try and work quickly as the clay gets really sticky and will be difficult to work with after about 15 minutes.
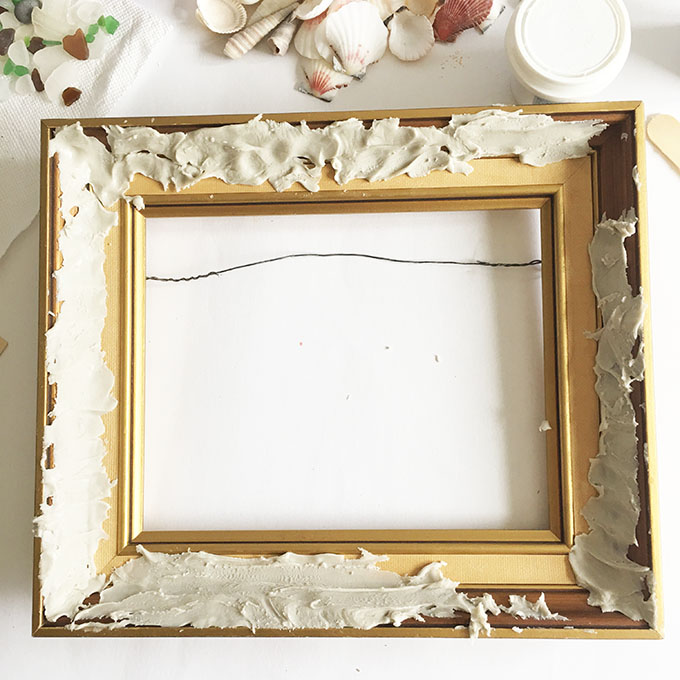
7. Continue with the next batch until you’ve covered most of the frame. I left areas of my frame exposed as the gold edges looked really pretty against the stones, shells and sand.
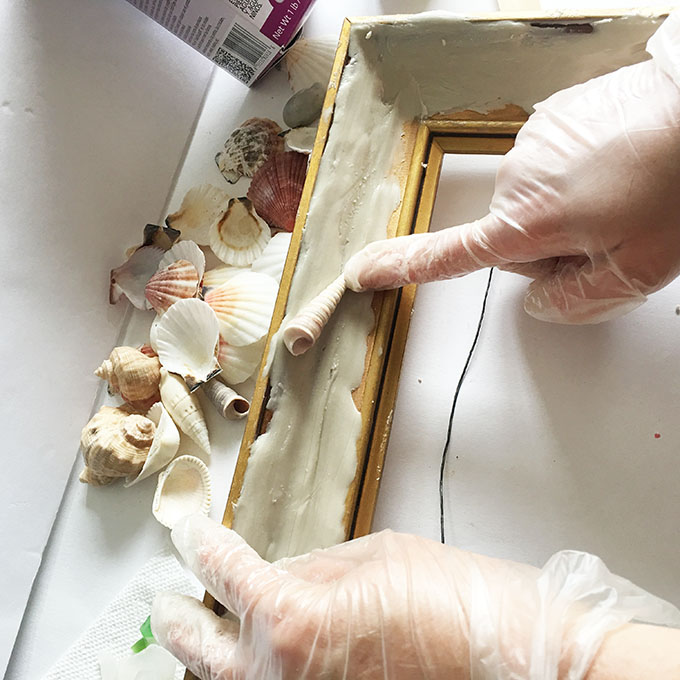
8. Start assembling your embellishments. We started with the seashells, then pebbles, then filled in any gaps with the green and white sea glass pieces for a mosaic effect.
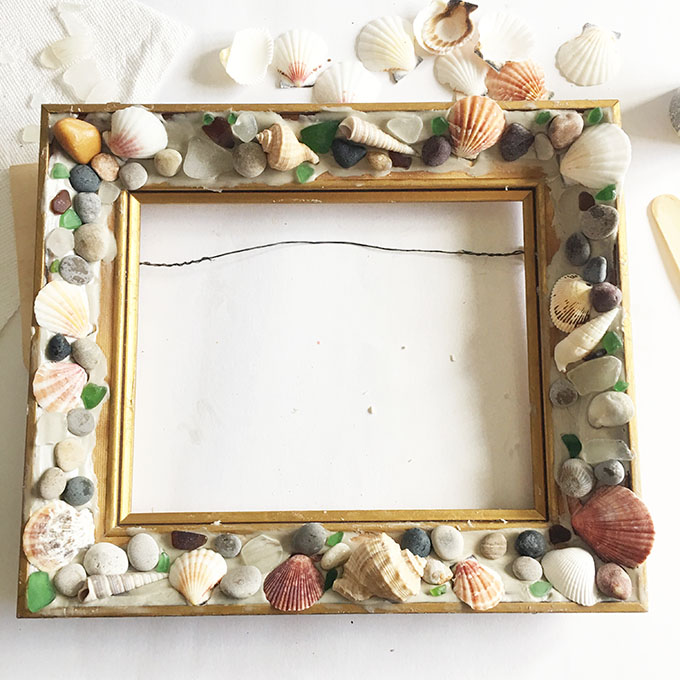
9. Finally, pour some white decorative sand over the entire surface. It will adhere to the clay but fall off the other areas of the frame. Let cure fully overnight and then shake off and discard any loose sand.

I couldn’t be happier with how my beachy upcycled photo frame turned out!
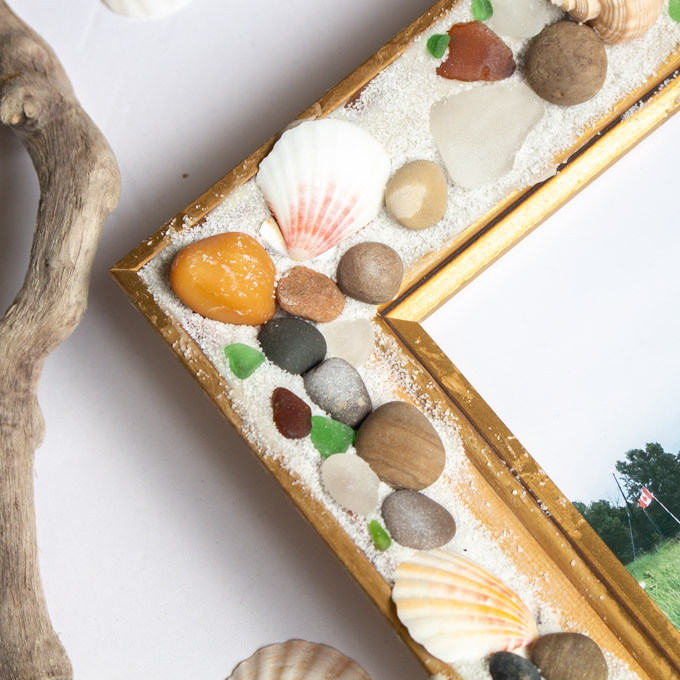
It truly looks like a one-of-a-kind piece of art with a lovely retro vibe. It’s the perfect way to cherish this lovely memory of the girls joyfully playing on the beach.

For additional ideas using EasySculpt, check out these creative projects:
Like it? Pin it for later!

Jane and Sonja are sisters, moms and lifelong craft addicts both living near Toronto, Canada with their families. They share their love of creativity, nature and coastal DIY ideas on their blog Sustain My Craft Habit. They craft and decorate their homes using repurposed and upcycled items and materials found in nature.


Leave a Reply