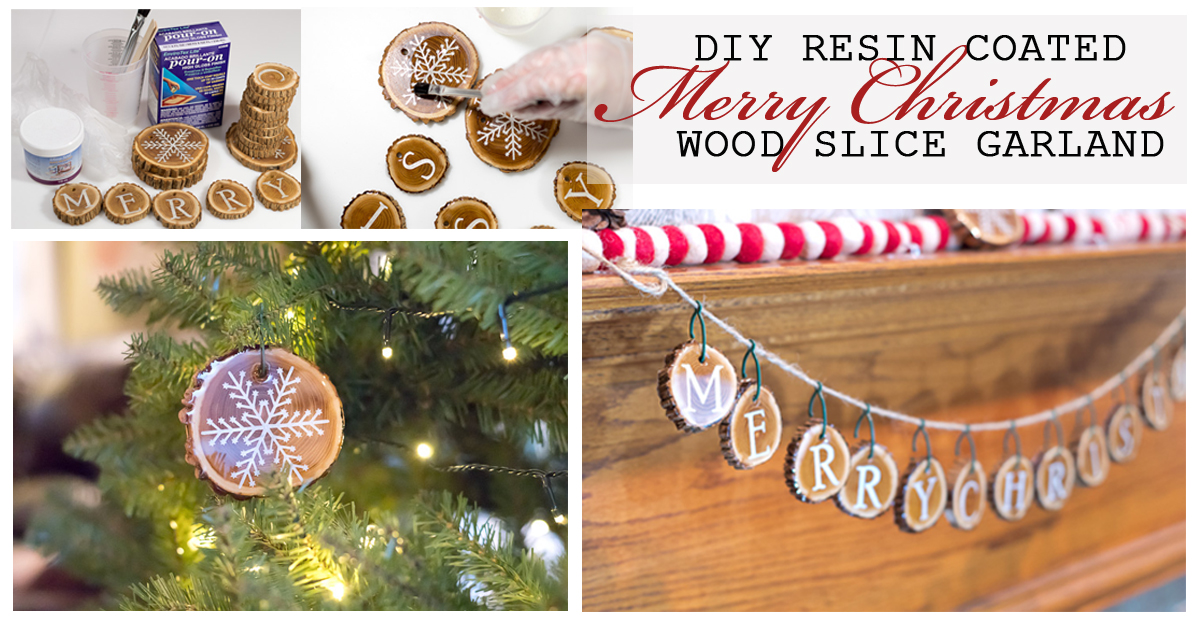
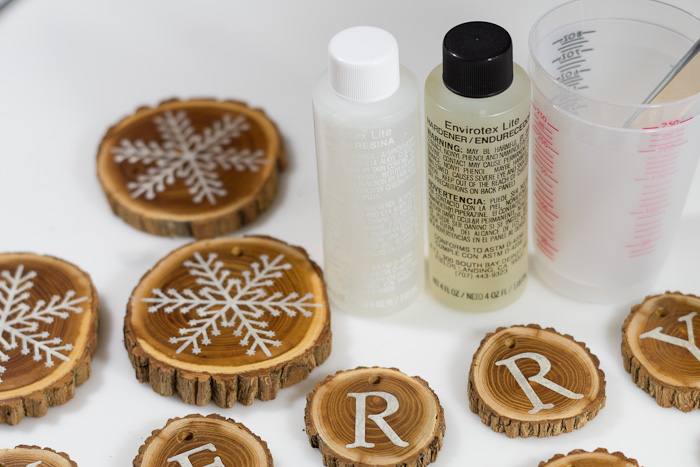
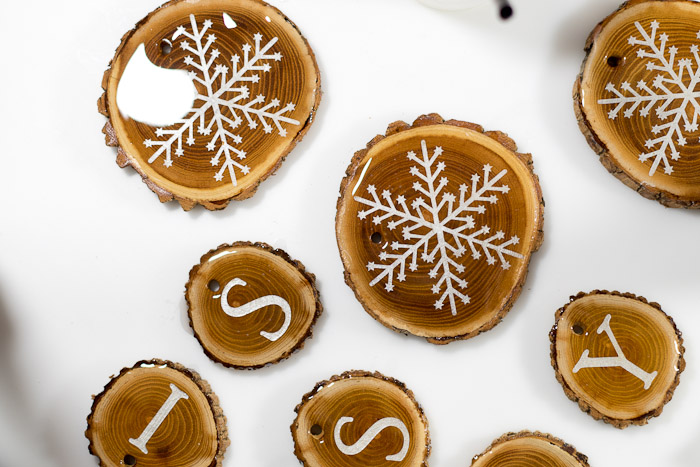
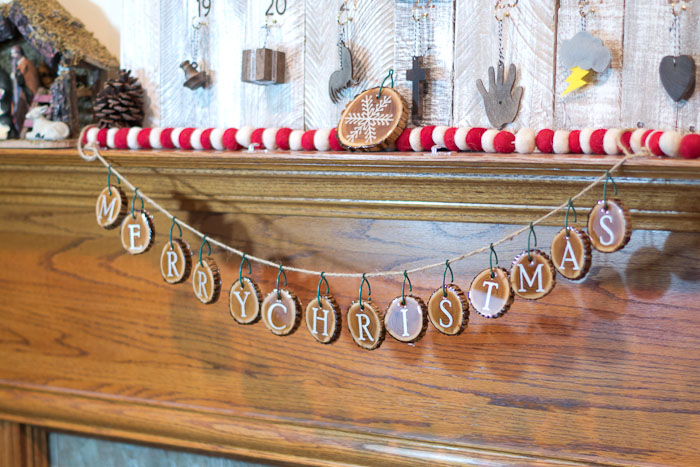
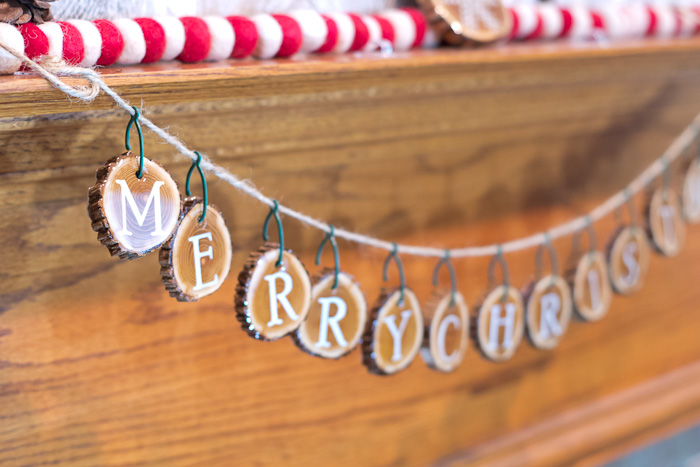
 Last year I created a wood slice garland for my holiday mantel. I cut some branches off one of the many trees in my backyard, sliced it up into these pieces, then added letters using silver paint and a stencil. I absolutely loved it, but it occurred to me that it would look so much nicer with some Envirotex Lite coating it and giving it a beautiful shine! Today I am going to show you how to coat wooden pieces in Envirotex Lite, and how I made this beautiful Resin Coated Holiday Wood Slice Garland. You can use this coating technique with many different types of projects.
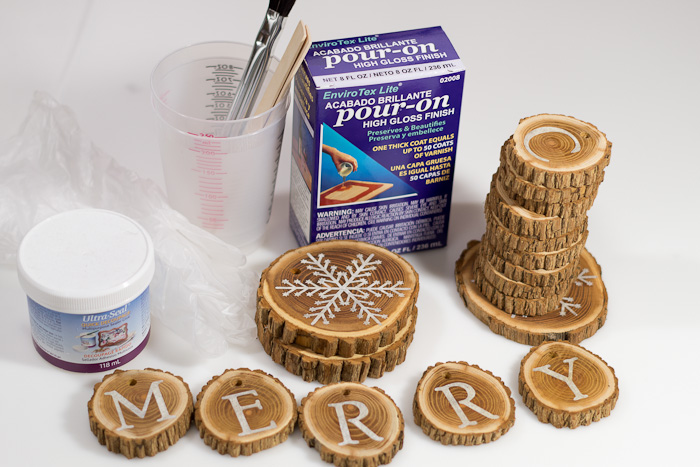
Supplies:
- Ultra-Seal Multipurpose Glue Sealer
- 2 Disposable measuring cups
- Acid brush
- Wooden stir sticks
- Envirotex Lite Pour-On High Gloss Finish
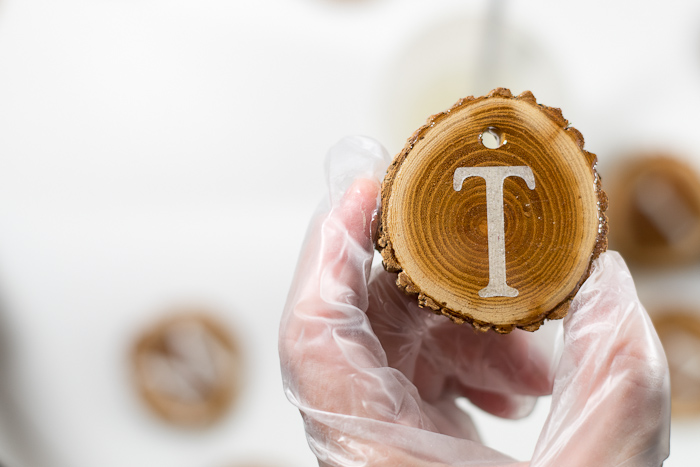
- Wood Slices with designs (or whatever item you want to coat with resin)
- Optional: micro butane torch
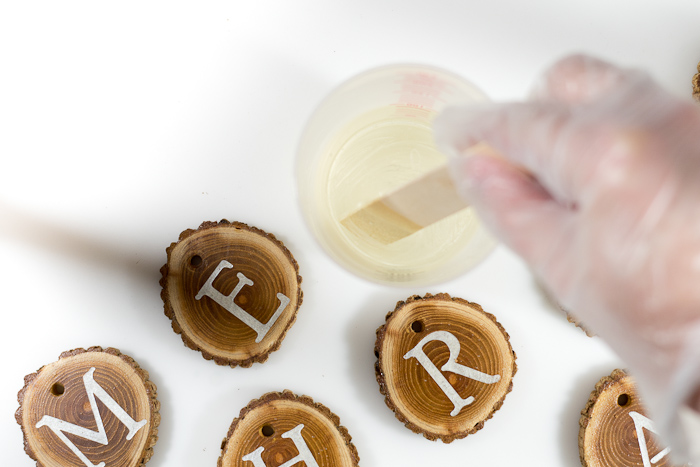
Step One: Sealing Wood Slices
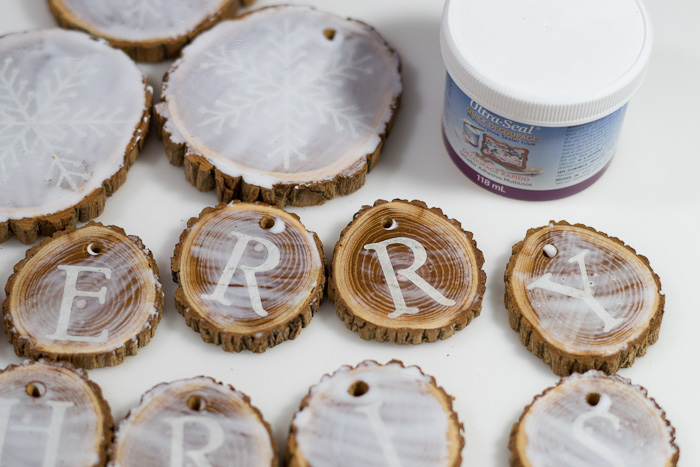
The first thing you need to do is to use an acid brush to coat the tops of the wood slices with Ultra-Seal. You want to be sure to coat it anywhere that you will be adding the resin. If you skip this step and just apply resin to the wood, it will seep into the wood and discolor it. To keep them looking exactly as they are, do this first.
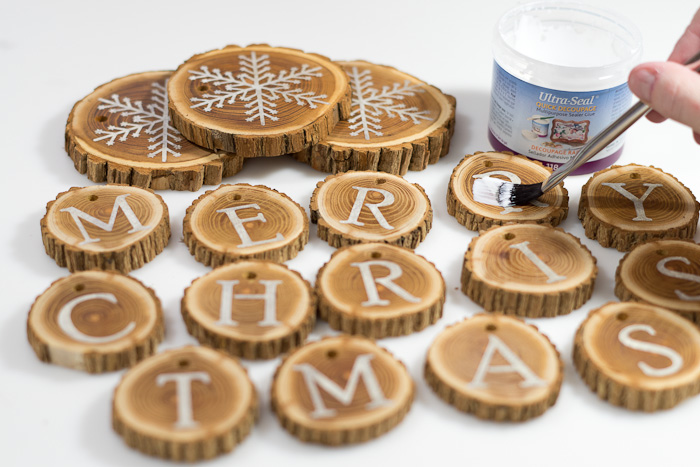
Here you see that I finished all of the sealing before the first one even dried. It is an easy but crucial step. Let this dry until it is completely clear.
Step 2: Mixing Resin
Alright, so next we’re going to mix the resin. As always, you want to wear latex gloves or something to protect your hands, and you want to make sure you have a work surface that will not get ruined. Since we are not pouring the resin into these wood slices, I just used a plastic craft mat underneath my wood slices. I had a few that leaked a little off the sides, but I was able to easily remove them from my mat because it was plastic. One thing you may want to consider is elevating them and putting cardboard under them so that if you do have drips the resin will not adhere your pieces to your work surface.
First mix equal amounts of Part A and B in one of your disposable cups. I used 1.5 oz of each, making a total of 3 oz. It was plenty for this project.
Mix thoroughly for about a minute or two. Then pour the mixture into a second cup so that you can ensure ALL of the resin you put on your piece is thoroughly mixed. Mix for another minute, then you’re ready to apply the resin!
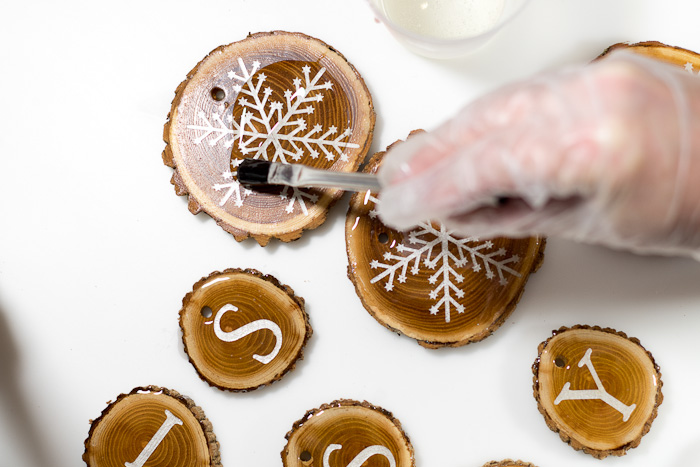
Step 3: Applying the Resin
Here I used one of the acid brushes to basically paint the resin onto the wood slices. I was careful not to get too close to the edge and not to add too much resin. The resin will pour off the sides if you do either of those things.
With this many pieces, you do want to move fairly quickly because you only have about half an hour before the resin starts to thicken up and cure.
One step you don’t want to miss is to pop all of the bubbles you see in the resin. Since these were small pieces, it was easy to just pick one up and exhale over it to pop the bubbles. They are popped by carbon dioxide. If you would rather, you could also use a micro-butane torch, which is what I use for my larger projects.
In this picture you can see the bubbles.
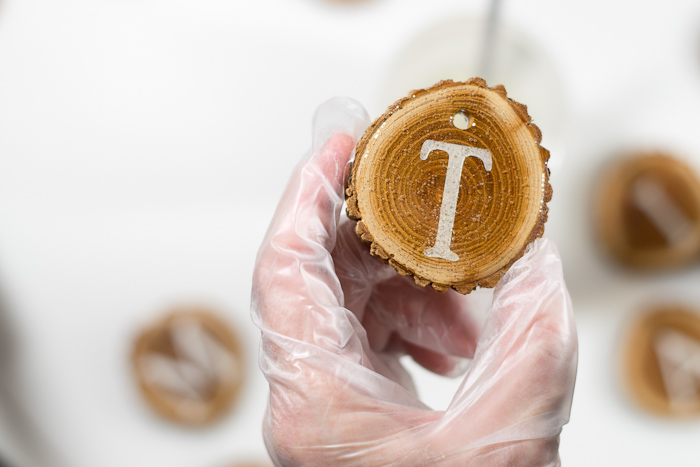
I simply exhaled over it and now you can see that they are all popped. It worked perfectly.
Here are all of the pieces covered in the resin! Let them cure for about 24 hours.
Step 4: Making the garland:
As you can see, I used some green ornament hooks to hang my resin coated wood slices on twine. This worked really great, but there are many ways you can do this step to your style preference. My decor is fairly rustic so this worked for me.
Here is a closeup shot. You can see how shiny the resin makes these! It just gives is such a beautiful polished look.
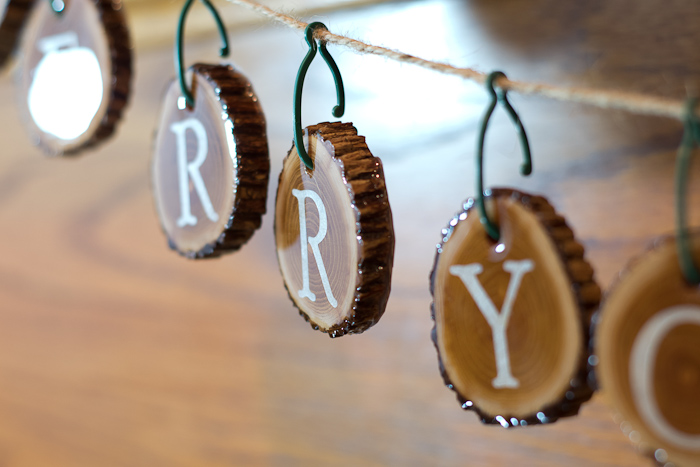
I couldn’t be happier with the result.
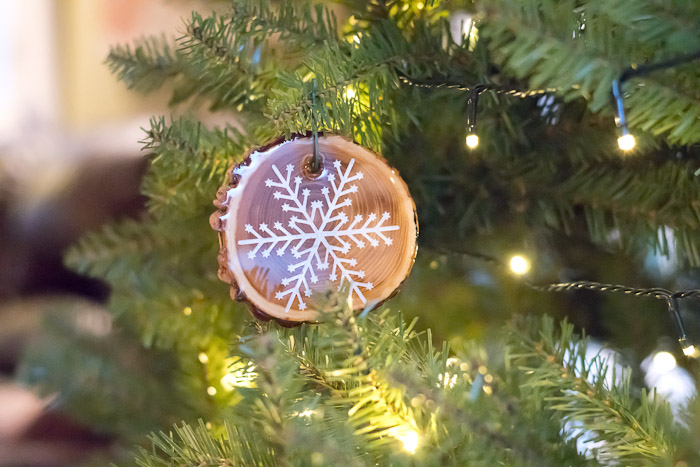
I also took the larger snowflake pieces and hung them on the tree! Gorgeous ornaments!
So what do you think? Do you like this project? Was it helpful to you as a guide for coating small pieces with resin? Let me know! And please share via social media!
Thanks!
~~Sheri
Sheri is a Maker and DIY blogger at Hazel + Gold Designs. She is usually in the middle of multiple projects at once and finds great satisfaction and joy in creating something new. She is constantly learning new skills, putting them to the test, and sharing her experience and knowledge with others. Her favorite hobbies are crafting, painting, crocheting and basic woodworking. Her goal is to inspire others to step out of their comfort zone, learn a new skill and have the confidence to make their life a little more beautiful!


Love how these turned out with the resin, great job!
I love these!! Did you wait a while after cutting down the tree to make these? I’m wondering how long was it in between cutting it down and putting the resin on?
You can just buy them at a craft store for best results or wait until they’re entirely dried out and seal with a clear glue before applying resin.
These look great! Where did you get the wood pieces?
Hi Nancy! You can pick them up at most craft stores!
Can you seal these with polycrylic before the resin?
Sure!
I absolutely love this tutorial.
I’m from the UK and will be giving this ago.
I just had a question regarding the pen used on the wood. Is it oil based?
I only ask as water based pens ect when brushed over will run and get ruined.
How did you manage to keep it in place?
Many thanks
HI Felicity! She used paint and stencils that she then sealed once dry.