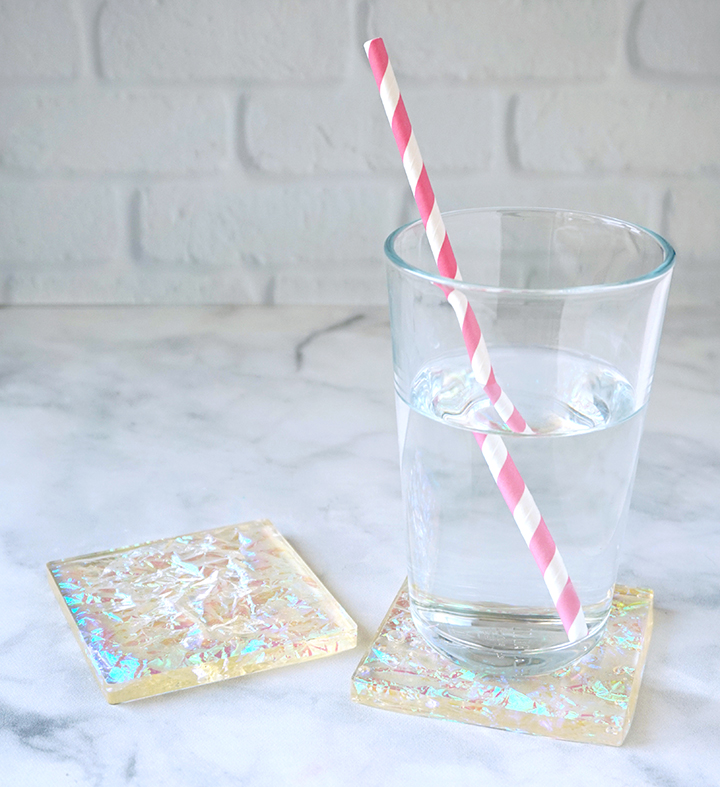
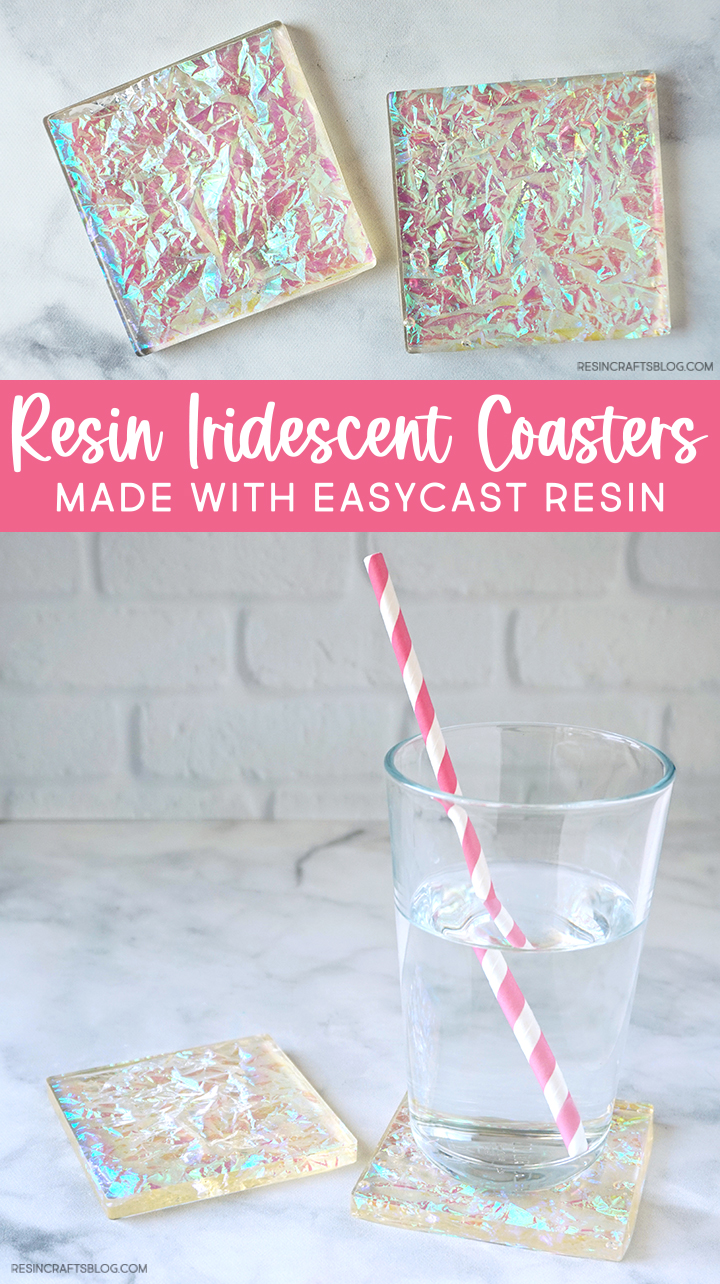
Create a set of colorful iridescent coasters made with EasyCast resin!
Hello, Resin Crafters! I’m Lindsay from Artsy-Fartsy Mama, and I’ve been so excited to share this coaster tutorial with you! I absolutely love creating coasters using EasyCast resin, and hope that you feel inspired to make some for yourself after learning how to make this set of Iridescent Coasters. Not only do they look gorgeous, but they are so easy to make! These coasters are probably THE best ones to try if you are a beginner. All you basically need to know is how to mix resin!
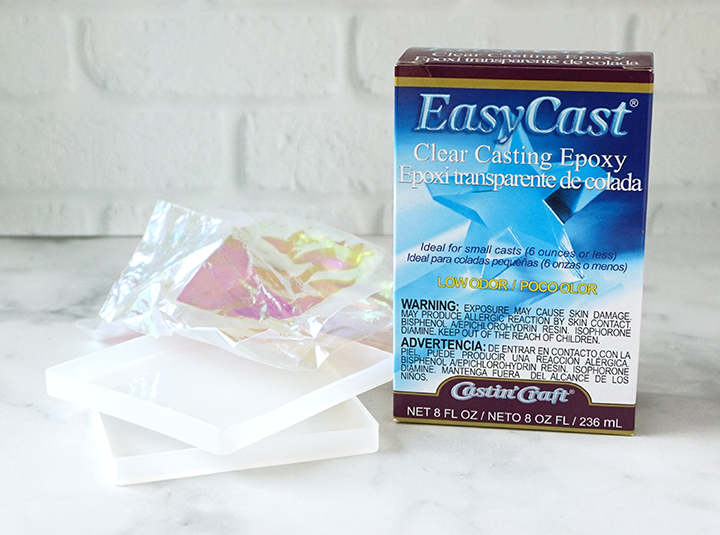
SUPPLIES NEEDED FOR RESIN IRIDESCENT COASTERS:
- EasyCast Clear Casting Epoxy
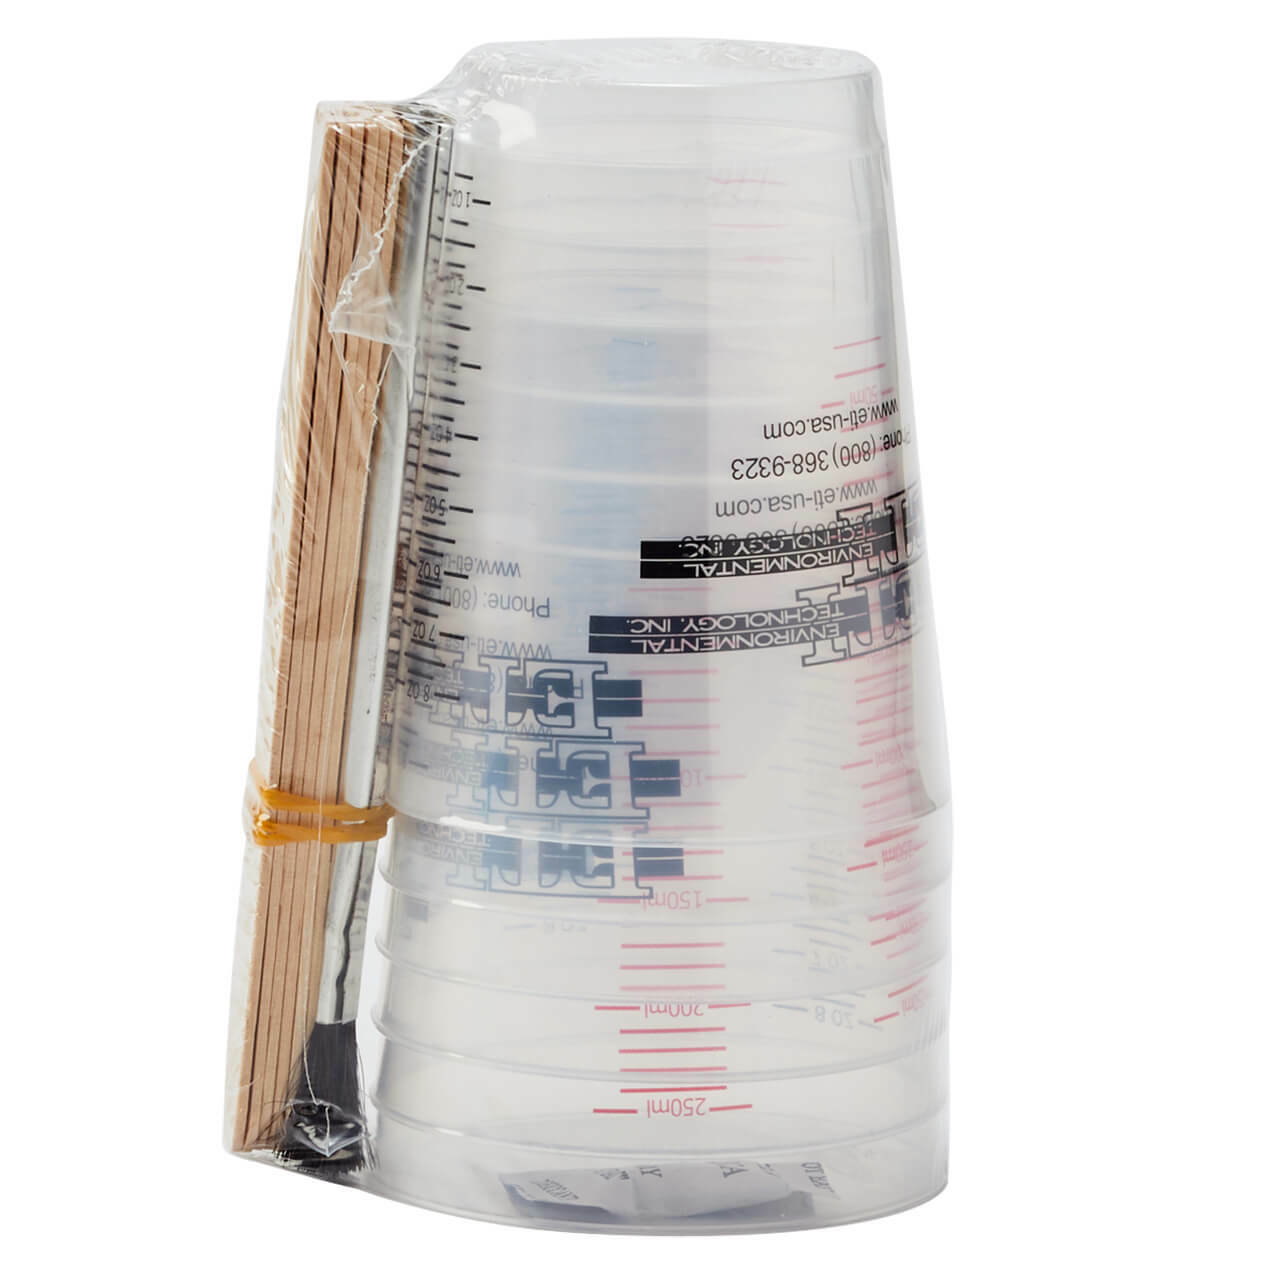
- Measuring Cups
- Stirring Sticks
- Disposable Gloves
- Silicone Coaster Molds – I used squares, but you can use any shape!
- Iridescent Cellophane – I used party favor bags
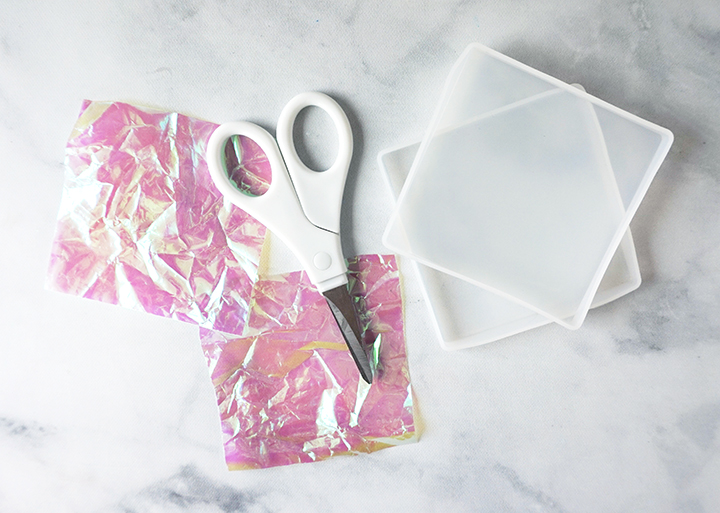
STEP 1:
Trace the coaster mold onto the iridescent cellophane and use sharp scissors to cut the shape out slightly smaller than the marks. I recommend cutting with one edge on a fold, and cutting two layers per coaster.
Ball up the cellophane and crinkle it as much as possible. Unfold the cellophane, and then do it again! This gives the coasters extra texture, and you will be able to see different pops of lustrous color from all of the different angles!

STEP 2:
Prepare the EasyCast Clear Casting Epoxy according to package directions. Be sure to work in a well-ventilated area and wear disposable gloves.
Add equal parts resin and hardener to the mixing cup (mix 1.5 oz total per coaster). Stir the resin mixture together with a stir stick for two minutes, making sure to scrape the bottom and sides of the mixing cup. Pour the resin into a clean mixing cup and stir the resin again for another minute or two with a clean stir stick.
STEP 3:
Pour just enough resin into the mold to fill the bottom. Flatten the cellophane out as best as you can, even though it’s wrinkled. Place it down into the resin and use a stir stick to press it down into the resin. Try your best to bring the bubbles out from under the cellophane to the edge so that they don’t get trapped underneath. Slowly add a little more resin, and poke the cellophane down until the coaster mold is filled to the top with resin.
Let the resin sit for a few minutes, then use a straw, heat gun, or lightly spritz the top of the resin with alcohol to remove any air bubbles that rise to the top.
STEP 4:
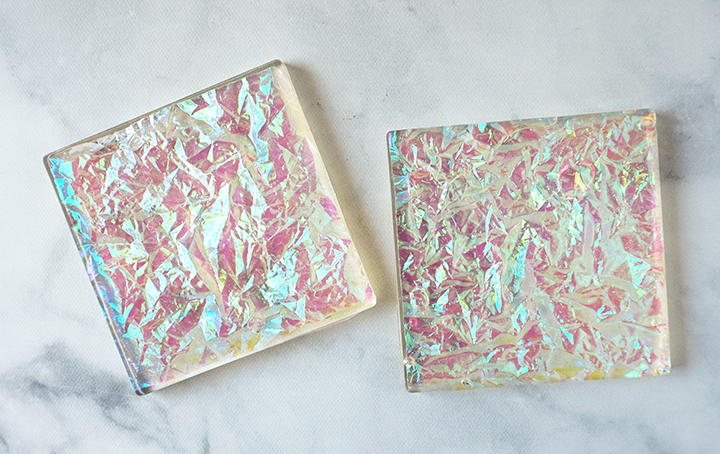
Leave the resin to cure in an undisturbed area for 24 – 72 hours (depending on climate and temperature). You will know that the resin is completely cured when it is no longer tacky. Carefully remove the coasters from the mold to reveal your eye-catching new coasters! Remove any over-poured resin with scissors, and sand down edges if necessary.
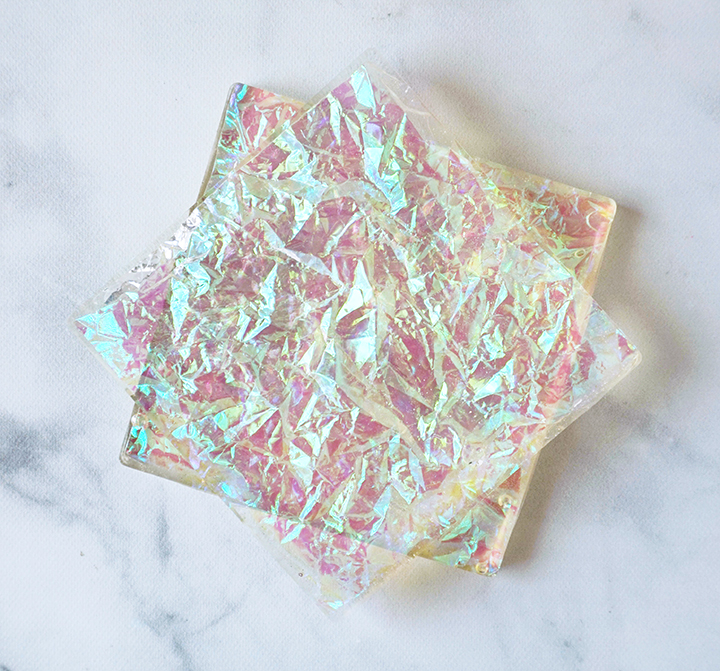
I am SO thrilled with how these coasters turned out! I especially love how the colors and shimmer all look a little bit different in how the light hits the coasters. These gorgeous coasters are a fun and unique way to add some color to your desk or coffee table at home, and are a simple project that you can make to share as a gift with someone special.
As always, I would love to hear what you think about these Iridescent Coasters made with EasyCast resin! Be sure to check out these other resin coaster tutorials for more inspiration, and share your own creative resin projects in the ETI Facebook Group!
Don’t forget to Pin, Like, and Share!
Lindsay is a crafter, graphic designer, and glitter enthusiast from Utah. She’s passionate about homeschooling her creative daughter, traveling, and spending time in the craft room. Lindsay shares DIY project tutorials, printables, recipes, kids crafts, and more on her blog, ArtsyFartsyMama.com, where she inspires readers to live a creative life.


Leave a Reply