Summer is here and life is starting to feel “normal” again, so it’s time to do some entertaining and outdoor dining . . . in style, of course! Obviously you need all the cute summer table accessories, including these DIY resin napkin rings made with ETI EasyCast Clear Casting Epoxy.
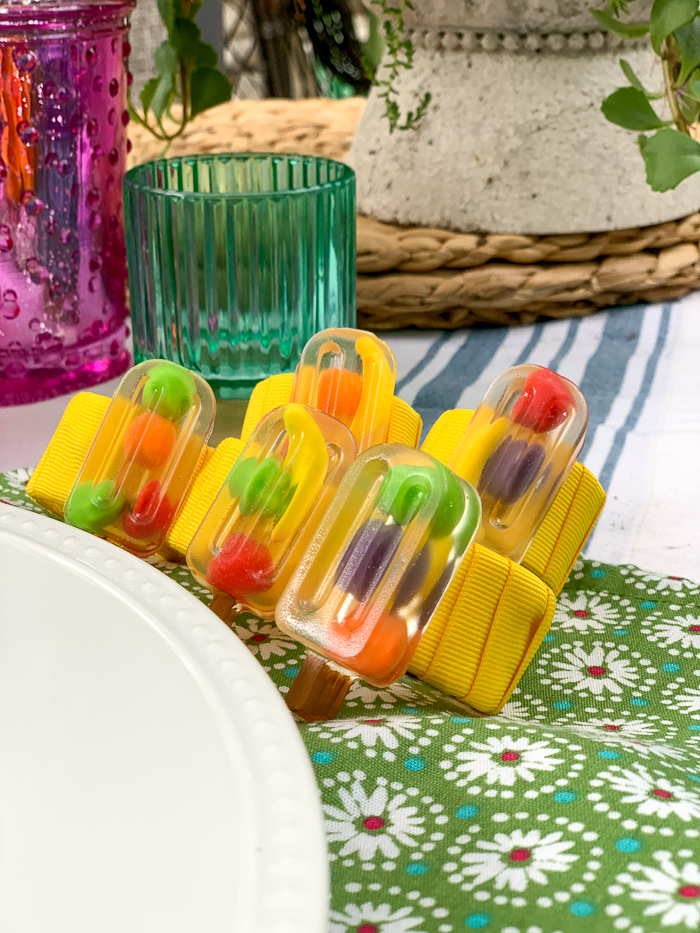
These adorable “fruit-filled” popsicles come together in a snap and are made with a surprising supply: candy!
Hi, Resin Crafters, it’s Bre from Average But Inspired, and I’m excited to show you how to make these DIY resin napkin rings. They’re very simple to put together, and will give your dinner guests something to talk about.
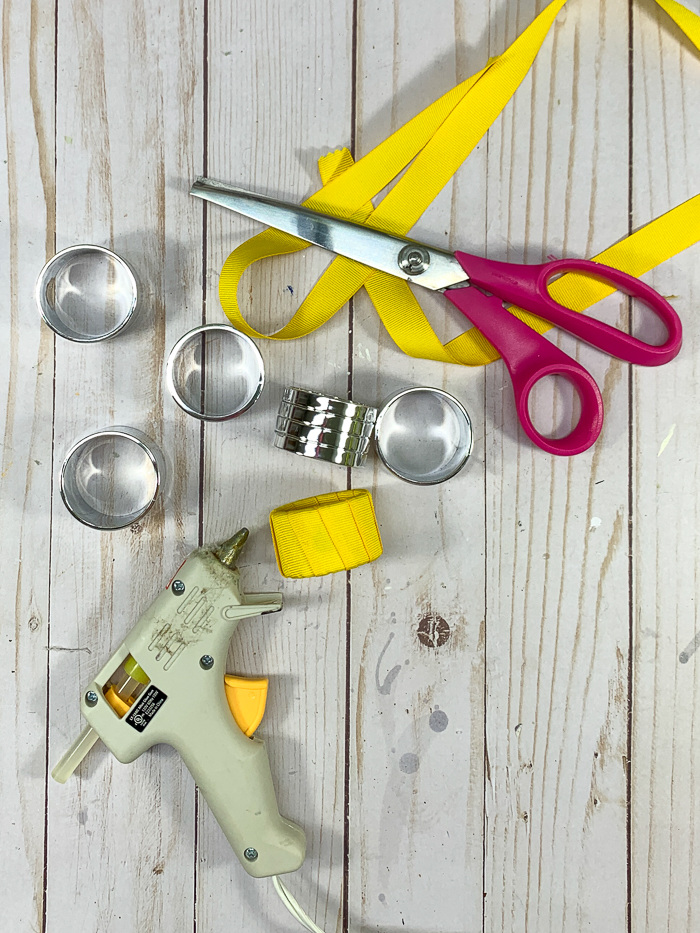
Resin Napkin Ring Supplies
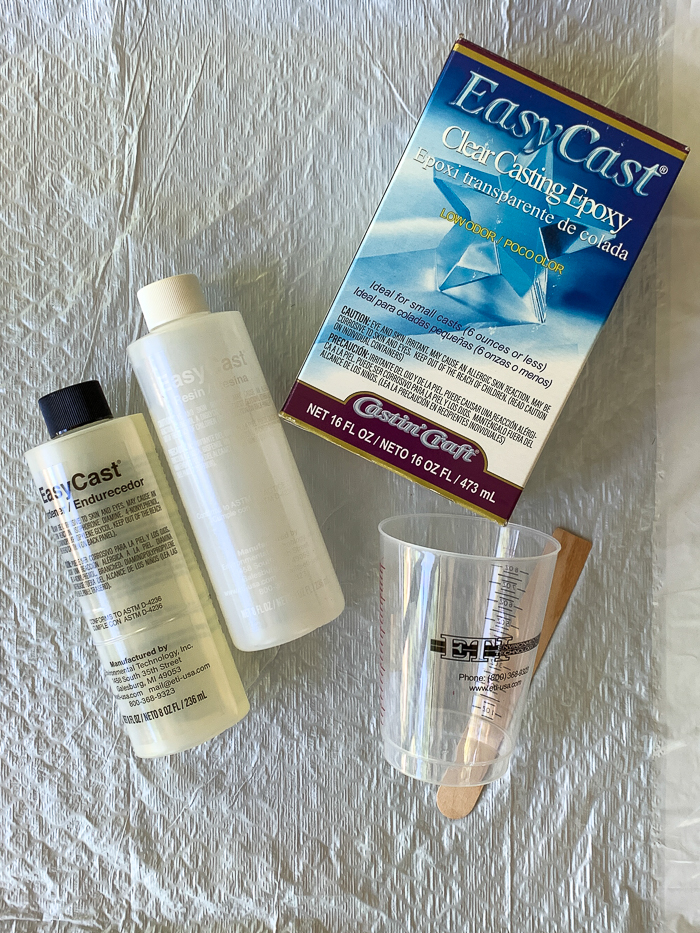
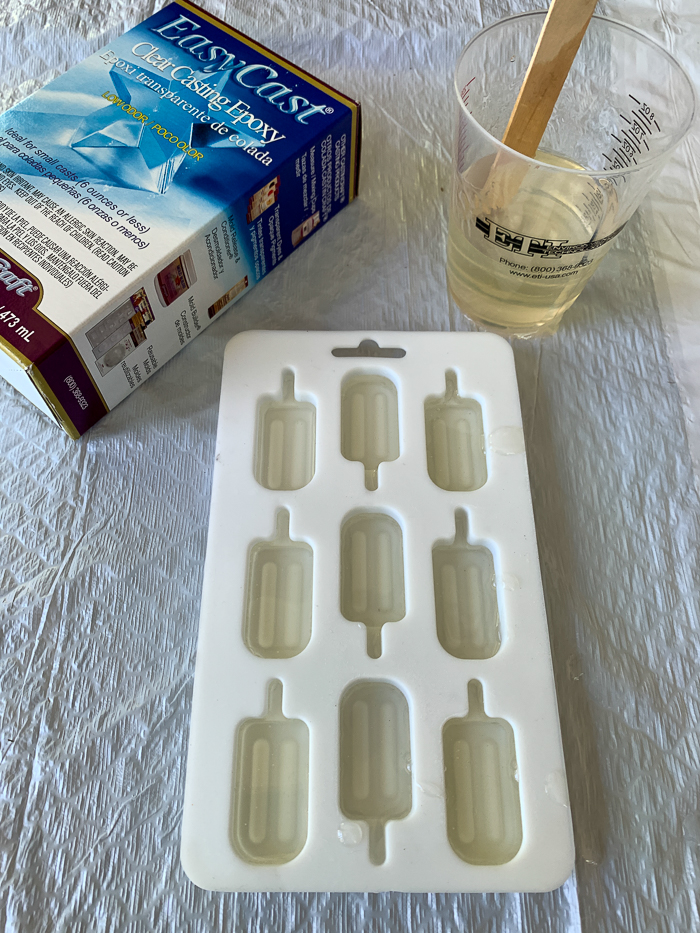
Here are the supplies used to make the resin popsicle napkin rings shown in this post.
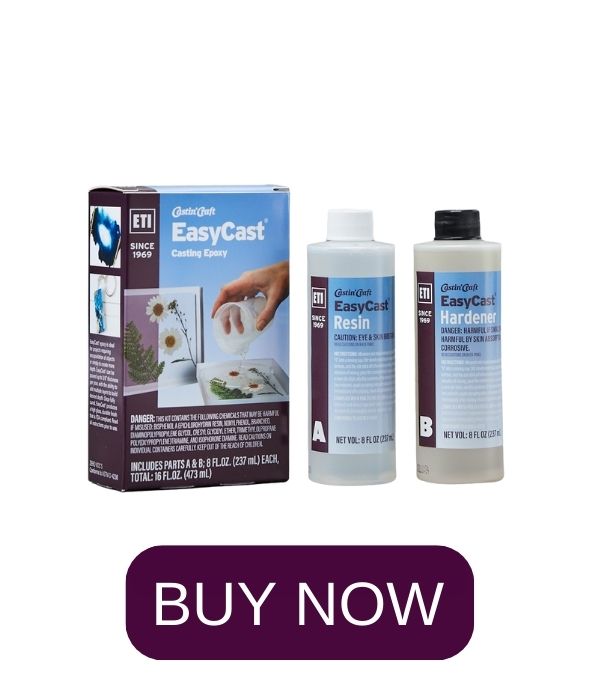
- ETI EasyCast Clear Casting Epoxy
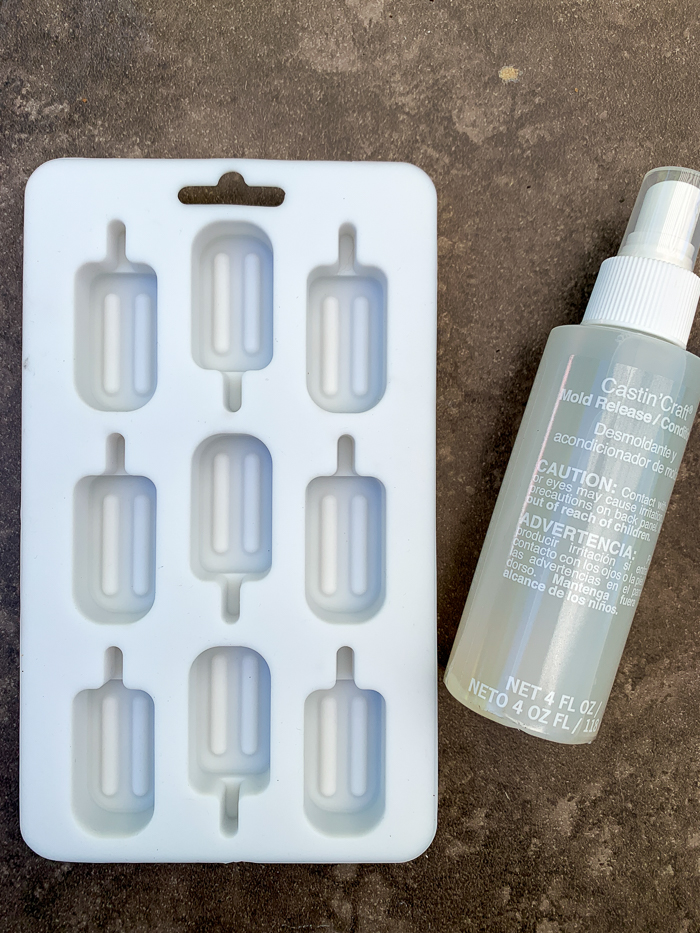
- ETI Mold Release & Conditioner
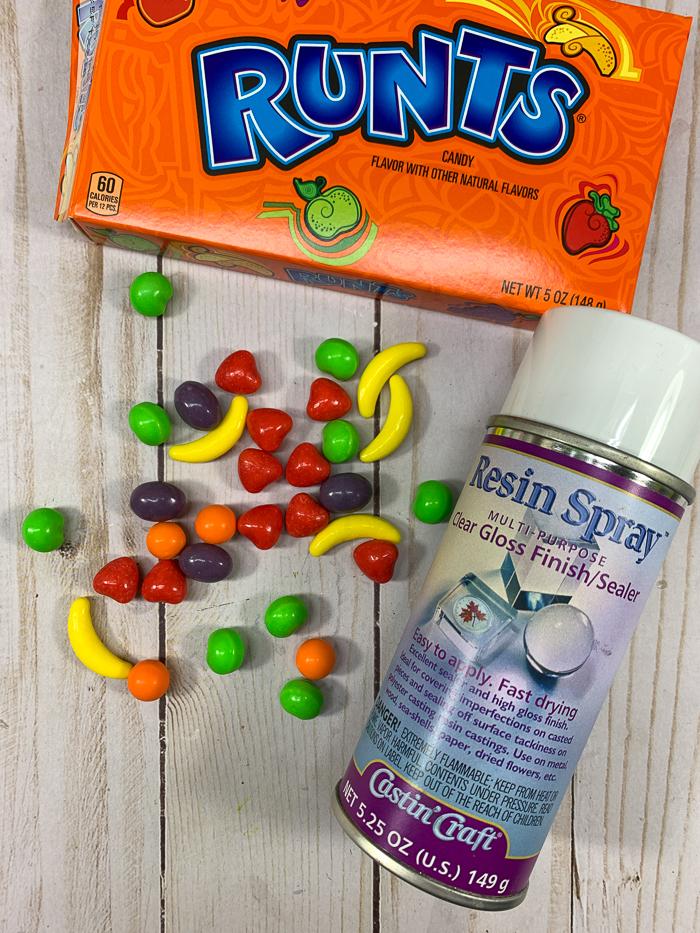
- ETI Castin’Craft Resin Spray Clear Gloss Finish/Sealer
- ETI Mixing Cup Set
- Silicone popsicle mold
- Runts candy
- Napkin rings
- Ribbon
- Hot glue
- E6000 glue
- Scissors
- Multi-surface acrylic paint in brown
- Disposable gloves, protective eyewear, and work surface covering
How to Make Resin Popsicle Napkin Rings
Are you ready to learn how to make the sweetest project ever? (Sorry, I couldn’t resist!)
Step One
Start by placing Runts candies on a paper plate or piece of cardboard and spraying them with a light coat of ETI Castin’Craft Resin Spray Clear Gloss Finish / Sealer. Once dry, flip the candies over and spray the other side. Repeat this process multiple times to ensure that the candies will be preserved in the resin and that their colors won’t run.
Step Two
Prepare a popsicle-shaped silicone mold for use. The mold I purchased was in the resin section at the craft store, but it wasn’t clear or as shiny as the silicone molds I usually see, so I sprayed it with ETI Mold Release & Conditioner just to be safe. I’m glad I did, and I’ll explain why later in this post.
Step Three
Next, I mixed EasyCast Clear Casting Epoxy per the package directions, in a 1:1 ratio, and stirred for two minutes, transfer to a new cup and stir another minute. I let it sit for two more minutes so that any air bubbles could naturally release.
Then I slowly poured the EasyCast into the prepared popsicle mold – halfway into each cavity.
Step Four
I then placed 3-4 Runts candies that had been coated with Castin’Craft Resin Spray Clear Gloss Finish/Sealer into each popsicle cavity. I checked for any air bubbles and waited for those to naturally release, or gently blew onto the resin to pop any stubborn ones.
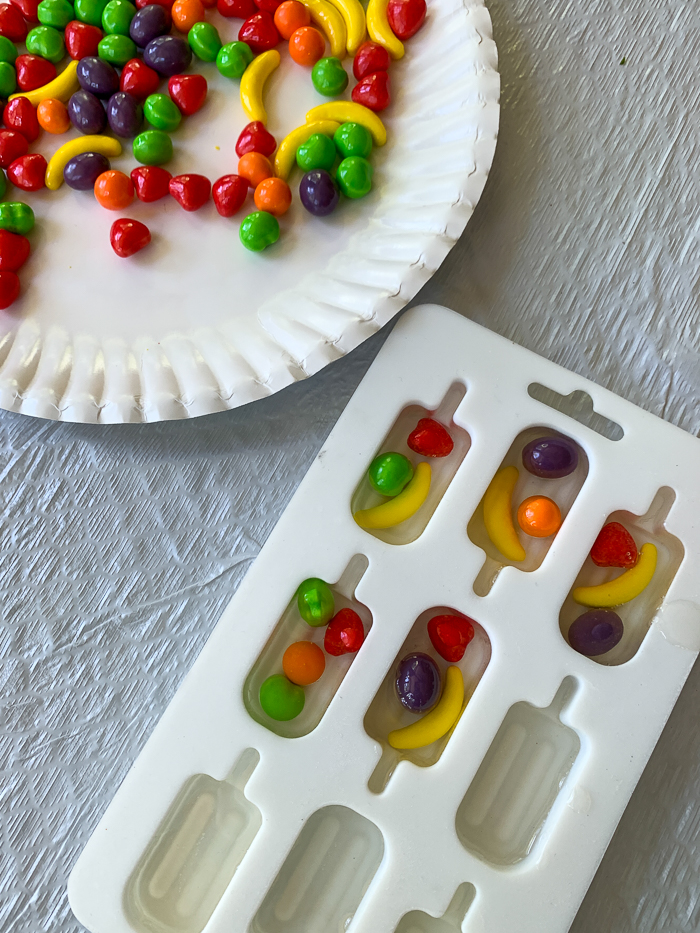
Once all visible bubbles were gone, I poured the remainder of the EasyCast into the mold cavities, which covered the Runts candies in their entirety.
Step Five
After allowing enough time for the EasyCast to cure to a totally hard state (about three days), I removed the popsicles from the mold and found that the front sides were dull-not the glossy finish you associate with resin projects.
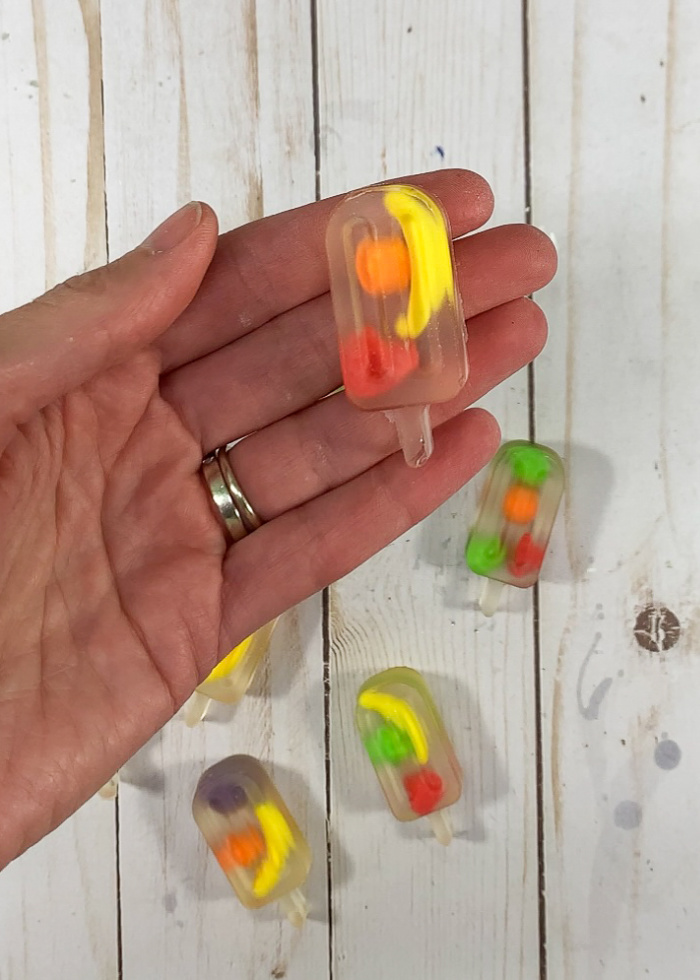
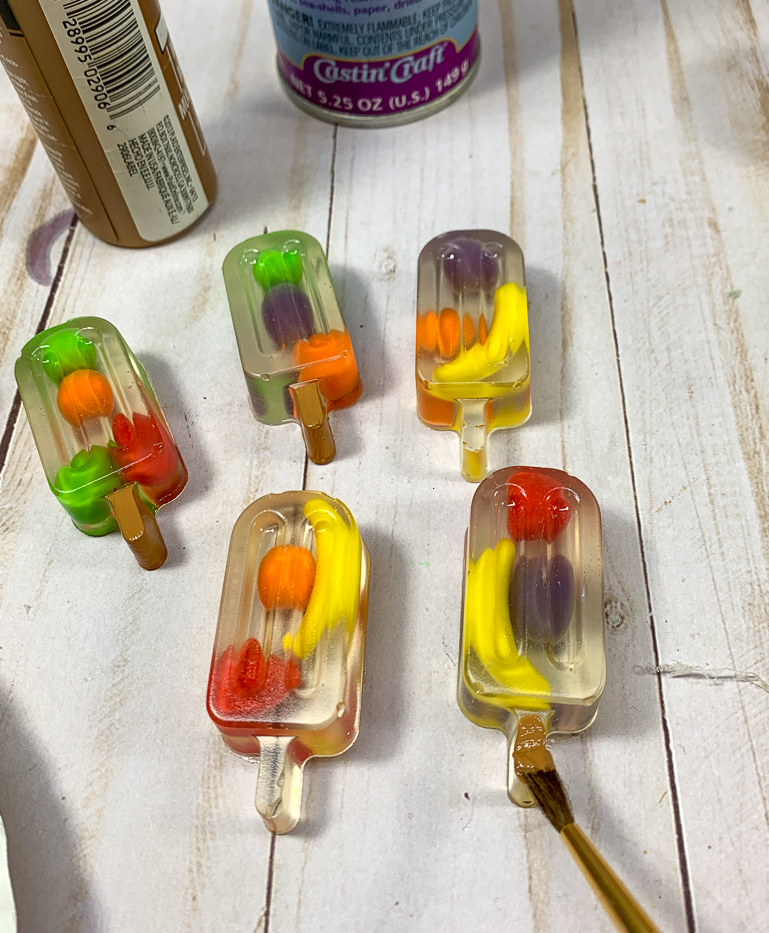
I quickly realized this was due to the mold I used – not the EasyCast – because I’d previously read a helpful Resin Crafts Blog post on How to Fix Cloudy Resin Projects. I grabbed my can of Castin’Craft Resin Spray Clear Gloss Finish/Sealer, took the popsicles outside, and covered them with two light coats of spray. Problem solved! The popsicles were shiny and beautiful.
Step Six
Once the sealer dried, I painted a bit of multi-surface acrylic paint on the stick portion of the popsicles to help them look like real popsicles.
Step Seven
While the paint dried, I wrapped ribbon around plain napkin rings and fastened it in place with hot glue.
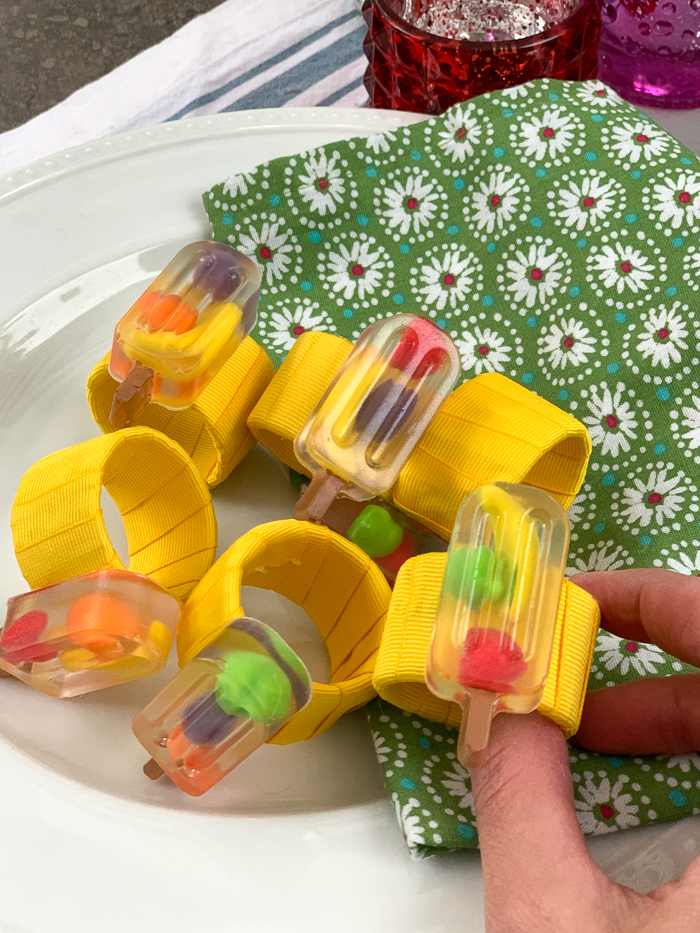
Then I glued the resin fruit popsicles onto the napkin rings with E6000 glue. I placed a small amount of glue onto the napkin ring and pressed the resin popsicle into place. I held it on with my thumb for a couple of minutes to let the glue set up, and then set them aside to let the glue dry.
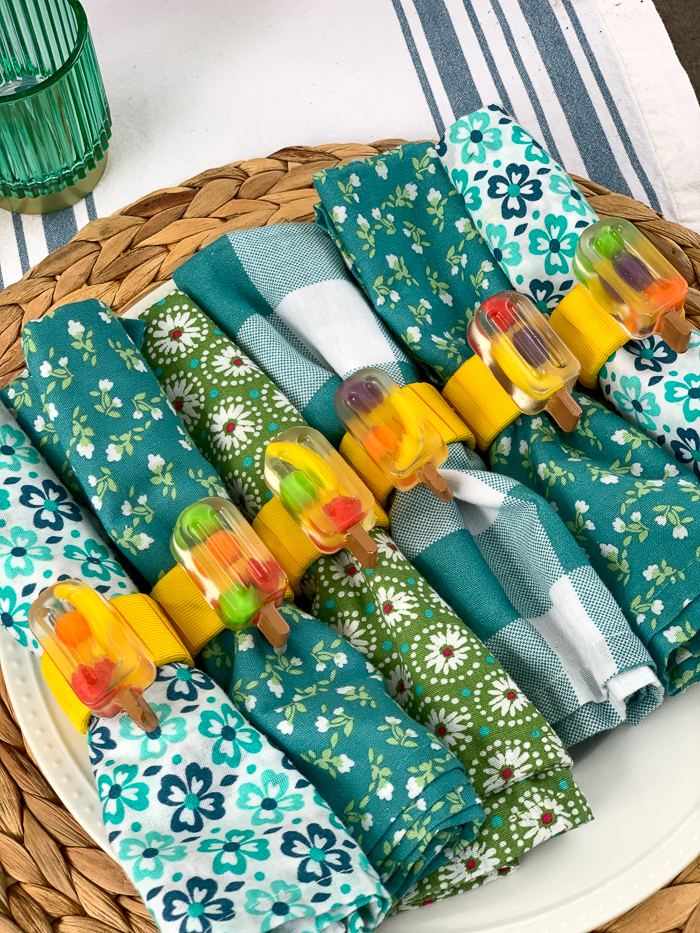
These resin napkin rings turned out even cuter than I expected, and I know they’ll delight any guest who joins me for a barbecue this year!

If you agree, please share this post! And if you make it, share with us in our Facebook group!
Bre is a content creator at Average But Inspired. She strives to inspire creative action in others by providing written and video DIY and craft tutorials, furniture upcycle projects, and home decor ideas. She wants others to feel empowered to tackle DIY, regardless of skill level or experience. When she’s not making something, you can find her watching Bravo TV with her labradoodle, Jasper.


Leave a Reply