• About Us
  • FAQ
  • Work With Us
    • Resin Crafts Influencer Programs
  • Contact Us
  • SHOP
  • Email
  • Facebook
  • Instagram
  • Pinterest
  • Twitter
  • YouTube
  • Skip to primary navigation
  • Skip to main content
  • Skip to primary sidebar

Resin Crafts Blog by ETI

Resin crafting projects and tutorials

  • Home
  • Resin Projects
  • Molds
  • Project Type
    • Jewelry
    • Home Decor
    • Art
    • Gift Ideas
    • Crafts
  • Roundups

Resin Ring Holder

April 10, 2019 By Amber Oliver 5 Comments

90 shares
  • Share
  • Tweet
Create a beautiful resin ring holder using a pyramid mold, EasyCast Clear Casting Epoxy, and colorful alcohol inks.

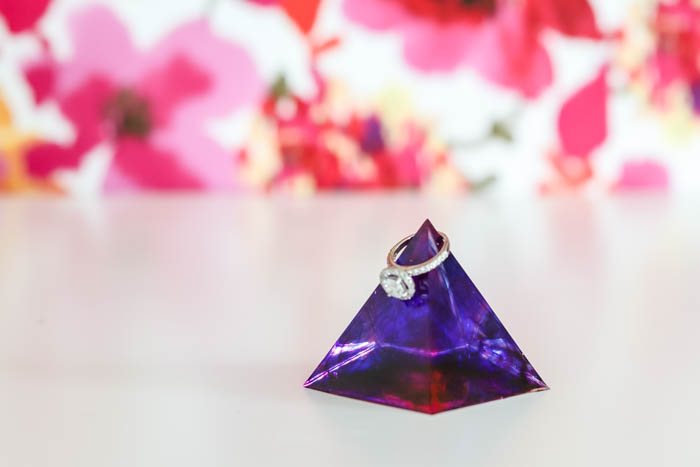
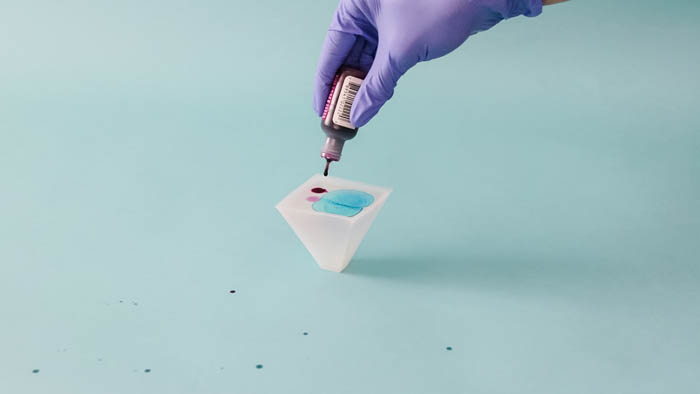
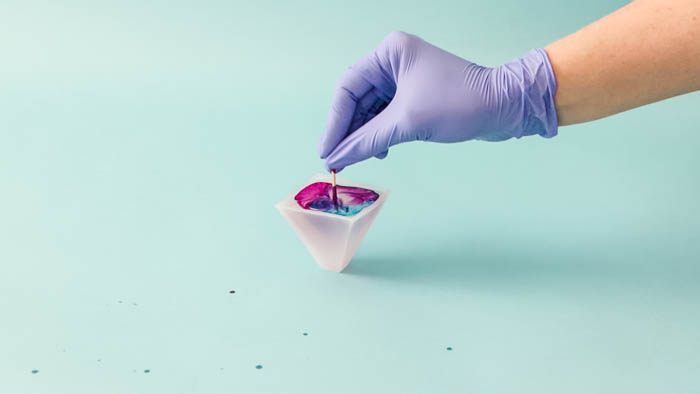
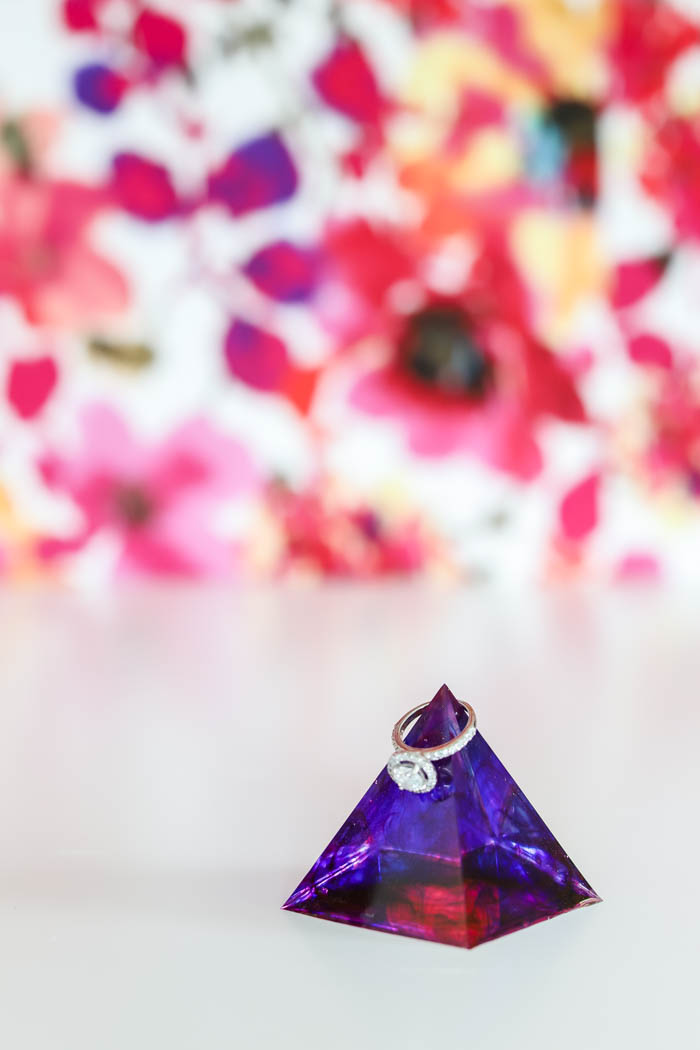
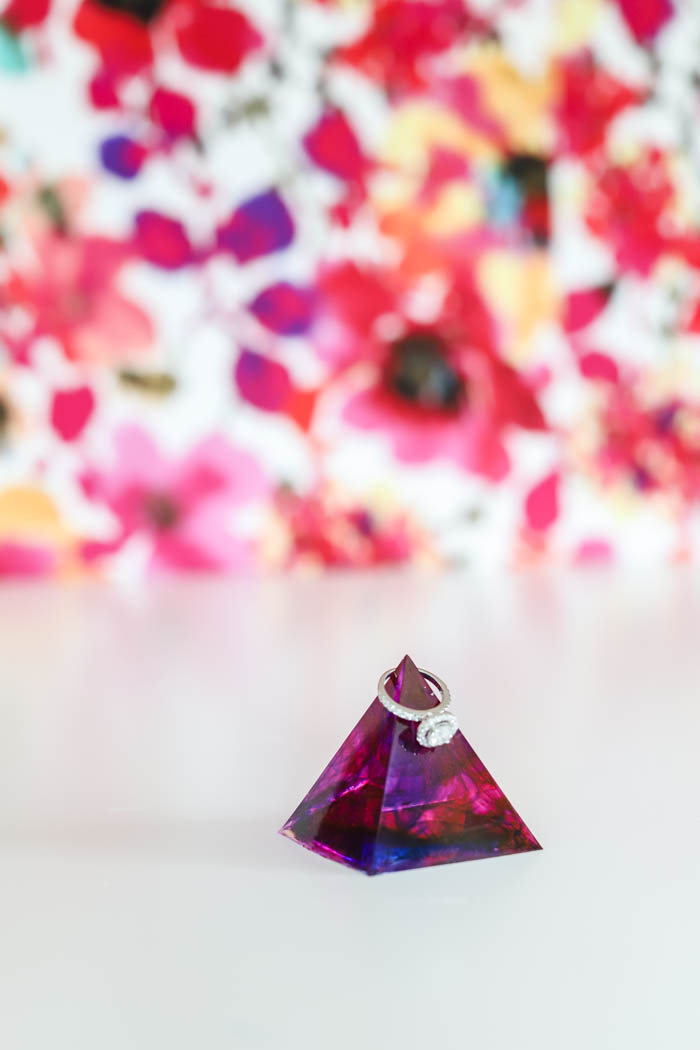
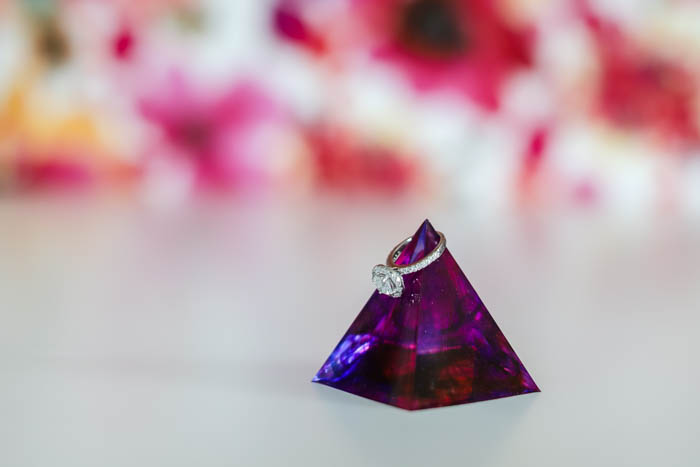
Hey Resin Crafters! Amber Oliver here with another great resin craft. Some of my favorite resin projects have been resin jewelry, like my  resin dipped earrings and my statement earrings. For this project, I started with a simple silicone mold in the shape of a pyramid. I knew the narrow point on the top would make the perfect place to slide your ring. This beautiful resin ring holder uses EasyCast Clear Casting Epoxy and alcohol ink to create a unique design.

SUPPLIES NEEDED FOR RESIN RING HOLDER:

  • EasyCast Clear Casting Epoxy
  • Alcohol Inks in the colors of your choice
  • Pyramid Mold
  • Toothpicks
  • Mixing Cups
  • Stir Sticks

Step 1: First, prepare the EasyCast Clear Casting Epoxy.  This is a multi-step process so don’t start mixing until you are ready to do the whole process from beginning to end!Start by mixing EQUAL parts of the Hardener and the Resin.

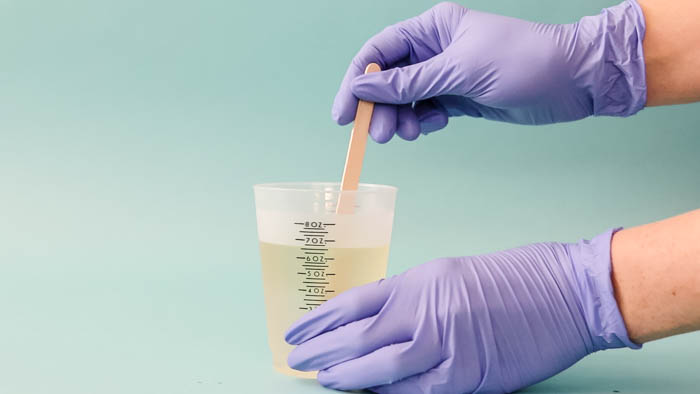
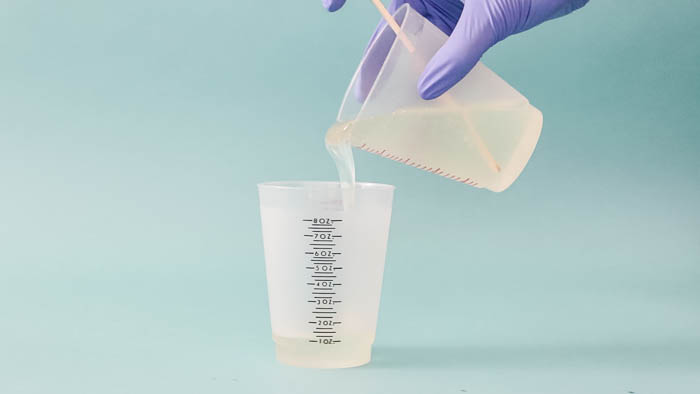
Stir for two minutes (be sure to scrape the bottoms and sides) then pour from the first cup into a second and mix with a new stir stick for another minute.

Step 2: Once your mixture is ready, pour gently into your mold. Be careful not to knock it over!
Step 3: Carefully add a few drops of alcohol ink onto the surface. (TIP: use the ink very sparingly or your creation will be VERY dark!)
Step 4: With a toothpick, gently drag through the surface to mix the ink.
Step 5: After about 20 minutes you’ll see bubbles appear on the surface of the resin – you can use a butane torch to pop these or simply breathe on it like I did! It’s the CO2 in your breath that releases the bubbles – not the heat!
Step 6: After you’ve allowed enough time for the resin to cure, you can remove from the mold!
I hope this project inspires you to create your own resin ring holder! Try mixing alcohol inks or add Castin’Craft Opaque Pigments in the color of your choice to create a pretty solid colored one!
Amber Oliver
Amber Oliver

Amber Oliver is a DIY and lifestyle blogger who shares easy DIY tutorials, colorful crafts, and more on her blog, Amber Oliver. She’s a native Oklahoman living “in the loop” in Houston, TX with her husband and dog. She’s an avid reader, world traveler, loves Tex Mex food, and creating everything from woodworking projects to websites. She focuses on budget friendly projects for the home and empowering women to try new things.

90 shares
  • Share
  • Tweet

Filed Under: Molds, Resin Projects

Previous Post: « Picture Necklaces to Make for Mom
Next Post: DIY’s To Show Mom Some Love »

Reader Interactions

Subscribe

for Resin Crafts updates!

Comments

  1. Kate

    March 25, 2021 at 3:05 am

    Hi Amber, thank you for this post!
    I find it very difficult to properly determine the amount of ink I’m supposed to use. I usually try to follow the instructions on the packaging, but they’re never consistent between colors and it gets worse once you start mixing different brands.

    Do you usually use the same amount for all colors?

    Reply
    • Amber Oliver

      May 5, 2021 at 3:54 pm

      I agree it is very tricky! I did use the same about (just 2 tiny drops!) but you can see the colors didn’t turn out evenly! The blue and purple were both dark so in the final result you can definitely see more of them than the pink! The best tip I can give is to use as LITTLE as possible!!

      Reply
  2. Rosalinda

    April 2, 2022 at 9:39 am

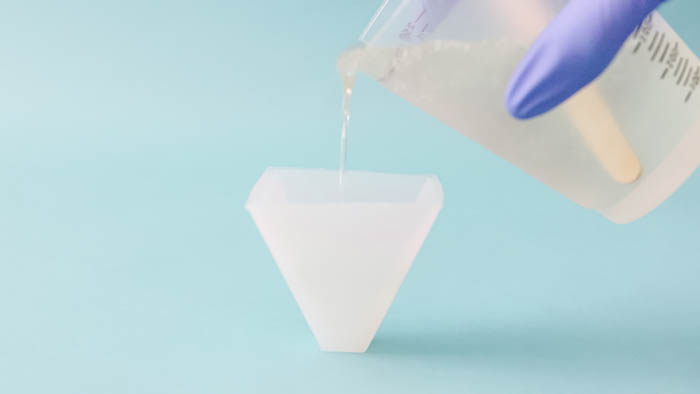
    Hi! How much resin solution does one pyramid take for each mold?

    Reply
    • Amber Oliver

      April 2, 2022 at 12:41 pm

      hi! each mold is different, but mine took between 3-4 ounces 🙂

      Reply

Trackbacks

  1. Layered Resin Ring Holder - diy crafts says:
    April 11, 2020 at 8:10 pm

    […] Resin Crafters! Amber Oliver here with another great resin craft. Last year I created a resin ring holder using colorful alcohol inks. The project turned out great! I love switching up my add-ins and […]

    Reply

Leave a Reply Cancel reply

Thank you so much for leaving a comment on Resin Crafts Blog! For technical questions you can email our customer service at: [email protected] or via telephone @ 1-800-368-9323.

This site uses Akismet to reduce spam. Learn how your comment data is processed.

Primary Sidebar

Pin With Us

Resin Crafts Blog is a participant in the Amazon Services LLC Associates Program. As an Amazon Associate we earn from qualifying purchases.

Copyright © 2022 Resin Crafts

  • Facebook
  • Pinterest
  • Twitter