• About Us
  • FAQ
  • Contact Us
  • Shop Supplies
  • Email
  • Facebook
  • Instagram
  • Pinterest
  • Twitter
  • YouTube
  • Skip to primary navigation
  • Skip to main content
  • Skip to primary sidebar

Resin Crafts Blog

Resin crafting projects and tutorials

  • Home
  • Resin Projects
  • Molds
  • Project Type
    • Jewelry
    • Home Decor
    • Art
    • Gift Ideas
    • Crafts
  • Resin Tips

Resin Dipped Earrings

by Amber Oliver 4 Comments

Share
Pin205
Post
205Shares

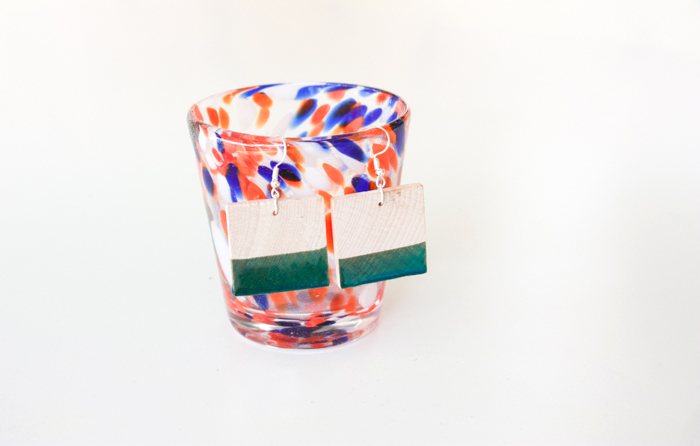
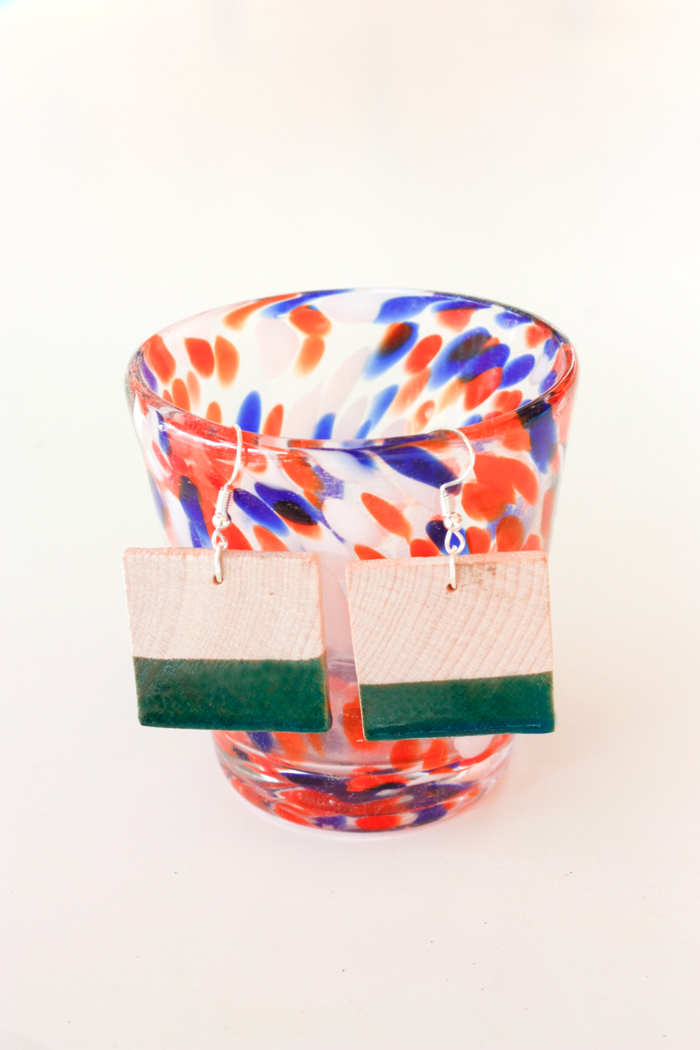
Resin dipped earrings are a great project for someone just “dipping” into resin projects! This project can easily be customized in the color or your choice thanks to Castin’Craft Opaque Pigments. I tried this project by both pouring the resin and by dipping and found that dipping worked really well.

How to Make Resin Dipped Earrings!

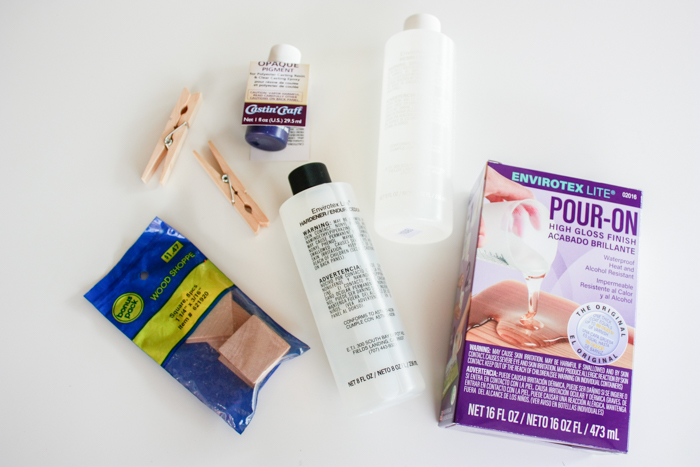
Supplies Needed for Resin Dipped Earrings:

  • EnviroTex Lite® Pour On High Gloss Finish
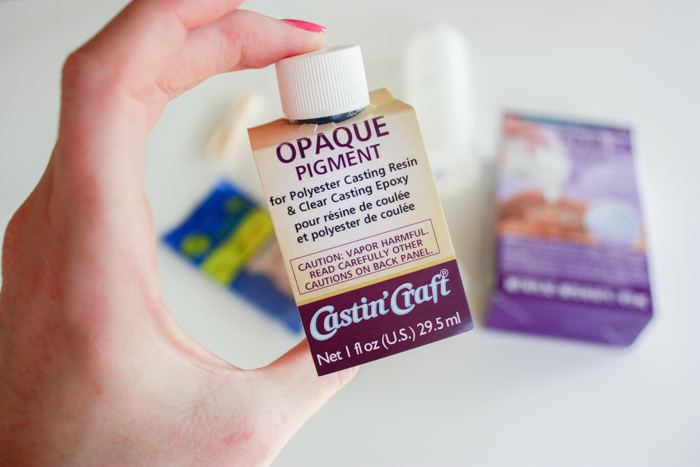
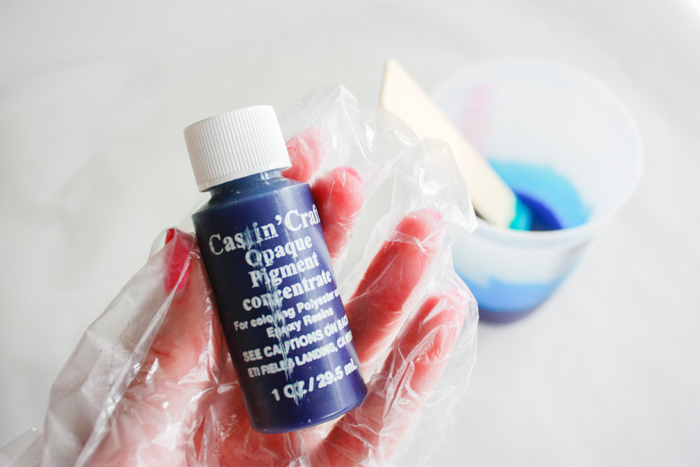
  • Castin’Craft Opaque Pigments in the colors of your choice
  • Small wooden pieces
  • Earring hardware
  • Mixing Cups
  • Measuring Cups
  • Stir Sticks
  • Clothespins
  • Drill

Resin Dipped Earrings project materialsResin Dipped Earrings - opaque pigment for ressin

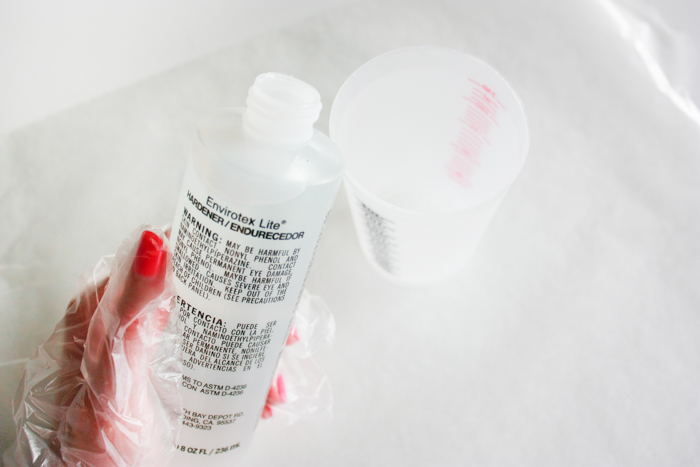
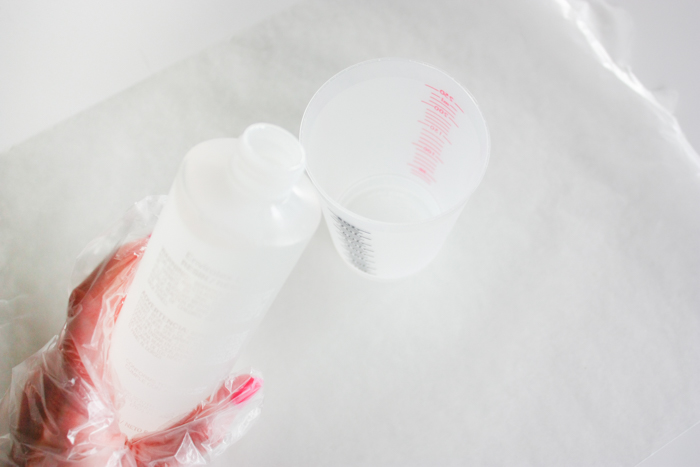
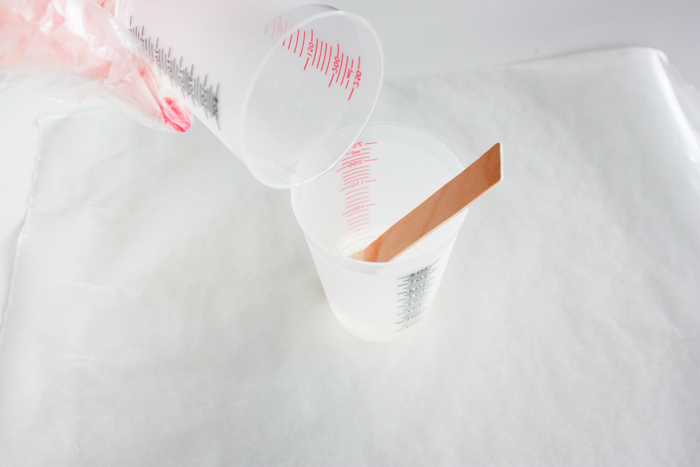
First step is to mix up the Envirotex Lite Pour On. This is a multi-step process so don’t start mixing until you are ready to do the whole process from beginning to end! Start by mixing EQUAL parts of the Hardener and the Resin. Stir for two minutes (be sure to scrape the bottoms and sides) then pour from the first cup into a second and mix with a new stir stick for another minute.

Resin Dipped EarringsResin Dipped EarringsResin Dipped Earrings

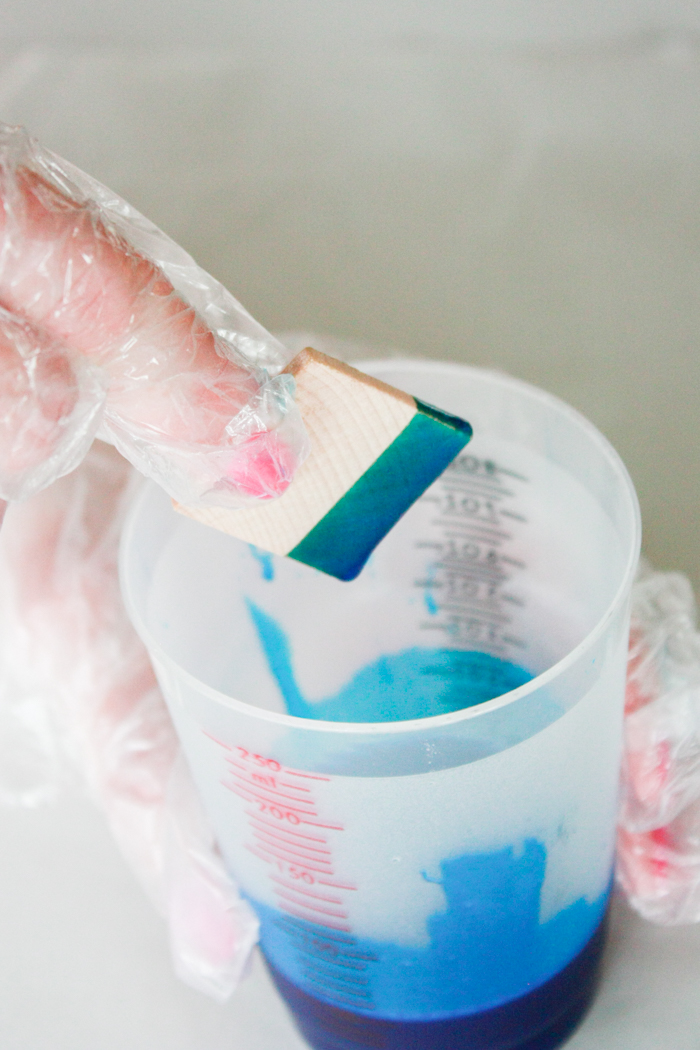
Next, stir in a few drops of Castin’Craft Opaque Pigment so you’ll have resin dipped earrings in the color of your choice.

Resin Dipped Earrings

Now is the fun part! Wearing gloves, slowly dip the wood piece into your cup of resin. Pull out slowly and let it drip for a second or two before you move to the drying area.

Resin Dipped Earrings: dipping into resin

I used an old cardboard box with a string strung across the top: just cut notches on either side of the box and tie knots on either side of the string to hold it in place. Then using clothespins, you’ll hang your resin dipped earrings to dry.

Resin Dipped Earrings

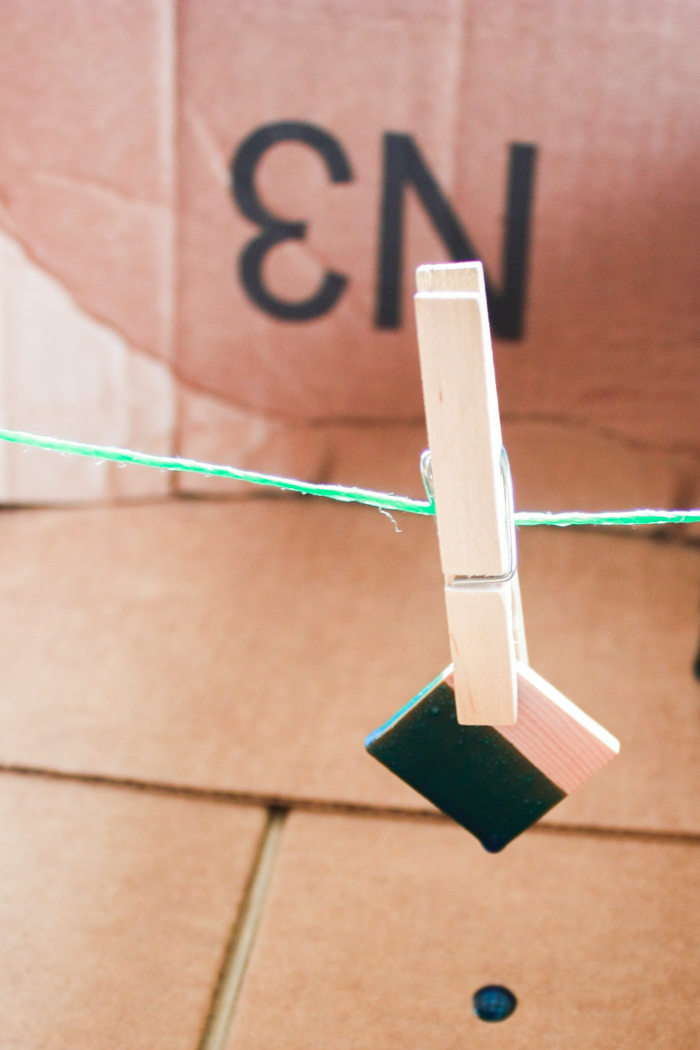
You’ll notice those tiny bubbles appear on your earrings: simply breathe on them with a straw and the CO2 from your breath will get rid of them!

Resin Dipped Earrings: drilling hole

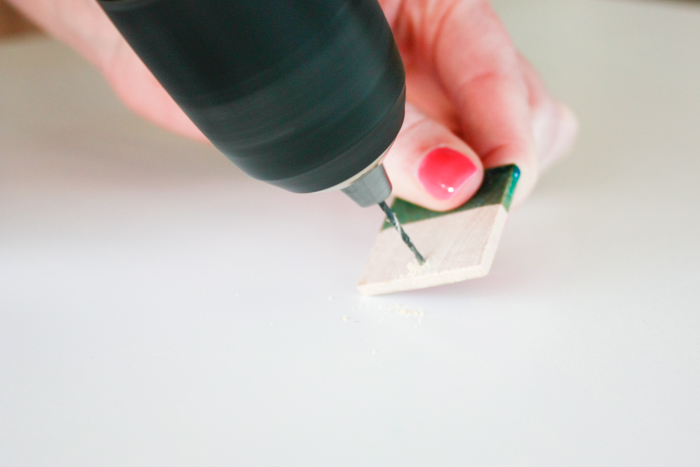
After you’re earrings are completely dry (check package instructions for dry times) you’ll drill a small hole in the top of each of your earrings. Attach earring hooks and they’ll be ready to wear!


How to Make Resin Dipped Earrings

SaveSave

Amber Oliver
Amber Oliver

Amber Oliver is a DIY and lifestyle blogger who shares easy DIY tutorials, colorful crafts, and more on her blog, Amber Oliver. She’s a native Oklahoman living “in the loop” in Houston, TX with her husband and dog. She’s an avid reader, world traveler, loves Tex Mex food, and creating everything from woodworking projects to websites. She focuses on budget friendly projects for the home and empowering women to try new things.

Share
Pin205
Post
205Shares

If you enjoyed this...

  • high gloss bar top makeover | whitney j decor | interior design | decorating diy projects | charcoal gray bar | envirotex lite bar | bartop | bar makeover | home bar makeover | large bar | diy resin makeover | diy bar decor | diy resin decor
    High-Gloss Charcoal Gray Bar Top Makeover with…
  • recycled dvd’s mosiac tile pieces tray with envirotex lite high gloss resin craft (2)
    DVD Mosaic High Gloss Resin Tray
  • ResinTray-Handle
    Rainbow Resin Mosaic Tray

Filed Under: Jewelry, Resin Projects

Previous Post: « Sequin Knobs for Re-purposed Jar Lids
Next Post: Personalized Key Chain Bottle Opener for Father’s Day »

Reader Interactions

Comments

  1. Cornelia L

    March 28, 2018 at 12:47 am

    I love your color choices and thanks for sharing the tip on how to hang them while they are drying!

    Reply
    • Amber Oliver

      March 28, 2018 at 3:36 pm

      So glad you enjoyed it! 🙂

      Reply
  2. Christa

    November 3, 2018 at 10:27 am

    This is genius! Thank you for sharing!

    Reply
    • Amber Oliver

      November 3, 2018 at 6:23 pm

      Thank you! <3

      Reply

Leave a Reply Cancel reply

Thank you so much for leaving a comment on Resin Crafts Blog! For technical questions you can email our customer service at: msanchez@eti-usa.com or via telephone @ 1-800-368-9323.
Recipe Rating


Primary Sidebar

Welcome!

Pin With Us

Categories

Resin Crafts Blog is a participant in the Amazon Services LLC Associates Program. As an Amazon Associate we earn from qualifying purchases.

Copyright © 2025 Resin Crafts

We use cookies to ensure that we give you the best experience on our website. If you continue to use this site we will assume that you are happy with it.OkNo