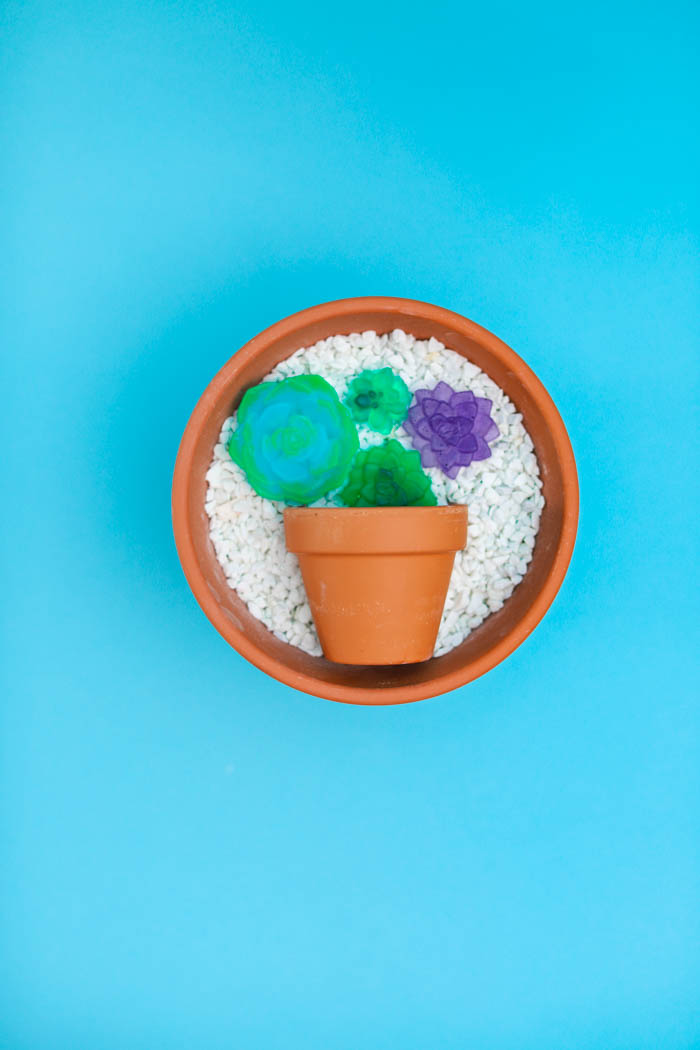
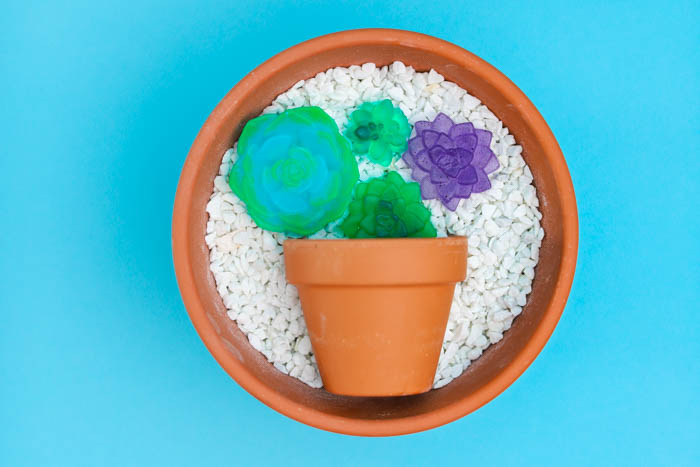
No need for a green thumb – create resin succulents with EasyCast Clear Casting Epoxy for beautiful plants that will never die!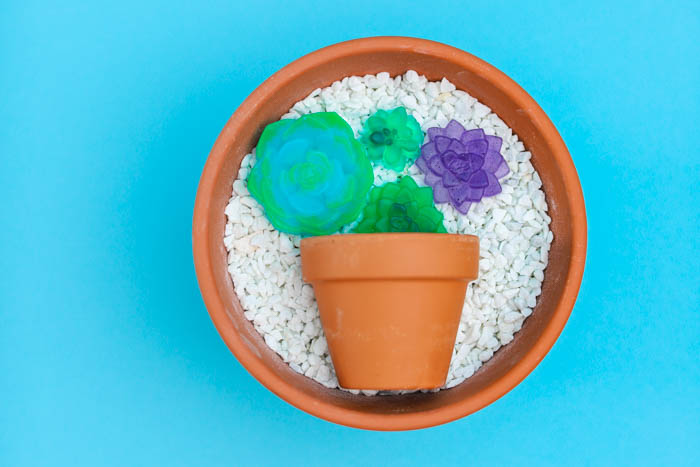
Hey Resin Crafters! Amber Oliver here with another great resin craft. How are your gardening skills? Do you have a bit of a black thumb? I rather like gardening and usually recommend succulents to friends looking for “easy” suggestions for plants. If you can even kill a cactus, I’ve got the best option for you: resin succulents! These beauties will NEVER die and you’ll have a lot of fun mixing up the color combinations to create your own resin “garden”.
SUPPLIES NEEDED FOR RESIN SUCCULENTS:
- EasyCast Clear Casting Epoxy
- Resin Succulent Molds
- Acrylic Paint
- Mixing Cups
- Stir Sticks
- Gloves
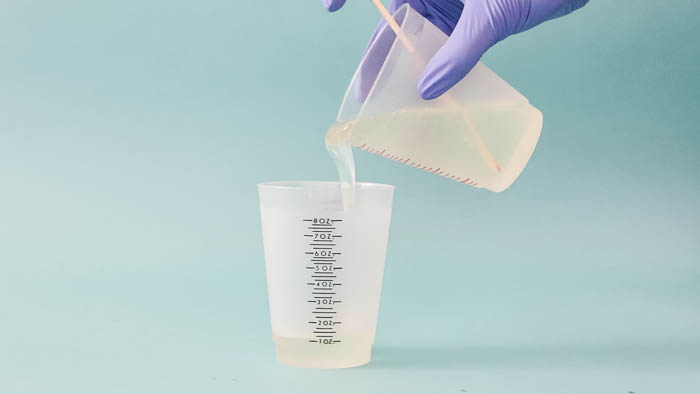
Step 1: First, prepare the EasyCast Clear Casting Epoxy. This is a multi-step process so don’t start mixing until you are ready to do the whole process from beginning to end! Start by mixing EQUAL parts of the Hardener and the Resin.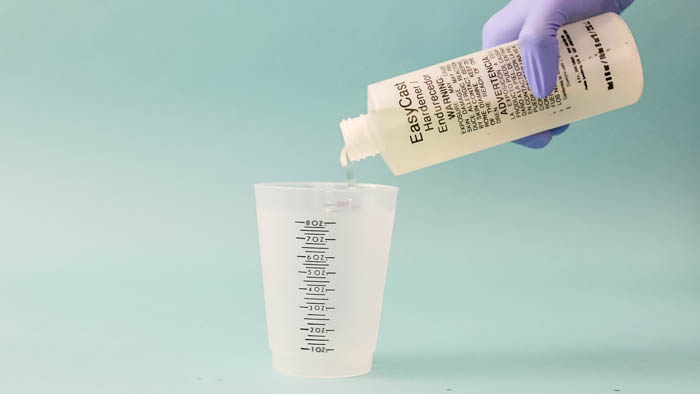
Start by mixing EQUAL parts of the Hardener and the Resin.
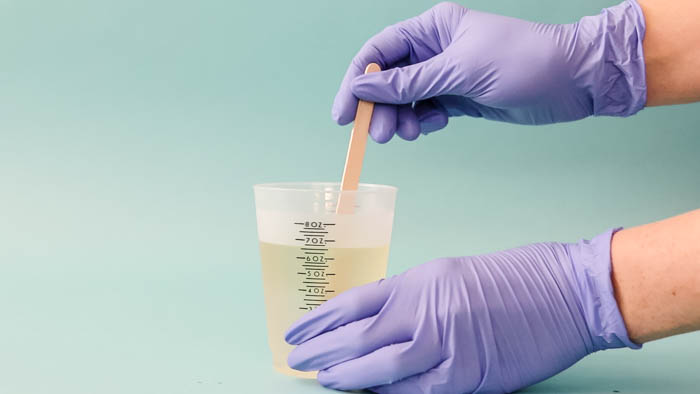
Stir for two minutes (be sure to scrape the bottoms and sides) then pour from the first cup into a second and mix with a new stir stick for another minute.
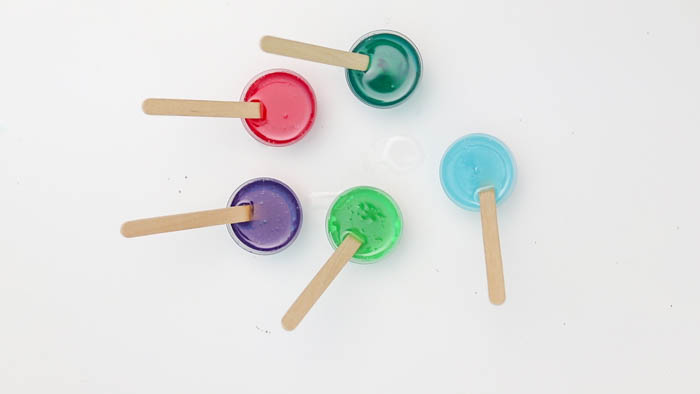
Step 2: Once your mixture is ready, pour gently into smaller cups to mix up different colors. Add a drop or 2 of acrylic paint to each to make different colors.
Step 3: Now it’s time to start pouring into your mold! Pour the colors in gently and stir using a popsicle stick. Don’t worry too much about making a mess – the silicone cleans easily after the resin sets!

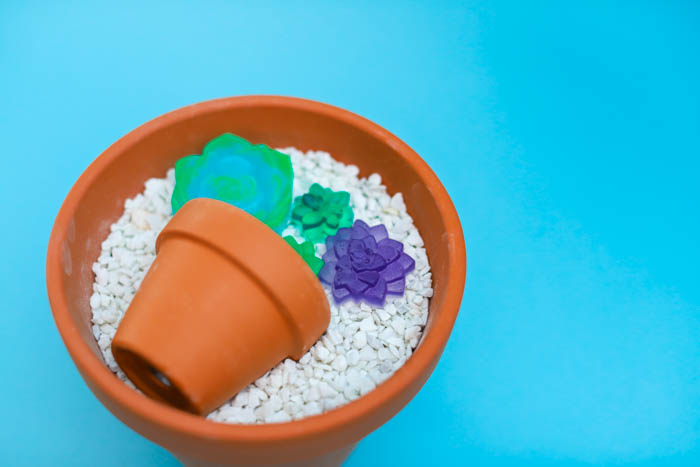
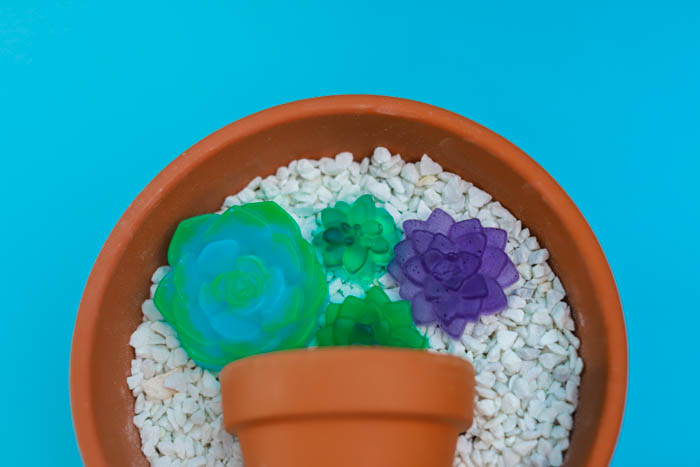
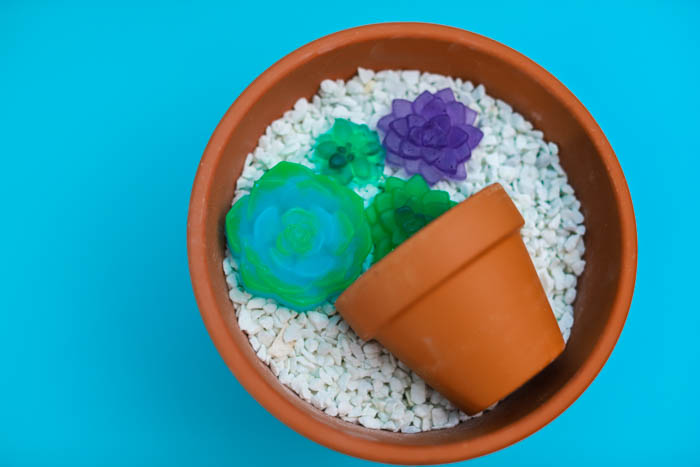
Step 4: After enough time has passed for the resin to cure, you can remove the succulents from their molds!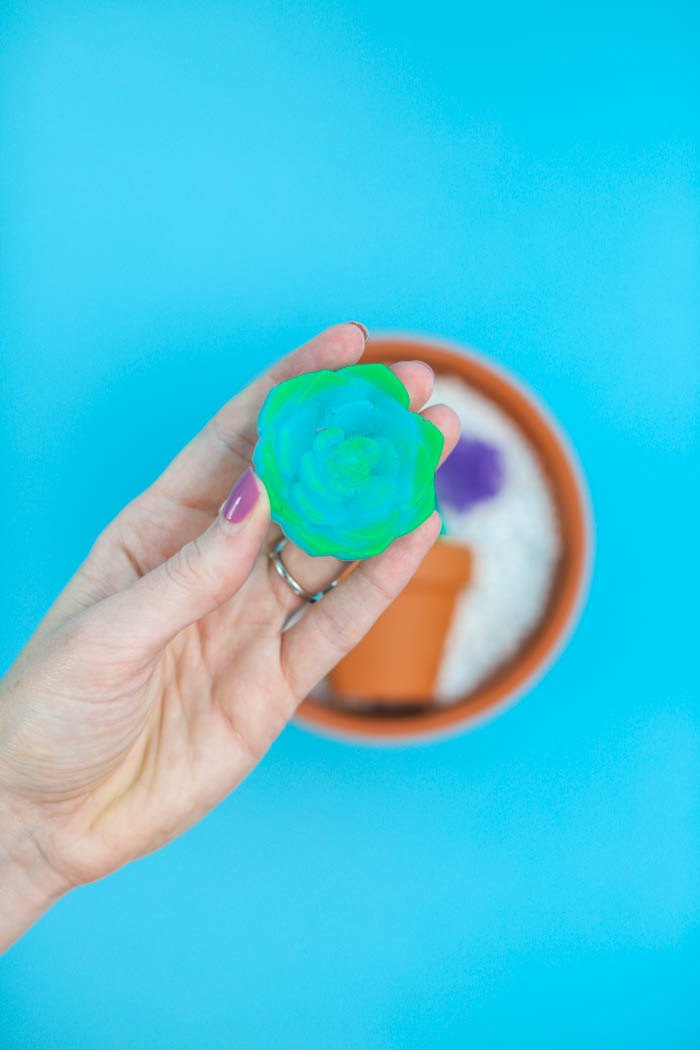
To get the realistic look on your resin succulents, use different colors on each “plant”. I looked at actual succulents to decide what colors to use! My favorite is the ones in the corners of the mold. I used a lime green to do the tips and added the beautiful blue I saw in my own garden to create these beautiful things!
Amber Oliver is a DIY and lifestyle blogger who shares easy DIY tutorials, colorful crafts, and more on her blog, Amber Oliver. She’s a native Oklahoman living “in the loop” in Houston, TX with her husband and dog. She’s an avid reader, world traveler, loves Tex Mex food, and creating everything from woodworking projects to websites. She focuses on budget friendly projects for the home and empowering women to try new things.


Leave a Reply