Updated April 2026
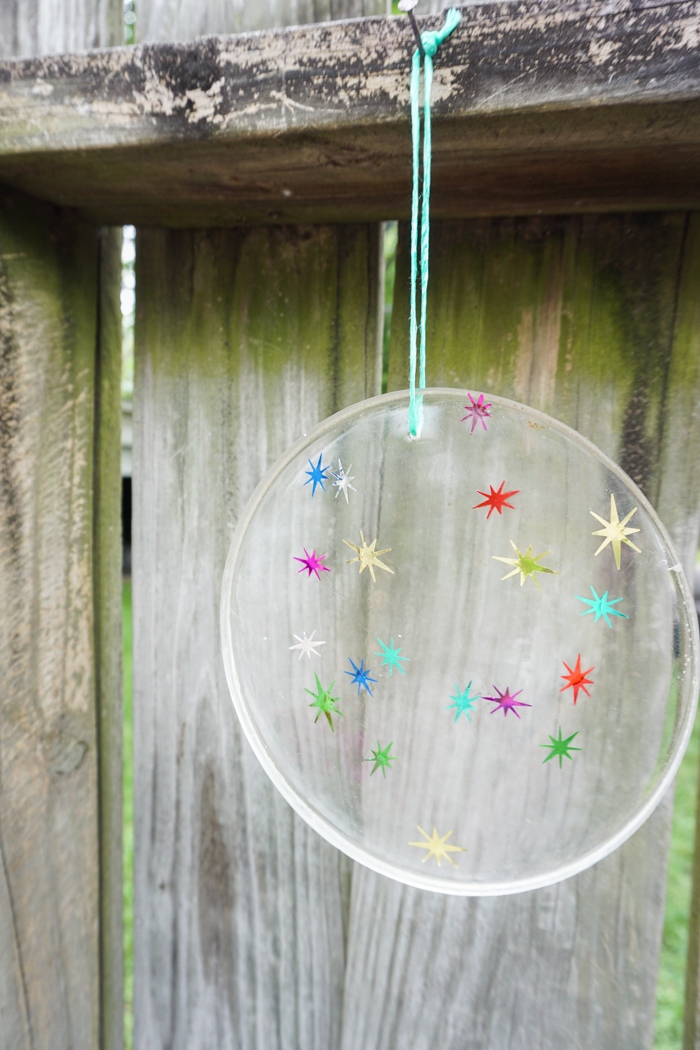
Create a beautiful resin suncatcher with metallic confetti and EasyCast Clear Casting Epoxy!
Hey Resin Crafters! Amber Oliver here with another great resin craft! I’m drawn to all things colorful (as you may have noticed with my last resin craft – my DIY Resin Clipboard) and this project includes lots of pretty colors as well! I mean, who doesn’t love confetti!? The beautiful spring weather has be spending a lot more time outdoors, and this project is perfect for decorating on your patio. Just hang it anywhere it can catch the light!
Supplies Needed for Resin Suncatcher:
- EasyCast Clear Casting Epoxy
- Mold Release & Conditioner
- Metallic/foil confetti
- Circular Lid
- Mixing Cups
- Stir Sticks
Step 1: Prepare your mold. For this project, I used two metal lids that were the prefect size circles for me. The first thing I did was apply Mold Release & Conditioner. (I took a chance with the metal lids – plastic would be better – but the project turned out great! I do have a trick I’ll share below.)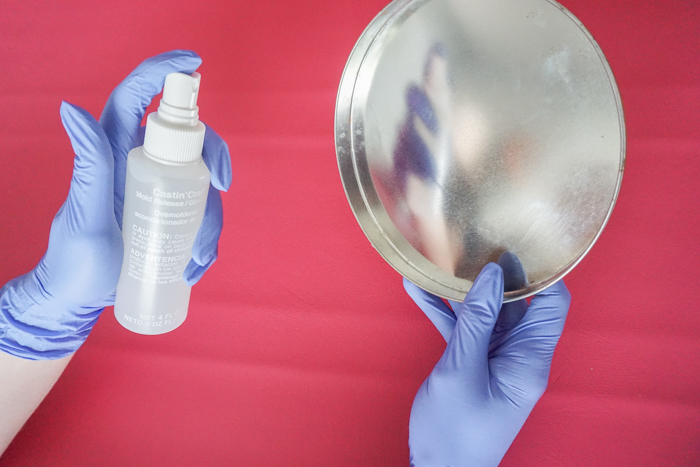
Step 2: Next, prepare the EasyCast Clear Casting Epoxy. This is a multi-step process so don’t start mixing until you are ready to do the whole process from beginning to end! Start by mixing EQUAL parts of the Hardener and the Resin.
Stir for two minutes (be sure to scrape the bottoms and sides) then pour from the first cup into a second and mix with a new stir stick for another minute.
Step 2: Once it’s ready, pour directly into your lid and fill about halfway up.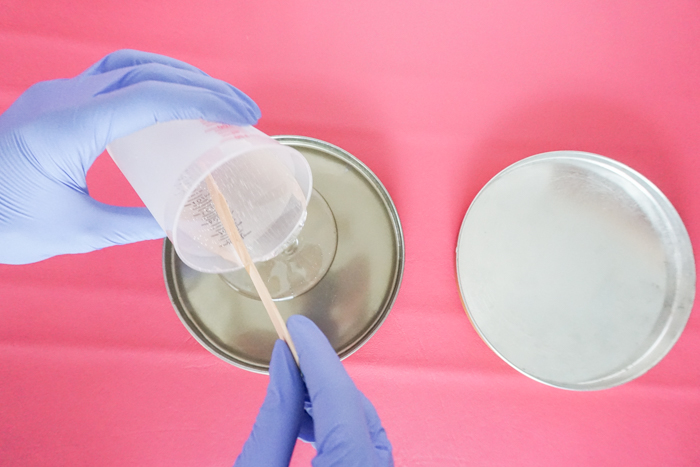
Step 3: Let sit for about 20 minutes, then you can add in your embellishments! I used metallic confetti for mine.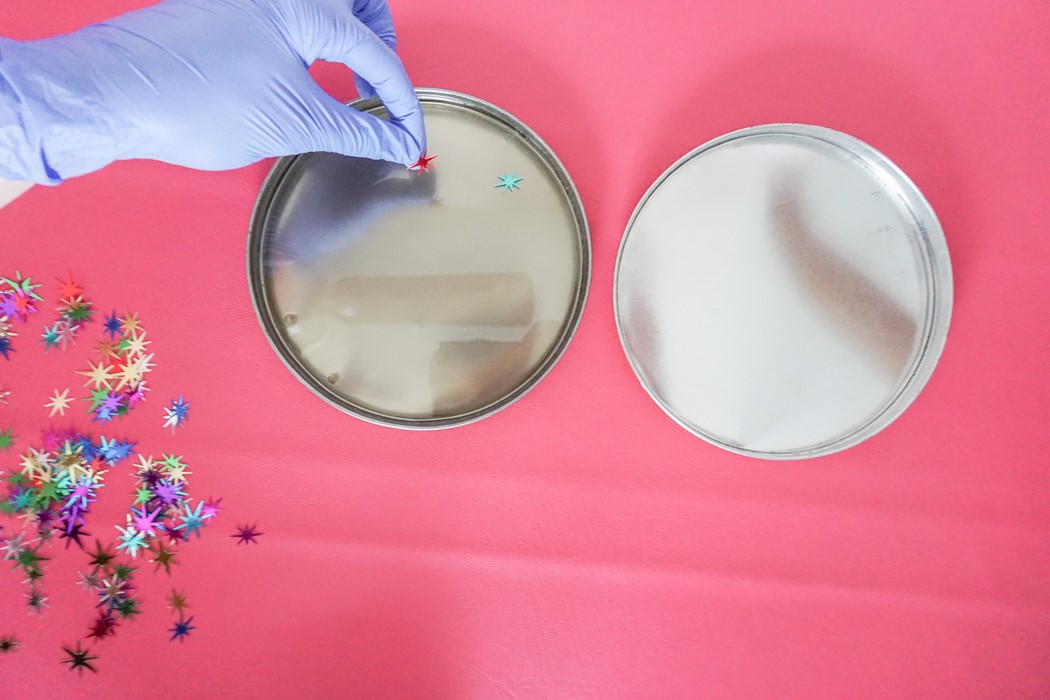
Step 4: After you’ve added your embellishments, mix up another batch of EasyCast Clear Casting Epoxy and pour on.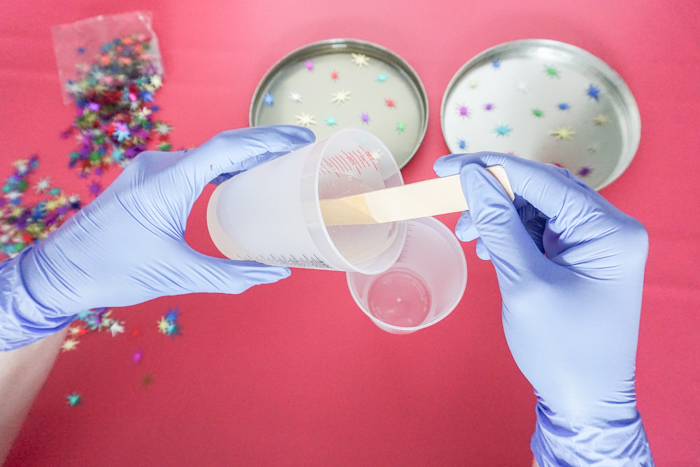
Step 5: After you’ve allowed enough time for the resin to cure, you can remove from the molds. I tried a metal mold for this project and found the trick to getting the resin suncatchers out is the FREEZER! I put them in the freezer for a few minutes and POP they came right out!
Step 6: The last step for creating resin suncatchers is to drill a small hole in the top and tie on some twine to hang them!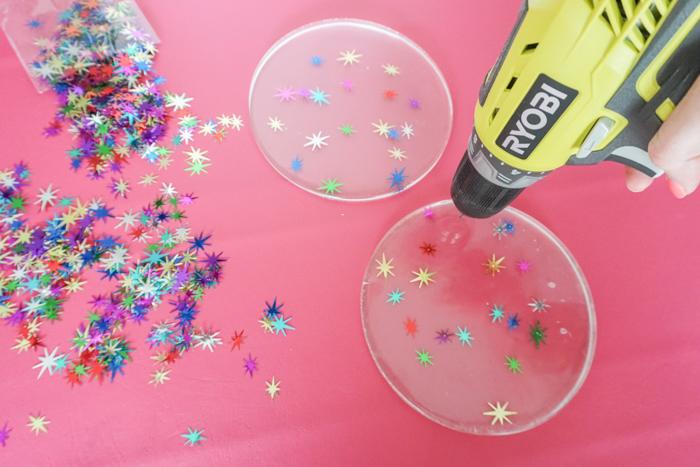
I hung my resin suncatchers on the fence in my backyard. The EasyCast Clear Casting Epoxy creates a beautifully clear finish and the metallic confetti catches the sun and shines brillantly while twirling around near my hanging basket of flowers! 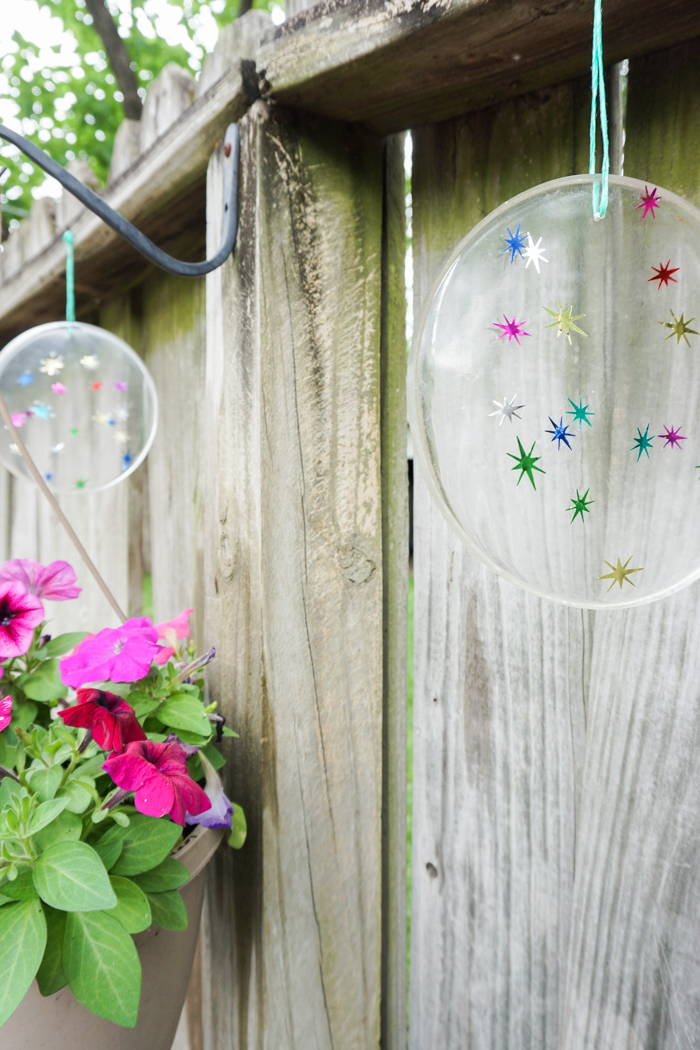
Amber Oliver is a DIY and lifestyle blogger who shares easy DIY tutorials, colorful crafts, and more on her blog, Amber Oliver. She’s a native Oklahoman living “in the loop” in Houston, TX with her husband and dog. She’s an avid reader, world traveler, loves Tex Mex food, and creating everything from woodworking projects to websites. She focuses on budget friendly projects for the home and empowering women to try new things.


Love the sun catchers. Can’t wait to make some. They will make beautiful gifts.
A GREAT gift idea! Handmade with love 🙂
Gonna try this today with stained glass and sea shells, can I use plastic lids off of coffee container?. I live in a beach tourist town and they will kill for anything that is beach
That sounds like it will be so cute! Plastic will work perfectly as it’s bendy and you can pop it out easily 😉
I tried on in a plastic lid, didn’t have the stuff you spray on plate so I put in freezer hope that will work
The freezer trick worked perfectly for us!
WOW WOW WOW
<3 <3 <3
How long does it take to cure approximately?
I left it for about 36 hours 🙂